manuals.online logo
Brands
  1. Home
  2. •
  3. Brands
  4. •
  5. Pentax
  6. •
  7. Digital Camera
  8. •
  9. Pentax K-5 User manual

Pentax K-5 User manual

Other manuals for K-5

5

Other Pentax Digital Camera manuals

Pentax 30 - Optio 30 3.2MP Digital Camera User manual

Pentax

Pentax 30 - Optio 30 3.2MP Digital Camera User manual

Pentax OPTIOT20 - Optio T20 Digital Camera User manual

Pentax

Pentax OPTIOT20 - Optio T20 Digital Camera User manual

Pentax Optio A40 User manual

Pentax

Pentax Optio A40 User manual

Pentax IQZoom160 User manual

Pentax

Pentax IQZoom160 User manual

Pentax MZ-6 User manual

Pentax

Pentax MZ-6 User manual

Pentax Optio 50 - Optio 50 5MP Digital Camera User manual

Pentax

Pentax Optio 50 - Optio 50 5MP Digital Camera User manual

Pentax 67II User manual

Pentax

Pentax 67II User manual

Pentax Optio WG-1 User manual

Pentax

Pentax Optio WG-1 User manual

Pentax Optio 430 User manual

Pentax

Pentax Optio 430 User manual

Pentax 19091 User manual

Pentax

Pentax 19091 User manual

Pentax Optio WG2 GPS User manual

Pentax

Pentax Optio WG2 GPS User manual

Pentax OPTIO MX User manual

Pentax

Pentax OPTIO MX User manual

Pentax 555 - Optio 555 5MP Digital Camera User manual

Pentax

Pentax 555 - Optio 555 5MP Digital Camera User manual

Pentax PC-313 User manual

Pentax

Pentax PC-313 User manual

Pentax Optio P70 User manual

Pentax

Pentax Optio P70 User manual

Pentax 76670 User manual

Pentax

Pentax 76670 User manual

Pentax P-5 User manual

Pentax

Pentax P-5 User manual

Pentax PC-555 DATE User manual

Pentax

Pentax PC-555 DATE User manual

Pentax KM User manual

Pentax

Pentax KM User manual

Pentax Optio S1 User manual

Pentax

Pentax Optio S1 User manual

Pentax Optio WG-2GPS User manual

Pentax

Pentax Optio WG-2GPS User manual

Pentax EZY-S User manual

Pentax

Pentax EZY-S User manual

Pentax Optio W20 Instruction manual

Pentax

Pentax Optio W20 Instruction manual

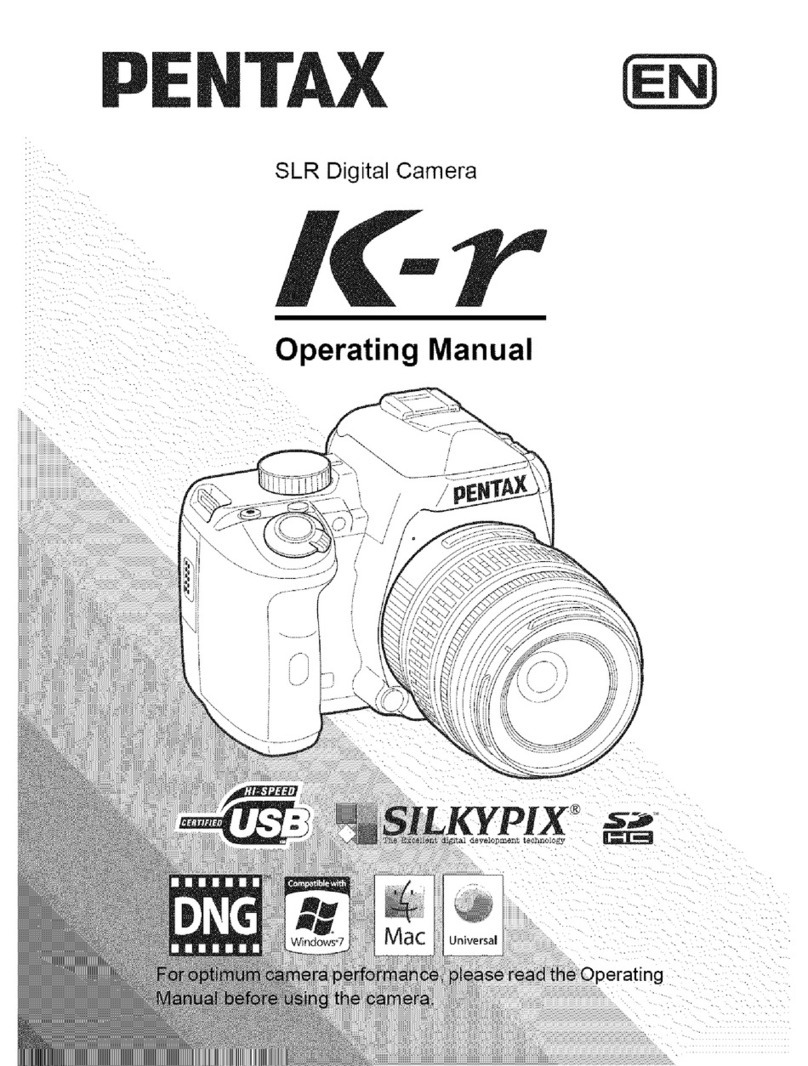
Pentax K-r User manual

Pentax

Pentax K-r User manual

Popular Digital Camera manuals by other brands

Canon WP-DC35 user guide

Canon

Canon WP-DC35 user guide

Xiaomi 70mai Dash Cam Lite user manual

Xiaomi

Xiaomi 70mai Dash Cam Lite user manual

Samsung PL70 Quick start manual

Samsung

Samsung PL70 Quick start manual

GE E1680W user manual

GE

GE E1680W user manual

Canon EOS 1200D instruction manual

Canon

Canon EOS 1200D instruction manual

Tevion MD 86497 user guide

Tevion

Tevion MD 86497 user guide

Exakta VX Features

Exakta

Exakta VX Features

Kodak Digital Science DC120 user guide

Kodak

Kodak Digital Science DC120 user guide

Nikon FM3A Specifications

Nikon

Nikon FM3A Specifications

Vectra Fitness H1 Quick reference guide

Vectra Fitness

Vectra Fitness H1 Quick reference guide

Nikon COOLPIX 775 quick start guide

Nikon

Nikon COOLPIX 775 quick start guide

Olympus IR 500 - 4MP Digital Solutions Camera Manuel de Référence

Olympus

Olympus IR 500 - 4MP Digital Solutions Camera Manuel de Référence

Samsung EC-L100ZBBA brochure

Samsung

Samsung EC-L100ZBBA brochure

FujiFilm FINEPIX BL01124-201 owner's manual

FujiFilm

FujiFilm FINEPIX BL01124-201 owner's manual

Panasonic DMC-L10KPP Service manual

Panasonic

Panasonic DMC-L10KPP Service manual

Hyundai Electric HYU-CC-CHBF12001 Quick installation guide

Hyundai Electric

Hyundai Electric HYU-CC-CHBF12001 Quick installation guide

Sony DSC-WX80 specification

Sony

Sony DSC-WX80 specification

Nikon Nuvis S - Point & Shoot instruction manual

Nikon

Nikon Nuvis S - Point & Shoot instruction manual

manuals.online logo
manuals.online logoBrands
  • About & Mission
  • Contact us
  • Privacy Policy
  • Terms and Conditions

Copyright 2025 Manuals.Online. All Rights Reserved.

PEN tAX
SLR Digital Camera
Operating Manual
0
Changing Additional
Settings
This chapter describes how to change additional settings.
How to Operate the Set-up Menu ...................... 278
Formatting the SD Memory Card ...................... 281
Customizing Buttons and Dials ........................ 282
Setting the Beep, Date and Time, and Display
Language ............................................................ 288
Adjusting the Monitor and the Menu Display ..... 293
Setting the Folder/File Number ......................... 300
Selecting the Power Settings ............................ 304
Setting the Photographer Information ............. 307
Setting the DPOF Settings ................................. 309
Correcting Defective Pixels in the CMOS
Sensor (Pixel Mapping) ...................................... 311
Selecting Settings to Save in the Camera
(Memory) ............................................................. 312
Perform general settings related to the camera in the [&. Set-up] menu.
Referto !fUsingthe Menusi! (p.42) for detai!s on how touse the menus. ........
Perform the following settings in the ['& Set-up 1-4] menus.
Press the MENU button in Capture/Playback mode and use the four-way
controller ( • I_) to display the ['& Set-up 1-4] menus.
Menu Item , Function Page
Language/_ Changes the language in which menus p.292
and messages appear.
Date Adjustment Sets the date format and time. p.289
Sets the display of the local date and time
World Time of the specified city so they can be p.289
displayed on the monitor in addition to the
present location when traveling overseas.
_kl Sets the text size of an item selected on
Text Size the respective menu screens, p.293
Beep Switches the beep tone on/off, p.288
Guide Display Sets whether to display indicators on the p.293
monitor.
Sets the display color of the status screen p.295
Status Screen and control panel.
Menu Item IFunction Page
Brightness Level Changes the brightness of the monitor, p.297
LCD Color Tuning Adjusts the color of the monitor, p.298
Sets the output format when connecting
Video Out to an AV device with a video input p.257
terminal.
Sets the HDMI output format when
HDMI Out connecting to an AV device with an HDMI p.259
_k2 terminal.
Sets the USB connection mode when
USB Connection connecting to a computer, p.317
Sets the naming system of the folder for p.300
Folder Name storing images.
Create New Folder Creates a new folder on the SD Memory p.300
Card.
File Name Sets the method used to assign file p.302
names for images.
Copyright Sets the photographer and copyright p.307
Information information embedded in Exif.
_k3 Sets the time until the camera turns off
Auto Power Off automatically, p.304
Sets the battery to use when the optional
Select Battery battery grip (D-BG4) is attached, p.305
Reset Resets all settings, p.335
Maps out and corrects any defective p.311
Pixel Mapping pixels in the CMOS sensor.
Dust Alert Detects dust adhering to the CMOS p.341
sensor.
Cleans the CMOS sensor using ultrasonic p.340
&4 Dust Removal vibrations.
Locks the mirror in the up position for p.343
Sensor Cleaning cleaning the CMOS sensor with a blower.
Format Formats an SD Memory Card. p.281
• [% Set-up 1] menu •[% Set-up 2] menu
Language/_ English
Date Adjustment
World Time _"
Text Size Standard
Beep 1_)1_--3
Guide Display 3sec.
Status Screen
•[% Set-up 3] menu
File Name IMGP
Copyright information []
Auto Power Off lmin.
Select Battery
Reset
Brightness Level +0
LCD Color Tuning
Video Out NTSC
HDMI Out Auto
USB Connection MSC
Folder Name Date
Create New Folder
•[% Set-up 4] menu
Pixel Mapping
Dust Alert
Dust Removal
Sensor Cleaning
Format
Use this camera to format (initialize) an SD Memory Card that is unused
or has been used on other cameras or digital devices.
Formatting deletes all the data saved on the SD Memory Card.
* DO not iemoVe the SD Memory Ca[ d while formatting. The card may be
damage d and become Unusab!el
, Formatting deletes all data, either protected or unprotected. Be aware.
I
2
#
Select [Format] in the [_ Set-up 4] menu and press the
four-way controller ( •).
The [Format] screen appears.
Press the four-way controller (•)
to select [Format]. Format
All data will be deleted
Cancel
Press the OK button.
Formatting starts.
When formatting is completed, the
screen that was displayed before
selecting the menu appears again.
iiiiiiiiiiiiiiiiiiiiiiiiiiiiiiiiiiiiiiii
CCCCCCCC
CCCCCCCI?
iiiiiiiiiiiiiiiiiiiiiiiiiiiiiiiiiii:::
when an SD MemorY Card is formatted, the volum e label assigned to the Card
............is '!K,5", When the 1_-5 is connected to a computer, the SD Memory Card is
recognized as a removable disk with the name "K.5!!: (p.318)
You can set the functions for when the RAW/Fx button, AF button or
Preview dial is operated, or when the shutter release button is pressed
halfway.
For each exposure mode, you can set the functions for when the front and
rear e-dials or ® button are operated.
1
2
3
4
Select [E-Dial Programming] in the [1_ Rec. Mode 5] menu
and press the four-way controller ( •).
The [E-Dial Programming 1] screen appears.
Use the four-way controller
(A T) to select an exposure
mode.
Turn the rear e-dial ('-,,'_,,:)to display the
[E-Dial Programming 2] screen.
SV-'_'-"" ",,,_,,,ISO @- -
TV:_:Tv ",_,- - @- -
TAv."_'_Tv "_Av @P LINE
Press the four-way controller ( •).
The screen for the selected exposure mode appears.
Press the four-way controller ( •)
and use the four-way controller
(A T) to select a function.
You can perform the following settings for
each exposure mode.
Exposure i', • W •
Mode . -"_'-Fr0nt E-d!a . _,,,,_ Rear E-dla i ® Button
Tv Av ,,i,P
(Shutter speed) (Aperture) (Return to P)
Av Tv ,,i,P
(Aperture) (Shutter speed) (Return to P )
Pi_ PSHIFT PLINE
(EV Compensation) (Program Shift) (Program Line)
PSHIFT i_ PLINE
(Program Shift) (EV Compensation) (Program Line)
ISO
- (Sensitivity) -
ISO
(Sensitivity)
P SHIFT ISO P LINE
SV (Program Shift) (Sensitivity) (Program Line)
ISO P SHIFT PLINE
(Sensitivity) (Program Shift) (Program Line)
ISO
(EV Compensation) (Sensitivity)
ISO
(Sensitivity) (EV Compensation)
Tv
(Shutter speed) - -
Tv
(Shutter speed)
Tv
TV (Shutter speed) (EV Compensation) -
Tv
(EV Compensation) (Shutter speed)
Tv ISO ISO AUTO
(Shutter speed) (Sensitivity)
ISO Tv ISO AUTO
(Sensitivity) (Shutter speed)
Exposurei', • •
Mode• "_"FrontE-d!a. _,,,,_RearE-dla i ®Button
Av
- (Aperture) -
Av
(Aperture) Av
AV (EVCompensation)(Aperture)
Av
(Aperture) (EVCompensation)
ISO Av ISOAUTO
(Sensitivity) (Aperture)
Av ISO ISO AUTO
(Aperture) (Sensitivity)
_hutter speed) (Aperture)
Av Tv
(Aperture) (Shutter speed)
_ PLINE
TAv (Program Line)
/M TvSHIFT
(Shutter speed shift)
AvSHIFT
(Aperture shift)
Av
- (Aperture) -
Av
B(Aperture)
ISO
(Sensitivity)
Av
(Aperture)
X
Av
(Aperture)
ISO
(Sensitivity)
Av
(Aperture)
Av
(Aperture)
ISO
(Sensitivity)
Av
(Aperture)
Av
(Aperture)
ISO
(Sensitivity)
AvSHIFT
(Aperture shift)
/
Exposure i', • •
Mode • "_" Front E-d!a . _,,,,_ Rear E-dta i ® Button
Av
(Aperture)
(EV Compensation)
Av
(Aperture)
Av
(Aperture)
Av
(Aperture)
(EV Compensation)
/
AvSHIFT
(Aperture shift)
Press the OK button.
Press the MENU button three times.
The camera is ready to take a picture.
Setting the Function for the Buttons
You can set the functions for when the RAW/Fx button, AF button,
Preview dial (main switch O) is operated, or when the shutter release
button is pressed halfway.
I
2
Select [Button Customization] in the [1_1 Rec. Mode 5]
menu and press the four-way controller ( •).
The [Button Customization] screen appears.
Use the four-way controller
(• •) to select a button to set a
function to and press the four-
way controller ( •).
The screen to set the function for the
selected button is displayed.
AF Button
Preview Dial
Shutter Button Half Press