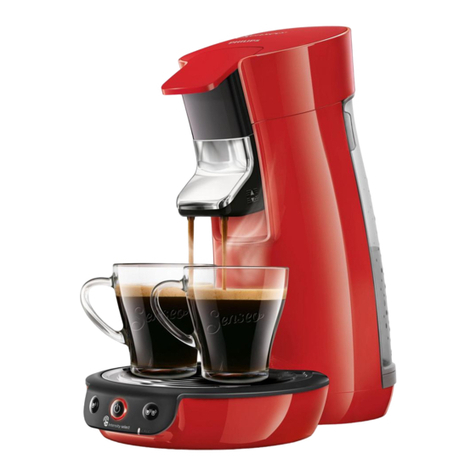
HD6596/50/G /51/G
7-18
Repair instruction
Selecting the right PCBA modus.
Enable/Disable the “Intensity select” feature.
The PCBA is standard delivered with the “Intensity select” feature disabled, this for easy servicing the existing SENSEO®
Switch HD7892/xx /G range with plastic OPR Boiler installed.
The “Intensity select” function can be simple enabled/disabled:
1. Keep the 1-cup and 2-cup button pressed while connecting the appliance to the mains.
2. Release the buttons when the 1-cup and 2-cup LEDs have switched on.
3. Press and release the 1-cup and 2-cup button at the same time, the 1-cup and 2-cup LEDs blink rapidly 3 times.
4. Repeat step 3 once more.
5. Depending if the “intensity select” feature is enabled or disabled the 1-cup or 2-cup LED is switched on.
See table below:
Intensity select disabled
(HD7892 & HD6591) 1-cup LED is on 2-cup LED is o
Intensity select enabled
(HD6592 & HD6596) 1-cup LED is o 2-cup LED is on
6. Press the desired button following the table for the desired state the appliance should be in.
7. Press and release the 1-cup and 2-cup button at the same time to store the value, the 1-cup and 2-cup LEDs blink
rapidly 3 times.
8. If the “Intensity selection” is disabled (1-cup LED) has being selected in step 6 LED’s will switch o.
If the “Intensity selection” is enabled (2-cup LED) has being selected.
Press and release the 1-cup and 2-cup button at the same time once more, the 1-cup and 2-cup LEDs blink
rapidly 3 times.
Volume adjustment
Note: Volume adjustment may only be carried out in case there is no underlying cause (e.g. User programmable volume,
leakage, incorrect voltage setting, etc.) for the deviation in volume from the factory default.
Every time a PCBA is replaced for whatever reason the 1-cup & 2-cup setting both need to be separately
adjusted/calibrated!
There is no country selection option therefore adjust both 1-cup & 2-cup recipes within the right volumes
following the table page 2.
If the Intensity selection is enabled, also make sure to adjust the scale factor.
For the correct procedure on Volume measurement, please refer to the SENSEO® Repair process.
How to adjust the volume output:
1-cup:
1. Make sure the boiler is properly lled; otherwise perform the Flush before rst use procedure, according to the
instructions in the DFU.
2. Make sure the top collector and 1-cup pod holder, without a coee pod are installed in the appliance.
Calibrate the scale you are going to use for the measurement, by placing the empty cup and switching it on.
3. Press the 1-cup coee button to start a regular coee brewing process. When nished also pour the leftover water in the
pod holder into the cup.
4. Measure the output and compare to the specications table “Water specication” you nd on page 2.
5. Determine the deviation from the specication if any, the deviation can be adjusted in steps of 3,5 ml.
The calculated deviation divided by 3,5 will tell you how many steps (times you need to actuate the button) you need to
in-, or decrease the memory value.
6. Follow the steps as mentioned under Service modes - “Manual pump adjustment” to recalibrate the pump.
7. Measure the newly calibrated volume, and repeat steps 4-6 if necessary.
2-cup:
Repeat steps 1 to 7 to calibrate/adjust for the 2-cup recipe. (you can continue using the 1-cup podholder)


