4
To establish a safe volume level:
Set your volume control at a low setting.
•
Slowly increase the sound until you can hear it•
comfortably and clearly, without distortion.
Listen for reasonable periods of time:
Prolonged exposure to sound, even at
•
normally ‘safe’ levels, can also cause hearing
loss.
Be sure to use your equipment reasonably and
•
take appropriate breaks.
Be sure to observe the following guidelines when
using your headphones.
Listen at reasonable volumes for reasonable
•
periods of time.
Be careful not to adjust the volume as your
•
hearing adapts.
Do not turn up the volume so high that you
•
can’t hear what’s around you.
You should use caution or temporarily
•
discontinue use in potentially hazardous
situations. Do not use headphones while
operating a motorized vehicle, cycling,
skateboarding, etc.; it may create a trafc
hazard and is illegal in many areas.
Caution
Use of controls or adjustments or performance of•
procedures other than herein may result in hazardous
radiation exposure or other unsafe operation.
Others
Any changes or modications made to this
device that are not expressly approved by Philips
Consumer Lifestyle may void the user’s authority to
operate the equipment.
This product complies with the radio interference
requirements of the European Community.
1 Important
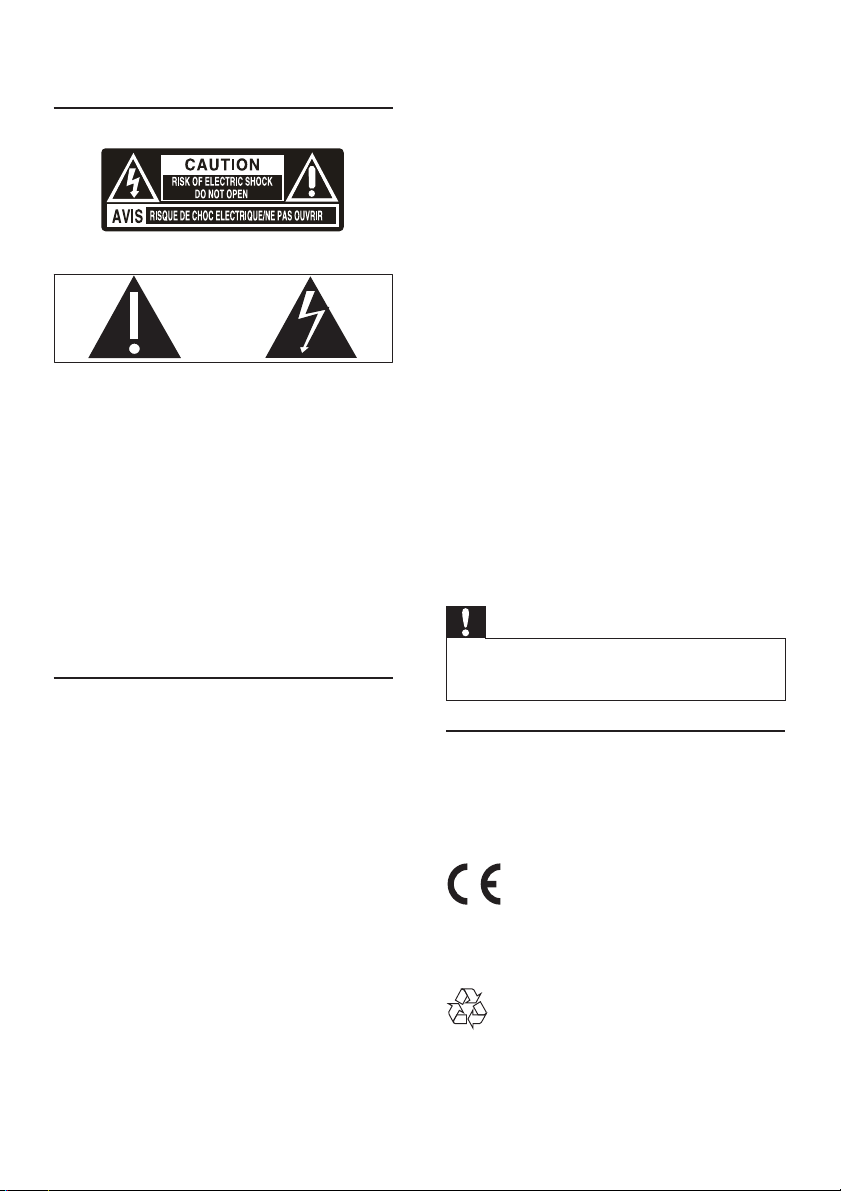
Know these safety symbols
This ‘bolt of lightning’ indicates uninsulated material
within your unit may cause an electrical shock. For
the safety of everyone in your household, please do
not remove product covering.
The ‘exclamation point’ calls attention to features
for which you should read the enclosed literature
closely to prevent operating and maintenance
problems.
WARNING: To reduce the risk of re or electric
shock, this apparatus should not be exposed to rain
or moisture and objects lled with liquids, such as
vases, should not be placed on this apparatus.
CAUTION: To prevent electric shock, match wide
blade of plug to wide slot, fully insert.
Hearing safety
Listen at a moderate volume.
Using headphones at a high volume can impair
•
your hearing. This product can produce
sounds in decibel ranges that may cause
hearing loss for a normal person, even for
exposure less than a minute. The higher
decibel ranges are offered for those that may
have already experienced some hearing loss.
Sound can be deceiving. Over time your
•
hearing ‘comfort level’ adapts to higher
volumes of sound. So after prolonged listening,
what sounds ‘normal’ can actually be loud and
harmful to your hearing. To guard against this,
set your volume to a safe level before your
hearing adapts and leave it there.
EN