manuals.online logo
Brands
  1. Home
  2. •
  3. Brands
  4. •
  5. Philips
  6. •
  7. Stereo System
  8. •
  9. Philips DCM3260/93 User manual

Philips DCM3260/93 User manual

Other Philips Stereo System manuals

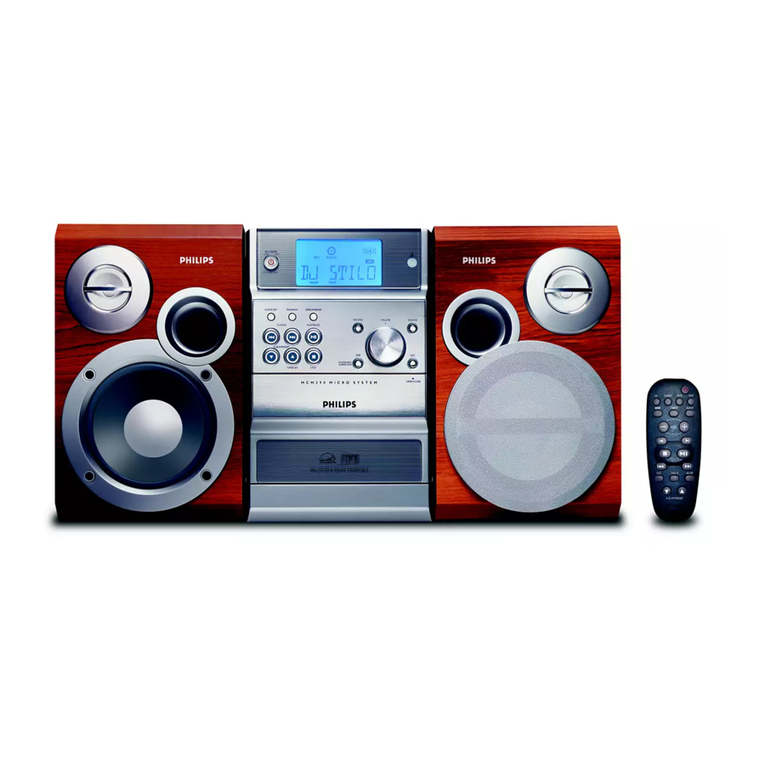
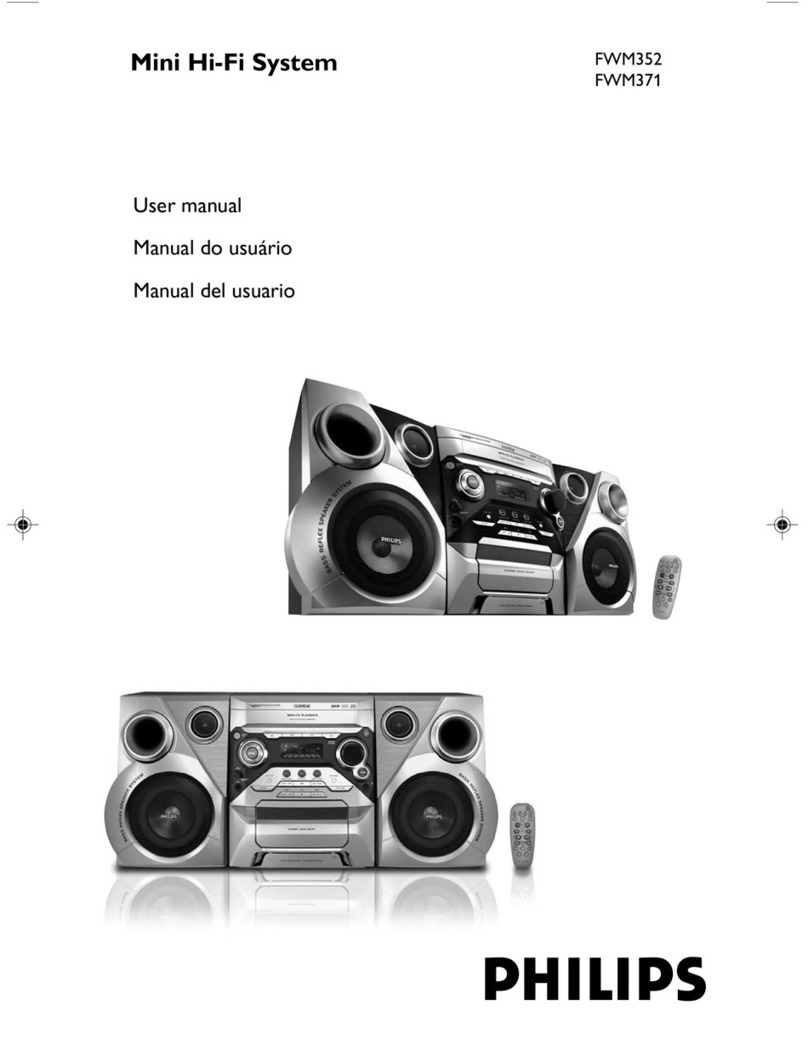
Philips FWM352 User manual

Philips

Philips FWM352 User manual

Philips FW-C870 User manual

Philips

Philips FW-C870 User manual

Philips FW60 User manual

Philips

Philips FW60 User manual

Philips MCM906 User manual

Philips

Philips MCM906 User manual

Philips MC260 User manual

Philips

Philips MC260 User manual

Philips BM60B/10 User manual

Philips

Philips BM60B/10 User manual

Philips MC-70 User manual

Philips

Philips MC-70 User manual

Philips FCD 485 User manual

Philips

Philips FCD 485 User manual

Philips MC-M250 User manual

Philips

Philips MC-M250 User manual

Philips MC270 User manual

Philips

Philips MC270 User manual

Philips FX55 User manual

Philips

Philips FX55 User manual

Philips DCM3160 User manual

Philips

Philips DCM3160 User manual

Philips MC160 User manual

Philips

Philips MC160 User manual

Philips DCM186B/79 User manual

Philips

Philips DCM186B/79 User manual

Philips FWD831/05 User manual

Philips

Philips FWD831/05 User manual

Philips MCM330 User manual

Philips

Philips MCM330 User manual

Philips Magnavox FW 750C User manual

Philips

Philips Magnavox FW 750C User manual

Philips Streamium 544-9056 User manual

Philips

Philips Streamium 544-9056 User manual

Philips FW-V720 User manual

Philips

Philips FW-V720 User manual

Philips FWM397/BK User manual

Philips

Philips FWM397/BK User manual

Philips MCM204/61 User manual

Philips

Philips MCM204/61 User manual

Philips Streamium WACS700 Quick start guide

Philips

Philips Streamium WACS700 Quick start guide

Philips MCD130 User manual

Philips

Philips MCD130 User manual

Philips SBCHC712/06 User manual

Philips

Philips SBCHC712/06 User manual

Popular Stereo System manuals by other brands

Sony HCD-VX88 Service manual

Sony

Sony HCD-VX88 Service manual

Sony CMT-SPZ90DB operating instructions

Sony

Sony CMT-SPZ90DB operating instructions

LG OM4560 owner's manual

LG

LG OM4560 owner's manual

JVC UX-G3 instructions

JVC

JVC UX-G3 instructions

Odys ODYS - LOOP instruction manual

Odys

Odys ODYS - LOOP instruction manual

Aiwa NSX-AJ700 Service manual

Aiwa

Aiwa NSX-AJ700 Service manual

Panasonic SC-AK100 operating instructions

Panasonic

Panasonic SC-AK100 operating instructions

Sharp CD-G10000V Operation manual

Sharp

Sharp CD-G10000V Operation manual

Bogen NEARSCAPES 4.1 manual

Bogen

Bogen NEARSCAPES 4.1 manual

Panasonic SCPM29 - MINI HES W/CD PLAYER operating instructions

Panasonic

Panasonic SCPM29 - MINI HES W/CD PLAYER operating instructions

Meyer LD-3 operating instructions

Meyer

Meyer LD-3 operating instructions

THOMSON MIC302U manual

THOMSON

THOMSON MIC302U manual

Sony SS-CEP50 Service manual

Sony

Sony SS-CEP50 Service manual

Cetacea Sound CVS-II user guide

Cetacea Sound

Cetacea Sound CVS-II user guide

Sony MHC-V21D Service manual

Sony

Sony MHC-V21D Service manual

Denon UCD-250 Service manual

Denon

Denon UCD-250 Service manual

Exibel BDX600-UK user manual

Exibel

Exibel BDX600-UK user manual

Sanyo DC-F320 Service manual

Sanyo

Sanyo DC-F320 Service manual

manuals.online logo
manuals.online logoBrands
  • About & Mission
  • Contact us
  • Privacy Policy
  • Terms and Conditions

Copyright 2025 Manuals.Online. All Rights Reserved.

120
mm
Wall mounting instructions
Drill holes on wall at hole
positions marked.*
ENGLISH
Note for mounting
To secure the mounting on wall, concrete wall is
required.
Use screws to mount the main unit on the wall
1. Use this sheet as a template. Mark the position
where you want to hang the unit on the wall (as
shown above) and then drill two 6mm diameter
holes.
2. Secure the 2 dowels and 2 screws (both supplied) in
the holes respectively. Leave the screws 5mm proud
of the wall.
3. Hang the unit on the fastening screws.
FRANÇAIS
Remarque concernant la fixation
Le système de fixation n'est pas conçu pour les murs en
béton.
Fixez l'unité principale au mur à l'aide de vis
1. Servez-vous de cette feuille comme modèle. Tracez
des repères à l'endroit où vous souhaitez suspendre
l'appareil sur le mur (comme illustré ci-dessus), puis
forez deux trous d'un diamètre de 6 mm.
2. Placez les 2chevilles et les 2vis (fournies) dans
chacun des trous. Laissez les vis dépasser de 5 mm.
3. Suspendez l'appareil aux vis de fixation.
*Instructions relatives à la fixation murale
Percez des trous dans le mur en respectant la
position des trous marquée.
ESPAÑOL
Nota para el montaje
Para garantizar un montaje seguro, la pared debe ser de
cemento.
Utilice tornillos para montar la unidad principal
en la pared
1. Utilice esta página como plantilla. Marque la posición
en la que desea colgar la unidad en la pared (como
se muestra en la imagen anterior) y perfore orificios
de 6mm de diámetro.
2. Fije los 2 tacos y 2 tornillos (ambos incluidos)
respectivamente en los agujeros. Los tornillos deben
sobresalir 5mm de la pared.
3. Cuelgue la unidad en los tornillos de sujeción.
*Instrucciones de montaje en pared
Perfore agujeros en la pared en la posición deseada
DEUTSCH
Hinweis zur Montage
Um eine sichere Befestigung zu gewährleisten, sollte das
Gerät an einer Betonwand angebracht werden.
Befestigen Sie die Haupteinheit mithilfe von
Schrauben an der Wand.
1. Verwenden Sie dieses Blatt als Vorlage.Markieren
Sie die Stelle, an der Sie das Gerät an der Wand
befestigen möchten (wie oben abgebildet), und
bohren Sie anschließend zwei Löcher mit einem
Durchmesser von 6 mm.
2. Befestigen Sie jeweils einen Dübel und eine
Schraube (beide mitgeliefert) in den beiden Löchern.
Lassen Sie die Schrauben 5 mm aus der Wand
hervorstehen.
3. Hängen Sie das Gerät mithilfe der
Befestigungsschrauben an die Wand.
*Anweisungen zur Wandmontage
Bohren Sie an den markierten Stellen Löcher in die
Wand.
NEDERLANDS
Opmerking bij montage
Wandmontage is alleen mogelijk aan een betonnen wand.
Bevestig het apparaat met schroeven aan de wand.
1. Gebruik dit blad als sjabloon. Markeer de plaats
waar u het apparaat aan de wand wilt hangen (zie
bovenstaande afbeelding) en boor twee gaten van
ongeveer 6 mm.
2. Maak de twee pluggen en schroeven (beide
meegeleverd) in de gaten vast. Laat de schroeven 5
mm uit de wand steken.
3. Hang het apparaat aan de schroeven.
*Instructies voor wandmontage
Boor gaatjes in de wand op de aangegeven posities.
ITALIANO
Nota per il montaggio
Per un montaggio a parete sicuro, sono necessari muri
in cemento.
Utilizzare le viti per fissare l'unità principale alla
parete.
1. Usare questo documento come modello. Segnare
sulla parete la posizione in cui si intende montare
l'unità (come indicato sopra),quindi praticare due
fori di 6 mm di diametro.
2. Inserire i 2 tasselli e le 2 viti (entrambi forniti) nei
rispettivi fori. Le viti devono sporgere 5 mm dal
muro.
3. Appendere l'unità sulle viti di serraggio.
*Istruzioni per montaggio a muro
Praticare i fori nelle posizioni illustrate.
SVENSKA
Kommentar om montering
Det krävs en betongvägg för att det ska vara säkert att
montera enheten på väggen.
Använda skruvar för att montera huvudenheten
på väggen
1. Använd arket som mall. Markera den plats på väggen
där du vill montera enheten (enligt bilden nedan)
och borra två hål med diametern 6 mm.
2. Sätt i de två pluggarna och de två skruvarna (båda
medföljer) i hålen. Låt skruvarna sticka ut 5 mm från
väggen.
3. Häng upp enheten på skruvarna.
*Instruktioner för väggmontering
Borra hål i väggen där du har markerat att skruvarna ska
sitta.
DANSK
Bemærkning til montering
Du må kun montere enheden på en betonvæg.
Brug skruer til at montere hovedenheden på
væggen.
1. Brug dette ark som skabelon. Marker det sted på
væggen, hvor du vil hænge enheden op (som vist),
og bor derefter to huller på 6 mm i diameter.
2. Placer to rawlplugs og to skruer (medfølger) i
hullerne. Lad skruerne stikke 5 mm ud fra væggen.
3. Hæng enheden op på de fastgjorte skuer.
*Instruktioner til vægmontering
Bor huller i væggen på de markerede positioner.
SUOMI
Kiinnityshuomautus
Kiinnittäminen seinälle edellyttää betoniseinää.
Kiinnitä päälaite seinään ruuveilla.
1. Käytä tätä sivua pohjana. Merkitse seinään paikka,
johon haluat laitteen kiinnittää (ks. kuva), ja poraa
sitten kaksi halkaisijaltaan 6 mm:n reikää.
2. Kiinnitä 2 kiinnitystappia ja 2 ruuvia (toimitetaan
laitteen mukana) reikiin. Ruuvien on oltava 5 mm
koholla seinästä.
3. Ripusta laite kiinnitysruuveihin.
*Seinäkiinnitysohjeet
Poraa seinään reiät merkittyihin kohtiin.
PORTUGUÊS
Nota para a montagem
Para fixar a unidade, a parede deve ser de betão.
Use parafusos para fixar a unidade principal à
parede.
1. Utilize esta folha como modelo. Marque a posição
onde pretende pendurar a unidade na parede (tal
como indicado em cima) e faça dois furos com 6
mm de diâmetro.
2. Introduza as 2 cavilhas e os 2 parafusos (todos
fornecidos) nos furos respectivos. Deixe a cabeça
dos parafusos a 5 mm da parede.
3. Pendure a unidade nos parafusos de fixação.
*Instruções de fixação à parede
Perfure a parede nos locais marcados para os furos.
DCM2260_12 Wall Mounting.indd 1 7/24/2013 2:50:06 PM

POLSKI
Uwaga dotycząca montażu
Bezpieczny montaż zestawu jest możliwy jedynie naścianie
betonowej.
Zamontuj jednostkę centralną na ścianie
zapomocą śrub.
1. Użyj tego arkusza jako szablonu. Zaznacz
miejscena ścianie (jak na ilustracji), gdzie chcesz
zawiesićurządzenie, a następnie wywierć otwory
ośrednicy 6 mm.
2. Wkręć odpowiednio 2 kołki rozporowe i 2 śruby(obie
dołączone do zestawu). Zostaw śrubyodstające 5 mm
od ściany.
3. Zawieś urządzenie na śrubach mocujących.
*Instrukcje montażu na ścianie
Wywierć otwory w ścianie w zaznaczonychmiejscach.
Česky
Poznámka k montáži
Pro bezpečnou montáž je třeba přístroj připevnit
nabetonovou stěnu.
Pro připevnění hlavní jednotky na stěnupoužijte
šrouby
1. Použijte tento list jako vzor. Označte místo na zdi,kam
si přejete jednotku zavěsit (podle výšeuvedeného
obrázku), a poté vyvrtejte dva6milimetrové otvory.
2. Umístěte do děr postupně 2 hmoždinky a2 šrouby
(jsou součástí dodávky). Nechte šroubyvyčnívat 5 mm
ze zdi.
3. Zavěste jednotku na upevňovací šrouby.
*Pokyny pro montáž na stěnu
Na vyznačených místech vyvrtejte do stěny díry.
Slovensky
Poznámka pre upevnenie
Aby sa zaistil držiak na stenu, vyžaduje sa betónovástena.
Na upevnenie hlavnej jednotky na stenupouÏite
skrutky
1. Tento list použite ako šablónu. Poznačte sipozíciu, kam
na stenu chcete zariadenie zavesiť(podľa zobrazenia
vyššie) a potom vyvŕtajte dvaotvory s priemerom 6
mm.
2. Do otvorov zaistite 2 hmoždinky a 2 skrutky(oboje sú
súčasťou balenia). Skrutky nechajtevyčnievať 5 mm zo
steny.
3. Zaveste jednotku na upevňovacie skrutky.
*Pokyny pre upevnenie na stenu
Vyvŕtajte otvory na stene na označenýchmiestach pre
otvory
Magyar
Megjegyzés a szereléshez
A megfelelő falra rögzítéshez betonfal szükséges.
A központi egységet csavarokkal rögzítse afalra
1. Ez a lap mintaként szolgál. Jelölje meg a falon ahelyet,
ahová fel szeretné függeszteni az egységet(lásd fent),
majd fúrjon két 6 mm átmérőjű lyukat.
2. Húzza meg a mellékelt két tiplit és két csavart.
Acsavaroknak 5 mm-re kell kiállniuk a falból.
3. Akassza az egységet a megerősített csavarokra.
*Falra szerelési utasítások
A furatok jelölt helyénél fúrjon lyukat a falba.
Norsk
Merk deg følgende ved montering
Betongvegg er nødvendig for å montere festet på veggen.
Bruk skruer for å montere hovedenheten på
veggen
1. Bruk dette arket som mal. Merk av stedet der du vil
henge enheten på veggen (som vist ovenfor), og bor
deretter to hull med en diameter på 6 mm.
2. Monter de to pluggene og de to skruene (begge deler
følger med) i de respektive hullene. La skruene stikke
5 mm ut fra veggen.
3. Heng enheten på festeskruene.
*Instruksjoner for veggmontering
Bor hull i veggen ved hullposisjonene som er avmerket.
România
Notă pentru montaj
Pentru a xa suportul pe perete, este necesar un zid de
beton.
Utilizaţi şuruburi pentru a monta unitatea
principală pe perete
1. Utilizaţi această foaie ca şablon. Reperaţi poziţia în
care doriţi să agăţaţi unitatea pe perete (aşa cum se
arată mai sus) şi apoi realizaţi două găuri cu diametrul
de 6 mm.
2. Fixaţi 2 dibluri şi 2 şuruburi (ambele sunt furnizate) în
găurile respective. Şuruburile trebuie să depăşească
peretele cu 5 mm.
3. Suspendaţi unitatea de şuruburile de xare.
*Instrucţiuni de montare pe perete
Efectuaţi găuri în perete în poziţiile de găurire marcate.
Türkçe
Montaj için not
Montajı duvara sabitlemek için beton duvar gerekir.
Ana üniteyi duvara monte ederken vida kullanın
1. Bu sayfayı şablon olarak kullanın. Üniteyi duvara asmak
istediğiniz konumu işaretleyin (yukarıda gösterildiği
gibi), ardından 6 mm çapında delikler açın.
2. Deliklerde bulunan 2 dübel ve 2 vidayı (birlikte verilir)
sırasıyla sabitleyin. Vidalarla duvar arasında 5 mm
mesafe bırakın.
3. Üniteyi sabitleme vidalarından asın.
*Duvar montajı talimatları
Duvarın işaretlenen delik konumlarında delikler açın.
1.
2.
3.
*
120
mm
Wall mounting instructions
Drill holes on wall at hole
positions marked.*
DCM2260_12 Wall Mounting.indd 2 7/24/2013 2:50:07 PM