manuals.online logo
Brands
  1. Home
  2. •
  3. Brands
  4. •
  5. Philips
  6. •
  7. TV
  8. •
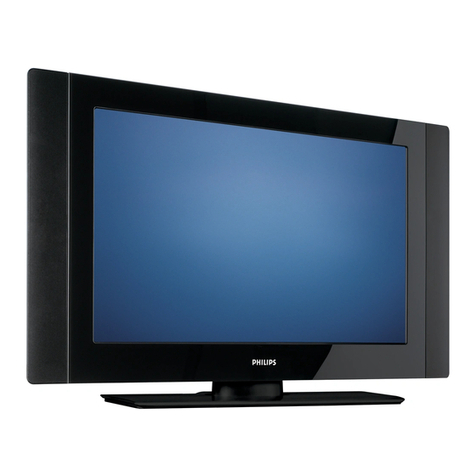
  9. Philips 55P 9161 User manual

Philips 55P 9161 User manual

VIDEO OUT
AUDIO OUT
L
R
FIXED
VAR
PIP
ANTA/CABLE
75 VUHF/VHF
INPUTS
VIDEO
AUDIO
AUX 1 AUX 2
R
L
ANT B/CABLE
75 VUHF/VHF
PIP
12
REARSURROUNDSPEAKERS
SUBWOOFER
VIDEOOUT
AUDIOOUT
+–+
–
RL
L
R
FIXED
VAR
PIP
ANTA/CABLE
75VUHF/VHF
Y
INPUTS
P
B
P
R
S-VIDEO
VIDEO
AUDIO
AUX1 AUX2
R
L
ANTB/CABLE
75VUHF/VHF
PIP
3
IN
OUT
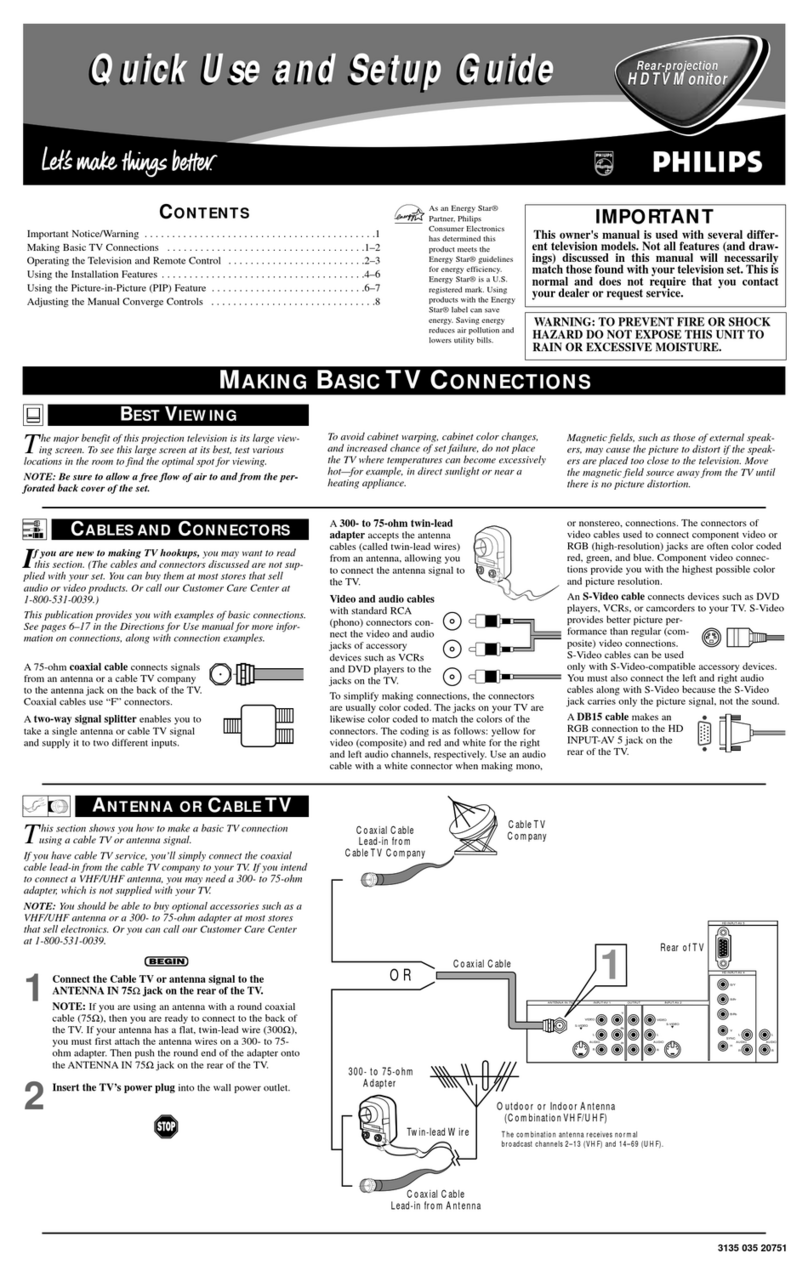
SET-UP AND QUICK USE GUIDE
TABLE OF CONTENTS
Getting Started
Warning/Precautions..................................1
Hooking Up Your TV ................................1
How to Use the First Time Set-Up Control ..............2
Basic TV and Remote Control Operation .................3
How to Use the On-Screen Menu Controls...............4
12 1
2
3
4
5
6
7
8
9
10
11
• For details on product registration, warranty,
and service refer to the other literature included
with your TV information packet.
Please retain all these materials and keep them
handy for future reference.
For homes with Cable
TV Converter
Descrambler Boxes (with
Premium/Movie Channels
scrambled), follow the
steps to the right for an
alternative ANT A and
ANT B PIP feature
hookup. Note the Cable TV
signal will be split before
connection to the
Converter box (an option-
al two-way 75 ohm Signal
Splitter will be required).
CABLE BOX
CABLE CONVERTER BOXES
Connect your Cable
TV signal to the single 75 ohm
INPUT plug on a two-way
Signal Splitter (optional).
Connect one end of RF
Coaxial Cable to each of the
OUTPUT plugs on the 75 ohm
Signal Splitter. The two lengths
of RF Coaxial Cable need F-
type connectors (screw-on or
push type) for both ends.
2
BEGIN
1
Round Cable
75ΩOhm Cable TV Company
Cable TV Signal
Connect one of the Signal
Splitter OUTPUTs to the
INput terminal on the Cable
TV Converter Box. Then route
another connection from the
Cable Converter OUTput ter-
minal to the ANT A Input on
the rear of the TV.
3
STOP
Your TV has two sepa-
rate ANT(enna)/Cable
inputs on the rear of the
set. These two signal
inputs offer convenient
hook-up options for both
normal TV program view-
ing and Picture-In-Picture
(PIP) features.
The ANT(enna) A input is
intended for use and view-
ing on the TV’s main
screen. Your home’s pri-
mary Antenna, or Cable
TV signal, should be con-
nected to this input for
normal TV setup, use and
feature operation.
The ANT(enna) B input is
a second, or auxiliary sig-
nal source, designed to
supply your TV’s Picture-
In-Picture (PIP) feature.
For many homes the use of
a single existing Antenna
(or Cable TV) source, for
both ANT A and B, will be
the preferred method of
connection. This type of
connection (optional
Signal Splitter required)
will work properly for the
TV’s Main on-screen fea-
tures, as well as retain all
the features designed for
PIP. For more details refer
to the Picture-In-Picture
section in your other
owner’s manual.
ANTENNA OR
CABLE TV
ANT(ENNA) A & B INPUTS Remember,
be sure to set the
TV for the type sig-
nal you've connect-
ed (see "SETUP"
on page 2 of this
Guide.)
Your TV can set
itself to select only
the channel numbers
on your Cable sys-
tem (see “Setup"
page 2). If you use a
Cable Converter box,
set the TV to the
same channel as the
converter's CH 3/4
switch (on the rear of
the converter.)
To order any
optional accessory
contact your dealer
or call the toll-free
accessory ordering
number (1-800-851-
8885):
• Two Way Splitter
(M61000)
• 300-75 ohm
Adapter
(M61020)
• UHF/VHF
Antenna
Combiner
(SBV111133A01)
SMART
HELP
A typical ANT(enna)
A and B connection (using a
common signal source and an
optional Signal Splitter):
If your Antenna or Cable TV
signal has a round cable con-
nector (75 ohm) on the end,
then you're ready to connect it
to the 75ohm Signal Splitter.
If your antenna has flat twin-
lead wire (300 ohm), you first
need to attach the antenna wires
to the screws on a 300 to 75
ohm adapter before connecting
to the 75ohm Signal Splitter.
Connect your Antenna or
Cable TV signal to the single
75 ohm input plug on the two-
way Signal Splitter (optional).
Then connect two lengths of RF
Coaxial Cable to the two Output
plugs on the two-way Signal
Splitter (F-type connector on
both ends).
2
300 to 75ΩAdapter
(483521827003)
Twin Lead
Wire
Back of TV
BEGIN
1
WARNING: TO PREVENT FIRE OR SHOCK
HAZARD DO NOT EXPOSE THIS UNIT TO
RAIN OR EXCESSIVE MOISTURE.
Round Cable
75ΩOhm
- Outdoor or Indoor Antenna -
receives normal broadcast channels
2-13 (VHF) and 14-69 (UHF).
OR
Note: Proper operation of your TV is not dependent upon
connection of the ANT B input. Its main purpose is to provide
an easily connected, dedicated picture source for PIP feature
use. Other signal source options (such as a satellite dish sys-
tem, additional external antenna, VCR, or Video Game) could
also be connected and displayed on the TV screen through the
use of the ANT B input.
Note: Although the ANT B input can be used and swapped
as the source for the TV’s Main picture, certain setup fea-
tures (such as Smart Clock) are only based on a signal being
detected at the ANT A input. To ensure that all features are
operating properly, you may not want to rely solely on the ANT
B input as your TV’s Main screen signal source.
Connect the twin Output
plugs on the Signal Splitter to
the ANT A and ANT B inputs
on the rear of the TV. Push the
round connector end of the RF
Coaxial Cable onto the
ANT(enna) plug and screw it
down tight (if using threaded
cables).
OPTIONAL TWO-WAY
SIGNAL SPLITTER
OR
3
STOP
Combination VHF/UHFAntenna
(single 75ohm Input to twin
75 ohm Outputs - optional
RF Coaxial connecting
cables also required)
ANT(enna) A
Input ANT(enna) B
Input
• The signal routed to the TV’s ANT B input will allow for
the selection and viewing of Cable channels at the TV
(except for the scrambled Premium/Movie channels).
OPTIONAL TWO-WAY
SIGNAL SPLITTER
Cable TV Converter
Box Connection
Cable TV Company
Connect the remaining
Signal Splitter OUTPUT
from the Splitter to the ANT
B Input on the rear of the TV.
4
• The signal routed to the TV’s ANT A input will allow for
Premium/Movie channels to be viewable on the TV.
• Channel selection will be at the Converter.
• The ANT Ainput channel on the TV should be set to the same
output channel as the Converter box (usually CH3 or 4).
Connect to ANT A Input Connect to ANT B Input
1 - 3135 015 15511
NOTE: This owner's manual is used with several different
television models. Not all features (and drawings) dis-
cussed in this manual will necessarily match those found
with your television set. This is normal and does not
require you contacting your dealer or requesting service.
Projection Television and Remote Control
All manuals and user guides at all-guides.com
all-guides.com
HELP
FEATURES
EXIT
MAIN MENU
SOUNDPICTURE
1ST TIME SETUP
POSITION
213
546
879
0
TV VCR ACC
GUIDE
AV
INFO
SWAP PIP CH
ON UP
SOURCE FREEZE
SLEEP AUTO
STATUS/
EXIT
VOL CH
MUTE
SURF
100+
POWER
This completes the
First-Time Setup.
Press "M" to Exit Setup
Press "M" to Continue
- or -
Press " " to Return
If there is RED or BLUE
fringe on the WHITE cross,
use this adjustment to
improve the picture.
TV GUIDE PLUS +
Setup
10:17a
Where do you live?
B USA
Y CANADA
Press color key to select
STOP
After ALL connections
and First-Time Setup for
the GUIDE PLUS+ system
are completed, the TV
will have to be turned
OFF overnight to receive
program information.
Many of the current TV
control settings will be
modified by continuing
with First-Time Setup.
Press STATUS to Quit
or
Press "M" to Continue
System is testing for
correct tuning mode
for ANT A.
* Please Wait *
1
The search for active
channels is complete
for ANT A.
17 channels were found
and saved in memory
.
Press "M" to Continue
System is searching for
all active channels
on ANT A.
* Please Wait *
Testing channel 2
in cable mode.
The First-Time Setup
provides a simple method
of adjusting the most
important controls for
this television receiver.
Press "M" To Continue
~
!
Press "▲▼" to select the
language you would like
the TV displays to use.
ENGLISH
ESPANOL
FRANCAIS
Press "M" to Continue
Please check that your
other antenna or cable is
connected to the plug
marked ANT B on
the TV rear input panel.
This TV is equipped with
the TV Guide Plus+ feature.
This feature is designed
to operate only on the
main antenna, ANT A.
Press "M" to Continue
OR
Please check that your
main antenna or cable is
connected to the plug
marked ANT A on
the TV rear input panel.
Press STATUS to Quit
or
Press "M" to Continue
System is testing for
correct tuning mode
for ANT B.
* Please Wait *
1
The search for active
channels is complete
for ANT B.
17 channels were found
and saved in memory
.
Press "M" to Continue
System is searching for
all active channels
on ANT B.
* Please Wait *
Testing channel 2
in cable mode.
Press STATUS to Quit
or
Press "M" to Continue
2
1
3
2
This TV is equipped with
a Surround-Sound system.
Surround Sound requires
the use of additional
speakers being placed
around your room.
Press "M" to Continue
Please thoroughly read
the section in your
owners manual which
details the proper setup
and operation of the
Surround-Sound System.
Press "M" to Continue
˜
MENU/
SELECT
PLEASE REFER
TO YOUR
GUIDE PLUS+™
INSTRUCTION MANUAL
FOR DETAILS ON
1st TIME SETUP.
HOW TO USE FIRST TIME SETUP
First Time Setup automati-
cally takes care of some
basic TV control settings for
you. Follow the steps in this
section to quickly add area
channel numbers into the
TV's memory, and set the TV
for your connected signal
(Antenna or Cable.) You can
also set the TV's Guide Plus+
system feature (if desired).
AUTOMATIC SETTINGS
SETUP Press the MENU
SELECT button on the
remote or TV.
An on-screen list of TV fea-
tures shows on the "MAIN
MENU".
Note: You may also press the
center Menu ring button area
on the remote to select the
TV’s Main Menu.
BEGIN
1
Select "1ST TIME
SETUP" on the TV's Main
Menu. (Selected MENU item
is highlighted in RED.)
Press the remote's outer
Menu ring buttons to
move UP/DOWN and from
SIDE-TO-SIDE within the
list of on-screen features.
Press CH(annel) ▲▼and
VOL(ume) (+) (-) on the TV
keyboard to also move
UP/DOWN and from SIDE-
TO-SIDE within the list of
on-screen features.
2
Press the center Menu
ring button on the remote
(or the Menu button on the
TV) to begin SETUP.
Follow the instructions
shown on the TV screen to
guide you through the First
Time Setup and use of your
new TV.
3
STOP
OR
2
• Press the STATUS button on
the remote or TV to stop the
SETUP at any time.
• Remember, SETUP is a first -use, one-
time operation and will not have to be
repeated (only the clock settings can be
lost).
• Even if there is no Antenna or Cable
signal connected to the ANT(enna) B
input (located on the rear of the TV), 1st
Time Setup will still attempt to add
channels into memory for that source.
In such cases, a channel search in the
Antenna Mode will be completed, and
“0 channels saved in memory” will be
displayed on-screen.
SMART HELP
Note: The Guide Plus+™ system is
an electronic program service avail-
able with your set to show you cur-
rent and future TV listings; program
content descriptions, and other pro-
gramming information. Your TV may display a Guide Plus+ sys-
tem demonstration mode when first turned on for normal opera-
tion and use. Pressing the TV’s control panel or remote control
buttons will enable you to bypass the demonstration and continue
with normal TV program viewing.
Remove the Guide Plus+ Demo Mode Pin (tag label attached to
the “IR BLASTER” connection plug at the rear of TV) when set-
ting up the Guide Plus+ system for use (and to completely disable
the automatic demo). Follow the instructions contained in your
separate Guide Plus+ information manual for feature installation
and other operation details.
All manuals and user guides at all-guides.com
POSITION
213
546
879
0
TV
GUIDE
AV
INFO
SWAP PIP CH SOURCE FREEZE
SLEEP AUTO
STATUS/
EXIT
VOL CH
MUTE
SURF
POWER
TV VCR ACC
123
6
5
4
78
0
9
100+ SURF
ON UP
MENU/
SELECT
PIP
3
1
VOL
MENU
CH
STATUS/EXIT
6
2:30
WABC
VOL
MENU
CH
STATUS/EXIT
13
2
TV AND REMOTE CONTROL OPERATION
TELEVISION
To load the supplied bat-
teries into the remote:
1. Remove the battery
compartment lid on the
back of the remote.
2. Place the batteries (2-
AA) in the remote. Be
sure the (+) and (-) ends
of the batteries line up
correctly (inside of case is
marked.)
3. Reattach the battery lid.
BATTERY INSTALLATION
Press the TV
"System" button on the
remote to be sure the remote
sends its commands to the TV.
Point the remote control
toward the remote sensor win-
dow on the TV when operating
the TV with the remote.
BEGIN
1
STOP
Press the POWER
button to turn the TV ON. Press the VOLUME UP
(+) or DOWN (-) buttons to
adjust the TV sound level.
2
Press the CHANNEL UP
(▲) or DOWN (▼)button to
select TV channels.
Note: Always press two number
buttons on the remote when
selecting channels.
For example: press "0" then "6"
for channel 6.
3
REMOTE
BEGIN
1
STOP
The remote's TV-ACC-VCR
System buttons control how
buttons on the remote are
used.
For example:
With the "TV" system but-
ton pressed:
the Menu ring buttons
and (+,-) buttons are used
to select and adjust on-
screen TV features.
With the "VCR" system
button pressed:
the Power, Channel, and
other dedicated VCR
buttons (see remote’s flip
down door) are used to
select and adjust VCR
model features.
With the "ACC" system
button pressed:
the Power, Channel
Number, and Channel
Up▲/Down▼buttons on
the remote can work with
Cable TV Converters,
Laser Disc players, and
Home Satellite Dish
systems.
Note: For more details on
how the TV remote works
with VCRs, Cable Converters,
and other accessory equip-
ment see the other owner's
manual supplied with your
TV.
TV-VCR-ACC "SYSTEM"
BUTTONS
213
546
879
0
TV VCR ACC
GUIDE
AV
INFO
SWAP PIP CH
DN UP
SOURCE FREEZE
SLEEP AUTO
STATUS/
EXIT
VOL CH
MUTE
SURF
100+
RESET
POWER
VCR
PLUS+
REC
MENU/
SELECT
CLEAR
Power Button
Press to turn the TV (or select VCR,
Cable Converters, etc.) ON and OFF.
PIP Buttons
Press to operate Picture-In-Picture fea-
tures. See “PIP” section in your other
owner’s manual for details.
Auto Button
Press to select from a list of Auto con-
trols. Auto Picture for factory preset
picture control levels (set for different
types of viewing sources and pro-
grams.) Auto Sound to select various
audio mode settings matched to differ-
ent types of TV programming. Auto
Surf to quickly select up to 10 chan-
nels (separate from the TV’s normal
channel scan memory). See the "Auto
Features" section in your other owner's
manual for details.
Channel Scan Button
Press to scan up (+) or down (-)
through programmed channel num-
bers.
Number Buttons
Press the number buttons to select TV
channels. Press two number buttons to
select single digit channels. For exam-
ple: press "0" then "6" for channel 6.
Surf Button
Press to select previously viewed
channels. With the TV’s “Auto Surf”
control ON you can place up to 10
channels in memory. Then by pressing
the SURF button you can quickly view
the select channels.
See the "Auto Surf" section (in your
other owner's manual) to see how to
select a series of channels using the
Surf button.
A/V Button
Press to quickly select Auxiliary source
inputs on the TV (AUX1 VIDEO; AUX2
VIDEO; etc.), as well as Antenna A/B inputs,
and the last viewed channel on the TV.
Guide Plus+ Buttons
Press to use the Guide Plus+ electronic guide
for TV program listings and information.
Refer to your separate Guide Plus+ informa-
tion manual for setup and use details.
TV-ACC-VCR System Buttons
Press to send remote signals to either the TV or
accessory VCRs, Cable TV Converters, Laser
Disc players, etc.
Sleep Button
Press to set the TV to automatically turn itself
Off. Press the Sleep button repeatedly to
select the amount of time (15 minutes to 2
hours) before the TV shuts Off.
Menu Select Buttons
Press the Menu Select button to show on-
screen controls. Press the outer Menu ring
button to move up and down (or left and
right) through the list of on-screen controls.
Press the center Menu ring button to select
and access highlighted controls.
Status/Exit Button
Press to see the current channel number on
the TV screen. Also press to clear the TV
screen after control adjustments.
Volume Buttons
Press to adjust the TV sound level up (+) or
down (-).
Mute Button
Press to turn the sound OFF on the TV. Press
again to return the sound to its previous level.
100+ Button
Press to select channel numbers greater than
99 (by direct button entry). Press the 100 but-
ton then the remaining two digits to select the
desired channel.
VCR Buttons
For use of VCR buttons see the "Using the
Remote With a VCR" in your other owner's
manual.
Remember, You
can press any button on
the front of the TV to
turn the TV ON.
SMART HELP You can also press the STATUS
button (on the remote) to see
what channel the TV is ON.
The tuned channel number will
always briefly appear when the
TV is first turned ON (and with
channel changes.)
3
Note: You
can press any of the
TV’s front keyboard
buttons to turn the
TV ON, but the
Power button must
be used to turn the
set OFF (from the
TV’s local key-
board).
SMART
HELP
Remote Sensor
Window
Open the remote control VCR button
area with the pull tabs located on both
sides of the hinged door.
Press the Backlight button to illuminate or
light the remote’s buttons to make them easier to
read and use in dark room conditions.
All manuals and user guides at all-guides.com
POSITION
213
546
879
0
TV
GUIDE
AV
INFO
SWAP PIP CH SOURCE FREEZE
SLEEP AUTO
STATUS/
EXIT
VOL CH
MUTE
SURF
POWER
TV VCR ACC
123
6
5
4
78
0
9
100+ SURF
ON UP
MENU/
SELECT
VOL
MENU
CH
STATUS/EXIT
VOL
MENU
CH
STATUS/EXIT
MAIN MENU
PICTURE
FEATURES
SOUND
HELP
EXIT
COLOR
PICTURE MENU
SHARP
PICTURE
CLEARVIEW
EXIT
1 OF 2
TINT
MORE...
BRIGHT
HELP
EXIT NEXT...
MIN MAX
COLOR
2
4
5
31
3
5
4
2
1
1ST TIME SETUP
PIP
ON-SCREEN MENU CONTROLS
Features for your TV can
be adjusted from a
MENU screen shown on the
TV. A MENU is nothing more
than an on-screen list of fea-
tures. Each MENU item can
be adjusted by viewing the
screen and pressing a button.
FEATURE CONTROLS
MENUS
If the on-screen Menu disappears
and you are not finished working with it,
press the MENU button and the "Main
Menu" will return to the screen. Continue to
press the MENU button and the on-screen Menu
will advance until you are returned to the last fea-
ture control screen you had selected.
Press MENU on the
TV (or Menu Select button
on the remote). An on-screen
list of TV features shows on
the screen - "MAIN MENU".
BEGIN
1
Press CH(annel) ▲▼
and VOL(ume) (+) (-) on the
TV to move UP/DOWN and
from SIDE-TO-SIDE within
the list of on-screen features.
The selected MENU item will
be highlighted in RED.
Press the remote's outer
Menu ring buttons to
move UP/DOWN and from
SIDE-TO-SIDE within the
list of on-screen features.
See the "How to Select
Features" drawing on this
page.
2
Press (+) or (-) button
on the TV (or the outer
Menu ring buttons on the
remote) to adjust a selected
on-screen feature.
Press STATUS/EXIT
button on the remote or TV
to clear the screen after an
adjustment.
The screen can also be
cleared by selecting the Main
Menu's "EXIT" item and
pressing the MENU (M) but-
ton. Waiting about a minute,
without a button press, will
also remove the MENU from
the screen.
4
Press MENU on the
TV (or the center Menu ring
button on the remote) to
select the RED highlighted
feature control.
NOTE: Many Main Menu
features have 2 or 3 screens
of controls listed under its
heading. Select the "MORE"
on-screen item and press the
MENU (M) button to view all
of the individual controls list-
ed under a Main Menu fea-
ture heading.
3
STOP
5
ON THE TV
ON THE REMOTE
SELECTED FEATURE CONTROL
HIGHLIGHTED IN RED
Select and then press
MENU (M) button to
return to previous Menu
screens.
Select and then press
MENU (M) button to
view an explanation of
the selected feature.
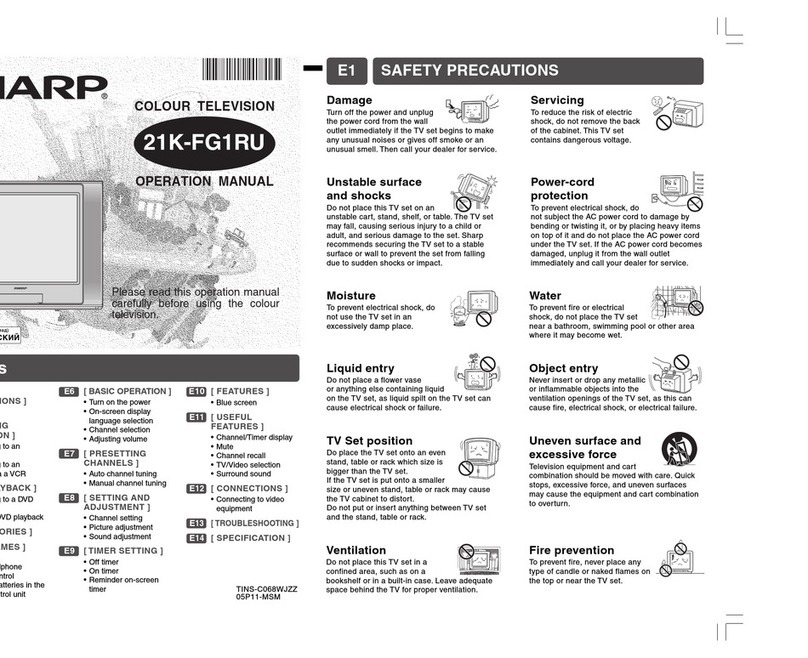
Select and then press MENU
(M) button to view addition-
al controls grouped under
same feature heading. For
Example: Tint, Brightness,
Picture, etc.
PICTURE MENU
SHARP
PICTURE
CLEARVIEW
EXIT
1 OF 2
COLOR TINT
MORE...
BRIGHT
VOL
MENU
CH
STATUS/EXIT
MENU/
SELECT
Press VOL(ume)
(+) and (-) to
move from Side-
to-Side within
the Menu.
Press CH(annel)
▲ ▼ to move Up
and Down within
the Menu.
Press MENU to
select RED high-
lighted feature.
Press outer MENU ring
button to move from
Side-to-Side within the
Menu.
HOW TO SELECT FEATURES
(WITH BUTTONS ON THE TV) HOW TO SELECT FEATURES
(WITH BUTTONS ON THE REMOTE)
Press outer MENU
ring button to move
Up and Down with-
in the Menu.
Press MENU SELECT button
to display on-screen Menu.
Can also be used to back up
through multi-level Menus
(one control screen at a time).
TV ON-SCREEN FEATURE MENU
Press MENU (M) to select RED highlighted item.
SMART HELP
4
Press center MENU
button to select RED
highlighted feature.
All manuals and user guides at all-guides.com

Other manuals for 55P 9161

1

Other Philips TV manuals

Philips 24PFS4022 User manual

Philips

Philips 24PFS4022 User manual

Philips 32PW6451/01 User manual

Philips

Philips 32PW6451/01 User manual

Philips 50PUN6233/61 User manual

Philips

Philips 50PUN6233/61 User manual

Philips 28PW8609/12S User manual

Philips

Philips 28PW8609/12S User manual

Philips 32PHD5101/30 User manual

Philips

Philips 32PHD5101/30 User manual

Philips 27PT5441 User manual

Philips

Philips 27PT5441 User manual

Philips 32PHD4503 User manual

Philips

Philips 32PHD4503 User manual

Philips 50PUT8215 User manual

Philips

Philips 50PUT8215 User manual

Philips 32PHA4509 User manual

Philips

Philips 32PHA4509 User manual

Philips 40HFL5011T/12 User manual

Philips

Philips 40HFL5011T/12 User manual

Philips 32PW9523 Series User manual

Philips

Philips 32PW9523 Series User manual

Philips 37PF9975 User manual

Philips

Philips 37PF9975 User manual

Philips 27ST1100 User manual

Philips

Philips 27ST1100 User manual

Philips 26HF5335D Manual

Philips

Philips 26HF5335D Manual

Philips 32PFL5409/98 User manual

Philips

Philips 32PFL5409/98 User manual

Philips 21PT5432/77R User manual

Philips

Philips 21PT5432/77R User manual

Philips E Series User manual

Philips

Philips E Series User manual

Philips 5102 Series User manual

Philips

Philips 5102 Series User manual

Philips 50MF231D Quick start guide

Philips

Philips 50MF231D Quick start guide

Philips DC146 User manual

Philips

Philips DC146 User manual

Philips 14PT3685 User manual

Philips

Philips 14PT3685 User manual

Philips 25PT5105/00 User manual

Philips

Philips 25PT5105/00 User manual

Philips PR1921C1 User manual

Philips

Philips PR1921C1 User manual

Philips Cineos 32PFL9432 User manual

Philips

Philips Cineos 32PFL9432 User manual

Popular TV manuals by other brands

Panasonic TX-32C200E operating instructions

Panasonic

Panasonic TX-32C200E operating instructions

Sony Trinitron KV-AR21M81 Service manual

Sony

Sony Trinitron KV-AR21M81 Service manual

LG RF-20CC20M Service manual

LG

LG RF-20CC20M Service manual

Panasonic TX-25XDP3 operating instructions

Panasonic

Panasonic TX-25XDP3 operating instructions

Panasonic Viera TC-P65S60 owner's manual

Panasonic

Panasonic Viera TC-P65S60 owner's manual

F&U FLA4321UH Instruction book

F&U

F&U FLA4321UH Instruction book

Panasonic TX-28EX3C operating instructions

Panasonic

Panasonic TX-28EX3C operating instructions

JVC AV28CH1EUS Service manual

JVC

JVC AV28CH1EUS Service manual

SunBriteTV Pro 2 1K Series Operator's manual

SunBriteTV

SunBriteTV Pro 2 1K Series Operator's manual

Sony KV-25R2A Service manual

Sony

Sony KV-25R2A Service manual

THOMSON CR14300 Basic service data

THOMSON

THOMSON CR14300 Basic service data

Sanyo CP21FS2 Service manual

Sanyo

Sanyo CP21FS2 Service manual

Panasonic Viera TX-L19E3B operating instructions

Panasonic

Panasonic Viera TX-L19E3B operating instructions

Panasonic TX-40CSW524S Ehelp

Panasonic

Panasonic TX-40CSW524S Ehelp

Sony BRAVIA XR XR-77A8 K Series reference guide

Sony

Sony BRAVIA XR XR-77A8 K Series reference guide

Dynex DX-LCDTV19 user manual

Dynex

Dynex DX-LCDTV19 user manual

Sanyo C20LB87B Service manual

Sanyo

Sanyo C20LB87B Service manual

Grundig 43 VLE 420 BN User instructions

Grundig

Grundig 43 VLE 420 BN User instructions

manuals.online logo
manuals.online logoBrands
  • About & Mission
  • Contact us
  • Privacy Policy
  • Terms and Conditions

Copyright 2025 Manuals.Online. All Rights Reserved.