Acknowledgement: The floor lighting will blink twice sound to signal the
successful completion of the step.
1. Teach-in for the RF remote or app
To start using the RF remote with a Bluetooth®device, the wireless link with
the RF ECO BT must first be established.
In order to use a Bluetooth®device (a smart phone or tablet) with your system,
you will first need to download and install the "OKIN" app for your device.
a. Automatic teach-in
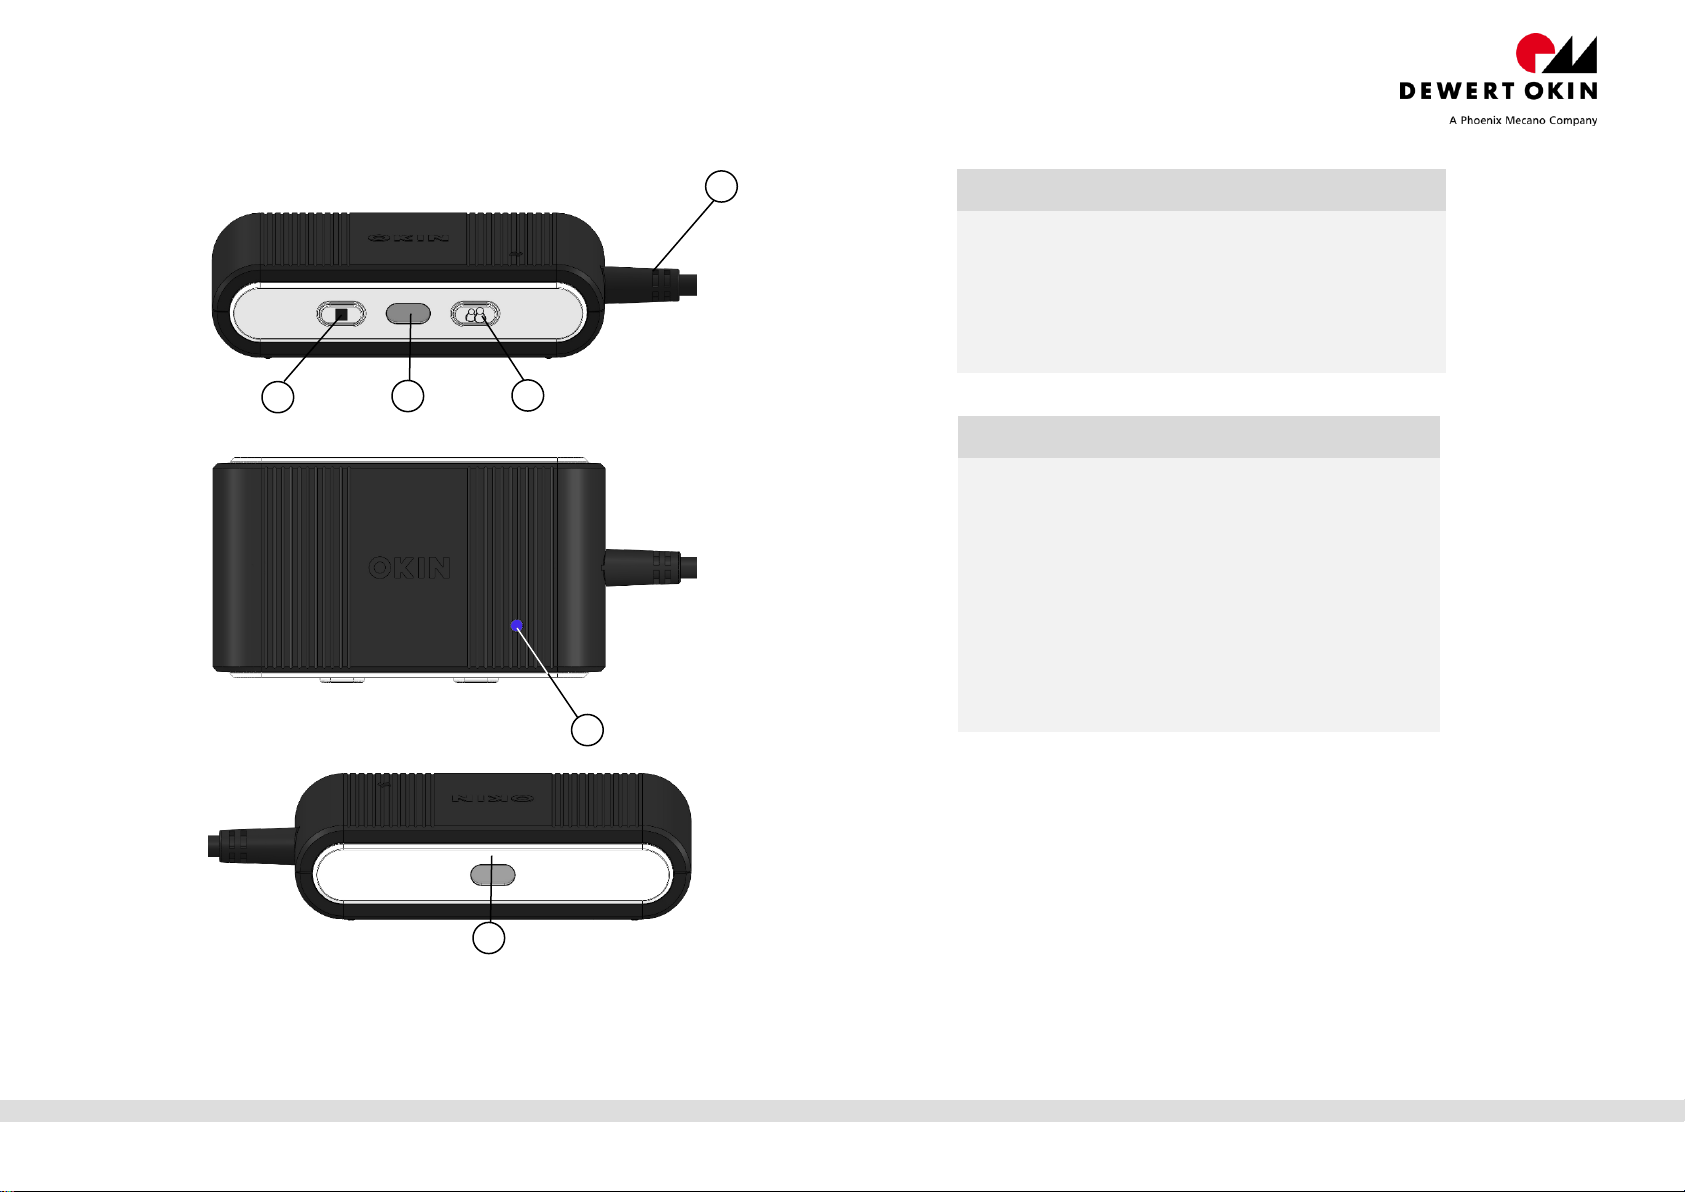
Connect the RF ECO BT to the OKIMAT 4 and put the power plug into the
socket.
The RF ECO BT will be in pairing mode for 120sec which is divided as
follows: During the first 60sec, an RF remote can be discovered (the
teach-in). During the next 60sec, a Bluetooth®device can be discovered.
The floor lighting and the blue LED are illuminated during this teach-in
phase for the RF remote.
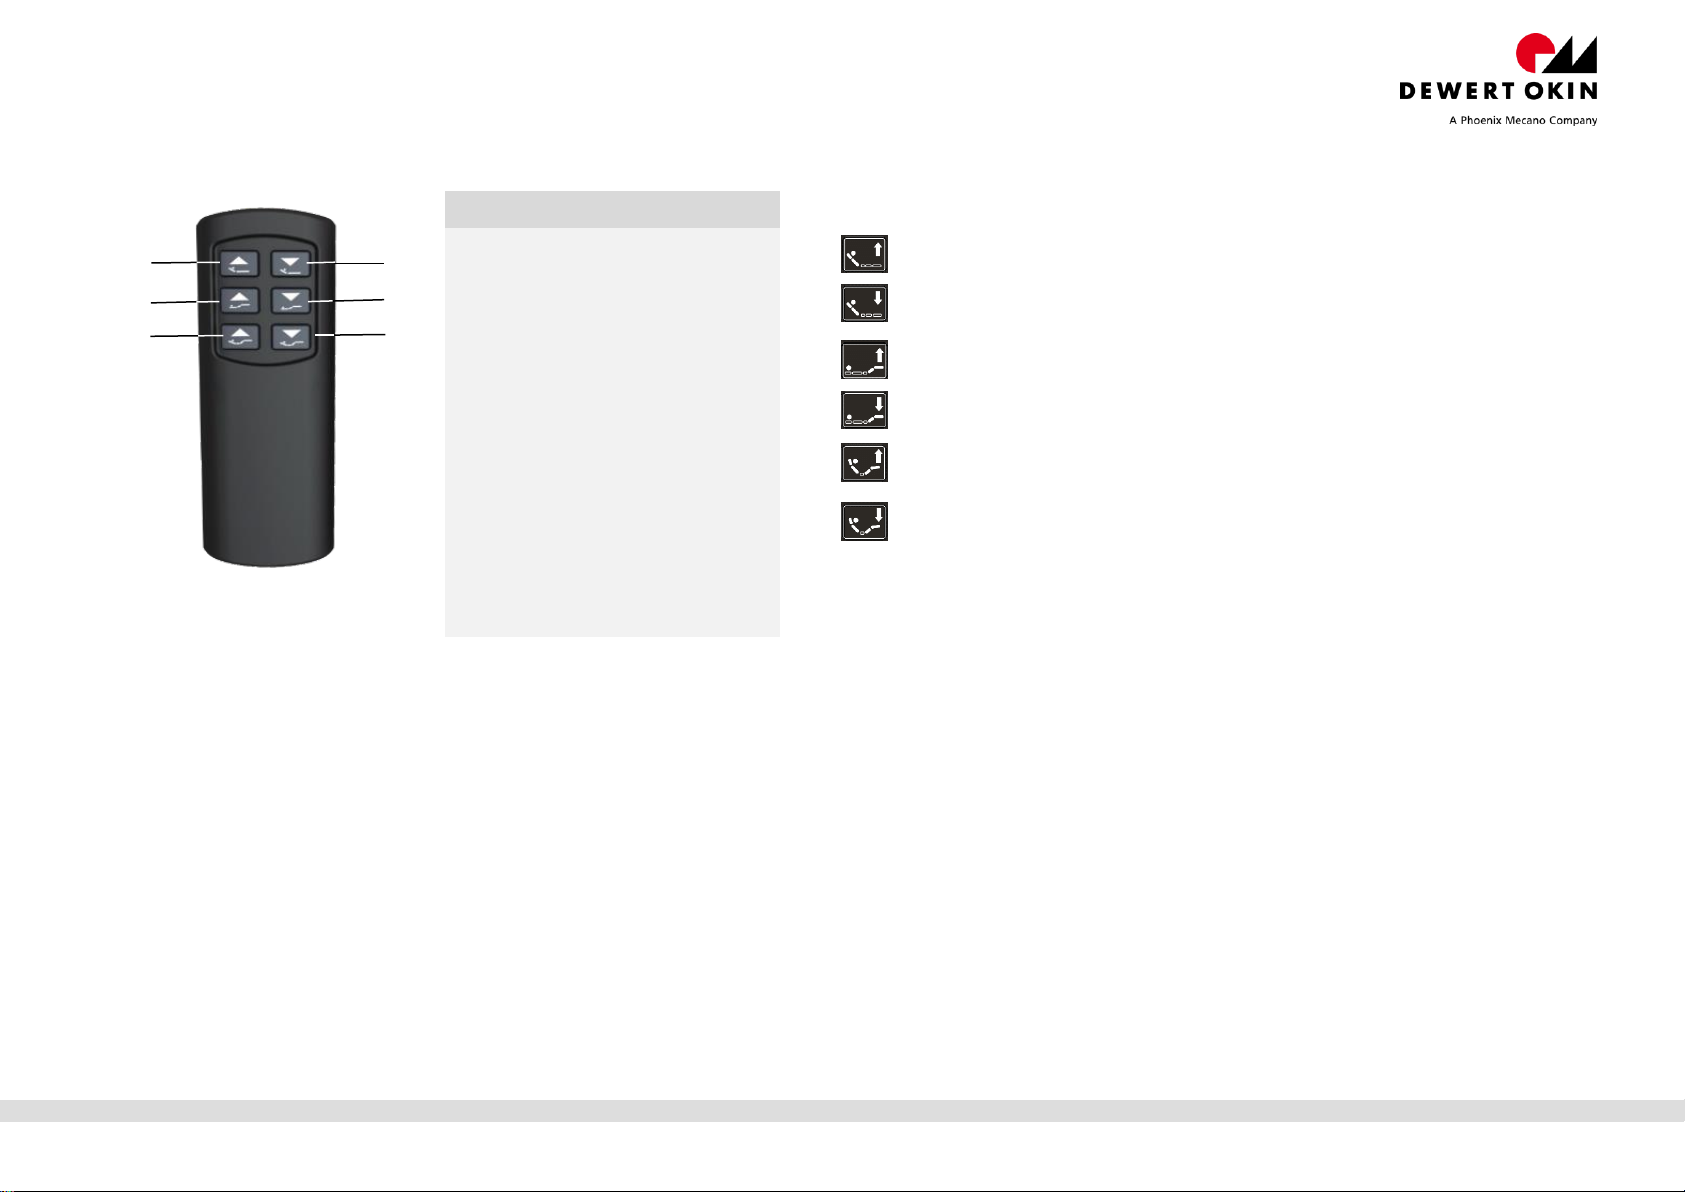
RF-TOPLINE / RF ECO: Simultaneously press buttons 1 and 2.
A successful pairing will be acknowledged.
The floor lighting will switch off after the teach-in process for the RF
remote is finished. The blue LED for pairing with a Bluetooth®device
starts flashing.
The blue LED switches off when the Bluetooth®pairing process has timed
out or when the device has connected successfully. A successful pairing
will be acknowledged.
If, during the RF remote's teach-in process, you press any button on an
already paired RF remote, then it switches to the Bluetooth®teach-in
mode.
If the RF remote or a Bluetooth®device is discovered during the pairing
phase, then this pairing mode is automatically ended. The floor lighting
and the blue LED switch off.
Repeat the automatic teach-in process. First, remove the plug from the
power supply. Then wait 60sec and insert the plug back into the power
supply. You can now start the new teach-in process.
When operating a system in parallel, you must execute the teach-in
processes for the RF ECO BTs sequentially. First, connect the RF ECO BT
to the power supply. Then execute the teach-in process for the first RF
remote or Bluetooth®device. Then execute the teach-in for the second
device.
Note! Only commission one system at a time. Never configure multiple
systems simultaneously
b. Manuel teach-in
The system must be connected to the power supply.
Connect the RF ECO BT to the OKIMAT 4.
Quickly press the Pairing button (2) twice on the RF ECO BT. The
floor lighting and the blue pairing LED will illuminate. The RF ECO BT
is now in pairing mode for 120 seconds, which is divided as follows:
During the first 60 seconds, an RF remote can be discovered (the
teach-in). During the next 60 seconds, a Bluetooth®device can be
discovered.
The floor lighting and the blue LED are illuminated during this teach-in
phase for the RF remote.
RF-TOPLINE / RF ECO: Simultaneously press buttons 1 and 2.
A successful pairing will be acknowledged.
The floor lighting will switch off after the teach-in process for the RF
remote is finished. The blue LED for pairing with a Bluetooth®device
starts flashing.
The blue LED switches off when the Bluetooth®pairing process has
timed out or when the device has connected successfully.
A successful pairing will be acknowledged.
If, during the RF remote's teach-in process, you press any button on
an already paired RF remote, then it switches to the Bluetooth®teach-
in mode.
If the RF remote or a Bluetooth®device is discovered during the
pairing phase, then this pairing mode is automatically ended. The
floor lighting and the blue LED switch off.
When operating a system in parallel, you must execute the teach-in
processes for the RF ECO BTs sequentially. First, connect the RF
ECO BT to the power supply. Then execute the teach-in process for
the first RF remote or Bluetooth®device. Then execute the teach-in
for the second device.
Note! Only commission one system at a time. Never configure
multiple systems simultaneously