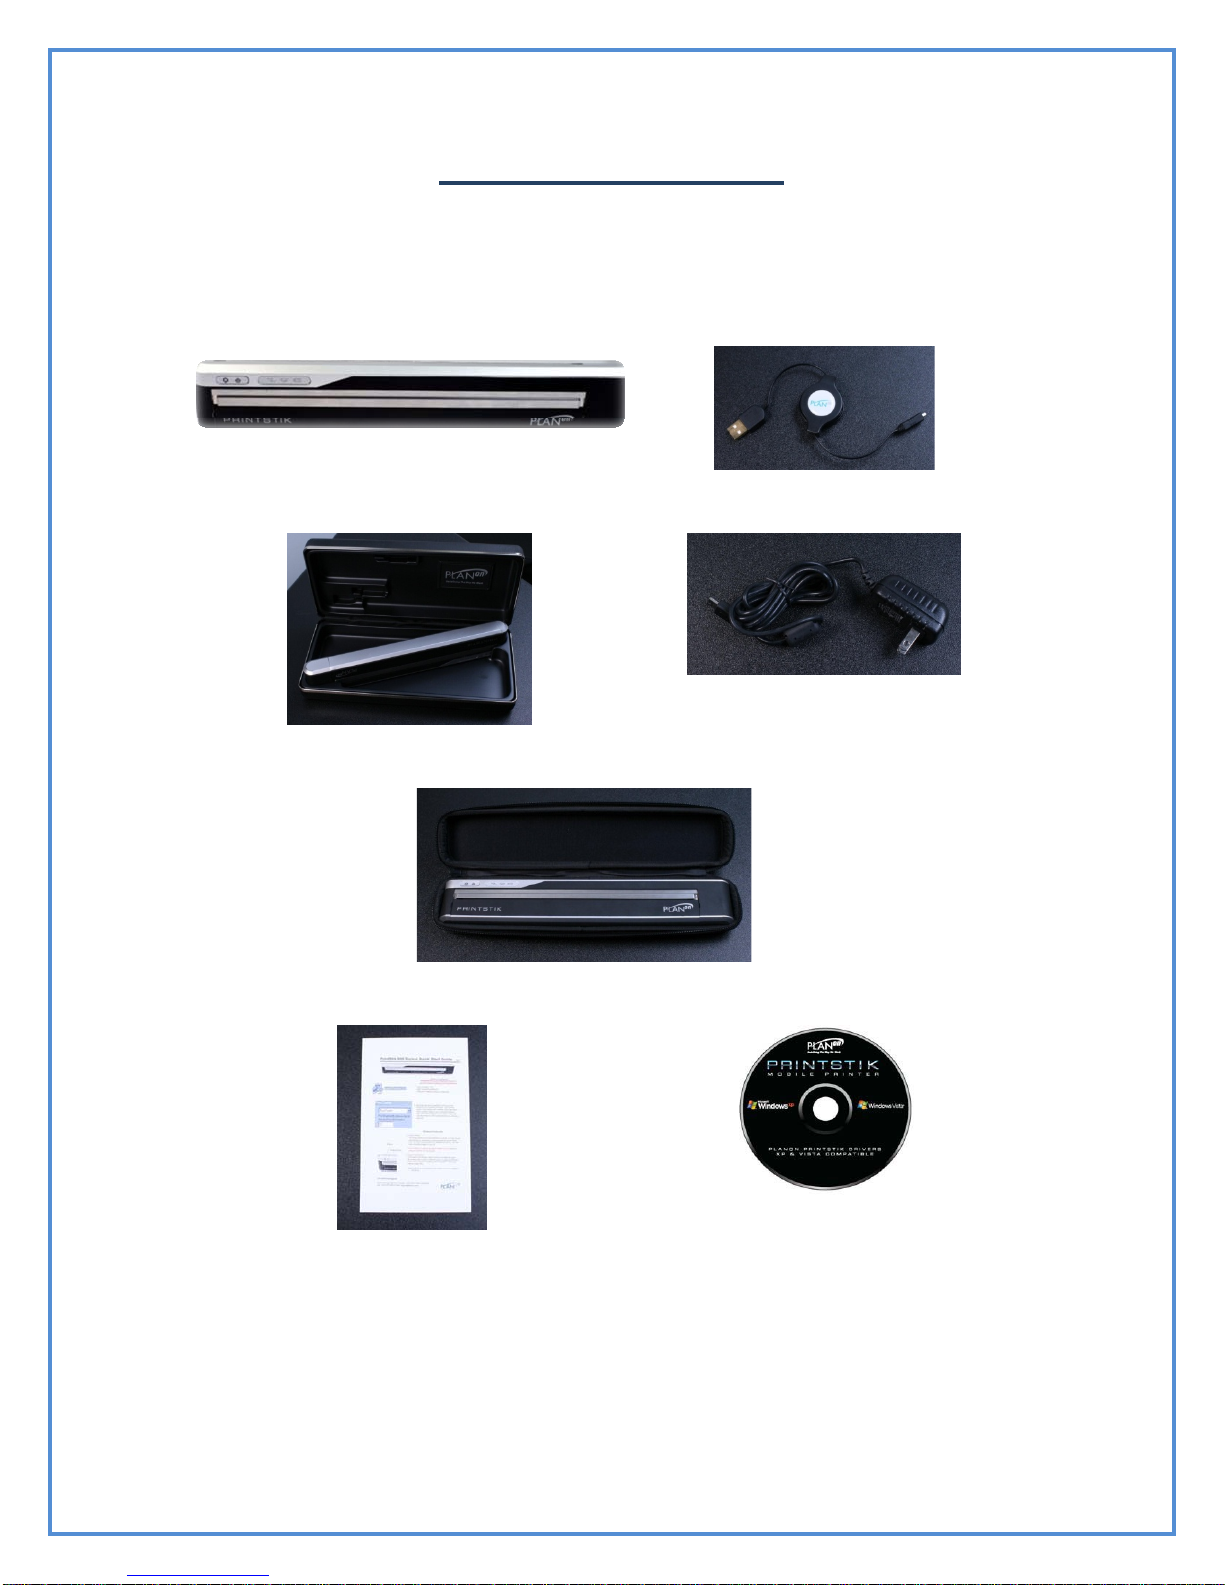
Planon Printstik 900 series User manual

1
PlanOn System Solutions Inc.
15-5155 Spectrum Way, Mississauga,
Ontario, Canada, L4W 5A1
1 888 507 3926
PLANON PRINTSTIK 900 SERIES
USER GUIDE

2
TABLE OF CONTENTS
Thanks from PlanOn……………………………………………………….. Pg 3
Introducing the
PRINTSTIK…………………………………………………... Pg 4
PRINTSTIK
Specifications……………………………………………………. Pg 5
PRINTSTIK
Contents………………………………………………………….. Pg 6
Charging the
PRINTSTIK……………………………………………………... Pg 7
PRINTSTIK Main Hardware Control
Panel…………………………………… Pg 8 - 10
Personal Computer Software Installation………………………………….. Pg 10 - 15
PRINTSTIK Personal Computer Software
Usage……………………………... Pg 16 – 17
PRINTSTIK Personal Computer Bluetooth
Pairing……………………………. Pg 17 – 18
Windows Printing Preferences…………………………………………….. Pg 19 – 20
Printing Paper…………………………………………………………… Pg 20
PRINTSTIK Cartridge Removal
……………………………………………………………………..
Paper
Insertion………………………………………………………………….
Pg 20 - 23
Pg 24 – 31
Blackberry
Bluetooth………………………………………………………… Pg 32 – 42
Frequently Asked Questions……………………………………………….. Pg 43 – 47
Warranty Information……………………………………………………… Pg 48 - 49

3
THANKS FROM PLANON
Hello my name is Douglas Verkaik, CEO of PlanOn System Solutions
Inc. I wanted to personally thank you for your purchase of our PRINTSTIK
900 series Bluetooth Printer. It has taken much time investment and hard
work of a team of individuals at multi-locations in PlanOn to develop the
right kind of products for the 21st century that are practical, efficient, and
effective! Let’s face it, things are rapidly changing and needs are changing
which has made convenience and mobility more important than ever.
Originally impacting the market with our portable color and black and
white scanners, we have brought customers practical personal and business
solutions. And now with a proven successful track record we have come to
a new horizon in a new arena with this Bluetooth mobile printer known as
the PRINTSTIK. You will find the PRINTSTIK to be light weight and
durable. We here at PlanOn hope you make the most of your product. It is
delightful to see that it has gotten into the right hands with customers like
you.
By all means, please contact us any time letting us know your success
story. We’d love to hear about it! And make sure you are registered with us
for future products and promotions.
Sincerely,
Douglas Verkaik

4
INTRODUCING THE PRINTSTIK
“The future of Printing will never be the same again…nor will the mobile office”
PLANON has created a technical marvel. At barely over 11” long and only 1.5
pounds in weight, the Bluetooth enabled PRINTSTIK is the ultimate traveling
companion. The PRINTSTIK is a fully self-contained and most convenient
printer complete with paper and battery making it the smallest in the market.
Using advanced Printing Technology, the Bluetooth enabled PRINTSTIK
eliminates the need for messy and expensive ink, toner, or ribbons. The Bluetooth
connectivity provides a simple, reliable cable-free printing connection of up to 100
meters (approximately 300 feet) to your laptop, PDA or other handheld
Bluetooth.-enabled devices.

5
PRINTSTIK
SPECIFICATIONS
Type 900 Series
Size Approx 25mm x 48mm x 280mm (~ 1” x 1.9” x 11”)
Weight 1lb. (460 g) including paper cartridge
Resolution 200x100dpi, 200x200dpi, 200x400dpi
Method Direct Thermal Printing
Speed Up to three pages per minute
Paper sizes (Roll) Paper Cartridge 8.5" wide 20 pages
Interface Wireless Bluetooth + Standard USB 2.0
Power supply Options AC - 100-240 VAC, 50 or 60 Hz with AC Adapter
Number of pages per charge Up to 18 pages (15 page equivalent)
Battery type PRINTSTIK Rechargeable Lithium-ion Polymer
Charging 3 hours for Full charge
Regulatory CE, IC, FCC
Operating System Supported XP, Vista, Blackberry, other Java phones
(Check Website for new additions)

6
PRINTSTIK Contents
After opening the packaging of your 900 Series PRINTSTIK, please make
sure you have the following items inside the box:
PRINTSTIK Retractable USB Cable
**Hard Case
Wall Charger
*Travel Case
Quick Start Guide
Installation CD
NEED PIC
*These items are included only in the 950 series PRINTSTIK
**These items are only included in the 910 series PRINTSTIK

7
CHARGING YOUR PRINTSTIK
Electrical Connectivity
The PRINTSTIK has an internal rechargeable battery. This gives the
mobility to print without any connection to an external power source. The
PRINTSTIK can only function if the battery has a charge. There are two
main options to how it can be charged discussed below:
Connecting to an AC Outlet
The PRINTSTIK has the ability to connect
to a typical wall outlet (AC) via the
included wall charger. When connected
the PRINTSTIK battery symbol light will
turn RED. This light will stay red as the
printer charges (see page 9 for more
information). This signifies the charging
of the PRINTSTIK. It takes 3 hours for a
full charge.
Connecting to a PC USB port
The PRINTSTIK has the ability to charge through
the USB port on your personal computer. To do
so simply connect your PRINTSTIK USB cable
from your PRINTSTIK to the USB port on your
PC. It will take 4 hours to fully charge.

8
Data Stream
PRINTSTIK Main Hardware Control Panel
Power Button
This button can turn the PRINTSTIK on or off. Turning the
PRINTSTIK on requires holding the button down for three seconds. After
this brief period the button can be released. At this point, the “Battery Life
Light” and “Data Stream” will light up signifying the PRINTSTIK is on
and operational.
When turning PRINTSTIK off, the power button would need to be
pressed down firmly for another three seconds. Once the button is released,
the “Data Stream Light” and “Battery Life Light” should both be turned
off signifying the PRINTSTIK is off.
Note:
PRINSTIK will turn off automatically after 5 minutes if
power is kept on and the PRINSTIK is not printing.
Power Button
Paper Feed Button
Printing Status
Battery Life
Power Button

9
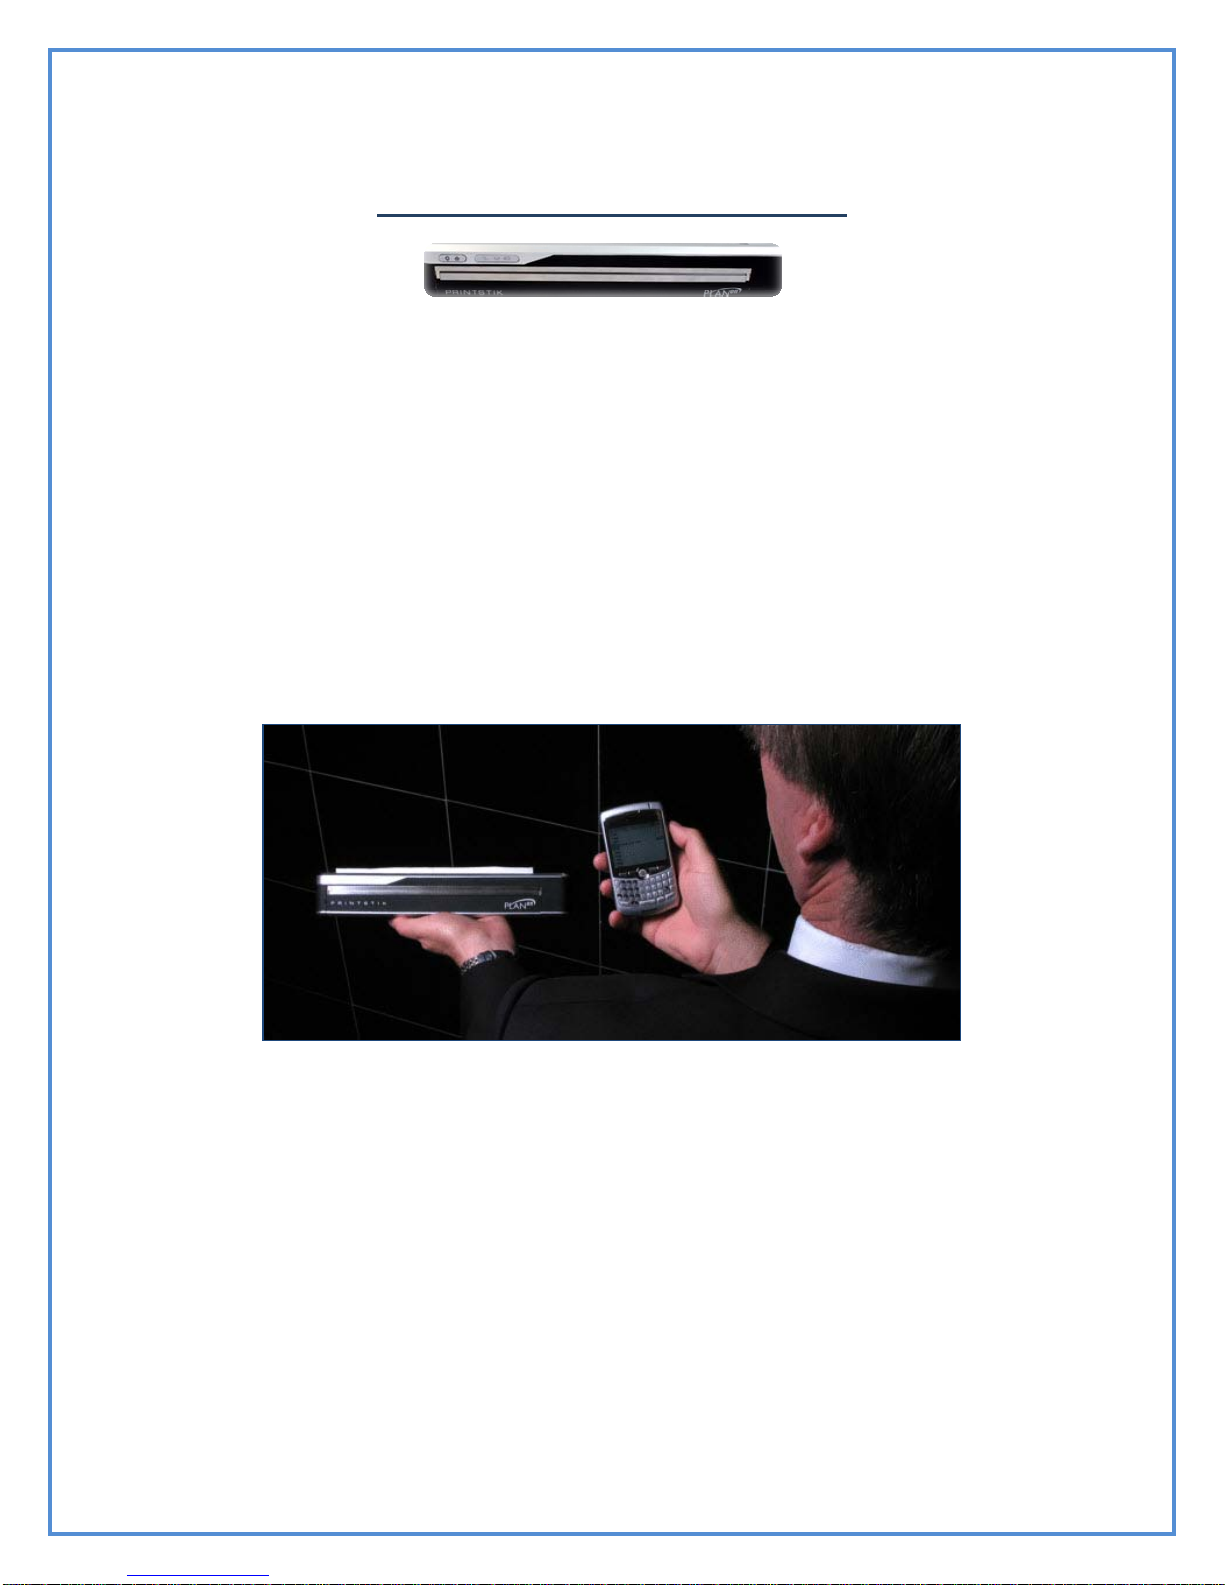
The main function of the “Paper Feed Button” is to insert paper into
the PRINTSTIK and to release paper. Inserting paper is important for
loading a thermal paper roll, paper cartridge or single sheet (For more
information see Page 22). Releasing paper is useful to provide spacing after
printing and for paper removal.
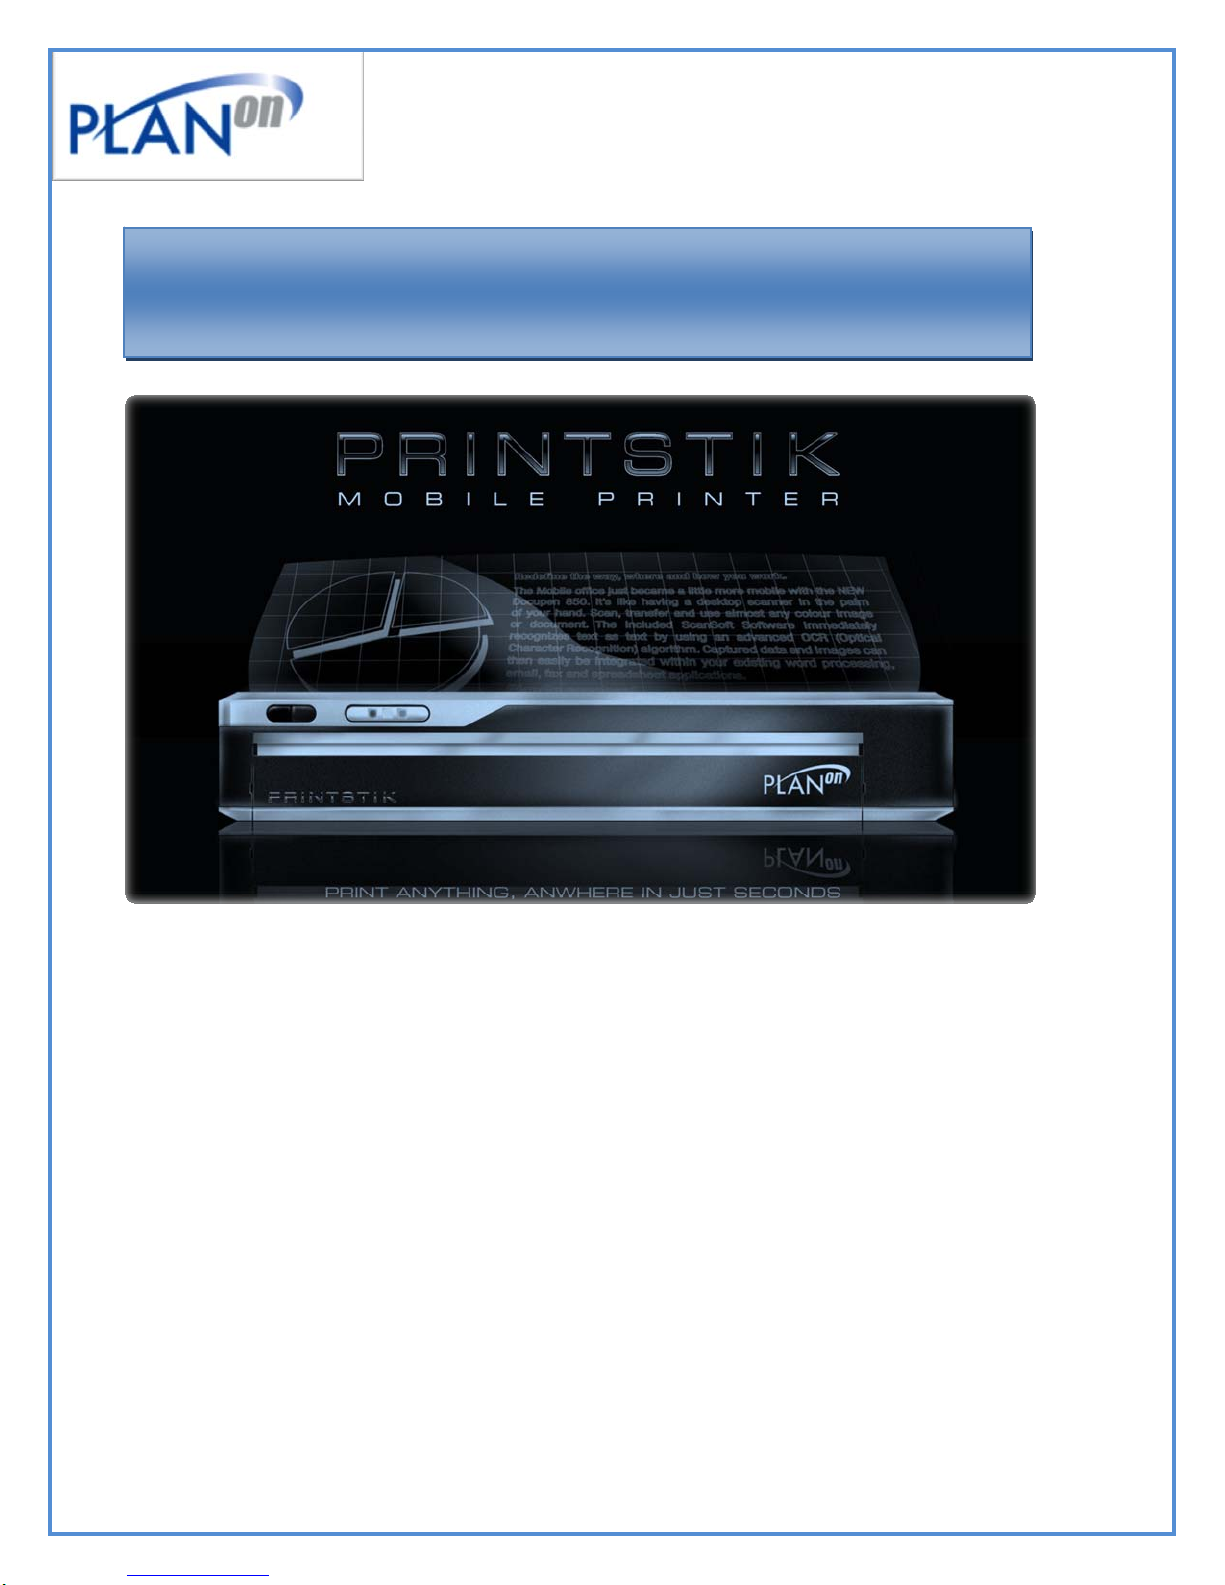
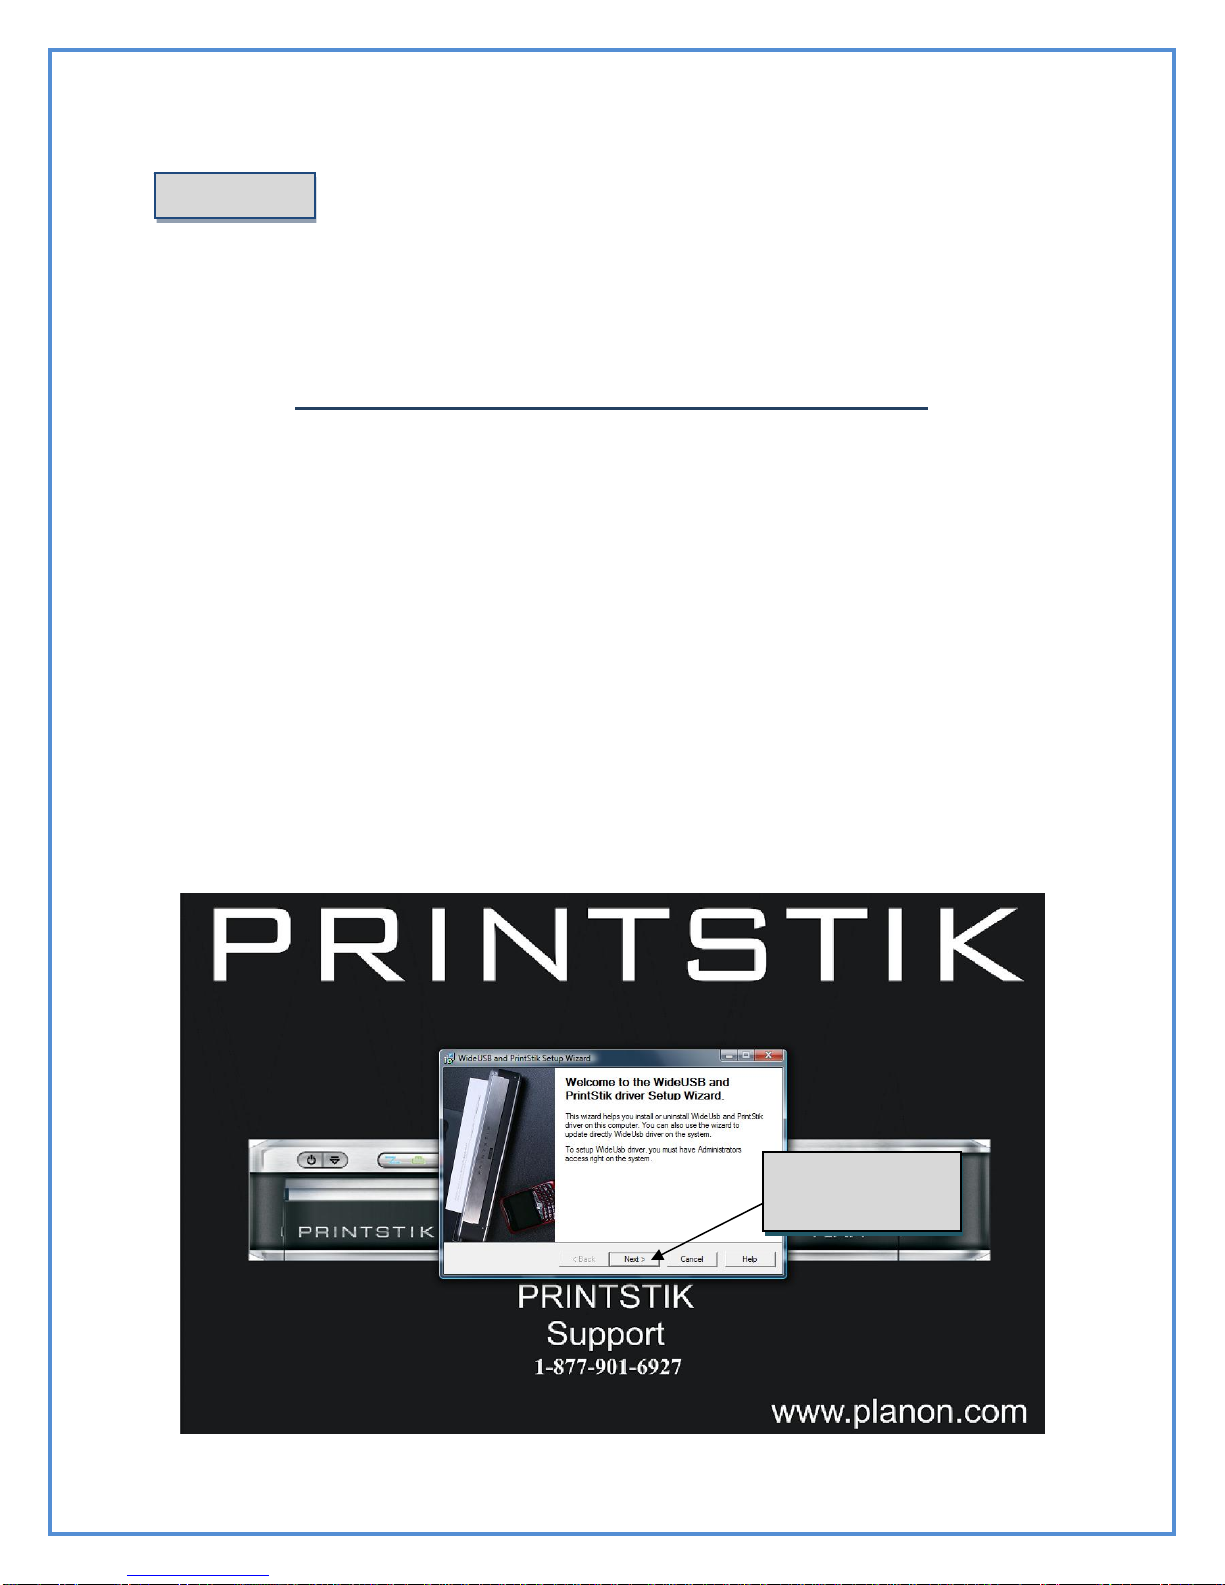
PRINTSTIK Print Testing
The PRINTSTIK has a convenient method to test its printing ability
quickly. This can be accomplished easily by pressing the Paper feed button
and the Power button simultaneously. Once you do, a small message will
print showing that the PRINTSTIK is functioning properly.
The “Printing Status” being on provides notification that the
PRINTSTIK is currently printing.
The “Battery Life” light shows different color lighting in relation to
the amount of battery life remaining. The color code and representation is
shown below:
= 51-100 percent battery life remaining
= 26-50 percent battery life remaining
= 5-25 percent battery life remaining
NOTE: When charging the printer, the “Battery Life” light will stay red. The
“Battery Life” light will not change color; you must turn on the printer at
which point you will see the battery life according to the above battery life
color code representation.
Paper Feed Button
Printing Status
Battery Life
Green
Orange
Red

10
Data Stream
This light which is in the shape of a “Z” letter signifies that the printer
is on and Bluetooth connectivity is established.
Personal Computer Software Installation
*Please remember to install the Driver CD (see below installation
instructions) before connecting your PRINTSTIK with a laptop or PC.
1. Insert your PRINTSTIK installer CD into your PC or Laptop.
2. Installation will start up automatically, if not, double click the “Run
SETUP.exe”
3. The following page will appear. It addresses copyright information.
Please remember to close any other programs to ensure a complete
and smooth installation. Left click “Next” to continue.
Choose “Next”
to continue

11
4. The next screen (shown below) reveals that the installation process for
the USB driver is ready to begin. Click on the “next” button.
5. The following page will appear, click “next” to start installation.
Choose “Next” to begin
Choose “Next”
to begin

12
6. At this point a search will begin to check whether your computer
already contains the USB driver, click "next" after search complete.
(If a driver has been detected, please follow the instructions to uninstall
& reboot, once your system has reboot, the installation continues)
7. When this window appears, select the "install" option and then
choose "next".
Click “Next”
Click “Next” to
install driver
Choose the
Install option.

13
8. When this window pops up click the “finish” tab to complete the
installation.
Installing the PRINSTIK driver
1. The page below will follow once the USB driver has been
successfully installed. Click “next” to begin.
Click “Finish”
to complete
Click “next” to
begin

14
1. The following page will appear. It addresses copyright information
and advises the importance of closing any other programs to ensure a
complete and smooth installation. Left click “Next” to continue.
2. The next screen (shown below) reveals that the installation process is
ready to begin. Clicking on the “next” button at this point will begin the
actual installation.
Choose “Next”
to continue
Choose “Install” to begin
installation

15
3. As depicted below, installation has begun and its status is shown by
the blue bar that progressively extends as the PRINTSTIK driver files are
being installed. The files from the CD are being copied into the
designated area of your computer automatically. Once completed left
click “Finish”.
FINAL STEP:
1. Turn off your PRINTSTIK then plug in your PRINTSTIK via USB cable
into your PC or Laptop. Now turn on the power for PRINTSTIK.
2. Your PC or Laptop’s operating system will search and locate the driver
automatically and complete the installation or it will walk you through its
installation instructions. Your PRINSTIK must be powered on, if the
PRINSTIK turns off by itself, turn it on again and complete the installation.
Installation Progress
and Status

16
PRINTSTIK Personal Computer Software Usage
The PRINTSTIK driver is now installed into the computer. This means that
it can now be chosen for printing any time printing is required.
To change printing preferences with the PRINTSTIK, the “Properties”
button can be chosen with the PRINTSTIK selected to adjust printing
preferences (ie. resolution settings).
When the “Properties” button is selected, the following screen will appear
with two tabs for setting the printing preferences of the PRINTSTIK. There
is the “Layout” tab (Figure 1) and the “Paper/Quality” tab (Figure 2). Select
and set accordingly. The “Advanced..” button can be selected for more
advanced options.
Figure 1 Figure 2
The PRINTSTIK can
be chosen as an option
for
p
rintin
g
.
Choose to set printing
p
references.
Select for Advanced options

17
Selecting the “Advanced” button opens the screen below with options
available for paper size, number of copies, print quality, and advanced
printing features. Once these are set, “OK” can be chosen.
*for detailed information regarding the various settings of these preferences, please refer to
the Windows instructional manual that addresses printing.
PRINTSTIK Personal Computer Bluetooth Pairing
*Before you start be sure that the computer is Bluetooth enabled whether
internally or externally upgraded for Bluetooth capability.
PRINTSTIK has to be paired with the computer before printing
(please see instructions below):
1. The PRINTSTIK must first be turned on (Refer to Page 8 for more
details). Once on, Bluetooth connectivity is immediately available. It
is ready to be paired with any Bluetooth enabled device at this point.
2. To prepare the computer for pairing, please refer to the instruction
manual that addresses the computer’s Bluetooth capability (this may
be internal or an external Bluetooth enabling device).
3. When searching for Bluetooth devices through the computer’s
Bluetooth software, the PRINTSTIK icon will be found signifying
that it can be paired as shown below.
PRINTSTIK Icon
shown for pairing

18
Bluetooth Security
Code Request
(Example)
The address on the PRINTSTIK icon will be in the following form:
“PS950 XXXXXX”
Double click the mouse on the PRINTSTIK icon.
The window below should appear. Double click the Serial Port icon.
Next, in order to complete the pairing of the PRINTSTIK, the
“Bluetooth security code” will be requested. An example is shown
below of this kind of request. (This can be carried out in different
ways depending on the Bluetooth device’s software being used). The
code to enter in is “0000”.
Once the serial port connection is established, the PRINTSTIK is fully
paired and can be chosen to print.
IMPORTANT: If the PRINTSTIK is not plugged in via USB when powered on it
defaults to Bluetooth. If the PRINTSTIK is off and then plugged in via USB and
then powered on it will default to USB.
Double Click the
Serial Port icon.

19
Windows Printing Preferences
After printing has been chosen, there will be an icon of a printer shown at
the bottom right of computer screen. Printing preferences can be accessed
and adjusted accordingly through this screen. It can be clicked on to look at
the printing queue status of the PRINTSTIK (when it has been chosen to
print):
This is a part of the windows configuration. It can also be accessed through
the “Control Panel” found in the start menu of windows. For more
information, consider the Windows instruction manual in regards to Printers.
Access to adjust PRINTSTIK

20
Printing with USB cable
1. Make sure PRINTSTIK is off
2. Connect the USB zip cable to computer
3. Turn on PRINTSTIK
4. Select the PRINTSTIK to print
Thermal Paper
The PRINTSTIK uses special printing technology to print on specially
designed paper known as thermal paper. It is recommended that the thermal
paper used with it should only be those that PlanOn has approved. Currently
available through PlanOn are 8.5” by 11” and 8.5” by 14” thermal paper
sheets. There will also be different kinds of thermal paper rolls available.
And of course the standard printing cartridge is also available. For more
information and pricing please talk to a PlanOn representative
PlanOn PRINTSTIK Cartridge Removal
Use the following steps to remove the paper cartridge from your
PRINTSTIK:
1. Locate the cartridge lock on the back of your PRINTSTIK:
Other manuals for Printstik 900 series
2
Table of contents
Other Planon Printer manuals

Planon
Planon PRINTSTIK PS910 Instruction Manual

Planon
Planon Printstik 900 series User manual

Planon
Planon PrintStik PS900 Instruction Manual

Planon
Planon PrintStik DPEN-PS905 User manual

Planon
Planon PrintStik PS900 User manual

Planon
Planon PrintStik 839534009506 User manual

Planon
Planon Printstik 900 series User manual

Planon
Planon PRINTSTIK PS910 User manual