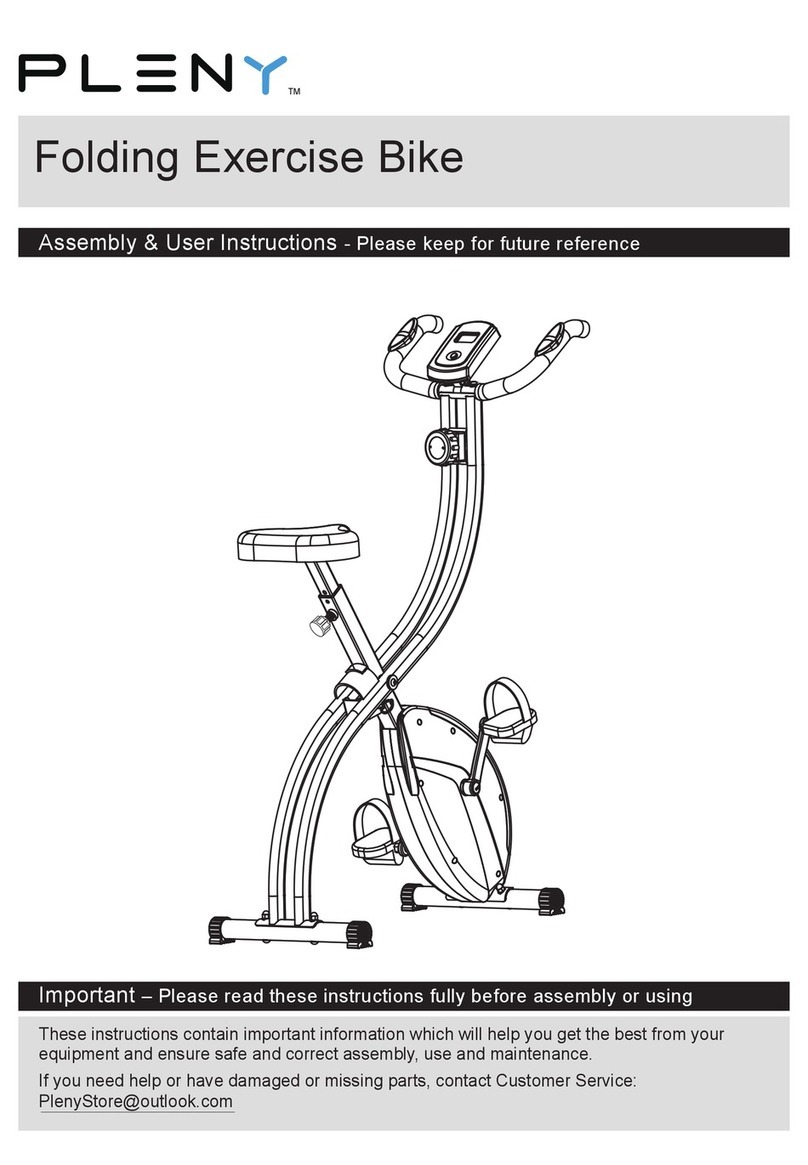
PLENY Mini Bike Owner's manual

Important – Please read these instructions fully before assembly or using
These instructions contain important information which will help you get the best from your
equipment and ensure safe and correct assembly, use and maintenance.
Mini Bike
Assembly & User Instructions - Please keep for future reference
TM
for customer service.
Mini Bike is designed only for seat exercise or hand exercise only.
Do not try to stand up on the pedal.

1
Contents
Safety Information
Components - Parts
Components - Fixings
Assembly Instructions
Computer Operation
Care and Maintenance
Disposal information
Exploded Parts Diagram
Exploded Diagram Parts List
2
3
3
4
5
6
6
7
8
TM

2
Safety Information
Important –Please read fully before assembly or using
To reduce the risk of serious injury, read the entire manual before you assemble or operate the PLENY
In particular, note the following safety precautions:
• Check you have all the components and tools
listed on pages 3, bearing in mind that, for
ease of assembly, some components are
pre-assembled.
• Keep children and animals away from the work
area, small parts could choke if swallowed.
• Make sure you have enough space to layout the
parts before starting.
•Assemble the item as close to its final position
(in the same room) as possible.
• Position the equipment on a clear, level surface.
• Dispose of all packaging carefully and responsibly.
• It is the responsibility of the owner to ensure that
all users of this product are properly informed as to
how to use this product safely.
•This product is intended for domestic use only.
Do not use in any commercial, rental, or institutional
setting.
• Before using the equipment, always warm up
properly.
• If the user experiences dizziness, nausea, chest
pain, or other abnormal symptoms stop the
workout and seek immediate medical attention.
Warning: Before beginning any exercise program, consult your Doctor. This is especially
important for persons over the age of 35 or persons with pre-existing health problems.
You MUST read all instructions before using any fitness equipment. PLENY company assumes
no responsibility for personal injury or property damage sustained by or through the use of this product.
The pedal crank training equipment is not suitable for therapeutic purposes. Over exercise may result in
serious injury or death. If you feel faint stop exercising immediately.
• Only one person at a time should use the
equipment.
• Keep hands away from all moving parts.
•Always wear appropriate workout clothing when
exercising. Do not wear loose or baggy clothing,
since it may get caught in the equipment. Wear
athletic shoes to protect your feet while exercising.
• Do not place any sharp objects around the
equipment.
• Disabled persons should not use the equipment
without a qualified person or doctor in attendance.
• Keep unsupervised children away from the
equipment.
• Injuries to health may result from incorrect or
excessive training. The equipment shall be
installed on a stable base and properly leveled.
• The braking system is adjustable.
Mini Bike.
Assembly
Using
Battery safety
• Warning: Incorrect installation of batteries may
cause battery leakage and corrosion, resulting in
damage to the computer.
• Do not mix old and new batteries, or
batteries of different types.
• Do not dispose of batteries in a fire.
• Do not dispose of batteries with
normal household waste, take to a local recycling
centre.
TM

3
Components -Parts
Please check you have all the parts listed below
Note: Some of the smaller components may be pre-fitted to larger components. Please check carefully
before assembly.
Total mass of the product is 3.2kg.Foot print of the product is 41 x 40 cm.
Main frame x 1
2. Front Stabilizer x 1 3. Rear Stabiliser x 1 9. Base Reinforcement x 2
5. Left Pedal x 1 4. Right Pedal x 1
Please check you have all the fixings listed below
Note: Some of the fixings are pre-fitted to the larger components.
Ruler - Use this ruler to help correctly identify the hardware
0 5 10 15 20 25 30 35 40 45 50 55 60 65 70 75 80 85 90 95 100 110 115 120 125 130 135 140 145 150 155 160 165 170
105
Components - Fixings
6
Hex Bolt M5*14 x 4
32
Spanner
7
33
Washer x 4
Screwdriver
TM

4
Assembly Instructions
Assemble the Front Stabilizer (2) to the Main Frame, then fix
the Base Reinforcement (9) to it with 2 x M5*14 Hex Bolt (6)
and 2 x Washer (7).
Step 1
1
2
9
1
3
9
Assemble the Rear Stabilizer (3) to the Main
Frame , then fix the Base Reinforcement (9) to
it with 2 x M5*14 Hex Bolt (6) and 2 x Washer (7).
Step 2
1
Step 3
Turn clockwise to assemble both the Right Pedal (4)
and the Left Pedal (5) to the pedal crank. Both pedals
MUST be tightened securely, otherwise damage may
occur the Crank.
TM

Computer Operation
Functions and operations
Specifications
Inserting the battery:
1. Carefully pull the Training Computer (8) out of the Main Frame (1).
The Training Computer (8) is attached to the Main Frame (1) by a cable
and may be pulled out of it with a maximum of 10cm.
2.Insert the 1 x AAA battery (included) into the battery compartment
at the back of the Training Computer (8). Observe polarity (+/-).
3. Insert the Training Computer (8) back into the Main Frame (1).
The select button (1A) on the Training Computer (8) should be on the
side nearest the Tension Knob (10).
Adjusting the training computer:
The training computer displays various training data.
Press the select button (1A) to switch on the computer.
Press the select button (1A) repeatedly until the desired function is
selected.
You can switch between the following functions:
STOP
The training computer automatically stops the measurement if the
pedals have not been pressed for more than four seconds.
SCAN
If you select this function the display will switch between the functions
T,D,C,T-C and CA automatically every six seconds.
T=Time
This function shows you how long you have been doing an exercise.
D=Distance
This function shows you the distance you have traveled during an exercise.
C=Pedal revolution count
This function shows you how many pedal revolutions you have completed during an exercise.
T-C=Total pedal revolution count
The monitor will accumulate total numbers of different training period. This data can be reset to zero by
replacing battery.
CA=Calories
This function shows you approximately how many calories you have burnt during an exercise.
The training computer switches off automatically after about 4 minutes if:
- The pedal arms have not been turned within the four minutes end.
- You have not pressed the select button during that time.
The training computer then resets all training data except for T-C to zero.
8
1
10
AAAx1
Specifications
Function
T (TIME)
D (DISTANCE)
0:00-99:59 (Minute:Second)
C (COUNT) 0-9999 COUNTS
0.0-9999KM
T-C (TOTAL-COUNT )
0-9999 COUNTS
CA (CALORIES) 0-9999Kcal
Sensor No-contact magnetic type
Battery type 1 x SIZE-AAA (included)
Operation temperature 0˚C ~ +40˚C (32˚K ~ 104˚K)
TM
5

Care and Maintenance
Using the Workout Bench
1. Examine the equipment
periodically in order to detect
any damage or wear which may
have been produced.
2.The safety level of the
equipment can be maintained
only if it is examined regularly
for damage and wear, e.g.
connection points.
3. Lubricate moving parts with
light oil periodically to prevent
premature wear.
4. Inspect and tighten all parts
before using the equipment,
replace any defective parts
immediately, and do not use
the equipment again until it is in
perfect working order.
5. Replace defective
components immediately and/or
keep the equipment out of use
until repair.
6. Special attention to
components most susceptible to
wear.
7. The equipment can be
cleaned using a damp cloth and
mild non-abrasive detergent.
Do not use solvents.
8. Do not attempt to repair this
equipment yourself. Should
you have any difficulty with
assembly, operation or use
of your exercise product or if
you think that you may have
parts missing, contact the
customer service email at
Guarantee:
For guarantee purposes, please
retain your purchase receipt.
Information for Users on Disposal of old Equipment and Batteries
These symbols indicate that equipment with these
symbols should not be disposed of as general household
waste. If you want to dispose of the product or battery,
please consider the collection systems or facilities for
appropriate recycling.
Products Battery
Notice: The sign Pb below
the symbol for batteries
indicates that this battery
contains lead.
TM
6
Table of contents
Other PLENY Exercise Bike manuals