Plusivo DM401B User manual

Mastering The Art of
Measurement
User Guide for the Plusivo
DM401B Multimeter
Mastering the Art of Measurement (DM401B Smart Digital Multimeter) r.01 www.plusivo.com

Table of Contents
Introduction 3
1. Overview 3
2. Parts 4
2.1 Display 5
2.2 Function keys description 6
3 Reference Table 7
3.1 Table of SI Units 7
3.2 Table of Prefixes 7
4. Technical Specifications 8
4.1 Accuracy Specifications 8
4.2 DC Voltage 8
4.3 AC Voltage 8
4.4 AC/DC Current 8
4.5 Resistance 9
4.6 Capacitance 9
4.7 Frequency/Duty 9
4.8 Diode/Continuity 10
4.9 Temperature 10
5. Instrument Operation 10
5.1 Power On/Off 10
5.2 Gear Selection 10
5.3 Data Hold 10
5.4 Flashlight 10
5.5 Backlight 10
5.6 Blown-Fuse Indicator 11
5.7 Input Jack Indicator 11
5.8 Automatic Current Identification 11
5.9 Automatic Shutdown 11
6. Measurement Operation 11
6.1 Smart (AUTO) Measurement 11
7. Professional Measurement 12
7.1 AC/DC Voltage Measurement 12
7.2 Resistance Measurement 13
7.3 Continuity Measurement 14
7.4 Frequency/Duty Measurement 15
7.5 Capacitance Measurement 16
7.6 Diode Test 17
7.7 Temperature Measurement 18
7.8 Non-contact AC voltage (NCV) Detection 19
7.9 Live Wire Detecting 20
1
Mastering the Art of Measurement (DM401B Smart Digital Multimeter) r.01 www.plusivo.com

7.10 AC/DC Current Measurement 21
8. Basic Concepts 22
8.1 Ohm's Law 22
8.1.1 Example 22
8.2 Joule's Law for Electrical Power 25
8.2.1 Example 25
8.3 Kirchhoff's Law 27
8.3.1 Kirchhoff's Current Law 27
8.3.2 Kirchhoff's Voltage Law 28
8.3.3 Example 28
8.4 Shunt Resistor 32
8.4.1 Example 33
8.5 Choosing the Right Resistor for an LED 35
8.5.1 Example 36
8.6 Measuring Internal Resistance of a Battery 39
8.6.1 Example 40
8.7 Testing Some Components Using Multimeter 41
8.7.1 Potentiometer Test 41
8.7.2 BJT Transistor Test 43
Safety Specifications and Instructions
The meter conforms to IEC61010-1 (CAT.) III 600 V overvoltage safety standard and pollution level 2.
operation that may cause damage to equipment
operation that may cause damage to users
Before using the meter, please read the printed manual carefully (the printed one that comes with the
multimeter kit) and pay particular attention to the safety information to avoid possible electric shock or
personal injury.
In general, if something unusual happens or if you suspect that something is wrong or has
malfunctioned, do not do anything with the product and immediately contact the seller for assistance
2
Mastering the Art of Measurement (DM401B Smart Digital Multimeter) r.01 www.plusivo.com

Introduction
In this guide, you are going to learn how to measure DC voltage and AC voltage, AC and DC
current, resistance, diodes, frequency/duty, capacitance, temperature and continuity test using DM401B
6000 Counts T-RMS Smart Digital Multimeter. You are also going to learn how to use the Non Contact
AC voltage test and the live wire test. We are going to study some basic concepts like Ohm's Law and
Kirchhoff's Law. Please note that product color may slightly vary due to photographic lighting sources or
your monitor settings.
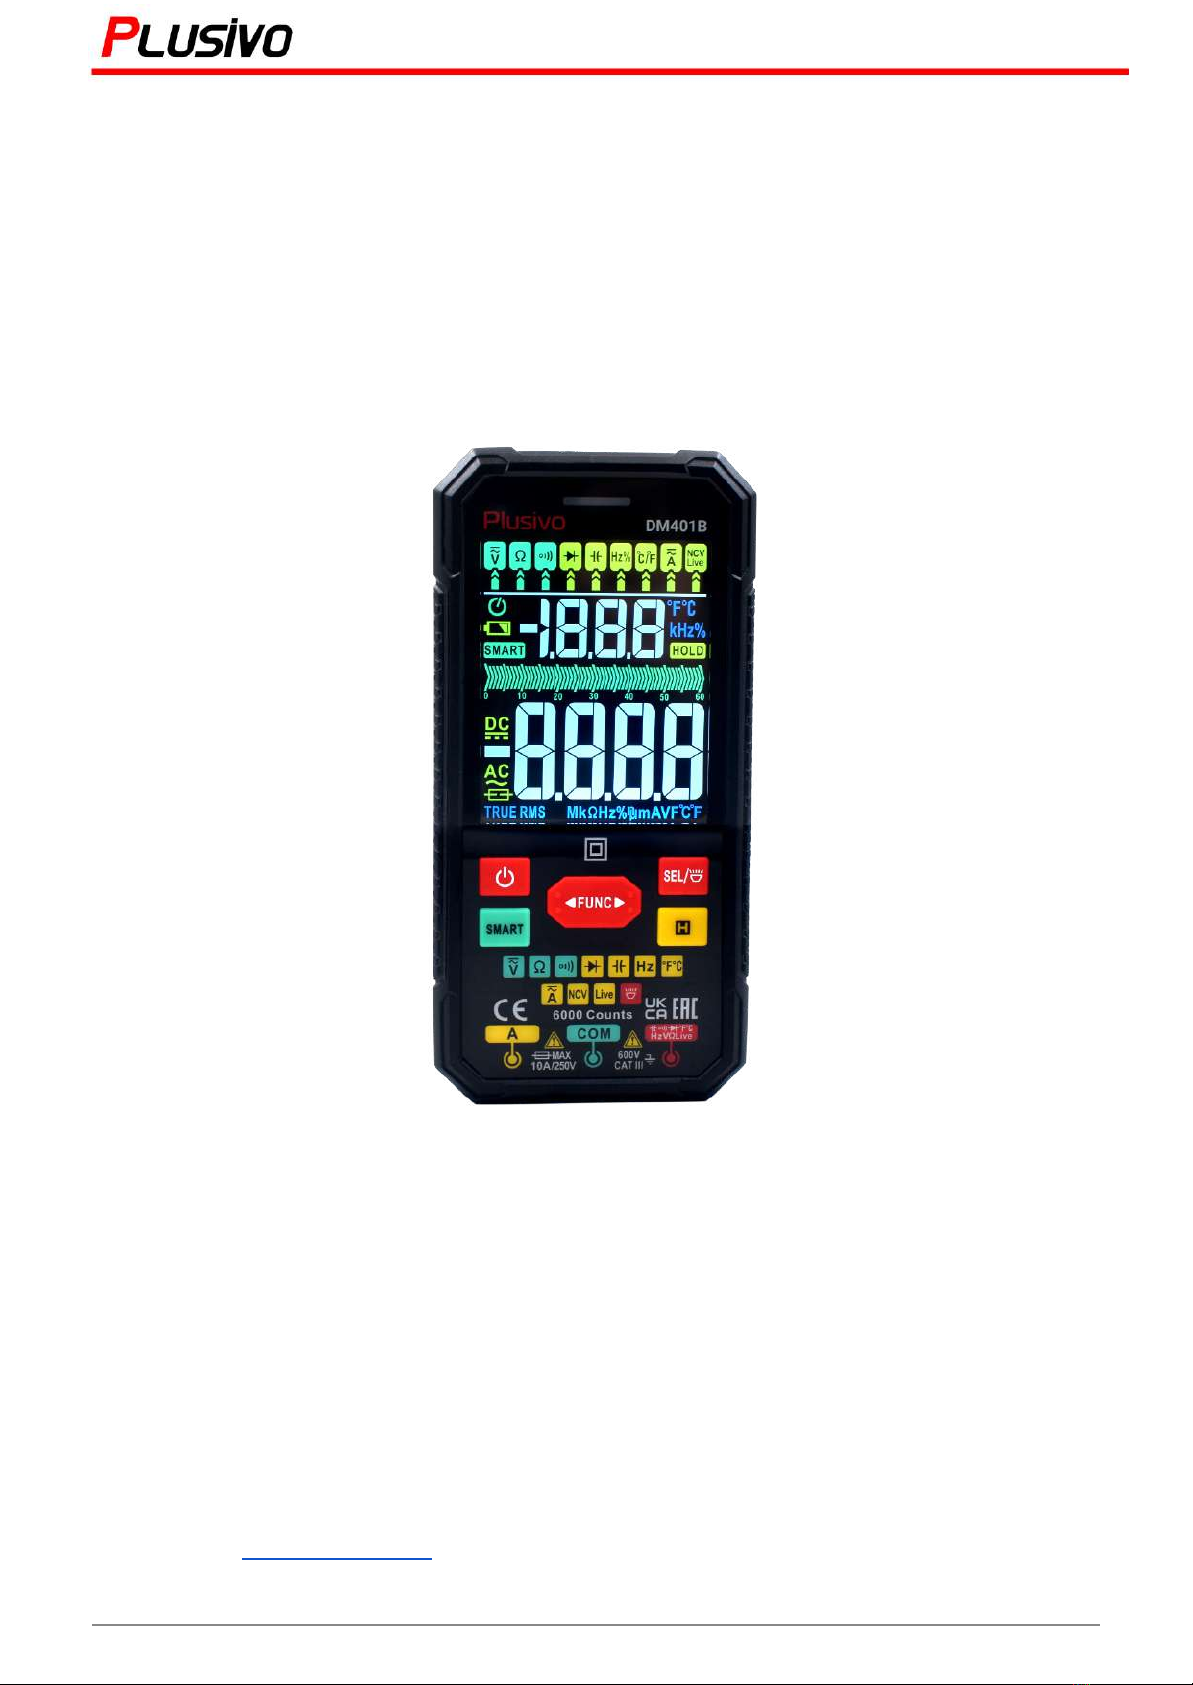
1. Overview
This meter is a true RMS smart digital multimeter. It has an intelligent and professional
measurement function. Full function, with gear display, analog bar with multiple displays. This smart
digital multimeter can be used to measure DC voltage and AC voltage, AC and DC current, resistance,
diodes, frequency/duty, capacitance, temperature and do continuity tests. It can also be used as a Non
Contact AC Voltage tester and has live wire test functions. The large display and function layout show
clearer and better user experience. It is the best choice for professional electricians, enthusiasts and
families.
Please take the time and read the printed operating instructions manual that is inside the
kit before use and pay attention to the safety information and retain them for future reference.
Failure to follow these instructions may lead to serious injury and damage to property.
In general, if something unusual happens or if you suspect that something is wrong or has
malfunctioned, do not do anything with the product and immediately contact the seller for assistance
3
Mastering the Art of Measurement (DM401B Smart Digital Multimeter) r.01 www.plusivo.com

2. Parts
4
Mastering the Art of Measurement (DM401B Smart Digital Multimeter) r.01 www.plusivo.com

2.1 Display
AC / DC Voltage measurement
Resistance measurement
Continuity measurement
Diode measurement
Capacitance measurement
Frequency measurement
Temperature measurement
AC / DC Current measurement
Non Contact Voltage Test
Live Wire Test
5
Mastering the Art of Measurement (DM401B Smart Digital Multimeter) r.01 www.plusivo.com

Alternating current measurement
Direct current measurement
Blown-fuse indicator
Negative input polarity
Low battery indicator
Auto measurement activated
Hold function activated
Auto power offindicator
mV, V
Voltage unit
μA, mA, A
Current unit
Ω, kΩ, MΩ
Resistance unit
kHz
Frequency unit
mF, nF, μF
Capacitance unit
,
Temperature measurement (Celsius, Fahrenheit)
2.2 Function keys description
6
Mastering the Art of Measurement (DM401B Smart Digital Multimeter) r.01 www.plusivo.com

FUNC
Function Key to switch between measurements
SMART
Function for Smart (auto) measurement
Select key / Flashlight function
Power button
Hold Function for data or reading retention
3. Reference Table
3.1 Table of SI units
Quantity
SI Unit
Abbreviation
Voltage
Volts
V
Current
Ampere
A
Power
Watt
W
Energy
Joule
J
Electric charge
Coulomb
C
Resistance
Ohm
Ω
Capacitance
Farad
F
Inductance
Henry
H
Frequency
Hertz
Hz
3.2 Table of prefixes
Prefix
Power
Numeric Representation
Tera (T)
1012
1 trillion
Giga (G)
109
1 billion
Mega (M)
106
1 million
Kilo (k)
103
1 thousand
No prefix
100
1 unit
Milli (m)
10−3
1 thousandth
Micro (μ)
10−6
1 millionth
Nano (n)
10−9
1 billionth
Pico (p)
10−12
1 trillionth
7
Mastering the Art of Measurement (DM401B Smart Digital Multimeter) r.01 www.plusivo.com

4. Technical Specifications
● Using condition: CAT. III 600 V;
Pollution Level 2, Altitude <2000 m;
Working temperature and humidity:
0~40°C (<80% RH, <10°C non-considering);
Storage temperature and humidity:
-10~60°C (<70% RH, remove the battery)
● Temperature coefficient: 0.1 x accuracy / °C (<18°C or >28°C);
● MAX. Voltage between terminals and earth ground: DC/ AC 600 V;
● Fuse protection: F10 A/250 V fuse
● Sampling rate: approx. 3 times/second
● Display: 6000 counts
● Over range indication: "OL".
● Low battery indication " " will be displayed.
● Input polarity indication: display "-".
● Power requirement: 4 x 1.5 V AAA batteries.
4.1 Accuracy specifications
The accuracy applies within one year after the calibration. Reference condition: ambient temperature
from 18°C to 28°C, relative humidity not more than 80%.
4.2 DC Voltage
Range
Resolution
Accuracy
600 mV
0.1 mV
± (0.5% + 3)
Impedance: approx. 10 MΩ
6 V
0.001 V
60 V
0.01 V
600 V
0.1 V
4.3 AC Voltage
Range
Resolution
Accuracy
6 V
0.001 V
±(0.8% +3)
60 V
0.01 V
600 V
1 V
Impedance: approx. 10 MΩ
Frequency response: 40 Hz~1kHz; TRMS
4.4 AC/DC current
Range
Resolution
Accuracy
600 mA
0.1 μA
±(1.2% +3)
6 A
1μA
10 A
0.01 mA
Overload protection: F10 A/250 V fuse
Frequency response: 40 Hz~1k Hz; TRMS
8
Mastering the Art of Measurement (DM401B Smart Digital Multimeter) r.01 www.plusivo.com

4.5 Resistance
Range
Resolution
Accuracy
600 Ω
0.100 Ω
±(1.0% +5)
6 kΩ
0.001 kΩ
60 kΩ
0.010 kΩ
600 kΩ
0.100 kΩ
6 MΩ
0.001 MΩ
60 MΩ
0.010 MΩ
±(1.5% +10)
Overload protection: 250 V
4.6 Capacitance
Range
Resolution
Accuracy
6 nF
0.001 nF
±(4.0% +5)
60 nF
0.01 nF
600 nF
0.1 nF
6 μF
0.001 μF
60 μF
0.01 μF
600 μF
0.1 μF
6 mF
0.001 mF
±(5.0% +5)
60 mF
0.01 mF
Overload protection: 250 V
4.7 Frequency/Duty
Range
Resolution
Accuracy
6 Hz
0.001 Hz
±(1.0% +3)
60 Hz
0.01 Hz
600 Hz
0.1 Hz
6 kHz
0.001 kHz
60 kHz
0.01 kHz
600 kHz
0.1 kHz
6 MHz
0.001 MHz
10 MHz
0.01 MHz
1.0~99.0%
0.1%
±(1.0% +3)
Overload protection: 250 V
9
Mastering the Art of Measurement (DM401B Smart Digital Multimeter) r.01 www.plusivo.com

4.8 Diode/Continuity
Diode voltage drop indicator
Approx. 50Ω buzzer will sound and the LED will light up
4.9 Temperature
Range
Accuracy
°C
-40°C ~ 0°C
± 3°C
0°C ~ 1000°C
± 2.0% or ± 2°C
°F
-40°F ~ 32°F
± 6°F
32°F ~ 1832°F
± 2.0% or ± 4°F
Resolution: 1°C/1°F
Note: use K-type thermocouple probe
5. Instrument Operation
5.1. Power On/Off
Press and hold the " " key for about 2 seconds to turn on or off.5
5.2 Gear Selection
Press the " " key to select manual mode;
Press the " " key again to select the gear to left or right;
Press the " " key to return to AUTO measurement mode. By default, the power is in smart
measurement mode.
5.3 Data Hold
Press " " key to turn on or off the data holding.
5.4 Flashlight
Press and hold " " key for about 2 seconds to turn on or off the flashlight.
5.5 Backlight
Press " " to turn on or off the backlight.
Note: the VA display does not have this feature.
10
Mastering the Art of Measurement (DM401B Smart Digital Multimeter) r.01 www.plusivo.com

5.6 Blown-fuse indicator
If the fuse is blown, the symbol " " will appear on the display.
When the current gear is selected, the symbol "FUSE" is displayed simultaneously. Current
measurement is not allowed. Please replace the fuse in time.
5.7 Input jack indicator
When shifting gear, the corresponding input indicator will flash 5 times to prompt you to insert the probe
into the appropriate socket.
5.8 Automatic current identification
When the “A” connector is inserted into the sensor, the meter will automatically shift to the “ ” gear and
enter the current measurement function.
5.9 Automatic shutdown
Once enabled, it will default to auto power off and display " " symbol. Without any key operation for
about 15 minutes, the meter will turn off automatically to save the battery power.
Press and hold the “ ” button to turn on the meter, the auto power off function will be canceled.
6. Measurement operation
● Do not measure voltages higher than 600 V; otherwise the meter may be damaged.
● Pay special attention to safety when measuring high voltage to avoid electric shock or
injury.
● Before use, please check the known voltage with a multimeter to ensure that the
multimeter is in good condition.
6.1 Smart (AUTO) measurement
This measurement mode is used by default when turned on. In this mode, DC voltage, AC voltage,
resistance, continuity can be measured, and the meter can automatically identify the measurement
signal.
1) Press the button to turn on the power, display and enter the smart measurement mode.
2) Insert the red probe into the jack and the black test lead into the "COM" jack.
3) Contact the probes with both ends of the measured power or resistance (in parallel), and the meter
will automatically recognize the measured signal.
4) When measuring resistance, if the resistance is less than about 50 Ω, the buzzer sounds and the
indicator lights up.
5) Read the results from the display.
NOTE: The minimum measured voltage in this mode is 0.8 V.
11
Mastering the Art of Measurement (DM401B Smart Digital Multimeter) r.01 www.plusivo.com

7. Professional measurement
7.1 AC/DC Voltage Measurement
1) Press the button to turn on the power, will be displayed and will enter the smart
measurement mode.
2) Press " " key to select " " gear.
3) Press the “ ” button to select AC or DC voltage. The " " symbol on the display is the AC
voltage; the " " symbol on the display is the DC voltage.
4) Insert the red probe into the jack and the black test lead into the "COM" jack.
5) Contact the probe with both ends of the measured power supply (parallel).
6) Read the results from the display.
12
Mastering the Art of Measurement (DM401B Smart Digital Multimeter) r.01 www.plusivo.com

7.2 Resistance Measurement
1) Press the button to turn on the power, will be displayed and will enter the smart
measurement mode.
2) Press " " key to select "Ω" gear.
3) Insert the red probe into the jack and the black test lead into the "COM" jack.
4) Contact the probe with both ends of the measured power supply (parallel).
5) Read the results from the display.
13
Mastering the Art of Measurement (DM401B Smart Digital Multimeter) r.01 www.plusivo.com

7.3 Continuity test
1) Press the button to turn on the power, will be displayed and will enter the smart measurement
mode.
2) Press " " key to select " " gear.
3) Insert the red probe into the jack and the black test lead into the "COM" jack.
4) Contact the probe with both ends of the measured resistance or circuit (parallel).
5) When measuring resistance, if the resistance is less than about 50 Ω, the buzzer sounds and the indicator lights
up.
6) Read the results from the display.
14
Mastering the Art of Measurement (DM401B Smart Digital Multimeter) r.01 www.plusivo.com

7.4 Frequency/Duty Measurement
1) Press the button to turn on the power, will be displayed and will enter the smart
measurement mode.
2) Press " " key to select "Hz%" gear.
3) Insert the red probe into the jack and the black test lead into the "COM" jack.
4) Contact the probe with both ends of the measured power supply (parallel).
5) Read the results from the display.
15
Mastering the Art of Measurement (DM401B Smart Digital Multimeter) r.01 www.plusivo.com

7.5 Capacitance Measurement
1) Press the button to turn on the power, will be displayed and will enter the smart
measurement mode.
2) Press " " key to select " " gear.
3) Insert the red probe into the jack and the black test lead into the "COM" jack.
4) Contact the probe with both ends of the measured power supply (parallel).
5) Read the results from the display.
16
Mastering the Art of Measurement (DM401B Smart Digital Multimeter) r.01 www.plusivo.com

7.6 Diode test
1) Press the button to turn on the power, will be displayed and will enter the smart
measurement mode.
2) Press " " key to select " " gear.
3) Insert the red probe into the jack and the black test lead into the "COM" jack.
4) The red probe contacts the anode of the diode and the black probe contacts the cathode of the diode.
5) If the polarity of the sensor is opposite to the polarity of the diode, the display will show "OL".
6) Read the results from the display.
The measured forward voltage in this figure is 0.605 V
17
Mastering the Art of Measurement (DM401B Smart Digital Multimeter) r.01 www.plusivo.com

7.7 Temperature measurement
1) Press the button to turn on the power, will be displayed and will enter the smart
measurement mode.
2) Press " " key to select " " gear.
3) Insert the red probe into the jack and the black test lead into the "COM" jack.
4) The thermocouple probe contacts the measured object
5) Read the results from the display.
18
Mastering the Art of Measurement (DM401B Smart Digital Multimeter) r.01 www.plusivo.com

7.8 Non-contact AC voltage (NCV) detection
1) Press the button to turn on the power, will be displayed and will enter the smart
measurement mode.
2) Press " " key to select " " gear. The "NCV" symbol will be displayed.
3) Gradually approach the NCV sensor area to the conductor.
4) When the weak electric field signal is detected, it will display "---L"; the sound of the buzzer will slow
down and the green light will turn on.
5) When the strong electric field signal is detected, it will display "---H"; the buzzer will sound fast and the
red light will turn on.
19
Mastering the Art of Measurement (DM401B Smart Digital Multimeter) r.01 www.plusivo.com
Table of contents
Other Plusivo Multimeter manuals