manuals.online logo
Brands
  1. Home
  2. •
  3. Brands
  4. •
  5. Plyroom
  6. •
  7. Indoor Furnishing
  8. •
  9. Plyroom Dream Cloud User manual

Plyroom Dream Cloud User manual

PLYROOM
Dream Cloud Loft Bed
Thank you for choosing this product to be a part of your home. Each Plyroom piece is made for life
from sustainably forested materials. Your choice is helping support environmental initiatives through our
contribution of 1% of our sales revenue to 1% for the Planet.
Share your space with us #plyroom
@plyroom
www.plyroom.com.au
This product has been designed and made by
Totem Italia exclusively for Plyroom.
INTENTIONALLY SIMPLE
 HONEST DESIGN
This product is designed with a modern interpretation of mortise and tenon joinery,
the oldest and strongest form of joinery used by carpenters for thousands of years.
The precise interlocking parts are displayed throughout, and the pieces fit together
like a jigsaw, emphasising the characteristics of the natural materials used.
Each mortice and tenon join is locked in place with a
handmade oak dowel.
MINIMAL PACKAGING
You might notice that your item is packaged simply. This is intentional to minimise
waste as much as possible. The plastic wrapping used can be recycled at many
recycling centres rather than going to landfill.
ASSEMBLING YOUR FURNITURE
→Do
We ask that you take your time in assembling this piece of furniture. All pieces are
designed to lock together with precision.
Use a mallet to press mortise and tenon joins together so they are flush. If you don’t
have a mallet a hammer covered with a soft towel is fine.
Check all joins are flush before inserting the oak dowels.
Use a hammer to tap dowels in and fasten pieces together. Make sure the dowel is
straight before you hammer.
→Don’t
Use a mallet on the timber dowels as the soft head of the mallet will cause them
to snap.
PRODUCT CARE
For general care we recommend dusting with a clean, dry cloth, or wiping down
with soft cloth wrung dry from plain water (leaving the surface dry after cleaning).
Avoid detergents or solvents of any type.
IMPORTANT!
→Disassembling your frame
This piece is designed to be disassembled when required. Please note that when
disassembling, a hammer must be used to remove the dowels. ALWAYS hold the
hammer in line with the grain of the timber panel it fastens and use the prongs of
the hammer to lever the dowel out slowly. If this step is not followed it will result in
breakage of the dowel.
Once the timber dowel is removed the mortise and tenon pieces will come apart
with some gentle tapping with a mallet.
ASSEMBLY INSTRUCTIONS
 Lay 2 x B1 pieces on the floor and place B2 in between as shown
above. Attach as shown above - ensure the joins are exactly correct
before joining gently with a mallet. Repeat with 2 x B1 and B3. This
piece will be the front of your loft bed. Join your two supports with one
A frame as shown. Once all nodes are in the right position, a mallet can
ensure all parts are firmly in position.
 Make the mattress base by uniting C1 and C2. Once it’s
connected lift it onto the frame, and resting on the support of the A
frame. Once all nodes are in the right position on the B and A pieces,
use a mallet to ensure they are firmly in position.
PARTS
 Insert D1 and D2 onto the frame. Ensure D1 is on the same side
as the ladder. Insert the dowels on the side with the A frame to secure
the pieces. Add part F onto D1 and secure with the 3 wooden plugs.
Tap them in lightly with a hammer, you may want to put a soft cloth
over the hammer to protect the panel from getting scratched by the
hammer.
 Assemble the remaining part A onto the open side. Once all
nodes are in the right position, use a mallet to ensure they are firmly in
position. Insert the dowels on the side with the A frame to secure the
pieces.
 Insert E2 into the openings of the 2 x E1 pieces and lock in place
by pushing E2 downward. The ladder steps (E3) are inserted into the
square protrusions on the upper side of each rung. Use a mallet to tap
it firmly in place.
 Place the ladder on the opening and fix at the back by tapping
in 2 wooden dowels. Add support part H onto D1 and secure inside
with the 3 wooden plugs. Tap them in lightly with a hammer, you may
want to put a soft cloth over the hammer to protect the panel from
getting scratched by the hammer.
There will be 2 spare dowels in your box to keep as spares.
A x 2
D1 x 1
B1 x 4
B2 x 2
E1 x 2
D2 x 1
B3 x 2
C1 x 1 C2 x 1
E2 x 1 E3 x 4
I x 3
wooden
plug
wooden
dowels
G x 20
H x 1 A
B1
B3
B2
C1
C2
B3
D1
D2
A
A
B1
E1
E3
E2
E1
H
E

Other Plyroom Indoor Furnishing manuals

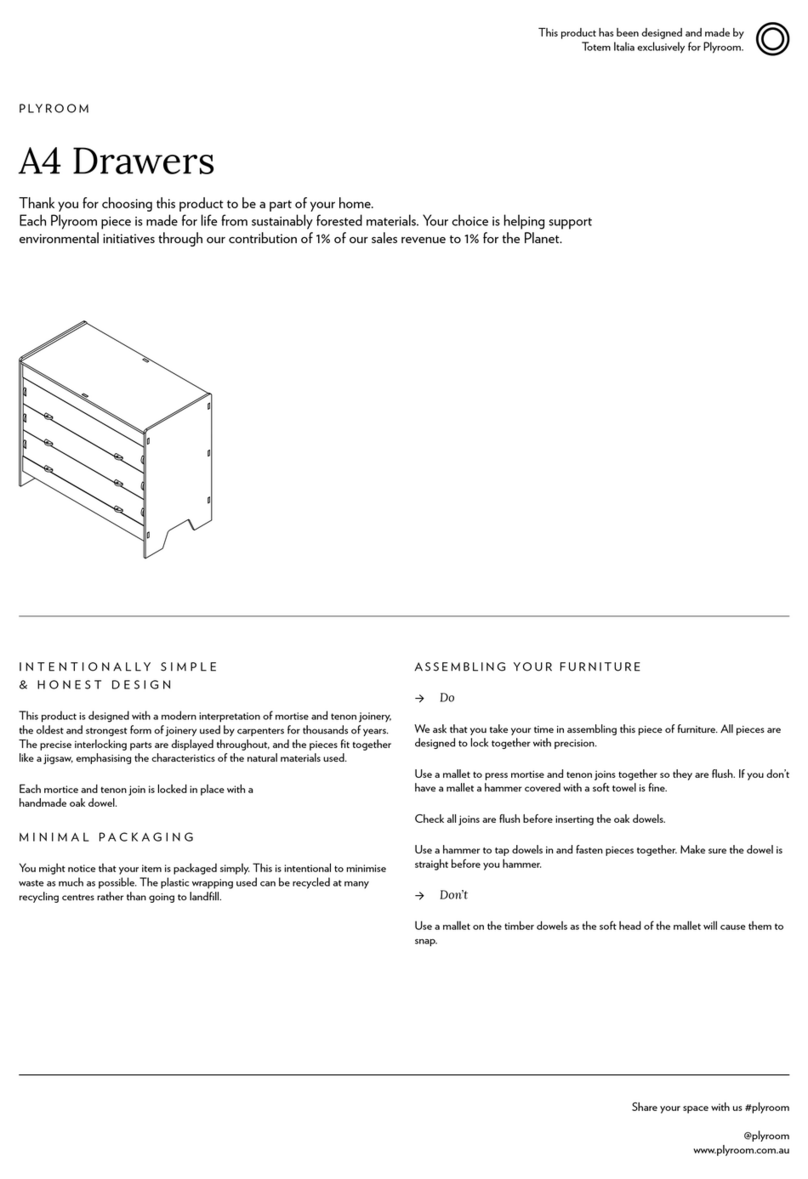
Plyroom A4 Drawers User manual

Plyroom

Plyroom A4 Drawers User manual

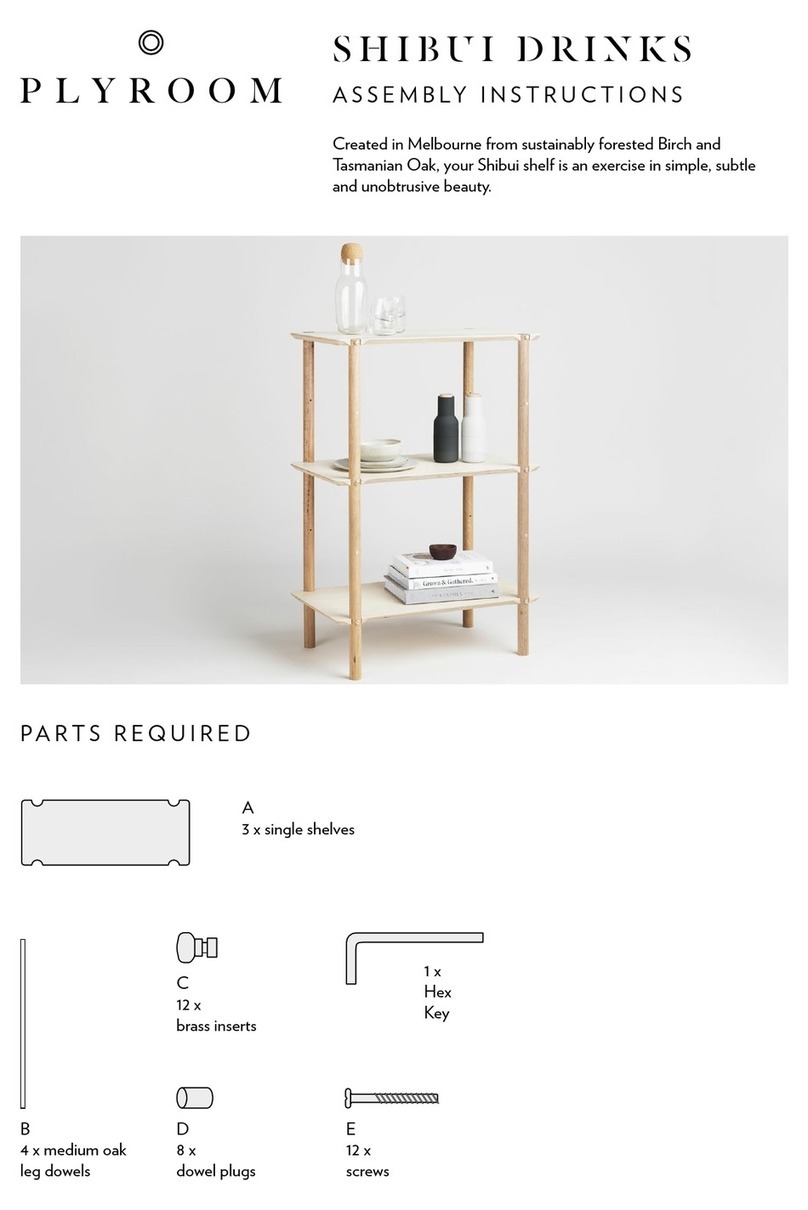
Plyroom SHIBUI DRINKS User manual

Plyroom

Plyroom SHIBUI DRINKS User manual

Popular Indoor Furnishing manuals by other brands

Living Spaces 305-P281260 Assembly instructions

Living Spaces

Living Spaces 305-P281260 Assembly instructions

Sauder Trestle 424127 Instruction booklet

Sauder

Sauder Trestle 424127 Instruction booklet

physa PHY-MT-3 user manual

physa

physa PHY-MT-3 user manual

Agata Hill quick start guide

Agata

Agata Hill quick start guide

Santos Andirá 146796 Assembling instructions

Santos Andirá

Santos Andirá 146796 Assembling instructions

DXV Belshire D19080000.550 installation instructions

DXV

DXV Belshire D19080000.550 installation instructions

Gautier Office 015 Assembly instructions

Gautier Office

Gautier Office 015 Assembly instructions

STILFORD STPSTB6WEK Assembly instructions

STILFORD

STILFORD STPSTB6WEK Assembly instructions

Castleton ZH1292 STORAGE LOUNGE Assembly instructions

Castleton

Castleton ZH1292 STORAGE LOUNGE Assembly instructions

Metro DataVac qwikSLOT Instructions for use

Metro DataVac

Metro DataVac qwikSLOT Instructions for use

SitOnit Seating Wit - Home Edition Assembly instructions

SitOnit Seating

SitOnit Seating Wit - Home Edition Assembly instructions

Grain SH0501 Assembly instructions

Grain

Grain SH0501 Assembly instructions

Aquaglide C-DECK owner's manual

Aquaglide

Aquaglide C-DECK owner's manual

GoodHome pebre INTS1 manual

GoodHome

GoodHome pebre INTS1 manual

MDF EDEN ED02 Assembly instructions

MDF

MDF EDEN ED02 Assembly instructions

Unfinished Furniture of Wilmington S-6163 Assembly instructions

Unfinished Furniture of Wilmington

Unfinished Furniture of Wilmington S-6163 Assembly instructions

Seville Classics WEB488 manual

Seville Classics

Seville Classics WEB488 manual

Micasa BICO Goodnight Boxspring installation instructions

Micasa

Micasa BICO Goodnight Boxspring installation instructions

manuals.online logo
manuals.online logoBrands
  • About & Mission
  • Contact us
  • Privacy Policy
  • Terms and Conditions

Copyright 2025 Manuals.Online. All Rights Reserved.