ER-808 – User Guide
_____________________________________________________________________________________
_____________________________________________________________________________________
Page 2 of 5
1. Introduction
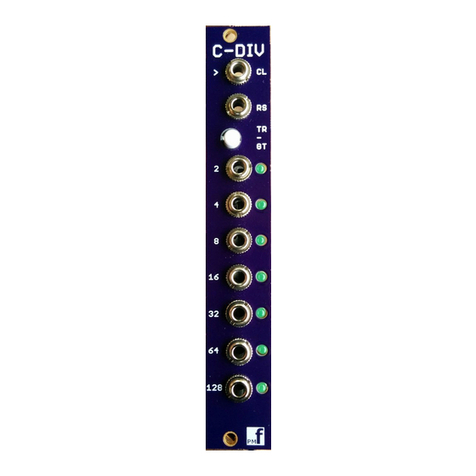
This is PMF’s tribute to the Roland TR-808, as a Eurorack-compatible module composed of a
panel and a set of build-it-yourself PCBs.
The ER-808 is driven by a PIC microcontroller which is pre-programmed and included with the
PCB set.
2. Touch panel vs Button panel
There are two versions of this project. One uses push buttons to program the steps and the
other introduces capacitive touch pads directly on the front panel to modernize the TR-808
experience.
The touch panel "buttons" are capacitive touch pads consisting of the area surrounding the step
LED and marked with a rounded square outline on the panel.
3. Short press and Long Press
Touching a step pad or pressing a step button toggles that step. Holding the pad or the button
for an extended period results in a "long press" signal being sent for the step, resulting in
specific and different actions. These actions are described further under the individual actions
listed below.
4. Mode button. Pattern mode (LED is off):
Used to modify the currently loaded pattern. The pattern is only held locally until you save it in
one of the memories. You can assign the drums when the sequence is stopped or you can do it
while it is running. Long press a step to set the length of the pattern. When you long press the
step, the LEDs below that step will all flash once and the pattern will loop from that position
rather than from step 16.
5. Drum buttons
Selected drum (LED on) will be toggled on or off that step when a step button is pressed.
6. Setting Pattern Length
Long pressing a step while in Pattern mode sets the Pattern Length from 1 to 16 steps. While
long pressing the step, all the steps below will flash once to indicate the pattern length has been
set. Any drums programmed to the steps above the pattern length will be removed from those
unused steps.
