GENERAL INFORMATION
GENERAL INFORMATION
3
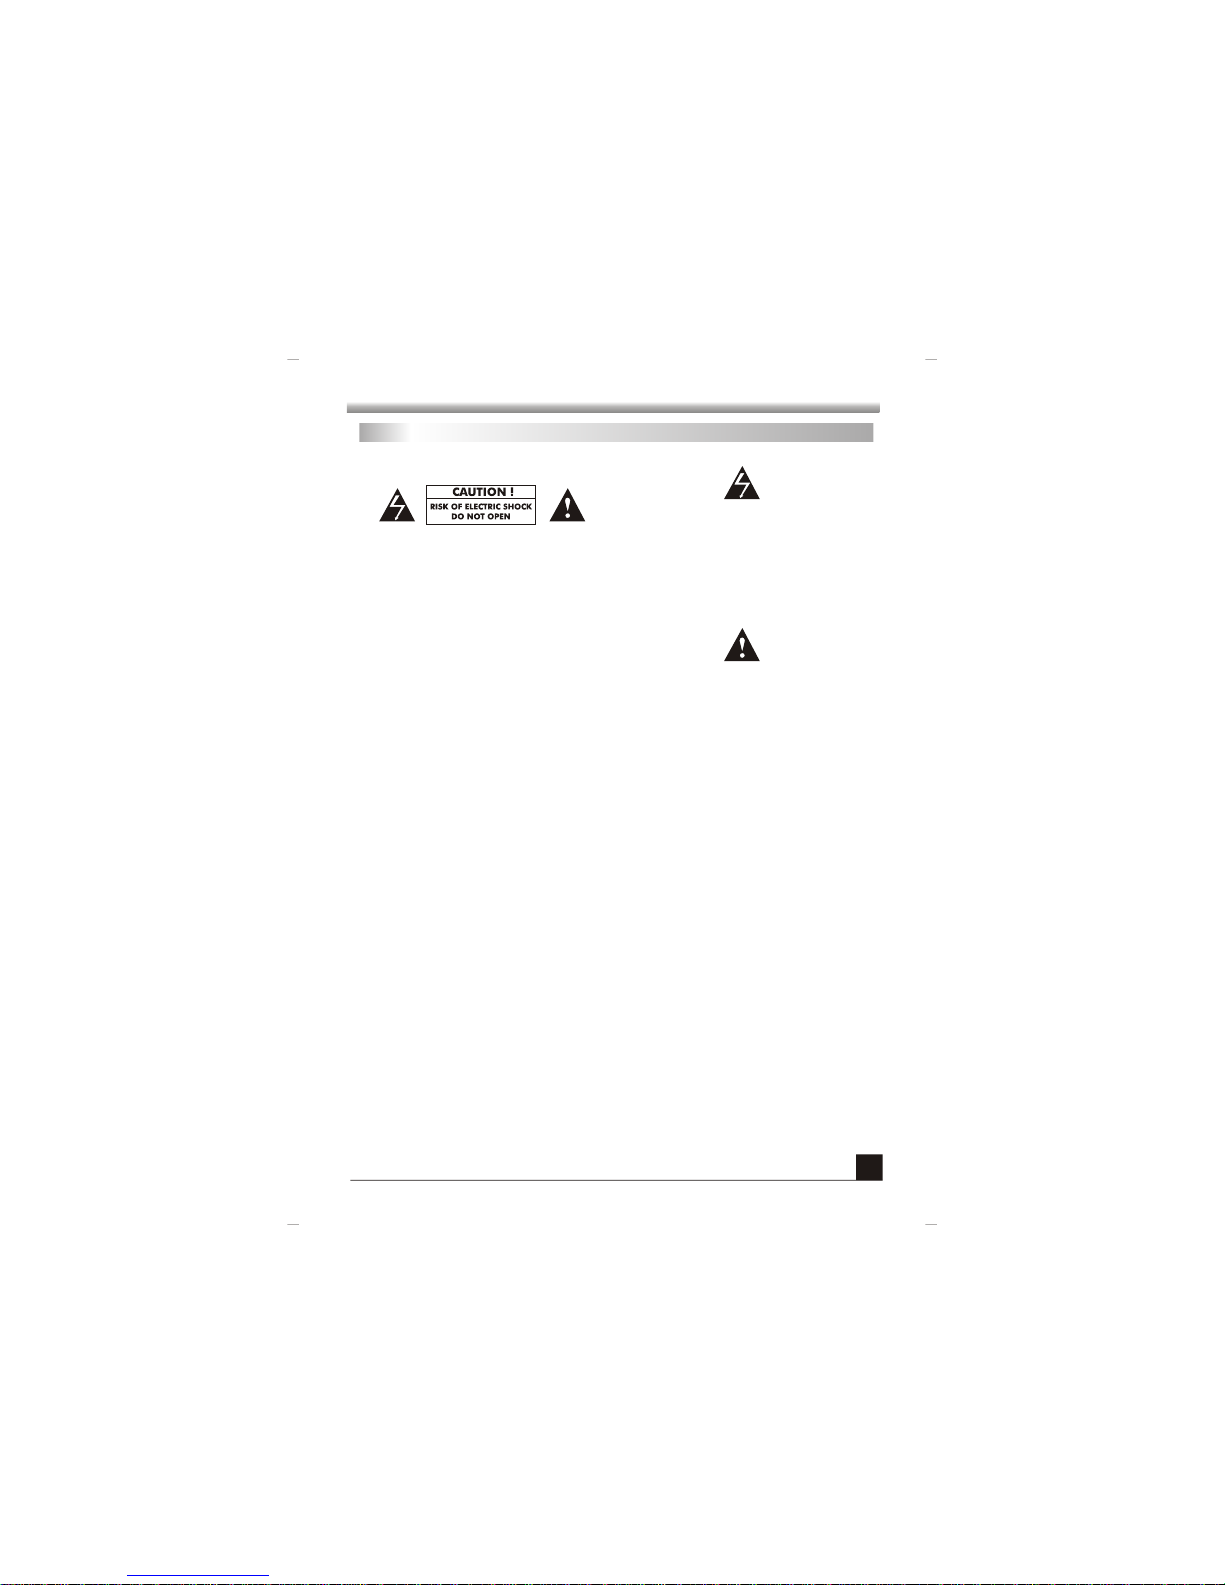
Safety Precautions
Th e li g h t n i ng f la s h wi t h ar r o w h ea d
sy m b o l , w it h i n a n e q u il a t e r a l tri a n g l e ,
is i n t e n d ed t o a l e r t t he u s e r t o t h e
pr e s e n c e of u n i n s ula t e d da n g e r o us
vo l t a g e w i t hi n t h e p r o d u ct s e n c l o s u re
th a t m a y b e o f su f f i c i e nt m a g n i t ude t o
The exclamation point within an equilateral
triangle is intended to alert the user to the
p r e s e n c e o f i m p o r t a n t op e r a t i o n a n d
maintenance (servicing) instruction in the
literature accompanying the appliance.
CAUTION:
TO PREVENT ELECTRICAL SHOCK. DO
NOT REMOVE THIS COVER, NO USR-
SE R V I C E A BLE PAR T S IN SIDE. R E F E R
SE R V ICI N G TO QUALI F I ED SERV I C E
PERSONNEL.
WARNING:
TO PRE VE NT DAMAGE WHIC H MAY
RESULT IN FIRE OR SHOCK HAZARD. DO
NOT EXPOSE THIS APPLIANCE TO RAIN
OR MOISTURE.
CAUTIO N : DANGER OF EXPLOSION IF BATTERY IS INCORRECTLY REPLACED. REPLACE ONLY
WITH THE SAME OR EQUIVALENT TYPE.
WA R NING: TO REDUCE THE RISK OF FIRE FO ELECTRIC SHOCK, DO NOT EXPOSE THIS
APPLIANCE TO RAIN OR MOISTURE. DANGEROUS HIGH VOLTAGES ARE PRESENT
INSIDE THE ENCLOSURE. DO NOT OPEN THE CABINET. REFER SERVICING TO
QUALIFIED PERSONNEL ONLY.
WA R NING: THE APPARATUS SHALL NOT BE EXPOSED TO DRIPPING OF SPLASHING AND THAT
NO OBJECTS FILLED WITH LIQUIDS, SUCH AS VASES SHALL BE PLACED ON THE
APPARATUS.
CAUTIO N : TO PREVENT ELECTRIC SHOCK, MATCH WIDE BLADE OF PLUG TO WIDE SLOT, FULLY
INSERT.
CAUTIO N : THESE SERVICING INSTRUCTIONS ARE FOR USE BY QUALIFIED SERVICE PERSONNEL
ONLY. TO REDUCE THE RISK OF ELECTRIC SHOCK DO NOT PERFORM ANY
SERVICING OTHER THAN THAT CONTAINED IN THE OPERATING INSTRUCTIONS
UNLESS YOU ARE QUALIFIED TO DO SO.