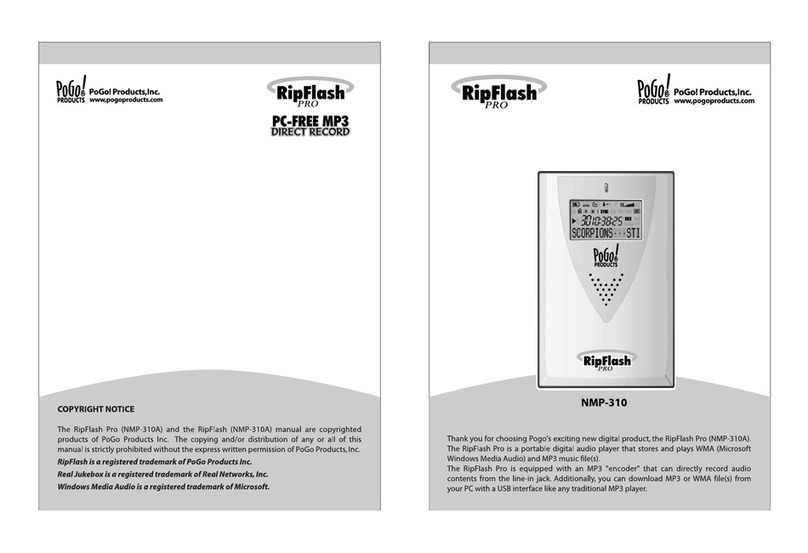
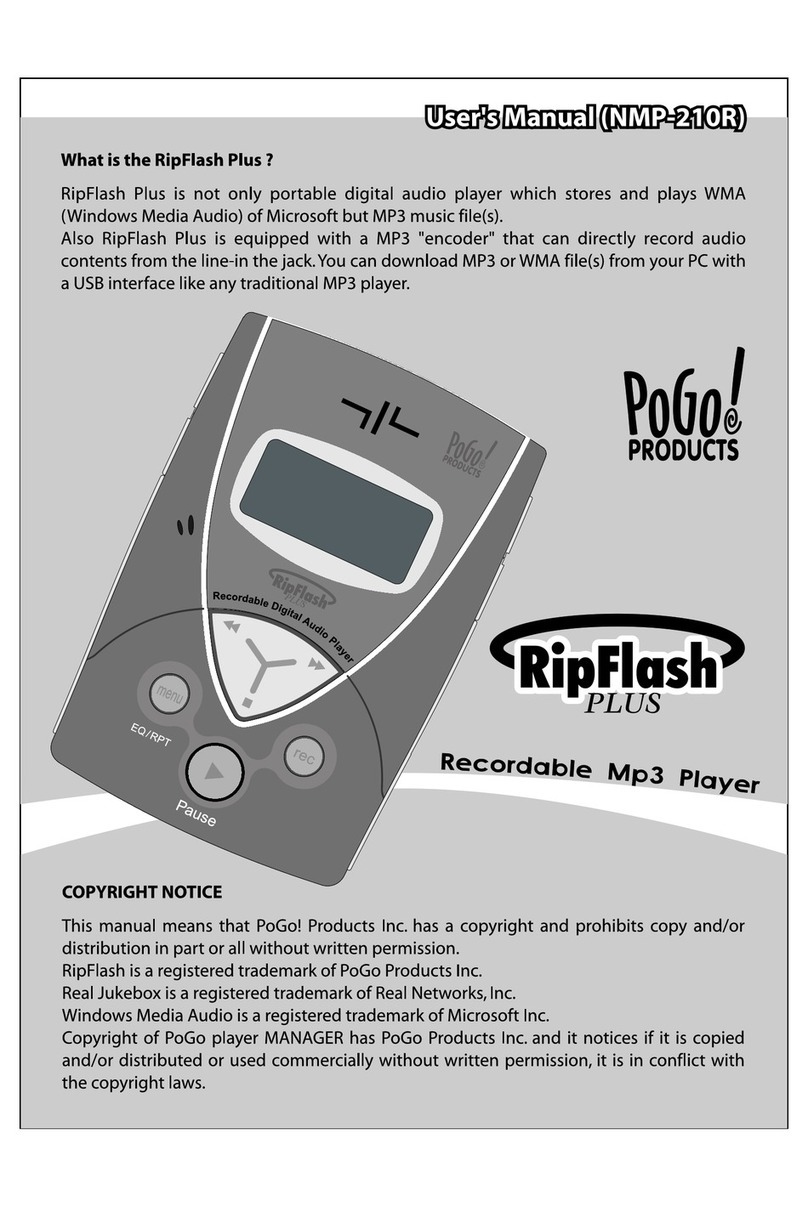
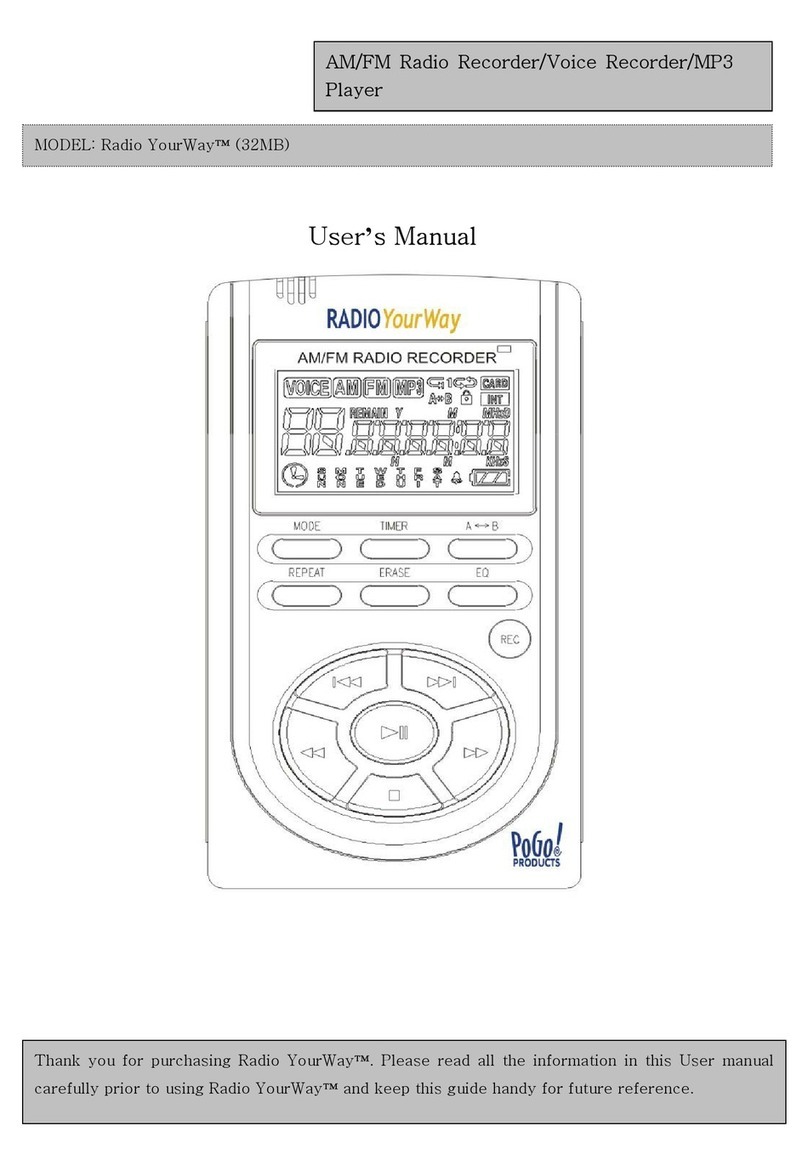
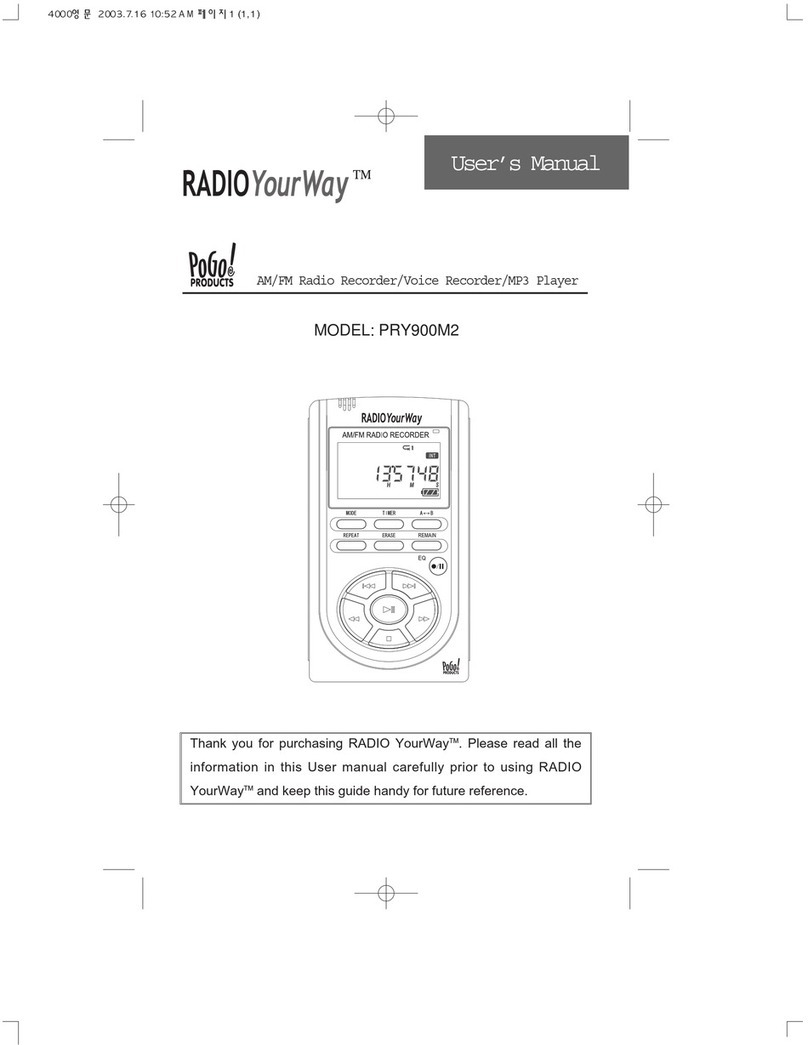
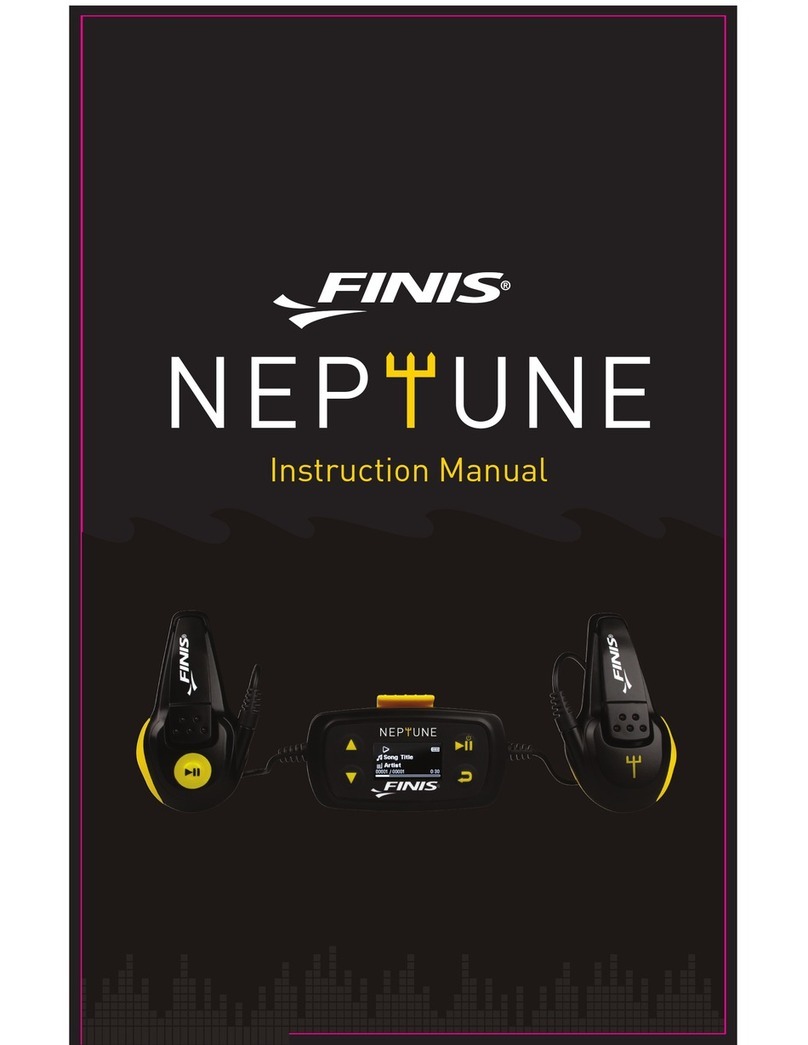
Pogo RipFlash PRO-2 256MB User manual

User’s Manual (RipFlash PRO 2)
COPYRIGHT NOTICE
The copyright owner of this manual is PoGo! Products Inc., and unauthorized reproduction
or distribution of the manual, or any portion of it, may result in severe civil and criminal
penalties.
FreeRip is a registered trademark of MG Shareware
WMA is a registered trademark of the Microsoft Corporation.
The copyright owner of the MP3 MANAGER software for the RipFlash PRO 2 is PoGo!
Products Inc, and unauthorized reproduction or distribution of this program without
permission, may result in severe civil and criminal penalties.
What is the RipFlash PRO 2?
1.The RipFlash PRO 2 is a portable digital audio player that can play both WMA (Windows
Media Audio Microsoft Corporation) and MP3 music files.
2.The RipFlash PRO 2 can record audio files directly from any audio source like a
voicerecorder, CD player or record player and encode the files directly to MP3.
3. With its built-in FM radio, the RipFlash PRO 2 can save sounds received from FM stations
as MP3 files.
Table of Contents
1. Getting Started
Quick Software & Drivers Installation Guide
Features ---------------------2
Standard Accessories -------------------3
Names of Components ---------------------4
LCD Window --------------------5
Inserting the Battery --------------------6
Charging the Battery --------------------7
GettingStarted------------------8
2. Basic Functions
Power On/Off --------------------9
Setting up the Hold Function------------------9

Modes ---------------------------------------------10
Adjusting the Volume Level -----------------11
Menus ---------------------------------------------11
FM Mode Menus -------------------------------12
Voice Recording ------------------13
Line In -----------------------------13
Setting up FM Modes ------------------13
3. Playing Mode
Playing the Track ---------------------14
Selecting the Track ---------------------14
Stopping/Pausing Playback ---------------------14
Adjusting the Equalizer ---------------------14
Setting up the Repeat Mode ------------------15
Repeating the Selected Section ------------------15
Controlling the Playback Speed ---------------------16
Setting up the Time for LCD Backlight --------------------16
4. Recording Mode
1) Voice Recording
Starting a Voice Recording -----------------17
Pausing a Voice Recording ---------------------17
Finishing a Voice Recording -----------------17
Playing a Recorded Voice File ------------------18
Setting up the VAD Recording ------------------18
Setting up the Recording Quality (Bit-rate) ------------------18
Adjusting the Voice Bit-rate --------18
2} Line In Recording
Setting up the Line In Recording Modes ------------------19
Setting up the Line In Recording ------------------20
- Starting the Line In Recording
- Pausing the Line In Recording
- Finishing the Line In Recording
- Listening to the Recorded files
Setting up the Silence Detection Level ------------------20
Adjusting the Sampling Frequency ------21
5. FM Mode
Listening to the FM Radio --------------21
Adjusting the Frequency in Search Mode ------21
Saving a Broadcast FrequencyAutomatically ------------23
Saving a Broadcast Frequency Manually ------------23
Selecting the Frequency Set in Preset Mode --23
Setting up Sleep Time ---------24
Selecting the Stereo/Mono Mode ---------------24
Adjusting the Frequency Band ------------24
Setting up FM Recording ------------------24
6. Managing the Memory
Erasing Files ------------------25
- Erasing One File
- Erasing All Files
Formatting the Memory -------------------26
Remaining Memory
7. Installing the PC Software ------27
8. Using the Manager Program -----28
9. Connecting the USB Cable to a PC ---------31
Connecting the USB Cable
Installing the USB Drive
10. Customer Support
Cautions -----------------34
Troubleshooting ---------------------35
Specifications ---------------------36
Warranty ---------------------37
Contact Information --------------37

1. Quick Software & Drivers Installation Guide.
Follow these instructions to load the software and drivers for your new RipFlash PRO 2
1. Place the software CD label side up into your computer’s CD-ROM drive. After a few seconds
you should see the image below.
Click the MP3 manager icon and Follow the Install shield wizard through.
Note: If the Installation Software screen does not load automatically, please click the START
button in the bottom left corner of your computer screen and click RUN.
Type D:\Manager\setup.exe and click ok
(If your PC uses a letter other than “D” substitute that letter)
You should now see the screen below ( follow the wizard through)

Once the screen below disappears, you have finished installing the software.
2. Plug in your RipFlash PRO 2 into your computer’s USB port and power it on.
Tip> To power on your unit hold play for 2-3 seconds
Your computer now should display “Found new hardware” and your RipFlash PRO 2 should
display USB ON-Line.
You should see the Found New Hardware screen below just click next

If you see the screen below select your OS (2000/XP or 98/ME) driver and then click next
Click continue anyways (Do not worry this will not HARM your PC we have tested this software

to be compatible with your OS)
When you see the screen below click finish.
Click the Mp3 manager icon on your desktop (with the player plugged in)
Nmp-312.lnk
Now click format

Congratulations your unit is installed and ready to use.
Features
●Playing MP3/WMA music files
Stores and plays both WMA(Microsoft Corporation) and MP3 files.
●FM radio
Receives FM radio signals and can record those signals as MP3 files.
●Built-in backlight/LCD window supports multilingual setting
Supplies multilingual ID3 TAGS. You can easily see the operation status with the
backlight.
●High quality voice recording in MP3
You can record voice to MP3 and play it back.
●Line in digital recorder
Directly converts and saves sound signals from all analog audio equipment into an
MP3 file without a PC.
●Setting up the variable bit-rates
You can use the memory effectively by controlling the recording quality with the
variable bit-rates (8KBps~256KBps) during voice or Line in recording.
●VAD (VoiceActivity Detection) Recording
You can optimize the recording time with the VAD recording function that starts
recording only when sound occurs.

●Speed control
Controls the playback speed.
●Resume
This product has a resume function that enables the player to always start playing
tracks where it left off.
●Firmware upgrade
You can easily upgrade the functions of this product with a firmware upgrade.
●Supplied PC software for MP3 encoding
Supplies the FreeRip application which can encode a CD (CDA) into an MP3 file.
For help with FreeRip, please visit the site below:
http://www.freerip.com/support.html

Standard Accessories
1 NMP-312 (Recordable MP3 player)
2 Stereo earphone
3 Installation CD
4 User’s manual
5 USB cable
6 Line in cable
7 Hand strap
※Caution! When you purchase the RipFlash PRO 2, check the accessories and If there
are any missing, contact your distributor.
Names of the Components
¾1 Earphone jack
¾2 USB jack
¾3 Line in jack
¾4 RECORDING button
¾5 EQ/REPEAT PLAYBACK/MENU button
¾6 PLAY/STOP/PAUSE button, FAST FORWARD/REWIND JOG control key
¾7 ADJUSTING VOLUME button
¾8 ESC/SECTION REPEAT button
¾9 MUSIC/HOLD/FM mode selection switch

¾10 BATTERY COVER
¾11 LED
¾12 LCD window
¾13 Built-in SPEAKER
¾14 Built-in Microphone
Tip> Press the PLAY [icon] for more than 2 seconds to turn the player on. Press PLAY
[icon] again for more than 2 seconds to turn it off.

LCD Window
Repeat mode
Repeat Playback mode
Track number/menu
Sound effect
Playback time/menu
Bit-rate, title and other information
Remaining battery
Volume
SYNC
Hold status
VAD
Playback

Power Cconsumption
Low battery warning
The [ ] mark is lowered according to the battery consumption. When the battery is fully
discharged, the player automatically shuts off.
Tip> Remaining battery
When this [ ] mark is displayed, you can use the player for about one hour. If the [ ] mark
is blinking, the power will automatically be shut off in less than a minute. Replace the battery.

2. Basic Functions
Power On
Press the PLAY [▶] button for 1~2 seconds to turn on the
RipFlash PRO 2.
Power Off
Power Off
Press the PLAY [▶] button for about 2 seconds during playback to turn the RipFlash PRO FM off.
▷When the power is turned off, a "Good Bye" message is displayed on the LCD window .
Setting up the Hold Function
The hold function is designed to prevent accidental use of the player. It can prevent
unnecessary consumption of the battery.
To setup the Hold mode,
Move the slide switch to the middle position (HOLD mark).
When the [Icon] appears on the LCD window, the player is in Hold mode.
▷If you setup Hold mode during the playback of a song, you will not be able to use any of the
buttons on the player. However, you would be able to listen to the rest of the song. After the
song is finished, the player would turn off.
▷If you setup Hold mode when the player is stopped, the power is automatically shut off in 5
seconds.

To exit the Hold mode,
Move the slide switch to the MUSIC or FM position.
The [Icon] now disappears from the LCD window. .
Tip> If you turn the player on in Hold mode, the power is automatically shut off after 5 seconds.
Make sure you select MUSIC or FM before turning the RipFlash PRO FM on.
Setting up the Modes
RipFlash PRO 2 consists of 4 modes as follows
▷Music Playback mode used for listening to music in an MP3/WMAformat
▷Voice Recording mode used to record voices
▷Line in Recording mode used to record from virtually any audio source without a PC.
▷FM Radio mode used to Receive/Record FM broadcasts
Adjusting the volume level
You can adjust the volume 0~20.

To increase the volume,
Press the upward arrow on the volume key.
Keep it pressed down to increase the volume faster.
To decrease the volume,
Press the downward arrow on the volume key.
Keep it pressed down to decrease the volume faster.
Setting up the Menu
The RipFlash PRO FM has 2 menus for MUSIC and FM modes.
Setting up the Music Mode
First, move the slide switch to MUSIC.
Now while the player is stopped, press the menu key on the left side.
Every time you press the menu key, the menu changes as shown below.

Setting up Voice Recording Mode
Move the Mode Selection switch to MUSIC.
Press the REC button.
The red LED light goes on and the voice recording starts.
Setting up Line In Recording Mode
Move the Mode Selection switch to MUSIC.
Connect the supplied line in cable to the external audio equipment as shown in the figure.

Press the REC button.
The red LED light goes on and the line in recording starts.
Setting up the FM Mode
Move the Mode Selection switch to FM.
Press the REC button to record FM radio.
3. Playing Mode
Setting up Music Mode
First, move the Mode Selection switch to MUSIC.
Playing Tracks
Press PLAY[▶] to play an MP3 or WMAaudio file saved in the memory.
Selecting a Track
Move the jog key FF[▶▶] or REW[◀◀] to select a track.
If you Keep FF[▶▶] or REW[◀◀]held down, you will scroll through the tracks very fast.
If you Keep FF[▶▶] or REW[◀◀]held down during playback, it will allow you to search the current
track and play it where you release the jog key.
Stopping/Pausing Playback

Press PLAY[▶] to pause a track in Playback mode.
The [icon] blinks and the current track is paused.
Press PLAY[▶] again to play the track again.
Tip1> To stop a track, first press PLAY[▶] to pause a track and then FF[▶▶] or REW[◀◀] to stop it.
Tip2> The power is automatically turned off if the unit is in stop/pause mode for more that 1
minute.
Tip3> This product has a resume function. This allows you to play a track where you left off last.
If you stop a track you can’t resume. Resume only works when you turn the unit off (Hold PLAY
for 2-3 seconds.)
Adjusting the Equalizer
Press the EQ/RPT button.
Every time you press the button, the Equalizer mode changes
as follows; Normal(No icon)Jazz→Rock→Pop→Classic→USER.
Release the button to select the Equalizer mode you want.
You can adjust the User EQ in the range shown below. Select the USER EQ mode (per above
instructions) and then hit the menu untill you see User EQ (mid,bass,treb) now press play to
select the desired one
Bass : Adjusts in the range of -6 ~ +6 dB
Mid : Adjusts in the range of -6 ~ +6 dB FW/RW to adjust
Treble : Adjusts in the range of -6 ~ +6 dB FW/RW to adjust
Tip> Move FF[▶▶] or REW[◀◀]up and down to select the desired dB
Setting up the Repeat Playback mode,

Press the EQ/RPT button for about 2 seconds.
The Repeat Playback mode icon blinks.
Every time you press the button, the Equalizer mode will change as follows; One→Rpt one→All→
Rpt all→INTRO→SHUFF.
Release the button to select the Repeat Playback mode you want.
EXAMPLE: listening to track #2 of 7,
Plays the track #2 only one time. --------------
Repeats the track #2 continuously. --------------
Plays all (seven) tracks one at a time (in turns). ----
Repeats all (seven) tracks after the all play.----
Plays the first 10 seconds of all (seven) tracks. ----
Plays all (seven) tracks one time (randomly).----
Repeat playback [A↔B]
To repeat a section of a track, press the [A↔B/SPD] key during
playback at the beginning of that section.
The [A→] icon appears and blinks.
Press the [A↔B/SPD] key again at the end of the section.
The [A↔B] icon blinks and the selected section plays repeatedly.
Press the [A↔B/SPD] key again to stop this mode.
The [A↔B] icon disappears and regular playback starts again.
Controlling the Playback Speed
Press the [A↔B/SPD] key for 2-3 seconds during playback.
The [Speed: SL1] icon is displayed.
Every time you press the key, the steps for playback speed displayed as follows; Normal(no
This manual suits for next models
1
Table of contents
Other Pogo MP3 Player manuals

Pogo
Pogo Radio YourWay 32MB User manual

Pogo
Pogo RipDrive 20GB User manual

Pogo
Pogo RipFlash DX 256MB User manual

Pogo
Pogo Radio YourWay PRY900M2 User manual

Pogo
Pogo RipFlash Plus 128MB User manual

Pogo
Pogo Radio YourWay LX 128MB User manual

Pogo
Pogo Radio YourWay User manual

Pogo
Pogo Recordable MP3 Player User manual

Pogo
Pogo RipFlash PRO 128MB User manual