Telephone Helpline: 1300 225 960 (Australia)
4
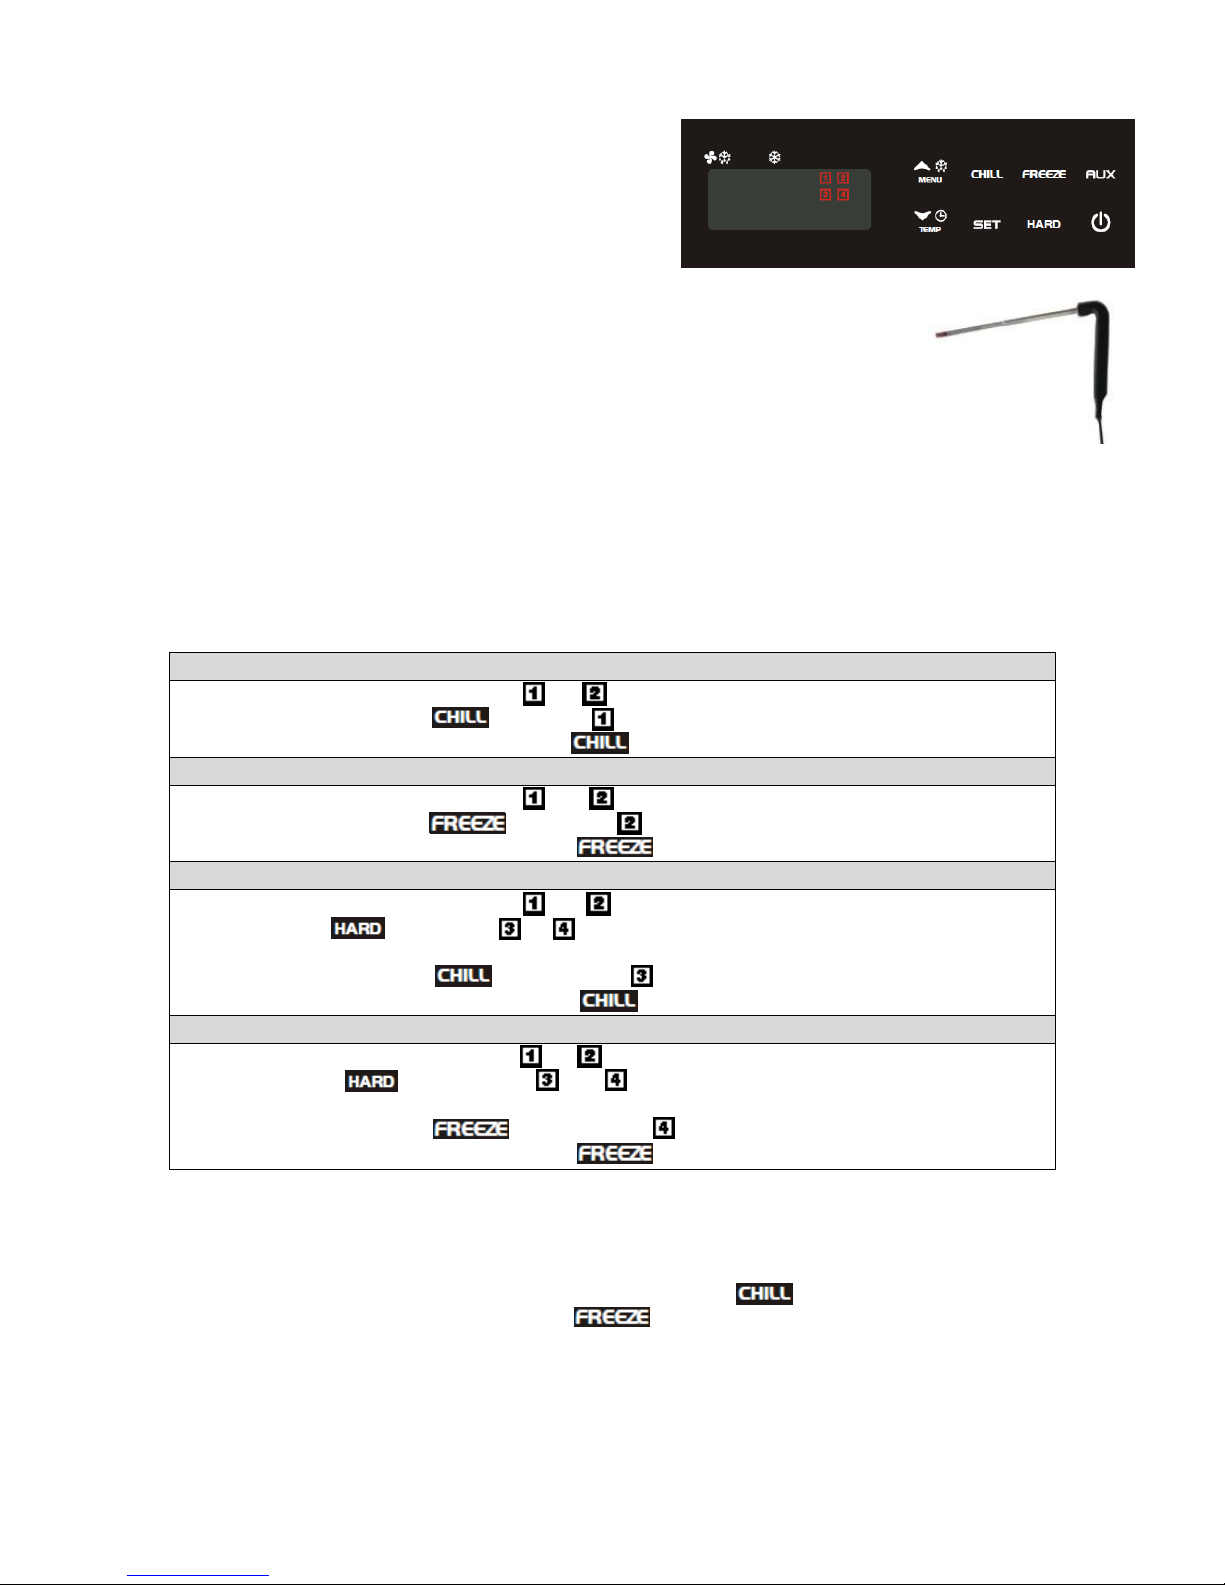
Turning on
In order to switch the unit on, press button. This will
place the unit on standby whilst waiting for the cycle to be
selected.
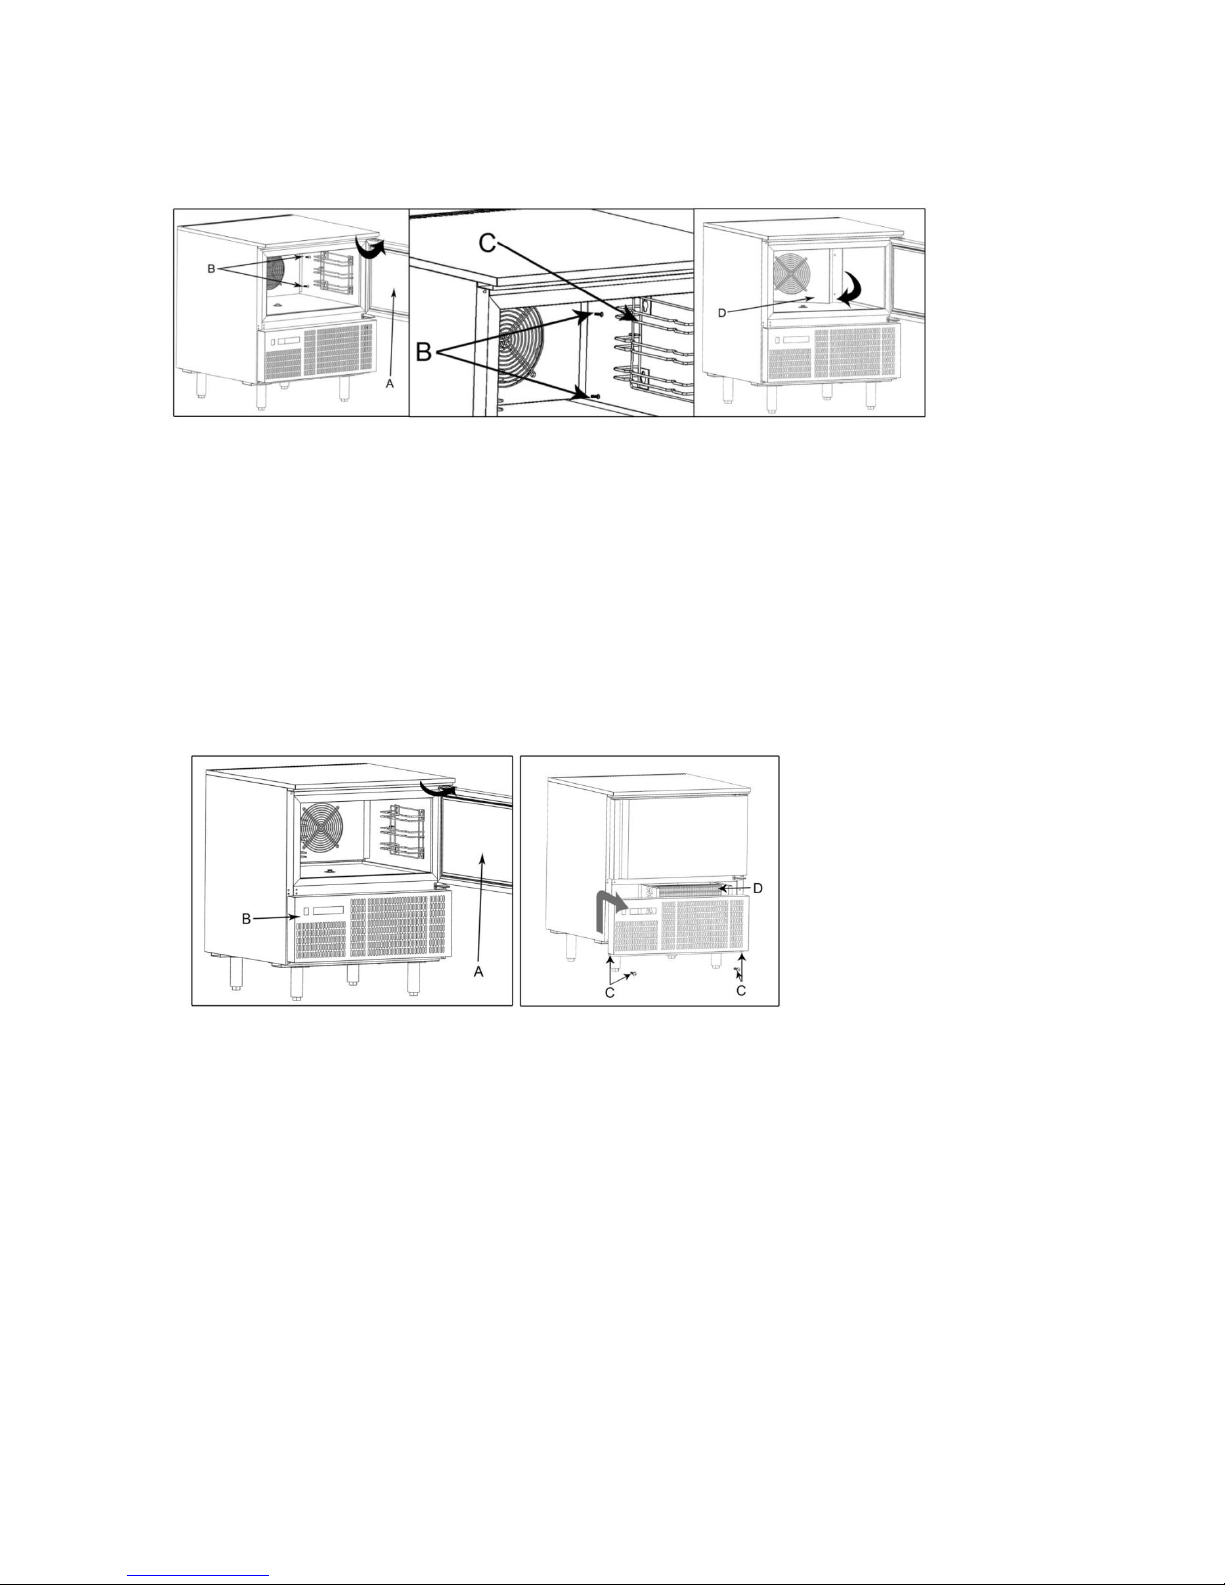
Inserting the food insert probe
Before selecting which cycle to use, the probe must be inserted into the food
product. This allows the internal temperature of the food product to be measured.
It is important that the probe is correctly connected to the unit, or an alarm will
activate and the unit will not function.
Note: To prevent bacterial contamination or contamination of any other biological
nature, the needle probe must be disinfected after use.
Selecting a cycle
The number on the operating panel corresponds to which cycle is selected. To alternate the cycle
between hard and soft, press the ‘hard’ button. Once the required cycle’s number is showing, select
which type of operation you would like by using the ‘freeze’ or ‘chill’ button. Confirm your choice by
pressing the same button once again. This will start the cycle.
Cycle 1 –soft chilling for delicate products (e.g. patisseries and vegetables)
1. After switching on the unit, icons and will flash.
2. Press and release the button. Icon will remain on.
3. To start the cycle press and release the button.
Cycle 2 –soft freezing for delicate products (e.g. patisseries and vegetables)
1. After switching on the unit, icons and will flash.
2. Press and release the button. Icon will remain on.
3. To start the cycle press and release the button.
Cycle 3 –hard chilling for general purpose foods (e.g. meat, pies and lasagne)
1. After switching on the unit, icons and will flash.
2. Press the button. Icons and will turn on, indicating that hard chilling and hard freezing
can be selected.
3. Press and release the button. The icon will remain on.
4. To start the cycle press and release the button.
Cycle 4 –hard freezing for general purpose foods (e.g. meat, pies and lasagne)
1. After switching on the unit, icons and will flash.
2. Press the button. Icons and will turn on, indicating that hard chilling and hard
freezing can be selected.
3. Press and release the button. The icon will remain on.
4. To start the cycle press and release the button.
Temporarily stopping the Running cycle
1. If you have selected a chill operation, press and release the button. If you have selected a
freeze operation, press and release the button.
2. The compressor and the fan will be stopped and the icon for the current cycle starts to flash.
3. To restart the cycle press and release the same key used to stop the cycle. The cycle will restart
from the same point at which it was interrupted. There will be a 2 minute delay after stopping
the generator in order to prevent the unit overheating.
4. If the cycle is not manually restarted the Chiller will automatically restart after 20 minutes.