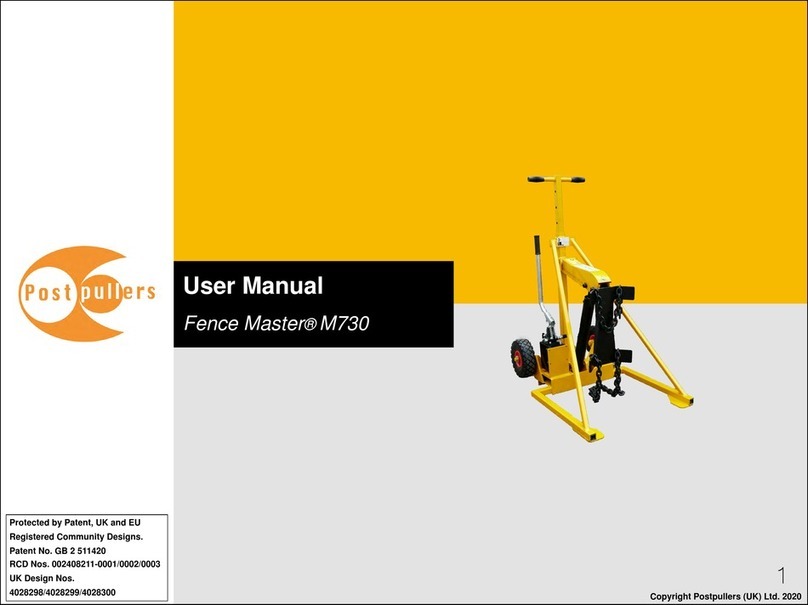
PostPullers Fence Master M730-2 User manual

User Manual
Fence Master®M730-2
1
Protected by Patent, UK and EU
Registered Community Designs.
Patent No. GB 2 511420
RCD Nos. 002408211-0001/0002/0003
UK Design Nos.
4028298/4028299/4028300 Copyright Postpullers (UK) Ltd. 2021

Contents
2
Using Fence Master® M730-2…………………………..……………………..…………………3
Using Claw Attachment…………………..…………..……….…………………………..………6
Maintaining Fence Master® M730-2……………………….……..….…………..………………9
Maintaining Claw Attachment…………………………………………………..………………..11

Using Fence Master®M730-2
Read these safety points and instructions carefully before using the
Fence Master®M730-2.
Safety points:
•This equipment is for pulling posts from the ground only. It must not be
used for lifting or lowering loads, or for any other purpose.
•Always wear correct PPE (see fig.1).
•Keep clear of moving parts.
•Fence Master® must be operated from a position at the rear of the
machine.
•Persons other than the operator must keep clear.
•To prevent injury, long posts should be cut off first just above the post
rest in its fully down position.
•Fence Master® M730-2 has an operating mass of 103 Kgs (116 kgs with
claw fitted) and should be handled in accordance with safe manual
handling procedures.
•Fence Master® M730-2 has a noise level less than 70dBA.
•Set adjustable handle at the top of the machine’s spine to the desired
height. Fit with locking pin (see fig.2).
•Push pump handle to fully forward position before manoeuvring Fence
Master®(see fig.3).
•Do not allow chains to trail on the ground when moving machine.
fig. 1
3
fig.2
fig.3

4
1. Wheel Fence Master®into a position central to the post with the post-
rest close to the post with the arm fully lowered. Ensure Fence Master®
is level and stable with both feet resting firmly on the ground (see fig.4).
Do not operate unless both feet are resting on a firm base.
2. Wrap the bottom chain anti-clockwise around the post twice in the
shape of a cross at the front. Make sure chain is as tight as possible.
Secure chain through the slot in the post-rest (see fig.5). Pull the top
chain tightly around post and secure through the top slot in the post-
rest.
3. Turn pressure release knob clockwise on the pump until tight (see fig.6)
4. Begin to operate hand pump. Check that the post begins to move when
pressure is applied.
5. If the post does not continue to move during operation, make sure the
post is not fouling under the legs of the Fence Master®. If this is the
case, turn the release screw anti-clockwise slowly to release pulling
pressure. Remove chain, reposition machine and start again from 3.
fig.4
fig.5
Using Fence Master® M730-2
fig.6

5
6. Continue pumping until post is removed. For lighter footings,
it is not always necessary to pump ram all the way to the top. Once the
‘ground seal’ is broken, the post and footing can be removed easily (see
fig.7).
7. Make sure the post is firmly resting on the post-rest. Then, pull the
handles towards you so Fence Master®is resting on its wheels, taking
care to keep clear of the post as the machine tilts. Turn/move Fence
Master® until post and footing are clear of the hole (see fig.8).
8. Gently lower machine to rest on the ground (see fig.9).
9. With the Fence Master®resting on its base on level ground, turn the
pressure release knob slowly anti-clockwise to release pressure (see
fig.6).
10. Once hydraulic pressure has been released and the chain is slack, remove
chains from the slots and unwrap from post. Support the post whilst
chains are released. For larger posts, a second person may be required to
hold the post.
11. Post can now be safety removed.
12. Push down on hood to lower arms to the fully down position.
13. The Fence Master®is now ready to use again.
14. If using Claw attachment, please read separate instructions.
Using Fence Master® M730-2
fig.7
fig.8
fig.9

Read these safety points and instructions carefully before attempting to use
the claw attachment with Fence Master®.
Safety points:
•Always wear correct PPE (see fig.1)
•This claw is to be used only in conjunction with Fence Master®M730-2.
•This claw must not be used for lifting or lowering loads, or for any other
purpose than pulling fence post footings from the ground.
•Take care when carrying claw (mass 12.6kg). Normal manual handling
procedures should be followed.
•Ensure claw is in fully locked closed position before carrying or
transporting.
•Keep hands and fingers away from moving parts and claw teeth.
6
Using Claw Attachment
fig.1
Claw attachment

7
1. Expose top of concrete footing on opposite sides to a depth of
around 75mm.
2. Remove claw from Fence Master® by removing retaining pin and lift
out by holding shackle.(See fig.7)
3. To open claw, place vertically on the ground whilst holding shackle.
Then press locking lever and gently lower claw until it opens.
(see fig.2)
4. Open claw and place over footing (See fig.3)
5. Whilst closing jaws around footing, tap each side of the claw into
concrete to secure.
6. Wheel Fence Master®into a central position with the post-rest
directly above the centre of the claw. Ensure Fence Master®is both
level and stable with the arm fully lowered (see fig.4)
7. Take one of the Fence Master® chains and pass the end through the
shackle on the claw, taking care not to twist the chain to allow it to
run freely through the shackle. (see fig.4) Secure chain in slot in
Fence Master® post rest. Use correct slot depending on which chain
is being used i.e top slot for top chain, bottom slot for bottom chain.
Ensure chain is as short as possible.
8. Operate controls on Fence Master®as if removing a post and
continue until footing is removed. If claw starts to foul on Fence
Master, release pressure and reposition claw.
Using Claw Attachment
fig.2
fig.3
fig.4

8
9. Then, taking care to keep clear of the post, pull the handles towards
you so Fence Master®is resting on its wheels. Move Fence Master®
until footing is clear of the hole. Gently lower machine to rest on the
ground (see fig.5).
10. Turn pressure release knob slowly knob slowly anti-clockwise to
release pressure. Relieve it enough for the chain to be slack (see
fig.6).
11. Once the hydraulic pressure has been released and chain is slack,
remove chain from the slot. Support the post or footing whilst doing
this.
12. Carefully remove claw from footing. Take care to keep fingers etc.
clear of claw and footing.
13. Lower the pulling arm fully.
14. Fence Master®is now ready to use again.
15. After use, Pick up the claw by the shackle with the locking lever
towards you. Re-attach to the Fence Master by slotting the double
arms of the claw over the bracket on the Fence Master and fit
retaining pin. (see fig.7).
fig.7
Using Claw Attachment
fig.6
fig.5

Please read these safety points and instructions carefully before attempting
any maintenance on Fence Master®M730-2 and Claw Attachment:
Safety points:
•Follow the daily maintenance instructions carefully, and ensure the
periodic inspections are adhered to and recorded on the maintenance
schedule.
•Ensure compliance with all appropriate health and safety regulations.
•Ensure any hydraulic pressure is released by turning the pressure
release valve anti-clockwise and fully lowering arms.
•Ensure Fence Master®is standing firmly on level ground.
•Only use genuine Postpullers (UK) Ltd. parts.
•Fence Master®should be inspected, maintained and tested by a
competent person.
9
Maintaining Fence Master® M730-2
and Claw Attachment

10
Timeframe
Before each
use
Weekly
(in addition to
above)
Annually
(in addition to
above)
Maintaining Fence Master® M730-2
Lubricants: 32 Grade hydraulic oil only should be used in hydraulic system. Good quality grease should be used for grease points.
Maintenance Required
•Check over Fence Master®for hydraulic leaks and/or damage.
•Check all pins, circlips, retaining pins, nuts and bolts etc. are in place and secure.
•Check machine and chains for damage, deformation or wear.
•Check machine is in a safe and operational condition.
•Replace any damaged parts before use.
•Check oil level by removing breather in top corner of tank. Level should be 35mm from top.
•Grease points are at both ends of hydraulic ram.
•Ensure anti-tamper paint on relief valve is intact. Do not use if seal is broken. If broken, this should be checked
and resealed by Postpullers (UK) Ltd.
•Ensure all safety and warning decals are present.
•Hydraulic relief valve pressure should be checked and adjusted if necessary. Contact Postpullers (UK) Ltd. for
correct testing procedure.
•Hydraulic hoses should be inspected and replaced if worn. They should be replaced every two years irrespective
of wear.
•All moving parts, pivot pins and retainers should be inspected and replaced as necessary with genuine parts
available from Postpullers (UK) Ltd.
•Frame should be inspected for damage and/or wear.
•Inspect all pivot pins, circlips and retainers. Replace if necessary.
•Change hydraulic oil if contaminated

Please read these instructions before attempting any maintenance on
claw attachment.
11
Maintaining Claw Attachment
Timeframe Maintenance Required
Before each use
•Visual inspection of claw to check for damage.
•Replace any damaged parts before use.
•Check locking catch is working.
•Check shackle pin, pivot pins, and circlips are fitted and secure.
Monthly
(in addition to
above)
•Inspect shackle, pins and circlips for wear and damage.
•Inspect claw arms for signs of wear and/or damage.
Annually
(in addition to
above)
•Inspect all parts for damage and wear. Replace as necessary.
•All parts should be inspected and replaced as necessary with genuine parts available from Postpullers (UK) Ltd.
Table of contents
Other PostPullers Lawn And Garden Equipment manuals