PPM Touch Screen IAQ Profile Monitor User manual

Touch Screen IAQ Profile Monitor
Stand alone Indoor Air Quality (IAQ)
monitoring unit
Operation Manual
www.ppm-technology.com
PPM Technology Ltd • Cibyn Ind Estate • Caernarfon • Gwynedd • LL55 2BD • Wales • UK
Telephone: 44 (0) 1286 676999 Fax: 44 (0) 1286 671811 E-mail: info@ppm-technology.com
1

Registered in Wales: 3743347 VAT Number: GB 713 750 842 SO 9001 2000
Registered Firm
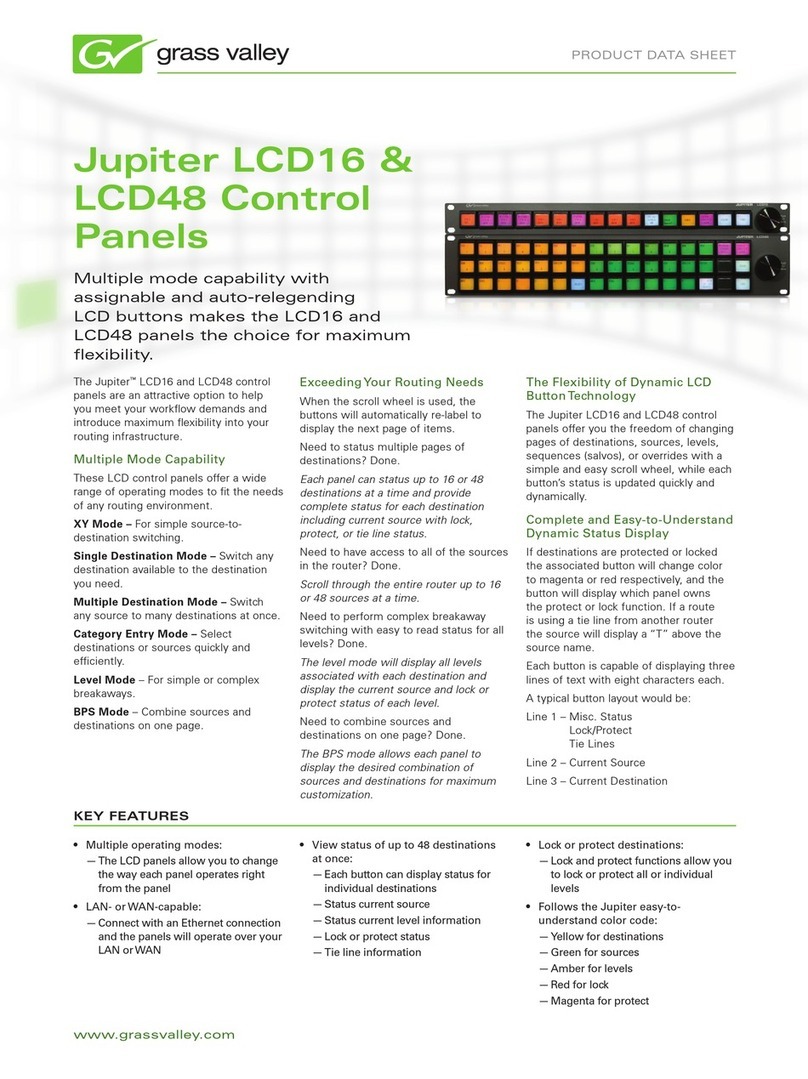
TABLE OF CONTENTS
1 INTRODUCTION
1.1 Initial receipt of your Touch Screen IAQ Monitor…...4
1.2 General Description……………………………………4
1.3 Instru ent Features…………………………………...6
2 OPERATING GUIDE
2.1 Inserting a SIM card…………………………………...8
2.2 Powering on the unit…………………………………..9
2.3 Navigating the enus………………………………….11
2.4 Satellite units……………………………………………11
2.5 Setting Alar s…………………………………………..13
2.6 Setting a Schedule.....................................................14
2.7 Exporting Data………………………………………….15
2.8 Setup…………………………………………………….16
2.9 Connecting to a Touch Screen Hotspot……….........21
2.10 Using the Touch Screen Unit website......................23
2.11 Connecting the TSU to existing networks................26
3 TROUBLESHOOTING
3.1 Diagnosing the proble ……………………………….28
3.2 Updating the software………………………………….29
4 MAINTAINANCE
4.1 Storage………………………………………………….31
4.2 Sensor lifespan………………………………………….31
4.3 Calibration of sensors…………………………………..31
5 ACCESSORIES
5.1 Satellite units…………………………………………31
5.2 USB Module………………………………………….32
5.3 Additional antennae…………………………………32
6 WARRANTY
2

1 INTRODUCTION
The Touch Screen IAQ Profile Monitor is a stand-alone Indoor Air Quality (IAQ)
onitoring unit, capable of continuously onitoring ultiple IAQ para eters. Sensor
readings are displayed continuously and in real ti e.
The Touch Screen IAQ Profile syste has been designed to give a visual
representation of indoor air quality in a building, as part of the buildings anage ent
standards in relation to conditions such as Sick Building Syndro e.
Sensor Options:
For aldehyde – Satellite unit only
Glutaraldehyde – Satellite unit only
Te perature
Hu idity
Nitrogen Dioxide (NO2)
Carbon Monoxide (CO)
Carbon Dioxide (CO2)
Sulphur Dioxide (SO2)
Total Volatile Organic Co pounds (TVOC's)
Methane (CH4)
A onia (NH3)
Ozone (O3)
Water (H20) single zone sensing cable
S oke Sensor
Motion
* Other sensor options available
The IAQ Profile Monitor incorporates a variety of advanced gas sensor technologies to
onitor the target gases including NDIR, PID and Electroche ical.
3

1 1 Initial Receipt of your Touch Screen IAQ Monitor
Your PPM Technology Touch Screen IAQ Monitor has been packaged carefully and
includes all the co ponents necessary for full operation. I ediately upon
receipt, please exa ine the kit contents carefully to ensure that you have received
the following ite s in good condition.
Kit Contents
The Touch Screen IAQ onitor kit contains:
• Touch Screen IAQ Monitor instru ent with Desk Stand/Wall Mount
• DC Power Supply 12V
• Stylus
• Antenna (GSM, Wifi, ZigBee) *
• Operation Manual and User Guide
* The nu ber of aerials received with your instru ent will vary
depending on the specification of your instru ent.
Damage
Inspect all ite s carefully. Any da age ust be reported i ediately to both the
carrier and your dealer.
1 2 General Description
The Touch Screen IAQ profile onitor can be configured with WiFi and/or GSM
odules. The WiFi odule allows you to connect the IAQ onitor to your ho e/office
network with the ability to download sensor data fro the unit to another co puter. If
the IAQ onitor is not within reach of any WiFi network, then you can download the
data to a USB flash drive using the built in USB socket located on the side of the
instru ent. The optional GSM odule allows you to receive status updates and alar
alerts fro the unit via text essage to a obile device. This early warning syste
allows you to keep right up to date with what the IAQ onitor is sa pling, and also
acts as an advance warning for staff working in the vicinity.
4

The user is able to navigate through the various sensors si ply by touching the
panel. The touch screen software allows si ple control and navigation; the user
can view the data graphically, as well as enable alar functions and notifications
for ore effective and econo ical building anage ent.
Su ary:
A co pact Indoor Air Quality (IAQ) onitor for use as part of a buildings
anage ent standards.
Built in ‘touch screen’, displaying current IAQ para eters in the building.
Bench Top Stand or Wall ountable using standard VESA wall bracket.
The unit includes a built in USB port for downloading data quickly and easily.
Each unit is configurable with a nu ber of sensors dependant on selected
sensor types.
May be used as a stand-alone onitor or as part of a wider IAQ onitoring
network.
5

1 3 Instrument Features
* I Button, PIR sensor, WiFi and GSM are optional Please specify configuration when ordering
• Large 4 5" touch screen
Featuring a 4.5" touch screen which is able to display real ti e sensor data.
Easy to use software designed to quickly navigate through various graphs and
sensor para eters.
• Built in WiFi and GSM module
The Touch Screen IAQ unit is configurable with both WiFi and GSM odules, with
the ability to have notifications sent to a obile device if required. (E.g. An text
essage sent to your obile phone should an alar be triggered on the IAQ
onitor).
A built in WiFi odule allows you to add the IAQ onitor to your existing network. If
correctly configured you can re otely view sensor data fro anywhere in the world
via the internet.
6
PIR sensor*
Zigbee Antenna
GSM Antenna*
I Button*
USB Socket
WiFi Antenna*
Large 4 5" touch screen
Sensors located
behind vent

• USB socket
A single USB 2 socket (480Mbit/s) at the side of the unit allows you to plug in
re ovable USB drives to download data fro the unit to take with you. This
data can also be i ported into the PPMonitor software suite.
Future fir ware releases for the unit can be installed onto the device using the
USB socket. Please contact PPM Technology for ore infor ation on the
latest fir ware available for your device.
• ZigBee
Can connect to IAQ Profile and Mini IAQ Monitors. These units will appear on
the touch screen display and the sensors for these units will be available to
look at. The ZigBee network can greatly increase the nu ber of sensors
available on the Touch Screen unit.
• I Button
Located on the left hand side of the instru ent, the I button allows ultiple
users to log into the instru ent and also provides added security to the
instru ent. Can be used as a eans of onitoring staff activity with users
logging in and out of various areas of a building.
7

2 OPERATING GUIDE
2 1 Inserting a SIM card
** If your instrument did not come with a GSM module, please skip to
.22
Powering on the unit. **
The Touch Screen IAQ onitor can be configured with a GSM odule to enable the
'Alar SMS' feature.
Before we can turn the instru ent on for the first ti e we need to install a working SIM
card into the GSM odule (Please ake sure that there is sufficient credit available on
the card if you are not using a contract SIM).
To do this you will need to open up the instru ent by unscrewing the four screws
located at each corner of the unit:
Carefully pull away the backplate fro the white outer case and rotate to the right
hand side of the instru ent so as to avoid disconnecting the fan.
8

You can now see the square GSM odule located on the far left of the ain board.
Line up the SIM card with the GSM odule (contact pins facing down) as shown in the
diagra on the GSM odule. Then push the SIM card into the odule. You should
hear it click into place. The SIM card should only protrude 2 outside of the odule
if done correctly.
Now re-asse ble the instru ent aking sure not to sever the fan connection when
placing the backplate on the unit.
2 2 Powering on the unit
When using the Touch Screen IAQ Monitor for the first ti e, si ply plug the included
12V DC supply into the socket located on the left hand side of the instru ent and switch
on at the socket. The unit will take so e ti e to boot up, so please be patient. You
should be greeted with the loading screen shown below:
The fir ware version of your unit is displayed in the top left corner.
9

Once the instru ent has booted up (This can take up to 60 seconds) you should be
greeted with the ain page bellow:
When you first turn on the instru ent there will be no readings available for any of the
sensors or satellite units. During this war -up period the sensors for the units have a
yellow circle. A typical sensor or satellite unit connected to the Touch Screen unit can
have a war -up period of up to five inutes. As the readings fro the sensors arrive,
the unit na e is populated, the yellow circle turns green and the first reading fro the
sensor will appear on the screen next to the sensor type.
10

This is the ain ho epage. Fro here you can see a list of available sensors on the
touch screen device and available satellite units with the na e of the unit at the top of
the screen. The real ti e reading for each individual sensor is displayed on screen
next to the description of the sensor.
2 3 Navigating the menus
You can navigate between the various para eter sensors of the touch screen device by
using the included stylus and clicking on the green box corresponding to each sensor. A
separate page is generated for each para eter sensor clicked on. A graphical
representation of the sensor readings over a period of ti e can be seen on screen.
You can increase or decrease how uch data is shown on the graph by clicking on the
- or the + spyglass sy bols respectively. This is great for viewing graphical data fro a
day or two ago.
You can scroll through the ti e axis using the grey coloured bar at the botto of the
page.
11

Clicking on the square chart icon (left of the 'Full Screen' button) will display the last 2
hours of sensor data.
Full screen ode will enable you to axi ise the size of the graph by si ply tapping on
the 'Full Screen' icon. You can return to the previous view by tapping anywhere on
screen
Clicking on the Statistics button will bring up the following pop up showing further
details of the sensor in question including the axi u and ini u readings:
To return to the ain ho epage, click on the Press to Continue button to close the pop
up and the tap the green arrow in the fifth tab of the enu.
2 4 Satellite Units
If you have any additional IAQ Monitor units trans itting to the Touch Screen Unit (See
section 2 8 Setup>ZigBee for adding satellite units), you can view the sensor data
generated by the instru ent by clicking on the botto right arrow, which will then take
you to a separate page with the unit na e and a list of sensors available on the
instru ent.
To navigate back to the sensor list on the Touch Screen Unit itself, si ply click on the
left arrow located on the botto left of the screen.
12

2 5 Setting Alarms
You can view and set alar conditions for individual sensors by taping the green circle
to the left of the sensor na e.
Each sensor can have up to two alar conditions defined, na ely Te perature <= and
Te perature >= setting an alar for greater than or lesser than the value respectively.
An alar threshold value can be defined by clicking in either of the two available white
boxes. The alar can be triggered if the current value is greater than or lesser than the
alar threshold depending on which box you select. Either of the two alar s can also
be enabled or disabled using the on/off toggle switches.
13

2 6 Setting a Schedule
The touch screen IAQ Monitor is capable of running schedules which the user can
specify.
Clicking on the 'Schedule' tab fro the ho e screen will bring up the following page:
Here you have the ability to turn on a schedule for a weekday or weekend session.
Si ply click on the toggle switch to activate/deactivate the schedule.
The start and end ti e can be set by clicking on the nu bered icons. This will bring up
a separate interface for you to type the ti e you would like the schedule to start and
finish on. Once entered, si ply click on 'Go' and you will be sent back to the 'Schedule'
screen.
14

2 7 Exporting Data
The Touch Screen IAQ Monitor is capable of downloading sensor data taken over a
period of ti e to a USB pen drive or hard drive. The data can be in the for of a CSV
file for viewing in a spreadsheet package or in a for at for use with the PPMonitor suite
(PC software for use with individual IAQ onitors)
Select the required option by tapping the corresponding button and following the on-
screen instructions. The CSV for at file can be i ported to a spreadsheet package
such as Microsoft Excel and anipulated into graphs and so forth. If you choose to
have the data downloaded in a for at for use with the PPMonitor suite, si ply unplug
the USB device fro the Touch Screen unit and plug into a co puter running the latest
version of PPMonitor. Once plugged in you can i port the data fro the USB device
into the PPMonitor SQL database. Si ply click on 'File' and then 'Import TSU Data'.
You should then be greeted with a pop up asking you to select the file to i port:
15

2 8 Setup
In the setup enu you will find a window displaying the Serial Nu ber and location of
your Touch Screen Unit as well as other configurable settings such as ti e/date, SMS
settings, WiFi, ZigBee and Software Update.
Unit Info
Clicking on the unit info button will bring up a pop up window displaying the
specifications for the unit in question.
Here you will find details of the device ID, IMEI nu ber (if GSM odule is fitted) as well
as device ID's for any satellite units you ay have connected up to Touch Screen
Instru ent.
16

Time/Date
The 'Ti e/Date' button allows the user to change the current ti e and date of the
instru ent. Clicking on the button will bring up a separate window as shown below:
Please note that the hours value uses a 24 hour clock so that, for instance, '2p ' is
denoted by '14'. You can also set your Ti ezone by clicking on the up and down arrow
keys next to the text box. You can return to the setup window by pressing the OK
button.
Alarm SMS
The ‘Alar SMS’ button allows the user to specify which telephone nu ber is to receive
the alar essages sent by the device if any of the sensors record a dangerously high
reading or otherwise. On the left hand side of the text box you will see a toggle switch,
which will allow you to turn the text based alar syste ON and OFF.
To add a contact nu ber, si ply click on the text field using the stylus. This will bring up
the on screen keyboard which you can use to enter the obile phone nu ber. Once
co plete, si ply click on GO to save the changes.
WiFi
The WiFi odule on the Touch Screen instru ent will allow you to connect to your
ho e or office network. This will allow you to log into the instru ent to view sensor data
re otely. Further details on logging into your instru ent can be found in section 2 9 –
Connecting to a Touch Screen Hotspot
17

ZigBee
Clicking on the ZigBee button will give you access to the following enu:
Additional wireless IAQ onitors can help expand your area of coverage and are fully
co patible with the Touch Screen IAQ Monitor. You can add up to 10 IAQ onitors to the
Touch Screen unit. These include both our Mini and Large IAQ onitors.
To add a new instru ent to the Touch Screen Monitor, si ply power on the new onitor
( aking sure it is within range of the Touch Screen Monitor). Then click on 'Add New
Units' The software will now scan for any new instru ents that ay been in the area
(this can take a few inutes). Once found, you have the option to add the new unit to
the network. The new onitor will then begin trans itting to the Touch Screen Monitor
and you will be able to navigate to the data fro the Monitor tab of the enu and
clicking on the arrow highlighted below:
18

To re ove any unwanted instru ents fro the network, click on the 'Remove Old
Units' You will then be able to select which instru ent you want to re ove fro the
network. Repeat this procedure for each additional unit you wish to re ove.
It ay take a few inutes for the data to be re oved fro the syste once selected.
If you wish to configure any existing instru ents on the network, click on the 'Configure
Existing Units' button and you will then be greeted with the following pop up:
The unit na e corresponds to the Device serial nu ber which in this case is
MM000179. The 'MM' denotes a s all IAQ profile onitor. Should you have a larger
onitor on the network, this would be shown as 'ZWU'.
Clicking on the Unit location text field will allow you na e the location of your onitor.
This akes it easier to see where each individual onitor is currently sa pling.
Clicking on OK will save the changes.
19

Shutdown
Clicking on the Shutdown button will safely turn OFF your Touch Screen instru ent.
Once the screen has turned OFF, you ay now unplug the power adapter fro the
instru ent.
Update
The 'Update' button allows the user to upgrade the syste software using a USB pen
drive plugged into the Touch Screen IAQ onitor.
You can download the latest release fro our website at the following address:
www.pp -technology.co /downloads
Please read section 3 2 for a step by step guide on updating the software if your touch
screen instru ent.
20
Table of contents


