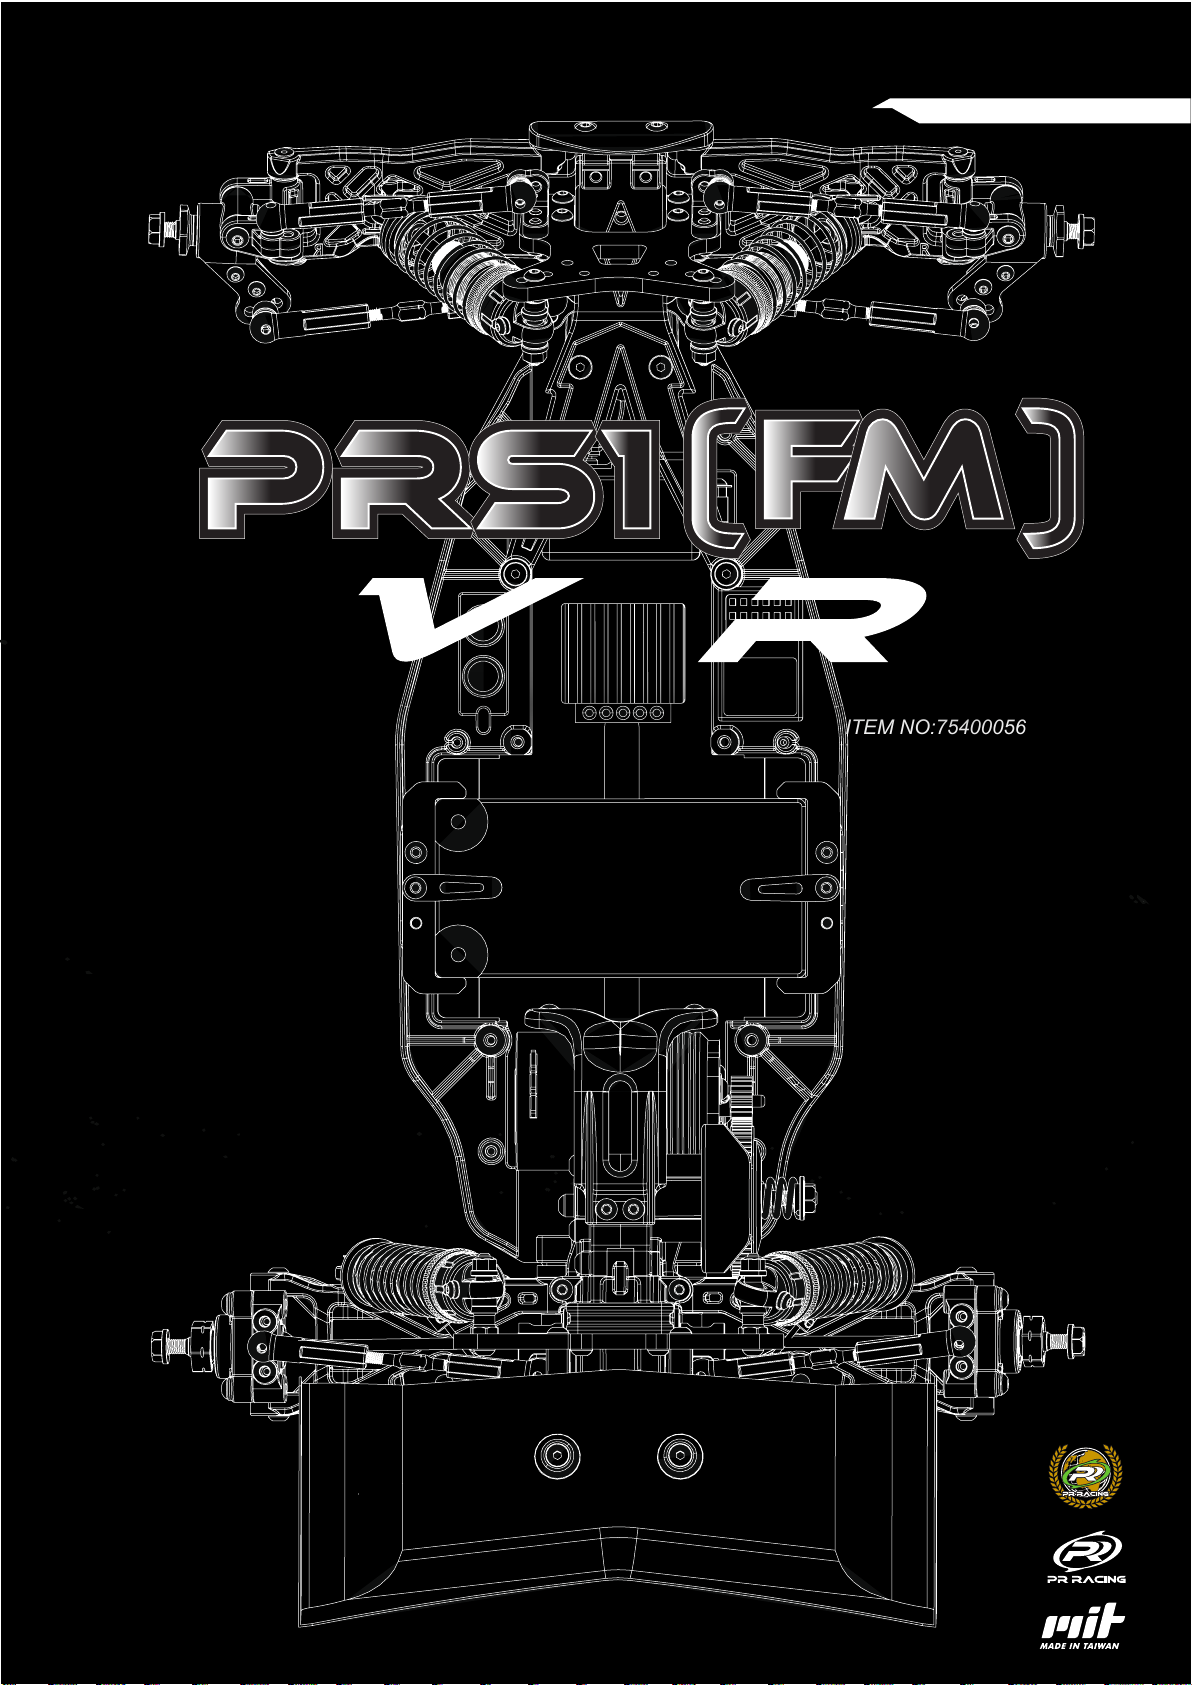
PR RACING PRS1 FM V4R User manual


This manual suits for next models
1
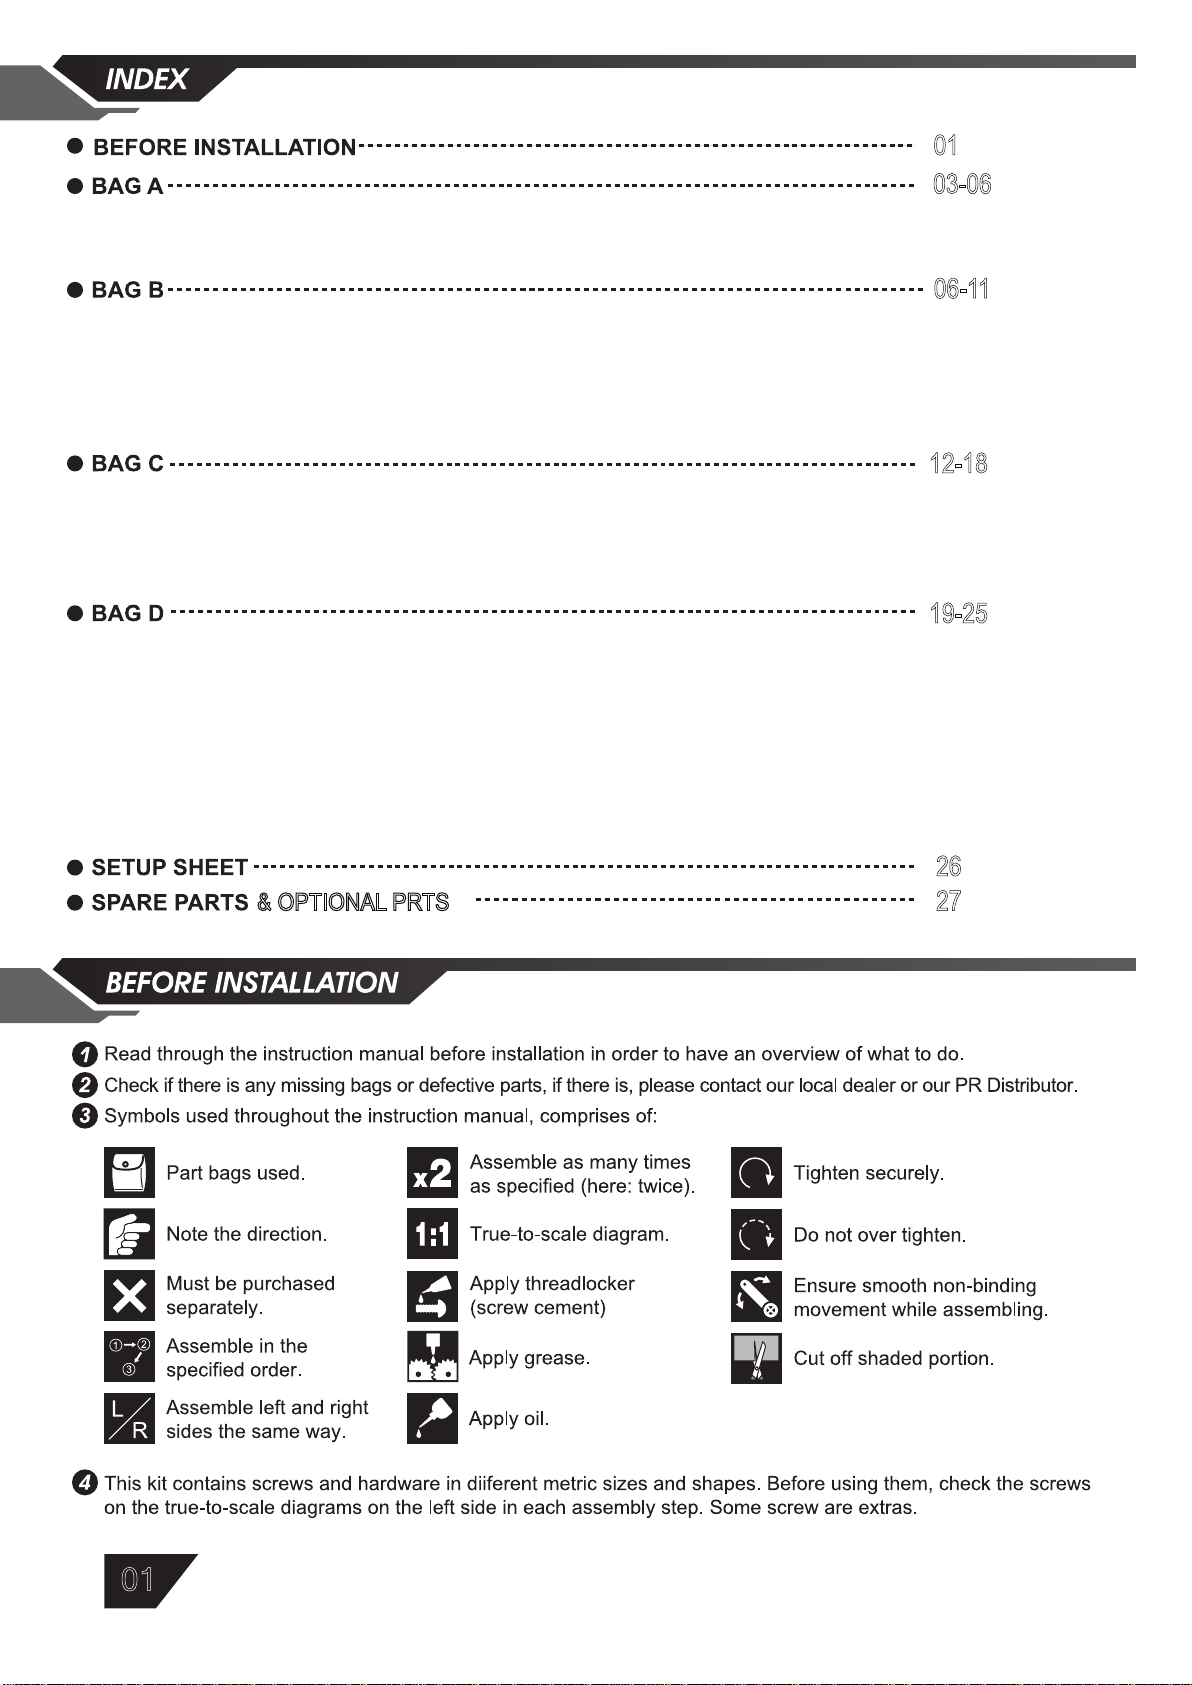
Table of contents
Other PR RACING Motorized Toy Car manuals

PR RACING
PR RACING PR S1 V3 MM User manual

PR RACING
PR RACING SB401 User manual
 EVO User manual")
PR RACING
PR RACING PR S1 V3 TYPE R(FM) EVO User manual

PR RACING
PR RACING PR SB401-R User manual

PR RACING
PR RACING PRS1 User manual

PR RACING
PR RACING PR S1 V3 MM User manual

PR RACING
PR RACING SB401 User manual
![PR RACING PRS1V3[FM] User manual](/data/manuals/1v/r/1vr5r/sources/pr-racing-prs1v3-fm--manual.jpg "PR RACING PRS1V3[FM] User manual")
PR RACING
PR RACING PRS1V3[FM] User manual

PR RACING
PR RACING PR SB401-R User manual

PR RACING
PR RACING VB-10 User manual


Popular Motorized Toy Car manuals by other brands


Adventure Force
Adventure Force WMCA 120003B owner's manual

Jamara
Jamara 460226 Instruction

Team Magic
Team Magic M8ER Instruction & setup manual

Reely
Reely Slim Dart operating instructions

HPI Racing
HPI Racing Nitro Mini RS4 Nitro Power 4WD instruction manual

DICKIE TOYS
DICKIE TOYS Audi R8 operating instructions


