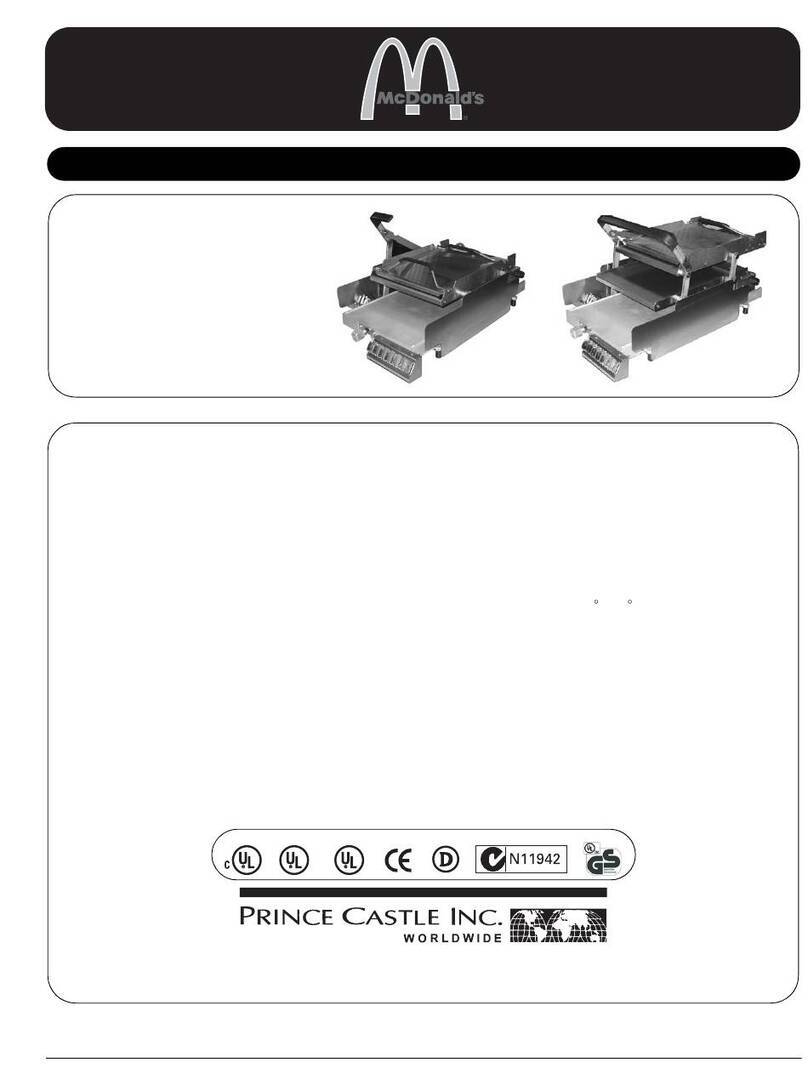
Program Time and Temperature:
1. Press any number product button of the left side and
the LED above it will light, then press “SET” button one
time and the display will read "_ _ _ _." Enter the four-
digit security code sequence: 4, 3, 2, 1.
2. Once the correct sequence has been entered, the
preset temperature of top plate will be displayed, set
the desired temperature with "1” increase or “2"
decrease buttons.
3. Press the “SET” button to save the temperature.
4. Then the bottom plate temperature will be displayed,
set the desired temperature with "1” increase or “2"
decrease buttons.
5. Press the “SET” button to save the temperature.
6. The preset time will now displayed, set the desired
time with the "1” increase or “2" decrease buttons.
7. Press the “SET” button to save the time.
8. Press other number product button and repeat Step
1to 7to continue programming.
9. To change the time and top platen temperature on the
right side, press any number product button and the
LED above it will light, then press “SET” button on the
right one time and the display will read "_ _ _ _." Enter
the four-digit security code sequence: 4, 3, 2, 1. Then
set the top platen temperature and time in the same
way above.
If the right side has the same preset to the left side,
just press and hold “SET” and "4” buttons on the left
side for 4 seconds, following by a beep means the data
transmission is completed.
NOTE: The preset temperature of the top platen is only in
the range of the preset temperature of bottom
±
50
℃
. If
out of the range the right display window will read "d50."
Resetting to Factory Defaults:
To revert all settings back to the original factory defaults:
1. Press and hold “SET” button and "1” “2" buttons for 4
seconds.
2. The window will display "FAC." That means to reset to
factory defaults.
NOTE: All previously saved settings are lost upon resetting
the defaults! Use with caution!
Switch between °F and °C & Temperature
Calibration:
1. Press “SET” button one time and the display
will read "_ _ _ _." Enter the four-digit security
code sequence: 2, 3, 4, 1.
2. The window will display “dEGC”or “dEGF”, set
the desired temperature unit with the "1” or
“2" buttons.
3. Press the “SET” button to save the change.
4. The window will now display “OF”, enter top
platen temperature calibration.
NOTE: This process is necessary only when a platen
temperature reading on the grill display varies
more than a few degrees from the reading of a
calibrated pyrometer used to measure the
temperature of the same platen. The grill is
calibrated before leaving the factory so this
process should only be necessary on rare occasions.
5. Set the desired offset value with the "1”
increase or “2" decrease buttons in the front
of “OF”. (
offset = the reading from the pyrometer
-
display temperature, it is usually a negative
)
6. Press the “SET” button to save the offset
value.
7. The window will continue to display “OF”for
bottom platen temperature calibration.
8. Set the desired offset value with the "1”
increase or “2" decrease buttons before “OF”.
9. Press the “SET” button to save the new
setting.


