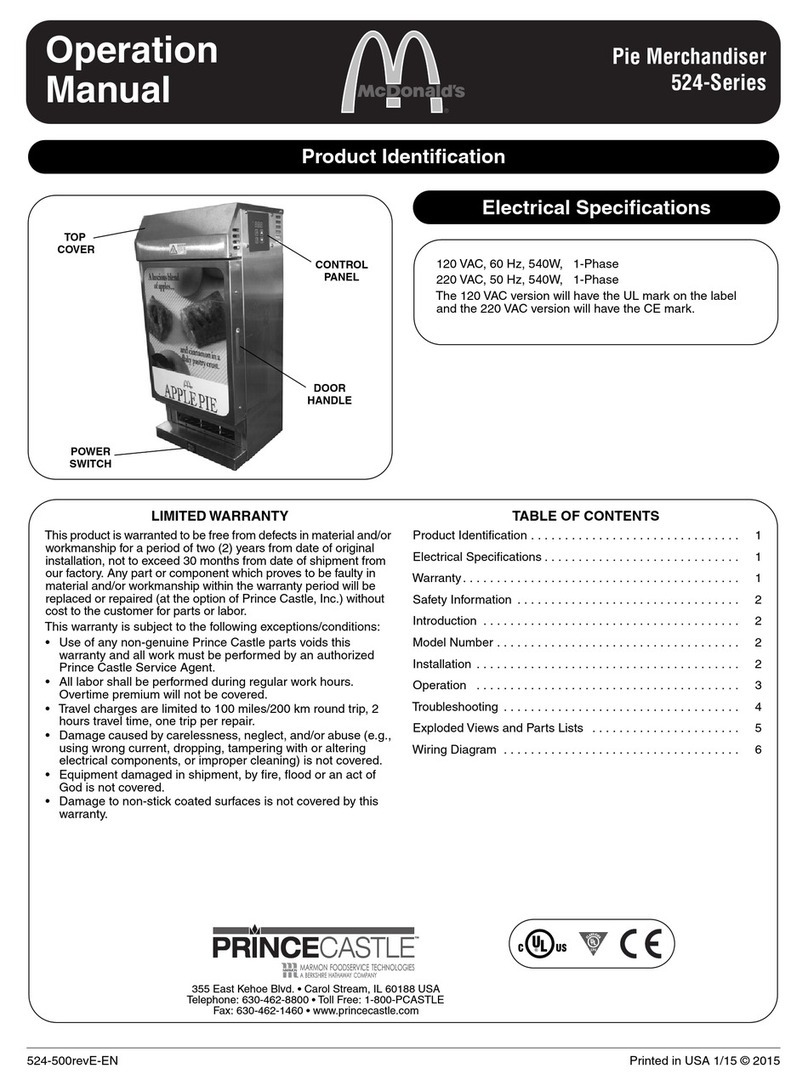
Prince Castle 515-A Series User manual

PIE MERCHANDISER
PRINCE CASTLE MODEL NO. 515-A SERIES
TABLE OF CONTENTS
WARRANTY .................................................................................................................................................. Page 1
INTRODUCTION ........................................................................................................................................... Page 2
EQUIPMENT SET-UP AND CLOSE PROCEDURES ................................................................................. Page 3
TROUBLESHOOTING .................................................................................................................................. Page 3
PARTS IDENTIFICATION ........................................................................................................................... Page 10
EXPLODED VIEW ........................................................................................................................................ Page 12
ORDERING/SERVICE INFORMATION....................................................................................................... Page 13
NON-SCHEDULED MAINTENANCE ........................................................................................................... Page 13
WIRING INFORMATION.............................................................................................................................. Page 14
Place this chapter in the Small Equipment/
Miscellaneous Section of your Equipment
Manual.
MANUFACTURED
EXCLUSIVELY FOR
McDONALD’S
BY
PRINCE CASTLE INC.
CAROL STREAM, IL 60188 USA
PHONE 1-630-462-8800
TOLL FREE NUMBER
1-800-323-2930
FAX: 1-630-462-1460
WARRANTY
This product is warranted to be free from defects in material and/or workmanship for a period of two years from the
date of original installation not to exceed 30 months from date of shipment from out factory. Any component (with the
exception of light bulbs) which proves to be faulty during the warranty period will be replaced without cost to the
customer (at the option of Prince Castle Inc.) This warranty covers on-location service (i.e., trip charges and or
mileage) for failures within 30 days of original installation.
This warranty is subject to the following exceptions/conditions:
zAny use of Non-Genuine Prince Castle Spare Parts voids this warranty.
zAll labor shall be performed during regular working hours. Overtime premium will not be covered.
zDamage caused by carelessness, neglect, and/or abuse (e.g., using wrong current, dropping, tampering
with or altering electrical componenets, or improper cleaning) is not covered.
zEquipment damaged in shipment, by fire, flood or an act of God.
Contact our Factory Authorized Regional Service Center, dealer or distributor to obtain warranty service.
This manual is for the exclusive use of licensees and employees of McDonald’s Systems, Inc.
1998 McDonald’s Corporation
All Rights Reserved
Printed in
The United States of America
Part No. 515-524
Printed in June
EM MISC 7
Printed on recycled paper
using a soya based ink product.

2
INTRODUCTION
The Pie Merchandiser is used for holding cooked pies.
The pies are cooked, cooled, put into boxes and placed
into the pie merchandiser.
Refer to the Operations and Training Manual for the
specific timers, temperatures and procedures for the
type of pie in your restaurant.
TRANSLITE INSTALLATION INSTRUCTIONS FOR PIE MERCHANDISER
1. After you have removed the merchandiser from the
carton, inspect the unit for signs of damage. If
there is damage to the unit:
zNotify carrier within 24 hours after delivery.
zSave carton and packing materials for inspection
purposes.
zContact your Prince Castle dealer or, if pur-
chased directly, the Prince Castle Customer
SalesDepartment at 1-800-722-7853 to arrange
for a replacement to be sent.
2. Verify that all parts have been received.
1. Disconnect power supply.
2. Remove 2 screws from lower front of door.
3. Pull bottom of translite frame (42) forward about 2”
(5.1 cm) and lift up.
4. Remove front plexiglass (39) from door by lifting it
up (rear plexiglass remains in place).
5. Insert pie variety panel (37) (with the shiny side
facing outward) between grooves as shown.
6. Insert translite (37) (with the shiny side facing
outward) in front of variety panel.
7. Insert arrow sheet (37) in front of translite 37.
8. Replace front plexiglass (39).
9. Replace frame (42) and install 2 screws (K).
Numbers and Letters mentioned in steps 1-10 refer to above figure.

EQUIPMENT SET-UP AND
CLOSE PROCEDURES
Set-Up
1. Plug power cord into power inlet connector located
on the rear of the base.
2. Clean windown panes with a damp cloth–do not
use abrasives. Insert the power cord into the
proper receptacle.
3. Push power switch located in the center of the
base to the ON position indicated by the red light in
the switch. The heater and fluorescent bulbs
lighting the translite will go on.
4. Allow 1 hour for warm-up to attain proper tempera-
tures for holding the pies.
IMPORTANT: Surface temperature on the lower half of
the back, side walls, and column dividers after 1 hour
should be 150° F (66° C) or higher. Temperature
should not exceed 180° F (82° C).
5. The translite is located in the front of the loading
door. The door opens from the right side.
6. The Pie Merchandiser has 3 columns. Each
column is divided into 2 sections: a delivery
section , which holds 10 pies, and a reserve
section which holds 5 pies each. (Total capacity of
the unit is 45 pies.) It is suggested that the left
and center columns are used for apple pies and the
right column for cherry pies. Load pies horizontally
into the columns with the package cut out on top.
IMPORTANT: Always retain a portion of each batch of
pies in reserve; this assures having pies when delivery
columns are depleted.
CAUTION: Do not immerse appliance into
water or clean it with a waterjet/jetspray.
This appliance is not watertight.
Close
1. Push the power switch to the OFF position.
2. Remove cooked pies from merchandiser and
discard.
3. Unplug from the electrical receptacle.
4. Wipe interior and exterior clean with clean damp
cloth.
TROUBLESHOOTING CHART
Fluorescent Bulbs will No power. Check power supply.
not light. Power switch inoperable. Replace switch.
Bulb(s) burned out. Replace bulb(s).
Ballast burned out. Replace ballast.
Socket burned out. Replace socket.
Loose bulb connection. Adjust bulb in socket.
Pie merchandiser will not heat No power. Check power supply.
or surface temperature of inner
cabinet, lower sides and back is Strip heater inoperable. Replace heater.
below 150° F.
Surface temperature exceeds Pie merchandiser plugged Check voltage rating on back of pie
180° F. into wrong voltage source. merchandiser and verify voltage
One or more strip heaters Replace heater(s).
overheating.
PROBABLE CAUSE
PROBLEM CORRECTIVE ACTION
WARNING: Inspection, testing and repair of
electrical equipment should be performed
only by qualified service personnel. The
unit should be unplugged when servicing,
except when electrical tests are required.
TROUBLESHOOTING GUIDE
WARNING: Use extreme care during elec-
trical circuit tests. Live circuits will be
exposed.
3

4

5

6

7

8

9

PARTS LIST
3 73-021 Nut
4 76-640 Screw
5 76-033 Screw
6 76-064 Screw
7 76-079 Screw
8 76-640 Screw
10 79-031 Split Lock Washer
11 88-192 Cable Tie
12 919-18 Feet (Pkg. of 4)
13 515-227 Upper Hinge Plate
14 515-11 Upper Hinge Pin
15 515-228 Lower Hinge Bracket
16 515-16 Bracket
17 76-043 Screw
18 66-019 Bushing Black Nylon
19 66-020 Bushing Black Nylon
20 88-591 Power Inlet Connector
21 66-022 Bushing Black Nylon
22 73-031 Hex Nut
23 76-051 Screw
24 76-227 Screw
25 77-031 Barrier Strip (10 Position)
26 78-184S Lighted Rocker Switch
27 79-007 Washer
28 88-190 Marker Strip
29 515-220 Rear Bracket
33 515-29S Ballast (515-A, 515-AM, 515-AN)
515-194S Ballast (515-AF, 515-AFE, 515-AFL, 515-AFM,
515-AFMCE, 515-AFGV)
34 72-200-11S Power Cord (515-A, 515-AM, 515-AN)
72-226S Power Cord (515-AFM, 515-AFMCE)
72-227S Power Cord (515-AFE)
72-200-2S Power Cord (515-AFGB)
72-228S Power Cord (515-AFL)
35 515-259 Base
PART
NO.
ITEM DESCRIPTION
10

36 76-154 Screw
41 76-040 Screw
43 88-634-1 Flourescent Lamp
45 88-194 Mounting Pad
46 88-207 Lampholder (515-A, 5151-AM, 515-AN)
88-589 Lampholder (515-AF, 515-AFE, 515-AFL, 515-AFM,
515-AFMCE, 515-AFGB)
47 515-78 Magnetic Catch
48 515-78 Magnet Bracket Retainer
52 515-8 Frame, Translite
53 515-18 Bushing (Door)
54 515-21 Hinge Bracket Assy.
55 515-33 Inner Window Pane
57 515-233 Door (515-A, 515-AN)
515-234 Door (515-AF, 515-AFE, 515-AFL, 515-AFM,
515-AFMCE, 515-AFGB)
515-237 Door (515-AM)
60 89-593 Lampholder, Starter
62 515-226 Door Pull
64 73-070 Nut
65 515-225 Outer Cabinet
66 515-224 Rear Cover
70 515-198 Base Cover
71 73-072 Nut
72 89-219 Warning Label
74 515-239 Wiring Diagram Label
75 515-44 Jam Nut
77 515-221S Heater Assy (Includes Inside Cabinet)
81 515-36 Guide Rod
82 515-75 Guide Rod
86 515-152 Translite Kit (515-AF, 515-AFE, 515-AFL, 515-AFM,
515-AFMCE, 515-AM, 515-AFGB) (Fried Pie)
515-315 Translite Kit (515-A) (Baked Pie)
88 73-013 Nut
11

EXPLODED VIEW
12

ORDERING/SERVICE INFORMATION
1. WHERE AND HOW TO ORDER
REPLACEMENT PARTS
To order replacement parts, look on the back of your
Prince Castle Price List for the name and phone
number of your local Prince Castle Service Center.
You may also call Prince Castle at 1-800-323-2930
(or fax us at 630-462-1460) for the name of your local
Service Center.
2. PARTS RETURNS
To return parts to your Service Center for credit, you
must obtain authorization from your Service Center.
IMPORTANT: All warranty situations should be handled
by your center.
3. PRICES:
A. All prices are F.O.B. Prince Castle Service
Center or F.O.B. factory, Carol Stream, Illinois.
B. All prices are subject to change without notice.
These prices are exclusive of all sales taxes or any
special taxes which may be levied by federal, state,
or city governments.
OUTSIDE THE U.S.
Contact your kitchen equipment supplier or designated
repair facility for parts and service.
NON-SCHEDULED MAINTENANCE
Under normal conditions with proper use and cleaning, very
little non-scheduled maintenance will be required for this
unit. However, this section provides procedures for checking
and replacement of various parts used within the cabinet in
the event that it becomes necessary. Before replacement of
any parts, refer to the Troubleshooting section for assis-
tance in determining the cause of any malfunction to insure
that mainenance is required.
GENERAL INSTRUCITONS
Whenever you disconnect any electrical wires, mark them in
some way that indicates which terminal they came from.
Do not disconnect too many electrical connections at one
time. Should you forget where a wire connects, refer to the
individual wiring diagram for the particular control being
repaired.
IMPORTANT: There are three basic methods of connecting
wires to their terminals:
1 Closed eye
2 Open eye
3 Knife and blade.
13

WIRING DIAGRAM 515-A SERIES
14
IMPORTANT ELECTRICAL INFORMATION
This unit’s power cord has International colored wires, which are different from Domestic.
INTERNATIONAL DOMESTIC WIRE TYPE
Blue White Neutral
Brown Black Hot
Green/Yellow Green Ground

WIRING DIAGRAM 515-AF SERIES
15
Table of contents
Other Prince Castle Merchandiser manuals
Popular Merchandiser manuals by other brands

Hussmann
Hussmann Impact C6E datasheet

Hussmann
Hussmann CWI-6 Installation and service instructions

Structural Concepts
Structural Concepts Harmony HMG3953 Installation and operating manual

HAMOKI
HAMOKI VRX Glass Assemble Instruction

VALERA
VALERA QUADRATO FG datasheet

Hussmann
Hussmann RI4 Technical data sheet

Hatco
Hatco Glo-Ray GRCMW-1D Installation and operating manual

Hussmann
Hussmann Impact C2-XGEP Technical data sheet

Hussmann
Hussmann D5X-LE Technical data sheet

Hussmann
Hussmann Impact Excel P2X-EP Technical data sheet

Silver King
Silver King SKRM48-EGUS1 Technical manual

Arneg
Arneg Malaga H160 ventilated Direction for Installation and Use