manuals.online logo
Brands
  1. Home
  2. •
  3. Brands
  4. •
  5. Pro-Form
  6. •
  7. Hot Tub
  8. •
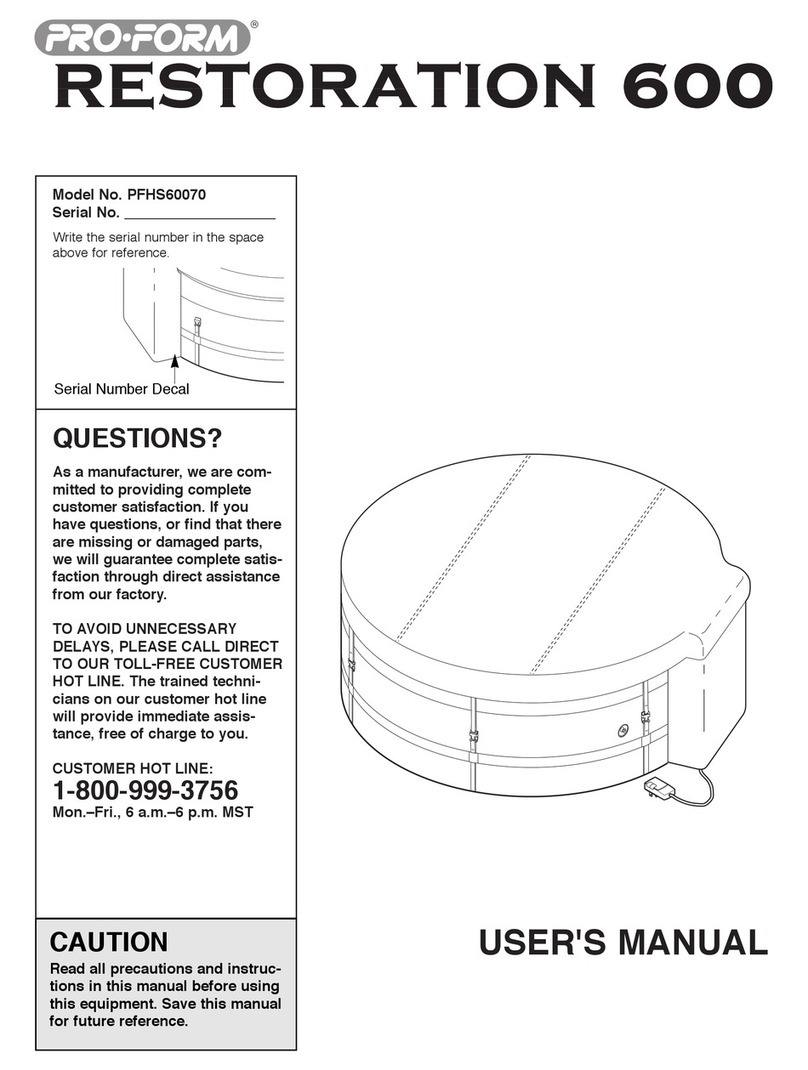
  9. Pro-Form RESTORATION 600 User manual

Pro-Form RESTORATION 600 User manual

This manual suits for next models

1

Other Pro-Form Hot Tub manuals

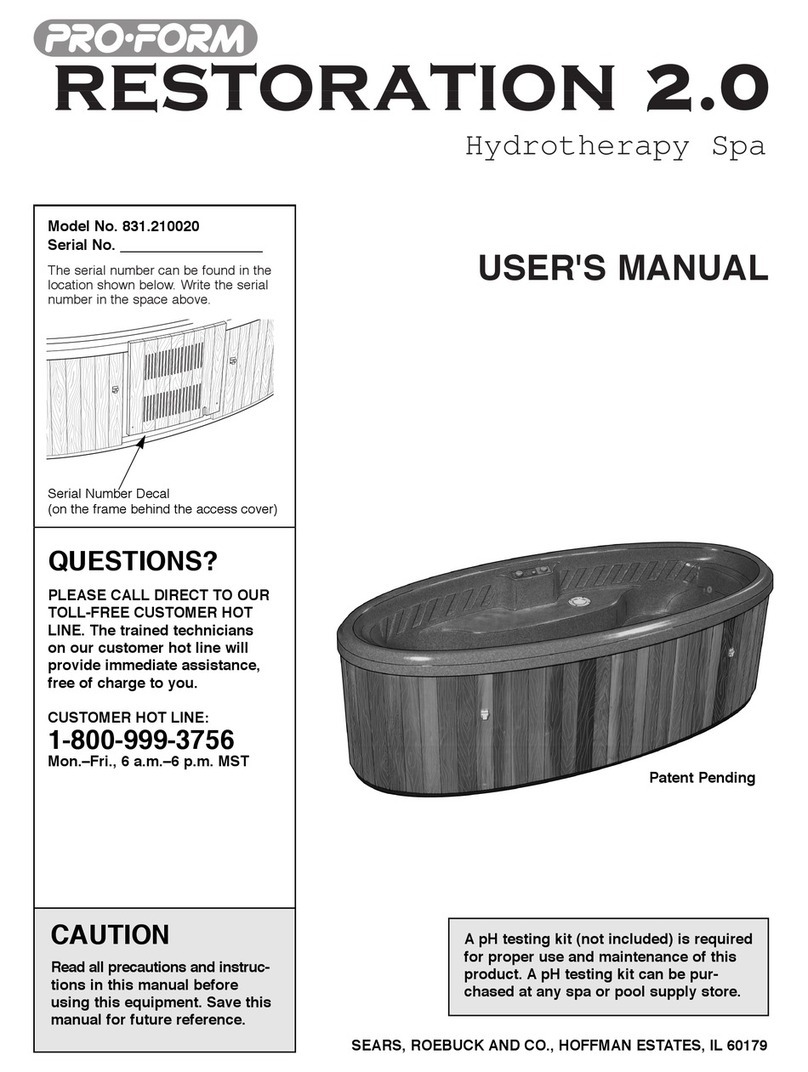
Pro-Form 831.21002 User manual

Pro-Form

Pro-Form 831.21002 User manual

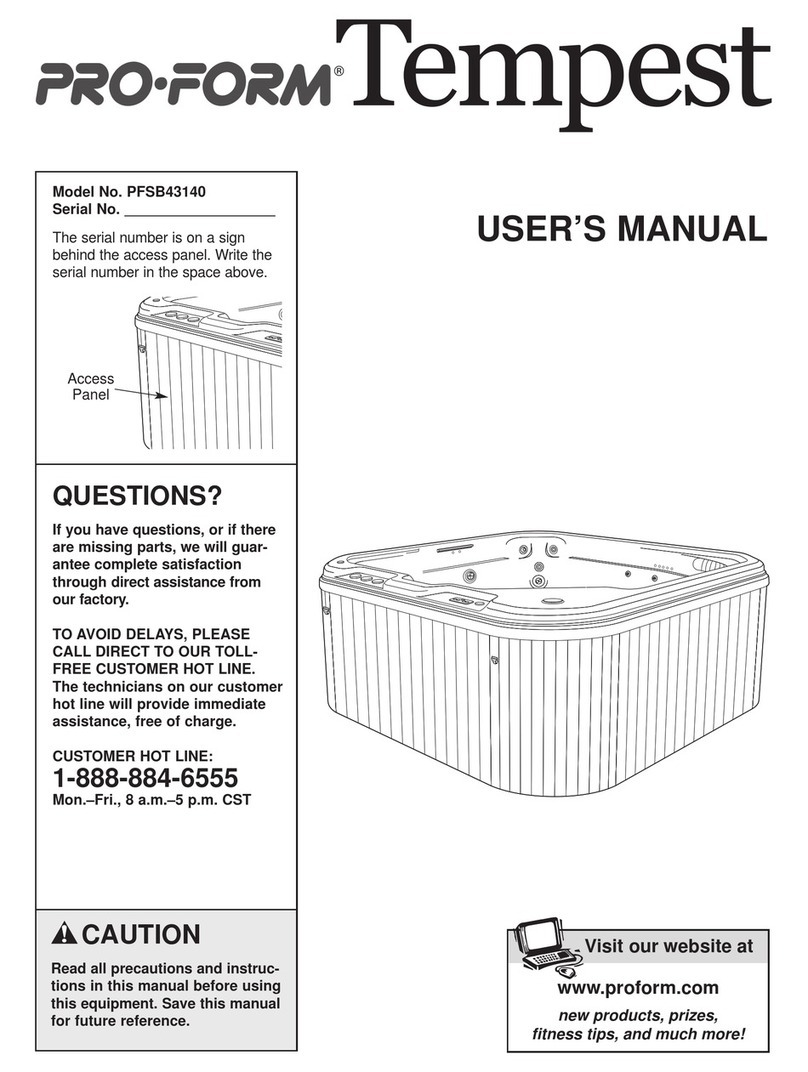
Pro-Form PFSB43140 User manual

Pro-Form

Pro-Form PFSB43140 User manual

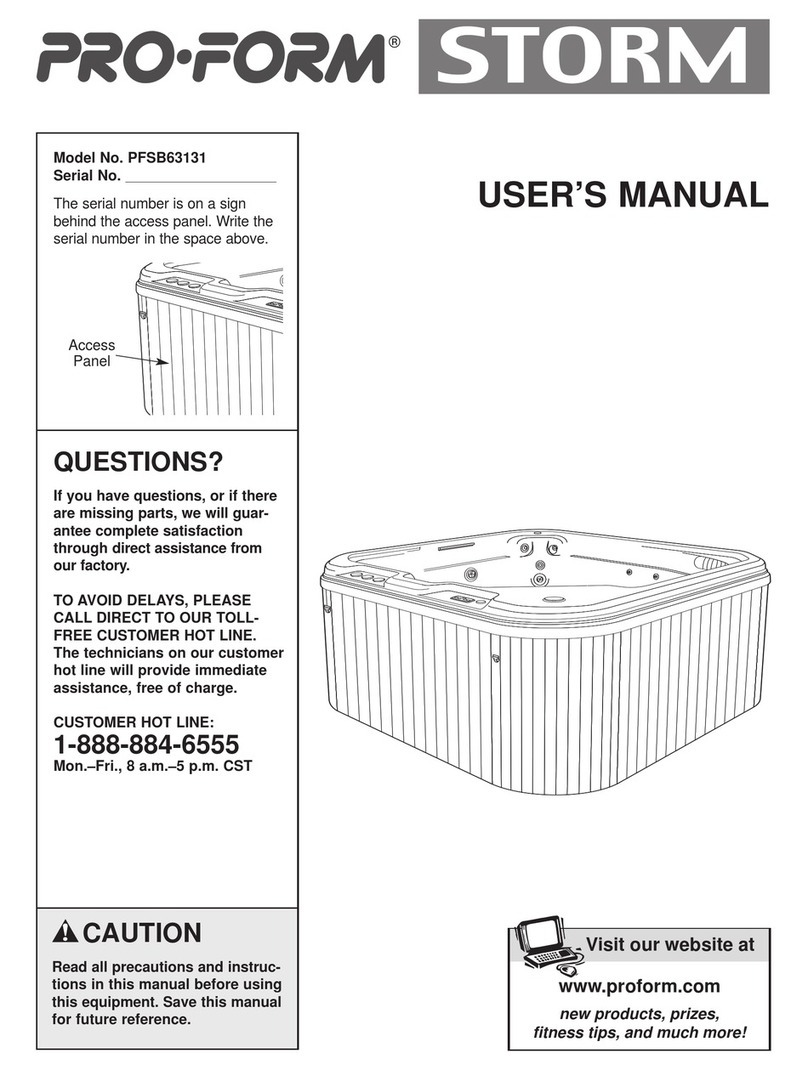
Pro-Form STORM User manual

Pro-Form

Pro-Form STORM User manual

Pro-Form 5.0 White Centrex User manual

Pro-Form

Pro-Form 5.0 White Centrex User manual

Pro-Form RESTORATION 510 User manual

Pro-Form

Pro-Form RESTORATION 510 User manual

Pro-Form 831.21005 User manual

Pro-Form

Pro-Form 831.21005 User manual

Pro-Form MAGNUM PFSB53950 User manual

Pro-Form

Pro-Form MAGNUM PFSB53950 User manual

Pro-Form PFSB73930 User manual

Pro-Form

Pro-Form PFSB73930 User manual

Pro-Form PFHS60070 User manual

Pro-Form

Pro-Form PFHS60070 User manual

Pro-Form 831.210051 User manual

Pro-Form

Pro-Form 831.210051 User manual

Pro-Form PFSG51030 User manual

Pro-Form

Pro-Form PFSG51030 User manual

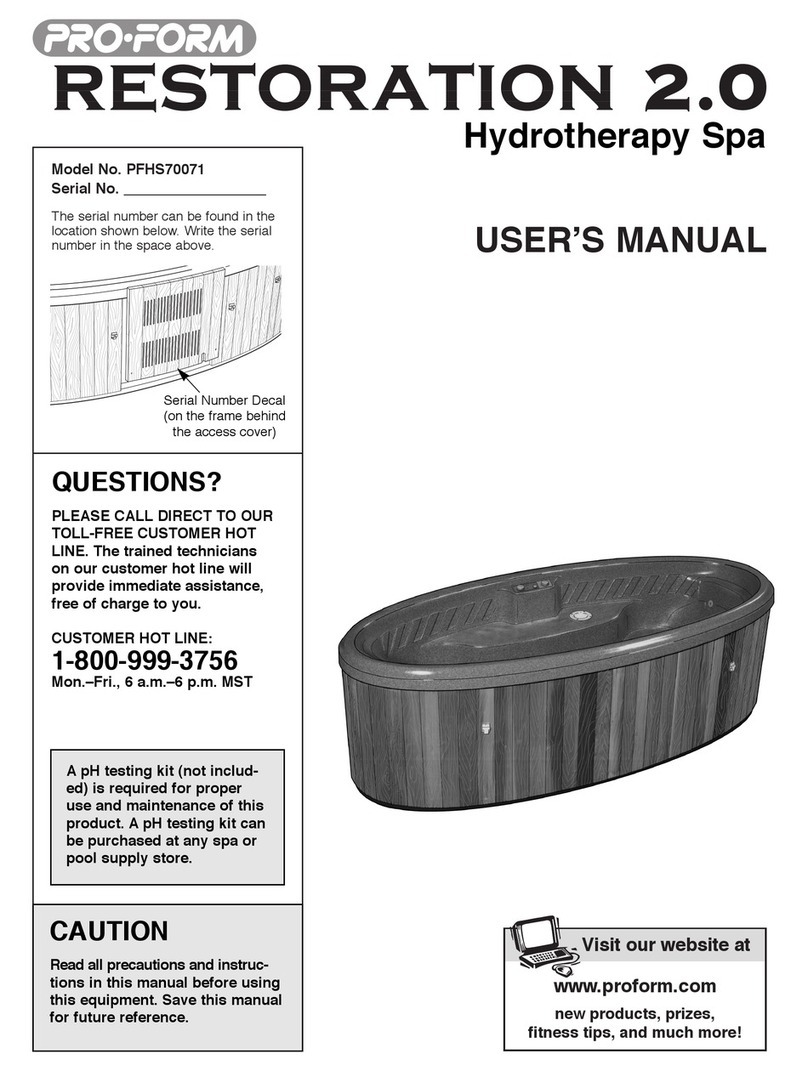
Pro-Form PFHS70071 User manual

Pro-Form

Pro-Form PFHS70071 User manual

Pro-Form PFSB62830 User manual

Pro-Form

Pro-Form PFSB62830 User manual

Pro-Form Storm PFSB63130 User manual

Pro-Form

Pro-Form Storm PFSB63130 User manual

Pro-Form ECLIPSE User manual

Pro-Form

Pro-Form ECLIPSE User manual

Pro-Form PFSW73900, PFSB73900, PFG73900 User manual

Pro-Form

Pro-Form PFSW73900, PFSB73900, PFG73900 User manual

Popular Hot Tub manuals by other brands

Jacuzzi Flow Instructions for preinstallation

Jacuzzi

Jacuzzi Flow Instructions for preinstallation

Jacuzzi Premium J-315 owner's manual

Jacuzzi

Jacuzzi Premium J-315 owner's manual

Jacuzzi J-145 owner's manual

Jacuzzi

Jacuzzi J-145 owner's manual

Bestway Lay-Z-Spa 54189 manual

Bestway

Bestway Lay-Z-Spa 54189 manual

Everyday Hot Tubs 530 owner's manual

Everyday Hot Tubs

Everyday Hot Tubs 530 owner's manual

Softub PRESTIGE Owners Manual Water Treatment Guide

Softub

Softub PRESTIGE Owners Manual Water Treatment Guide

JNJ SPAS SPA-318 Programming instructions

JNJ SPAS

JNJ SPAS SPA-318 Programming instructions

KIRAMI Comfort Family Instructions for use

KIRAMI

KIRAMI Comfort Family Instructions for use

QCA Spa VS501 PAK (VL260 TOPSIDE) owner's manual

QCA Spa

QCA Spa VS501 PAK (VL260 TOPSIDE) owner's manual

HoMedics FB-655HJ-GB manual

HoMedics

HoMedics FB-655HJ-GB manual

Jacuzzi alimia instructions

Jacuzzi

Jacuzzi alimia instructions

Jacuzzi ARGA ARG101C0110 Use & maintenance

Jacuzzi

Jacuzzi ARGA ARG101C0110 Use & maintenance

CalderaSpas CalderaSpas Utopia Series owner's manual

CalderaSpas

CalderaSpas CalderaSpas Utopia Series owner's manual

anko SS-601A user manual

anko

anko SS-601A user manual

CalderaSpas CANTABRIA owner's manual

CalderaSpas

CalderaSpas CANTABRIA owner's manual

Dimension One Spas HYDRO SPORT Installation and owner's guide

Dimension One Spas

Dimension One Spas HYDRO SPORT Installation and owner's guide

Bestway Lay-Z-Spa Maldives HydroJet Pro manual

Bestway

Bestway Lay-Z-Spa Maldives HydroJet Pro manual

Dimension One Spas Nautilus Specifications

Dimension One Spas

Dimension One Spas Nautilus Specifications

manuals.online logo
manuals.online logoBrands
  • About & Mission
  • Contact us
  • Privacy Policy
  • Terms and Conditions

Copyright 2025 Manuals.Online. All Rights Reserved.

USER'S MANUAL
QUESTIONS?
As a manufacturer, we are com-
mitted to roviding com lete
customer satisfaction. If you
have questions, or find that there
are missing or damaged arts,
we will guarantee com lete satis-
faction through direct assistance
from our factory.
TO AVOID UNNECESSARY
DELAYS, PLEASE CALL DIRECT
TO OUR TOLL-FREE CUSTOMER
HOT LINE. The trained techni-
cians on our customer hot line
will rovide immediate assis-
tance, free of charge to you.
CUSTOMER HOT LINE:
1-888-936-4266
Mon.–Thu., 8:00 am–6:30 m;
Fri., 8:00 am–6:00 m EST
Model No. 831.100400
Serial No.
Write the serial number in the space
above for reference.
Patent Pending
CAUTION
Read all recautions and instruc-
tions in this manual before using
this equi ment. Save this manual
for future reference.
Serial Number Decal
®
SEARS CANADA, INC., TORONTO, ONTARIO M5B 2B8
2
PROFORM®is a registered trademar of ICON Health & Fitness, Inc.
Part No. 145317 H00???-C R0398A Printed in USA © 1998 ICON Health & Fitness, Inc.
LIMITED FIVE YEAR MASSAGE SPA WARRANTY
ICON OF/DU CANADA INC., (ICON), warrants this product to be free from defects in wor manship and
material, under normal use and service conditions, for a period of ninety (90) days from the date of pur-
chase. ICON extends a limited five (5) year warranty on the spa shell structure. ICON also extends a lim-
ited two (2) year warranty on the pump and motor. This warranty extends only to the original purchaser.
ICON's obligation under this warranty is limited to replacing or repairing, at ICON's option, the product
through one of its authorized service centers. All repairs for which warranty claims are made must be pre-
authorized by ICON. This warranty does not extend to any product or damage to a product caused by or
attributable to freight damage, abuse, misuse, improper or abnormal usage, or repairs not provided by
ICON authorized service personnel, to products used for commercial or rental purposes, or to products
used as store display models. Specifically excluded are damages caused by or attributable to the follow-
ing incidents: any damage to the wood exterior resulting from improper maintenance, or any damage to
the wood or tile exterior attributable to freight mishandling; damage resulting from improper winterization;
damage to the spa shell resulting from improper chemical treatment, damage to the spa shell resulting
from exposure to extreme temperatures, or damage to the spa shell resulting from exposure to direct sun-
light and ultraviolet rays while the spa is empty; damage to the pump, motor, plumbing, and components
due to improper maintenance, chemical treatment, or exposure; damage resulting from failure to proper-
ly follow user’s manual installation, operating, or maintenance instructions. Also excluded are consumable
components, including but not restricted to headrests, filter cartridges, and light bulbs. No other warranty
beyond that specifically set forth above is authorized by ICON.
ICON is not responsible or liable for indirect, special or consequential damages arising out of or in con-
nection with the use or performance of the product or damages with respect to any economic loss, loss
of or damage to property including water damage, loss of revenues or profits, loss of enjoyment or use,
costs of removal, installation or other consequential damages of whatsoever nature. Some provinces do
not allow the exclusion or limitation of incidental or consequential damages. Accordingly, the above limi-
tation may not apply to you.
The warranty extended hereunder is in lieu of any and all other warranties and any implied warranties of
merchantability or fitness for a particular purpose is limited in its scope and duration to the terms set forth
herein. Some provinces do not allow limitations on how long an implied warranty lasts. Accordingly, the
above limitation may not apply to you.
This warranty gives you specific legal rights. You may also have other rights which vary from province to
province.
ICON OF/DU CANADA, 900 de l’Industrie, St. Jerôme, QC J7Y 4B8
TABLE OF CONTENTS
LIMITED WARRANTY . . . . . . . . . . . . . . . . . . . . . . . . . . . . . . . . . . . . . . . . . . . . . . . . . . . . . . . . . . . . . . . . . . . 2
IMPORTANT SAFETY INSTRUCTIONS . . . . . . . . . . . . . . . . . . . . . . . . . . . . . . . . . . . . . . . . . . . . . . . . . . . . . 4
WARNING LABEL IDENTIFICATION . . . . . . . . . . . . . . . . . . . . . . . . . . . . . . . . . . . . . . . . . . . . . . . . . . . . . . . . 6
BEFORE YOU BEGIN . . . . . . . . . . . . . . . . . . . . . . . . . . . . . . . . . . . . . . . . . . . . . . . . . . . . . . . . . . . . . . . . . . . 7
CHOOSING A LOCATION FOR THE RESTORATION 600 . . . . . . . . . . . . . . . . . . . . . . . . . . . . . . . . . . . . . . . 8
ASSEMBLY . . . . . . . . . . . . . . . . . . . . . . . . . . . . . . . . . . . . . . . . . . . . . . . . . . . . . . . . . . . . . . . . . . . . . . . . . . . 9
USING THE RESTORATION 600 . . . . . . . . . . . . . . . . . . . . . . . . . . . . . . . . . . . . . . . . . . . . . . . . . . . . . . . . . 11
MAINTENANCE . . . . . . . . . . . . . . . . . . . . . . . . . . . . . . . . . . . . . . . . . . . . . . . . . . . . . . . . . . . . . . . . . . . . . . 14
TROUBLE-SHOOTING . . . . . . . . . . . . . . . . . . . . . . . . . . . . . . . . . . . . . . . . . . . . . . . . . . . . . . . . . . . . . . . . . 15
CUSTOMER RECORD . . . . . . . . . . . . . . . . . . . . . . . . . . . . . . . . . . . . . . . . . . . . . . . . . . . . . . . . . . . . . . . . .19
ORDERING REPLACEMENT PARTS . . . . . . . . . . . . . . . . . . . . . . . . . . . . . . . . . . . . . . . . . . . . . . . Bac Cover
Note: A PART LIST and an EXPLODED DRAWING are attached to the center of this manual. Remove the PART
LIST and EXPLODED DRAWING before beginning assembly.
3
4
IMPORTANT SAFETY INSTRUCTIONS
WARNING: To reduce the risk of drowning, electric shock, or serious injury, read the following
im ortant recautions before using the RESTORATION 600.
READ AND FOLLOW ALL INSTRUCTIONS
1. It is the res onsibility of the owner to ensure
that all users of the RESTORATION 600 are
adequately informed of all recautions.
2. Use the RESTORATION 600 only as
described in this manual.
3. The RESTORATION 600 is intended for home
use only. Do not use the s a in any commer-
cial, rental, or institutional setting.
4. Use the RESTORATION 600 only on a level
surface. Do not use the s a on car et or
other materials that could be damaged by
moisture. Do not use the s a on rough or
shar surfaces such as gravel or wood chi s.
5. The RESTORATION 600 will weigh a roxi-
mately 2400 ounds when it is assembled
and filled with water. Be sure that the loca-
tion you select for the s a will su ort this
weight, lus the weight of the occu ants.
6. Ins ect and tighten all arts regularly.
Re lace any worn arts immediately.
7. DANGER—Risk of injury: Do not remove or
alter the covers on the suction fittings. Never
o erate the RESTORATION 600 if the suction
guard is missing or broken. Kee hair and
body away from the suction guard. If you
need to re lace a suction fitting, be sure that
the flow rate of the re lacement is com atible.
8. Do not bring any object into the RESTORA-
TION 600 that could uncture the liner.
9. Never insert any object into any o ening.
10. Do not sit on the s a cover or lace objects
on it. Do not sit on the to edge of the s a. It
is not designed to su ort weight.
11. Remove any water which may collect on the
s a cover.
12. Kee children and ets away from the
RESTORATION 600 when it is not in use.
13. Kee all chemicals away from children and
ets.
14. The H and chemical balance of the water
must be maintained as ex lained in this man-
ual (see age 11). Failure to do so may cause
injury to users or damage to the s a jet unit,
and will void the warranty.
15. The water um in the s a jet unit must be
rimed before you use the RESTORATION 600
the first time. You must also rime the um
before using the unit each time you re-fill the
s a. The s a jet unit may be seriously dam-
aged if the um is not ro erly rimed (see
PRIMING THE SPA JET UNIT on age 11).
16. DANGER—When connecting the ower cord
(see PLUGGING IN THE RESTORATION 600
on age 11), lug the ower cord directly into
a grounded circuit ca able of carrying 15 or
more am s. No other a liance should be on
the same circuit. Re lace the ower cord
immediately if damaged.
17. Do not use an extension cord with the
RESTORATION 600. This could damage the
motor and will void the warranty.
18. DANGER—If you will be using the RESTORA-
TION 600 outside, do not bury the ower
cord; you should also kee the ower cord
away from lawn mowers, hedge trimmers,
and other similar equi ment.
19. WARNING—The ower cord is equi ed with
a Ground Fault Circuit Interru ter (GFCI),
located at the end of the ower cord. The
GFCI must be tested before each use. To test
the GFCI, ress the “test” button while the
s a jet unit is running. The s a jet unit
should shut off. Press the “reset” button.
The s a jet unit should resume normal o er-
ation. If the s a jet unit continues to run after
the “test” button is ressed, then the GFCI is
damaged. Do not use the RESTORATION 600
until the GFCI has been re aired or re laced
by a qualified electrician.
5
20. Kee all electrical a liances such as radios,
tele hones, televisions, and lights at least
five feet (1.52 meters) away from the water.
21. A wire connector is rovided on the um
motor of this unit to connect a minimum No.
8 AWG (804 mm2) solid co er conductor
between this unit and any metal equi ment,
electrical enclosure made of metal, metal
water i es, or conduit within five feet
(1.52m) of the unit.
22. DANGER—Risk of electric shock: Do not set
u the RESTORATION 600 within five feet of
any metal objects or surfaces. As an alterna-
tive, you may use the s a within five feet of
metal objects if each metal object is erma-
nently connected to the wire connector on
the um motor of this unit by a minimum
No. 8 AWG (804 mm2) solid co er conductor
(see instruction 21).
23. DANGER—Risk of drowning: Exercise
extreme caution to revent unauthorized and
unsu ervised use of the RESTORATION 600
by children. Children must always be su er-
vised.
24. DANGER—To reduce the risk of drowning:
• Never use the s a alone;
• Children should not use the s a unless
they are su ervised by an adult;
• Kee ets away from the s a at all times;
• Always re lace and lock the s a cover
when the s a is not in use.
25. WARNING—To reduce the risk of injury: The
water tem erature should never exceed
104°F (40°C). Tem eratures between 100°F
(38°C) and 104°F (40°C) are considered to be
safe for healthy adults. However, if you lan
to remain in the RESTORATION 600 for more
than 10 to 15 minutes, a lower tem erature is
recommended. Lower tem eratures are also
recommended for children.
26. WARNING—To reduce the risk of injury:
Always use an accurate thermometer to
determine the water tem erature before
using the RESTORATION 600.
27. WARNING—To reduce the risk of injury:
Pregnant women should consult with their
hysician before using the RESTORATION
600. Pregnant women should not use the s a
if the water tem erature is above 100°F (38°C);
the unborn child could be seriously harmed.
28. DANGER—To reduce the risk of drowning:
Prolonged immersion in the RESTORATION
600 may cause hy erthermia, a dangerous
condition which occurs when the internal
body tem erature rises several degrees
above the normal body tem erature of 98.6°F.
The sym toms of hy erthermia are nausea,
dizziness, drowsiness, and fainting. Effects
include: a lack of awareness, inability to er-
ceive heat or danger, and a greater risk of
drowning due to a loss of consciousness.
Special note: Individuals suffering from
hyperthermia may be unable to realize that
they must exit the spa, and they also may be
physically unable to do so.
29. WARNING—To reduce the risk of drowning:
Heat from the water, in conjunction with alco-
hol or drugs can cause unconsciousness. Do
not use the RES ORA ION 600 if you are
under the influence of drugs or alcohol.
30. WARNING—To reduce the risk of injury or
drowning: Consult your hysician about os-
sible side-effects of any medications you may
be taking before using the RESTORATION
600. Heat from the water, in conjunction with
some medications may cause drowsiness
and increase the risk of drowning. Others
can effect blood ressure, heart rate, and cir-
culation.
31. WARNING—To reduce the risk of injury: It is
es ecially im ortant for ersons over the age
of 35 or ersons with re-existing health
roblems, such as obesity, heart disease,
high or low blood ressure, circulatory rob-
lems, or diabetes to consult your hysician
before using this roduct.
32. If you feel ain or dizziness at any time while
using the RESTORATION 600, discontinue
use and contact a hysician.
WARNING: Read all instructions before using the RESTORATION 600. ICON assumes no res onsibil-
ity for ersonal injury or ro erty damage sustained by or through the use of this roduct.
SAVE THESE INSTRUCTIONS
6
WARNING LABEL IDENTIFICATION
The warning labels shown below have been laced on the s a cover, rinted inside the inflatable s a
liner, and laced on the side of the s a jet unit of the RESTORATION 600. Locate the labels and familiar-
ize yourself with this information. The label on the side of the s a jet unit is an adhesive decal. If this
decal is missing, or if it is not legible, lease call our Customer Service De artment toll-free at 1-888-
936-4266, Monday–Thursday, 8:00 am–6:30 m; Friday, 8:00 am–6:00 m EST (excluding holidays), to
order a re lacement decal. A ly the decal in the location shown.
7
BEFORE YOU BEGIN
Than you for selecting the PROFORM®RESTORA-
TION 600. The innovative RESTORATION 600 offers
the features and quality of a traditional hot tub at an
affordable price. Best of all, the RESTORATION 600 is
fully portable, so you can ta e it wherever there is an
electrical outlet. The RESTORATION 600 allows you
to relax and unwind in the comfort of your own home.
For your benefit, read this manual carefully before
using the PROFORM®RESTORATION 600. If you
have additional questions, please call our Customer
Service Department toll-free at 1-888-936-4266,
Monday–Thursday, 8:00 am–6:30 pm; Friday, 8:00
am–6:00 pm EST (excluding holidays). To help us
assist you, please note the product model number and
serial number before calling. The model number is
830.100400. The serial number can be found on a
decal attached to spa jet unit (see the front cover of
this manual).
Before reading further, please familiarize yourself with
the parts that are labeled in the drawing below.
Spa Jet Unit
Inflation ValveLoc ing Buc le
Console (Under
Spa Cover)
Spa Cover
Power Cord
Ground Fault Circuit
Interrupter (GFCI)
8
CHOOSING A LOCATION FOR THE RESTORATION 600
There are many factors to consider when choosing a location to set up the RESTORATION 600. These factors
vary depending on whether you use the RESTORATION 600 inside or outside. We have listed several factors
you may wish to consider as you decide where you want to use the RESTORATION 600.
If you set u the RESTORATION 600 inside:
1. The RESTORATION 600 will increase the level of
humidity in your home. The location you choose
should be well ventilated. You may need to install
a ventilation fan or use a dehumidifier.
2. The location must be close to an electrical outlet.
Do not use an extension cord with the
RESTORATION 600.
3. The RESTORATION 600 should be close to a
source of water.
4. Do not use the RESTORATION 600 on carpet or
other material that may be damaged by moisture.
We recommend that you place the RESTORA-
TION 600 on a water- and stain-resistant, non-slip
surface with a floor drain for any water that may
splash from the RESTORATION 600.
5. Be sure that the location you choose is stable. It
must be able to support the weight of the
RESTORATION 600 when it is filled with water,
plus the weight of the occupants. The RESTORA-
TION 600 weighs approximately 2400 pounds
when filled with water.
6. Do not use the RESTORATION 600 above a fin-
ished living area, due to the ris of water damage.
7. Be sure that there is room around the RESTORA-
TION 600 to permit servicing of the unit. The
diameter of the tub is 69”. You should allow for
this size, plus the size of the spa jet unit, when
choosing the location.
8. Be sure to note any other considerations, such as
aesthetics or privacy concerns, that may affect the
safety or enjoyment of using the RESTORATION
600.
If you set u the RESTORATION 600 outside:
1. You should chec your local building codes con-
cerning the use of outdoor spas.
2. The location must be close to an electrical outlet.
Do not use an extension cord with the
RESTORATION 600.
3. The RESTORATION 600 should be close to a
source of water.
4. We recommend that you place the RESTORA-
TION 600 on a water- and stain-resistant, non-slip
surface.
5. Be sure that the location you choose is stable. It
must be able to support the weight of the
RESTORATION 600 when it is filled with water,
plus the weight of the occupants. The RESTORA-
TION 600 weighs approximately 2400 pounds
when filled with water.
6. Thin about environmental factors, such as rain,
wind, shade, sunlight, and so forth.
7. You should be able to monitor the use of the
RESTORATION 600 from your home, to prevent
unauthorized use by children.
8. Be sure that there is room around the RESTORA-
TION 600 to permit servicing of the unit. The
diameter of the tub is 69”. You should allow for
this size, plus the size of the spa jet unit, when
choosing the location.
9. Be sure to note any other considerations, such as
aesthetics or privacy concerns, which may affect
the safety or enjoyment of using the RESTORA-
TION 600.
9
1. Before beginning assembly, be sure that you
have read and understand the information in the
box above and on the revious age.
Unfold the Inflatable Spa Liner (9). Attach the nozzle
on the air pump to the valve on the side of the
Inflatable Spa Liner. Use the foot pedal on the air
pump to fill the sides of the Inflatable Spa Liner with
air.
Attach the nozzle on the air pump to the valve on
the floor of the Inflatable Spa Liner (9). Use the air
pump to fill the bottom of the Inflatable Spa Liner
with air.
Attach the nozzle on the air pump to the valve on
the top of the Inflatable Spa Liner (9). Use the air
pump to fill the cushion on the top of the Inflatable
Spa Liner with air.
2. Unfold the Fabric Spa Surround (8). Be sure that the
indicated flap is on the outside of the Fabric Spa
Surround. Insert the Inflatable Spa Liner (9) into the
Fabric Spa Surround. Align the valve in the Inflatable
Spa Liner with the hole in the Fabric Spa Surround.
Flip the flap on the Fabric Spa Surround (8) over the
low section of the Inflatable Spa Liner (9).
Be sure that all six cover buc les are fully inserted
through the loops in the Fabric Spa Surround (8).
3. Remove the power cord from the Spa Jet Unit (13).
With the help of a second person, place the Spa Jet
Unit (13) over the Fabric Spa Surround (8) and the
section of the Inflatable Spa Liner (9) which does
not have the cushion. Be extremely careful not to
tear the Inflatable S a Liner (9) as you slide the
S a Jet Unit into lace.
2
9
8
Flap
Valve must
be visible in
this hole
1
ASSEMBLY
Before beginning assembly, carefully read the
following information and instructions:
• Assembly requires two people.
• Place all parts in a cleared area and remove the
pac ing materials; do not dispose of the pac ing
materials until assembly is completed.
• Assembly requires the included air pump.
• Read each assembly step before you begin.
• During assembly, ma e sure that all parts are ori-
ented as shown in the drawings.
9
Inflate here
third
Inflate here
second
Inflate here
first
3
8
13
9
Power
Cord
10
4. Before you fill the RESTORATION 600, be sure that
it is in the position you want, and that it can be eas-
ily serviced, if needed. Once the RESTORATION
600 is filled with water, it will need to be drained to
be moved.
Using a garden hose or other clean water source,
begin filling the RESTORATION 600, until the jet
and filter openings on the Spa Jet Unit (13) are cov-
ered with water. Do not fill the RESTORATION
600 more than 20” dee with water.
After the RESTORATION 600 is full, you must
rime the S a Jet Unit (13) before using the
RESTORATION 600 (see PRIMING THE SPA JET
UNIT on age 10).
5. Insert the Support Ball (4) into the mesh poc et on
the underside of the Spa Cover (11).
See inset drawing A. Insert the inflation tube into
the hole in the Support Ball (4). Inflate the Support
Ball.
See inset drawing B. When the Support Ball (4) is
inflated, remove the inflation tube from the Support
Ball and insert the ball plug through the mesh into
the Support Ball. The head of the ball lug will
hold the Su ort Ball in lace.
Note: The Su ort Ball (4) is not a toy.
6. Place the Spa Cover (11) over the Fabric Spa
Surround (8), the Inflatable Spa Liner (9), and the
Spa Jet Unit (13). Be sure that the S a Cover is
ro erly centered and that the stra s on the
S a Cover line u with the stra s on the Fabric
S a Surround.
Snap each of the six latches on the Spa Cover (11)
into the buc les on the straps on the Fabric Spa
Surround (8).
6
49
13
8
11
13
Latches and Buc les
BA
11 Mesh Poc et
4
4
Inflation
Tube Ball
Plug 4
5