ENGLISH 9
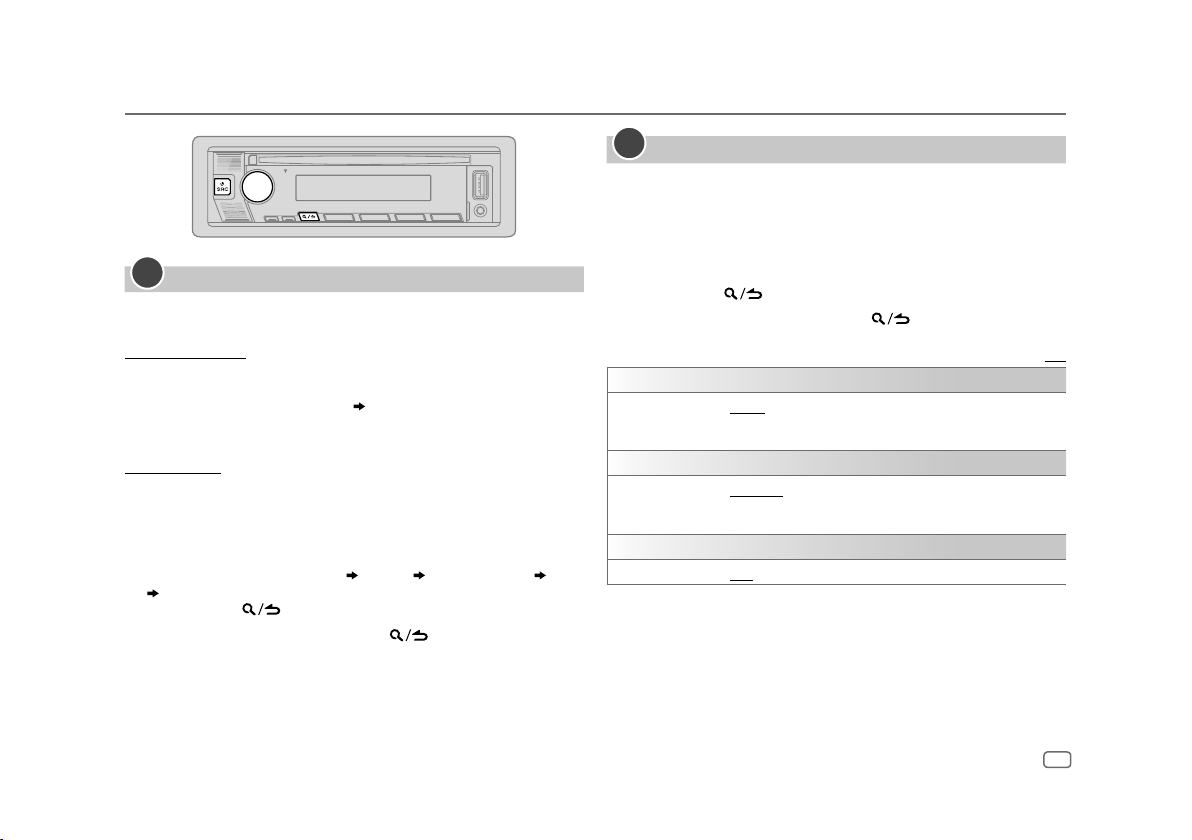
Select a file to play
From a folder or list
• For iPod, applicable only when
[MODE OFF]
is selected. (Page 8)
1 Press .
2 Turn the volume knob to select a folder/list, then press the knob.
3 Turn the volume knob to select a file, then press the knob.
Selected file starts playing.
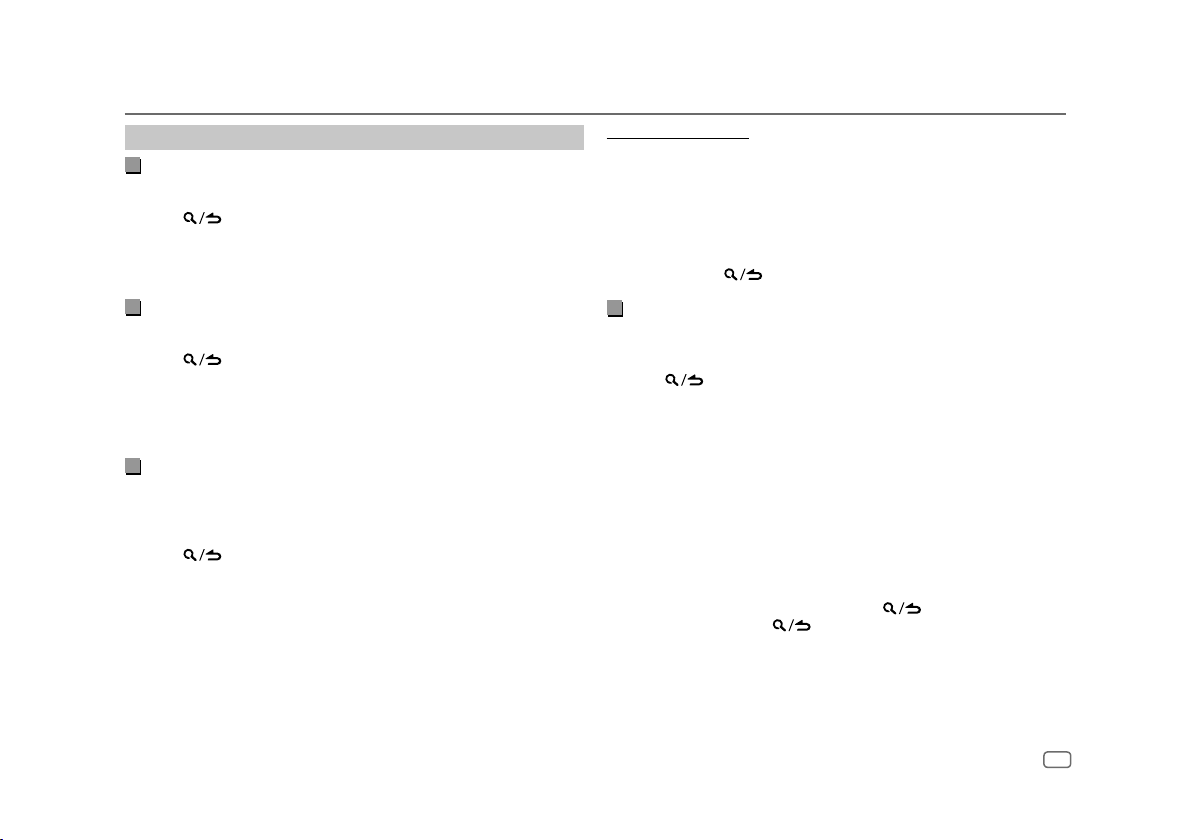
Quick search
(applicable only for CD source and USB source)
If you have many files, you can search through them quickly.
1 Press .
2 Turn the volume knob to select a folder/list, then press the knob.
3 Turn the volume knob quickly to browse through the list quickly.
4 Turn the volume knob to select a file, then press the knob.
Selected file starts playing.
Skip search
(applicable only for iPod USB source and iPod BT source)
If you have many files in the selected list, you can perform the following to
search for a file by skipping through the list at a rate selected in
[SKIP SEARCH]
.
• For iPod, applicable only when
[MODE OFF]
is selected. (Page 8)
1 Press .
2 Turn the volume knob to select a list, then press the knob.
3 Press S/ Tto search at a preset skip search ratio.
• Pressing and holding S / T searches at a 10% ratio irregardless of
the
[SKIP SEARCH]
settings.
4 Turn the volume knob to select a file, then press the knob.
Selected file starts playing.
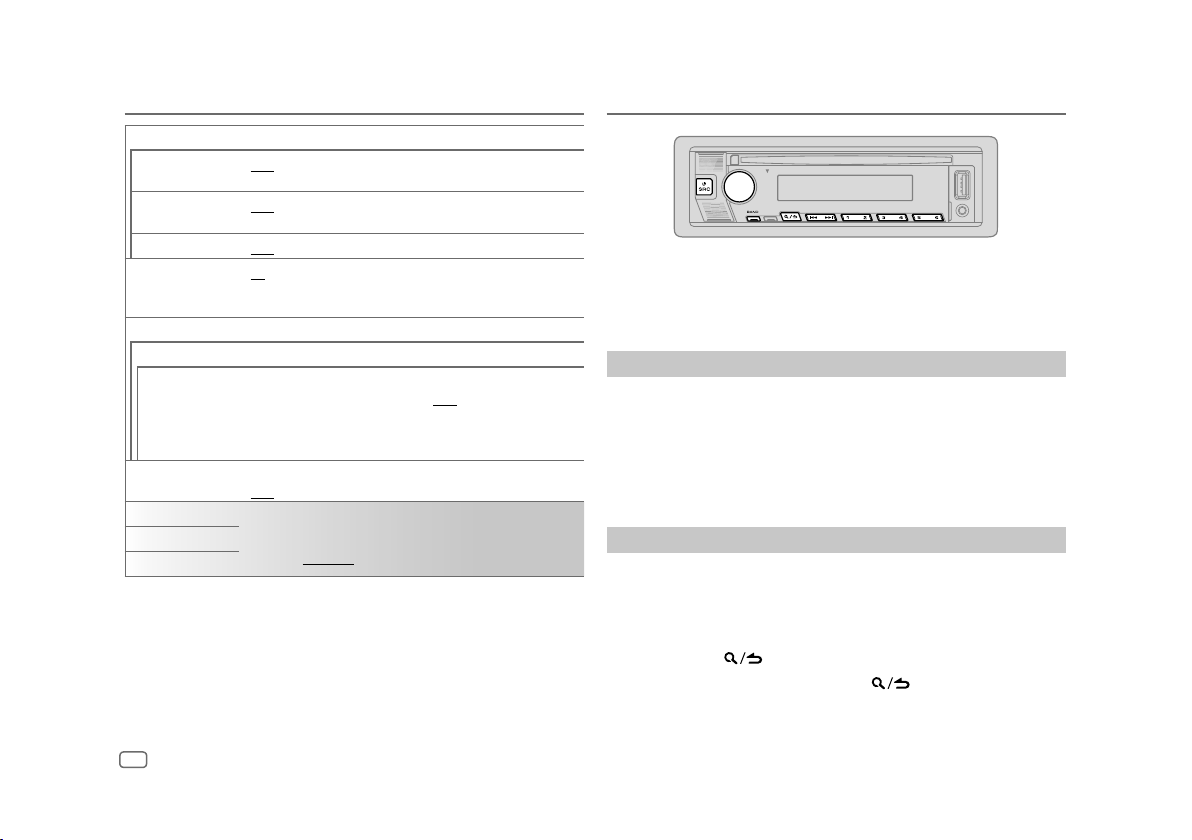
[SKIP SEARCH] setting
1 Press the volume knob to enter
[FUNCTION]
.
2 Turn the volume knob to select
[USB]
, then press the knob.
3 Turn the volume knob to select
[SKIP SEARCH]
, then press the knob.
4 Turn the volume knob to select the skip search ratio, then press the
knob.
[0.5%]
(default)/
[1%]
/
[5%]
/
[10%]
The skip search ratio is shown as a percentage of the total files.
5 Press and hold to exit.
Alphabet search
(applicable only for iPod USB source and iPod BT source)
You can search for a file according to the first character.
• For iPod, applicable only when
[MODE OFF]
is selected. (Page 8)
1 Press .
2 Turn the volume knob to select a list, then press the knob.
3 Turn the volume knob quickly to enter character search.
4 Turn the volume knob to select the character.
• Select “ * ” to search for a character other than A to Z, 0 to 9.
5 Press S/ Tto move to the entry position.
• You can enter up to 3 characters.
6 Press the volume knob to start searching.
7 Turn the volume knob to select a file, then press the knob.
Selected file starts playing.
• To return to the root folder/first file/top menu, press 5. (Not applicable for
BT AUDIO source.)
• To return to the previous setting item, press .
• To cancel, press and hold .
CD/USB/iPod