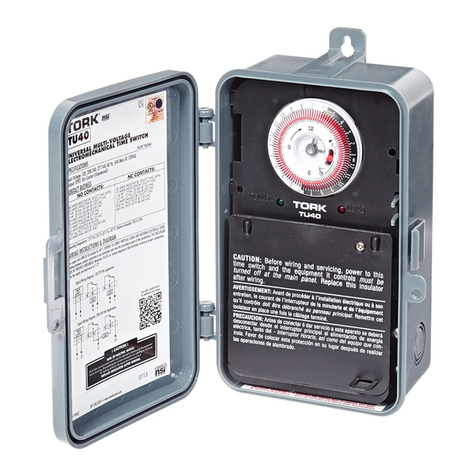
Process Technology DTS Manual

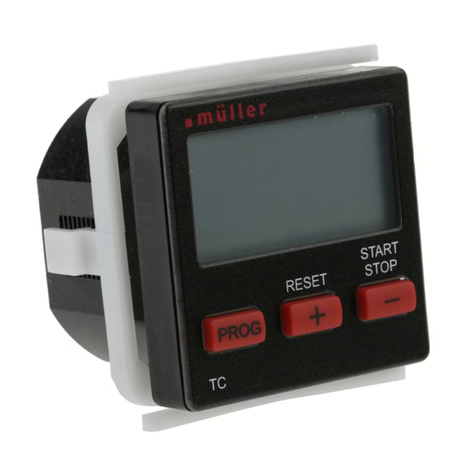
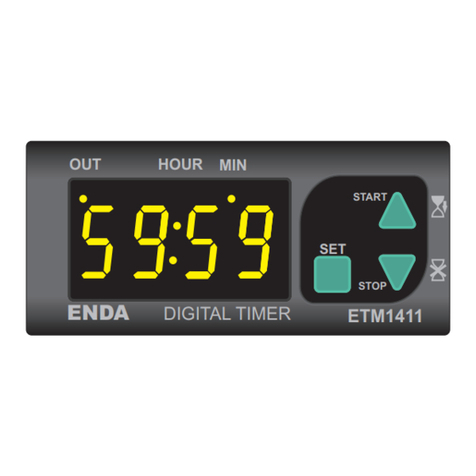
DTS Digital Timer (220-240V)
The DTS Digital Timer provides versatile, reliable switching control in an easy-to-program
LCD controller capable of setting up to eight switch cycles. A NiCad battery backup saves
settings temporarily during AC power failure; relays are de-energized with loss of AC power.
Set the Clock
M-38-05 DTS 220-240V Manual
Revision – Date: 00 – 05/07/08 1
1. The top of the DTS has two slide setting
controls. The Controller Run Mode Switch
is on the right. Slide the Controller Run
Mode Switch to .
2. Numbers printed across the top of the
LCD represent days of the week. Press the
1...7 button until the arrow at the top of
the LCD screen points to the current day.
See details in Figure 1.
3. Scroll to find the correct hour (hbutton)
and minute(mbutton). Note the AM/PM
indicators in the top left of the LCD.
Scroll. Press and hold h button/m button to
scroll hours/minutes and set times.
4. When finished, slide the Controller Run
Mode Switch from to Run.
Program a Cycle
Once you set the clock, you can begin
programming switch cycles. DTS has pre-
programmed groups that make it easy to
program a group of days using only one
Cycle. The following groups are available:
Mon-Fri (1-5) Mon-Sun (1-7)
Mon-Sat (1-6) Sat-Sun (6-7)
Note. Two settings are required per cycle,
Switch On & Switch Off, so eight cycles are
possible. An example of a cycle is Mon–Fri,
Switch On 9am, Switch Off 6pm (Switch
On=relays energized, circuit closed; Switch
Off=circuit open.)
Set Switch On/Switch Off Times
1. Slide the Controller Run Mode Switch to
to set Switch On time. A displays
during Switch On setting. A number
displays just beneath the to identify the
switch cycle. When you begin
programming, 1 should display.
2. Numbers printed across the top of the
LCD represent days of the week. Press the
1...7 button until the arrow at the top of
the LCD screen points to the correct day
or group of days (see Figure 1 for details).
3. Set the Switch On time. Scroll to find
the correct hour (hbutton) and minute(m
button). Note the AM/PM indicators in
the top left of the LCD.
4. Complete the cycle by setting the Switch
Off time. Press button. disappears
indicating Switch Off and the switch cycle
number changes to 2. Press 1...7 button
to select the day of the week (the same
day(s) as step 2).
Figure 1: DTS

5. Set the Switch Off time. Scroll to find
the correct hour (hbutton) and minute(m
button). Note the AM/PM indicators in
the top left of the LCD.
M-38-05 DTS 220-240V Manual
Revision – Date: 00 – 05/07/08 2
6. To set a new cycle, beginning with
Switch On time, press button and
repeat steps 2-5.
To end programming, slide Controller
Run Mode Switch from to Run.
Press P to scroll through cycles
1. To verify all of your cycles are set
properly, slide the Controller Run Mode
Switch to .
2. Press repeatedly to scroll settings.
3. Make changes as needed. When
finished, slide the Controller Run Mode
Switch to Run.
Clear Settings
Clear (erase) all settings by pressing R
button (reset) at any time. To clear one
setting, continue to step 1.
1. Slide Controller Run Mode Switch to .
2. Press button to display the Switch
On setting. The arrows at the top and the
time should indicate day of the week and
time of Switch On.
3. Press the 1...7 button until no arrows
display at the top of the LCD.
4. Press button to display the
corresponding Switch Off setting. Repeat
step 3 for Switch Off.
5. After clearing the cycle (Switch On and
Switch Off settings) slide the Controller
Run Mode Switch to Run.
Wiring
Line Supply To Control Circuit
220-240V Common
50/60Hz
220-240V
Suitably 16AMP
Protected Resistive
Figure 2: DTS Wiring
AutoRun
AutoRun enables programmed cycles to
run without any additional input.
1. Slide Controller Run Mode Switch to
Run.
2. Slide AutoRun Mode Switch to Auto.
DTS immediately goes into AutoRun mode
and will Switch On at next programmed
time.
Override AutoRun
You can temporarily override the AutoRun
setting the following ways:
Override ON: Slide AutoRun Mode Switch
to I. Switch remains on indefinitely.
Override OFF: Slide AutoRun Mode
Switch to 0. Switch remains off
indefinitely.
Skip Cycle: From AutoRun mode, press
button. The next calendar day is skipped.
EEE Error
If the LCD displays EEE, an error exists in
one or more switch cycles.
1. Slide Controller Run Mode Switch to .
2. Note the cycle number in error (number
displays with EEE on LCD). Press
button to display settings.
3. Review settings and fix the error.
4. Slide the Controller Run Mode Switch to
Run.
Contact Information
U.S./Canada: (800) 621-1998
7010 Lindsay Dr.
Mentor, OH 44060 U.S.A.
Phone: (440) 974-1300
Fax: (440) 974-9561

