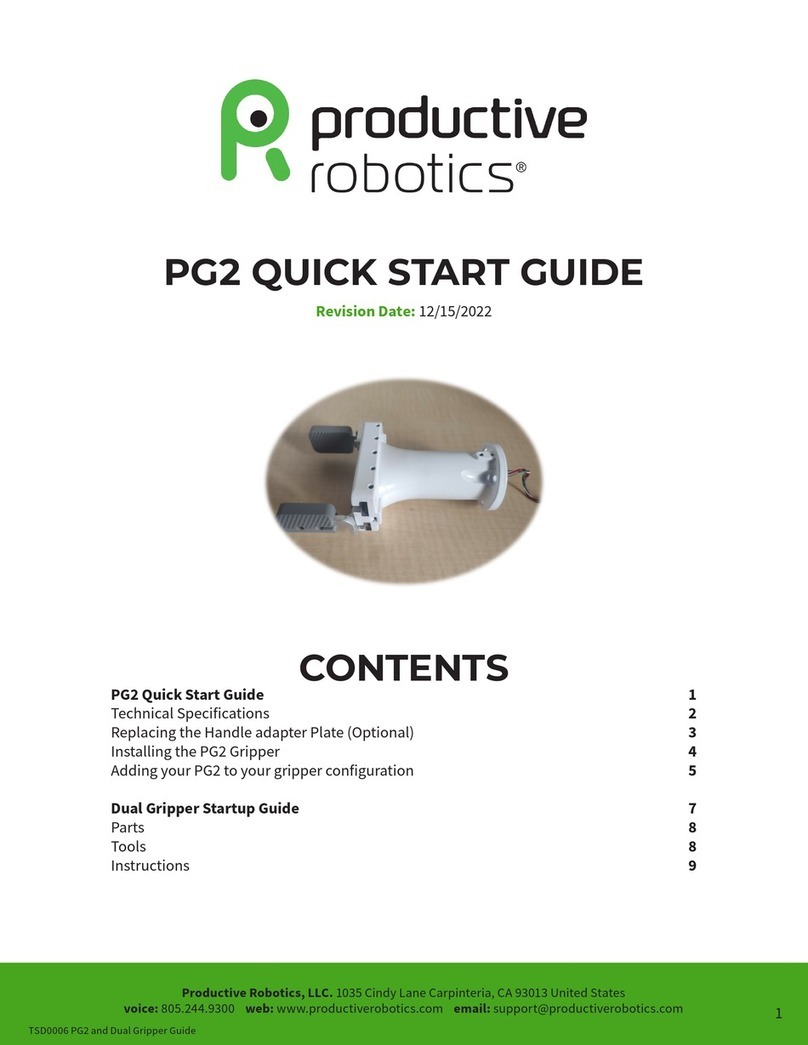
productive robotics OB7 User manual

OB7
COLLABORATIVE ROBOT
USER MANUAL
NEXT GENERATION
COLLABORATIVE ROBOTS
CONTACT
Address
Productive Robotics Inc.
1033 Cindy Lane Carpinteria,
CA 92013 United States
Phone & Fax
Phone: 805-244-9300
Sales: 805-244-9300 ext. 7001
Support: 805-244-9300 ext. 7117
Online
info@productiverobotics.com
sales@productiverobotics.com
www.productiverobotics.com
Designed and Manufactured In the USA
JUNE 2018
VERSION 0.6

Productive Robotics Inc.
Copyright © 2018 by Productive Robotics Inc.

OB7 COLLABORATIVE ROBOT
USER MANUAL
JUNE 2018
VERSION 0.6

OB7 COLLABORATIVE ROBOT
USER MANUAL
TABLE OF CONTENTS
PREFACE 6
Safety Notice 7
General Safety Considerations 8
Limitation of Liability 9
Disclaimer 9
How to Use This Manual 9
Document change record 10
Request for OB7 Password 11
GETTING STARTED WITH OB7 14
Unpacking the OB7 Stand 15
Assembling the OB7 Stand 15
Assembling the OB7 Assembly Table 16
Unpacking OB7 17
Installing the General Equipment Interface (Optional) 22
Quick Start 24
Start OB7 28

MEET OB7 36
OB7 Control Tablet 39
OB7 CONTROL FUNCTIONS 62
OB7 Control Handle 63
OB7 Control Tiles 64
TECHNICAL DRAWINGS 110
OB7 Mounting 111
OB7 Gripper/Tool Mounting 112
OB7 Robot Stand Dimensions 113
Mechanical Specications 114
Technical Specications 115
INSTRUCTIONAL DOCUMENTS 116
OB7 Soware Update Instructions 117
Exporting Diagnostics Data From OB7 118
Cleaning The Fan Filter 119

OB7 Collaborative Robot User Manual Version 0.6
Preface / 6
PREFACE

OB7 Collaborative Robot User Manual Version 0.6
Preface / 7
PREFACE
SAFETY NOTICE
Do not operate or power your robot before reading this:
Robots, including OB7, can be dangerous. By denition, the robot alone does not constitute the
complete machine or system. A Risk Assessment, performed by a qualied person or team, is
absolutely necessary to understand the risks associated with operating any robot. The specic
considerations and guidelines for performing a Risk Assessment are beyond the scope of this manual.
The Risk Assessment must be performed on the entire machine, system and environment. Steps
must be taken to mitigate all risks identied during the Risk Assessment. These steps may include,
but are not limited to: the addition of safety equipment and/or guarding, education and training
of sta, factory and shop organization, signage, and/or other measures. Risk Assessment and
mitigation is the responsibility of the robot integrator and/or end user. Because the robot is only
one component of the entire system, it is not possible for the robot manufacturer to perform the
necessary Risk Assessment. While a Risk Assessment is mandatory, it can only reduce and mitigate
risks and can not guarantee safety under all circumstances. Comprehensive safety rules, a safe
Work environment and a strong culture of safety are important factors in creating a safe Working
environment.
Operation of robots, and all industrial machinery is governed by regulations and laws specic to each
location. It is the responsibility of the robot integrator and end user to assure that the entire system,
including the robot, are in compliance with all regulations and laws. The following is a partial list of
documents that may be relevant or useful:
• ISO10218-2 Robots and Robotic Devices- Safety Requirements
• ISO/TS 15066-2016 Technical Report for Industrial Robots and Robot Systems, Safety
Requirements
• ISO12100:2010 or later Safety of Machinery - General principles of design, Risk Assessment
and risk reduction
• ANSI B11.0-2010 Safety of Machinery: General Requirements and Risk Assessment
• CSA Z434-2014
• US1740

OB7 Collaborative Robot User Manual Version 0.6
Preface / 8
GENERAL SAFETY CONSIDERATIONS
Before operating your robot, and while performing the Risk Assessment, consider the following:
• Do not operate the robot or any associated machinery in any manner not considered in the
Risk Assessment.
• Establish and set up the appropriate safety settings in the robot’s and other equipment’s
soware.
• Provide system passwords only to personnel who are suiciently trained and responsible in
operation of the robot
• Never override any safety functions or equipment.
• Provide instructions for use of the entire system.
• Do not operate the robot or system without the necessary safety equipment as identied by
the Risk Assessment.
• Assure a clean, uncluttered and organized Workplace.
• Provide appropriate signage.
• Provide appropriate Personal Safety Equipment.
• Assemble a single le containing this manual, the Risk Assessment, and all associated
technicial information.
• Assure that the robot arm and all associated equipment are securely fastened in place.
• Locate the emergency stop switch, and the robot control tablet, outside the robot's reach and
in a location which may be accessed without entering the robot's operating area.
• Do not operate the robot or any associated machinery if it is damaged.
• Be certain that all settings are correctly congured
• Do not modify the robot. If modied, the robot's performance can not be assured and may
become dangerous in ways not predictable during the Risk Assessment.
• Never climb on the robot.
• Do not use the robot in explosive environments.
• Do not use the robot in medical or human life critical applications.
• Do not use the robot without performing a Risk Assessment.
• Do not power on or use the robot in applications in which the specications or performance of
the robot is inadequate for the job.

OB7 Collaborative Robot User Manual Version 0.6
Preface / 9
LIMITATION OF LIABILITY
It is the intention of this manual to provide an overview of the safety requirements for operating
a robot. It is the responsibility of the robot integrator and end user of the robot to ensure that the
robot, the associated machinery and the environment are safe. Productive Robotics can make
no warranty that the OB7 robot will not cause damage or injury, even if all safety regulations,
suggestions and instructions are followed. No instructions, or representations to the contrary, by
Productive Robotics employees, resellers, representatives, or any other person or document, may
contradict this. Productive Robotics and its employees do not provide Risk Assessments.
• Do not use the robot without suiciently rated safety equipment as specied by Risk
Assessment.
• Do not use the robot at speeds, forces or power levels beyond those specied, or safe.
• Even under reduced speed and force operation, the robot may contact other objects or parts
of itself which can present risk of injury due to crushing or pinching.
• Even under reduced speed and force operation, sharp portions of the end eector, or sharp
objects carried by the end eector can present risk of injury.
• OB7’s payload limit is 5kg (11 lbs). The payload limit includes the weight of the end eector.
Exceeding this limit can result in potential injury as well as damage to the robot.
DISCLAIMER
Every eort has been taken by Productive Robotics Inc. to ensure that the information in this user
manual is accurate and veriable. However, this publication is an evolving document and may contain
technical, typographic, or other errors. Productive Robotics may make changes to this document at
any time without notice, and therefore, the reader should use it as a guide only.
To view the latest version of this document, see the “help” menu on your OB7 control tablet.
HOW TO USE THIS MANUAL
Icons Used in This Manual:
This icon indicates that hazards may be present with the equipment. This
documentation provides information on the nature of potential hazards and any
actions which have to be taken to avoid them.
This symbol refers to tips to help maximize performance.

OB7 Collaborative Robot User Manual Version 0.6
Preface / 10
DOCUMENT CHANGE RECORD
DATE VERSION DESCRIPTION
01/29/2018 0.5 First issue for review
01/31/2018 0.5.1 • Added an Instrucional Documents Section on page 112
that includes:
• OB7 Soware Instructions on page 113
• OB7 Final QC Checklist page on page 114
• Exporting Diagnostics Data From OB7 on page 115
• Updated graphic on page 17
• Updated Installing the GEI on page 22
• Added an entry in Start OB7 on page 27
03/09/2018 0.5.2 • Updated Request for OB7 Password sheet on page 11
• Added Robot Stand Dimensions on page 111
• Updated OB7 Soware Update Instructions on page 113
06/18/2018 0.6 • Updated General Safety Considerations on page 8
• Updated annotations on graphic on page 17
• Updated graphic on page 26
• Updated Installing the General Equipment Interface on
page 22-24
• Updated General Equipment Interface Digital Inputs on
page 47-49
• Updated Ins and Outs on page 44-45
• Updated Jog Screen graphic and copy on page 57
• Added page for technical specications on page 117
• Added section Cleaning the Fan Filter on page 121

OB7 Collaborative Robot User Manual Version 0.6
Preface / 11
REQUEST FOR OB7 PASSWORD
I have read and understand the safety warnings in the OB7 instruction manual. I understand the
relevant safety regulations and practices governing robot operation in my location. A thorough
Risk Assessment for the application of OB7 has been performed. The risks and hazards have been
identied, and the necessary measures and/or safety equipment needed to eliminate or reduce these
risks have been taken. I understand that a similarly thorough Risk Assessment and reduction must
be performed if/when OB7 is moved to a new location or application. I have educated all employees
and/or other persons Working with or near OB7 in the possible risks, and will continue to educate
future employees or persons who may come in contact with OB7. I understand that operating OB7
beyond limited speed, force and power poses additional risks. I understand that a password is
required to enable OB7 to operate beyond certain speed, force and power levels. I understand that
password access should be shared only with personnel that have been suiciently trained, and only
aer the aforementioned Risk Assessments and hazard reduction steps have been performed.
Person Authorizing: ____________________________________________
Title: _________________________________________________________
Signature: _____________________________________________________
OB7 Robot ID code: ______________________________________________
Serial Number: _________________________________________________
Return Email: __________________________________________________
Productive Robotics will return the master password for your OB7 in the space provided here:
Robot Master Password: __________________________________________
To obtain the password for your robot, complete, scan, and email this page to Productive Robotics at:
passwords@productiverobotics.com

OB7 Collaborative Robot User Manual Version 0.6
Preface / 12

OB7 Collaborative Robot User Manual Version 0.6
Preface / 13

OB7 Collaborative Robot User Manual Version 0.6
Getting Started With OB7 / 14
GETTING STARTED
WITH OB7

Remove 12 screws. Li o top of crate. OB7 Robot Stand In Crate
Install column with 8 M8 screws.
Cut the tie downs.
M6
Threaded
Hole
Rear-view of stand. Note that the
2 threaded holes in the column go
towards the back of stand.
UNPACKING THE OB7 STAND
OB7 arrives in a single carton. If you’ve purchased a stand with your OB7 it will arrive in a small
wooden crate.
Before unpacking your OB7, you should prepare its mounting location.
ASSEMBLING THE OB7 STAND
Step 1: Remove the 12 screws securing the top of the crate. Li o the top of the crate.
Step 2: Install the column. Cut the ties holding the column to the crate. Mount the column as shown
using the 8 M8 screws and the Allen wrench provided. Tighten the screws securely.
OB7 Collaborative Robot User Manual Version 0.6
Getting Started With OB7 / 15
GETTING STARTED WITH OB7
The components of your OB7 robot stand are heavy. This is intentional to keep the
robot stable as it moves and carries objects. Always use two people to move or li
heavy or awkward components.

Step 3: Remove the stand from the crate. Clip the ties holding the stand down to the crate base.
Remove the wood spacers from under the sides of the stand and remove the wood strip from the
edge of the crate. Then, roll the stand o the crate.
OB7 Collaborative Robot User Manual Version 0.6
Getting Started With OB7 / 16
ASSEMBLING THE OB7 ASSEMBLY TABLE
If you have purchased the OB7 assembly table, follow these steps to assemble and install it on the
OB7 Stand.
The OB7 assembly table attaches to the top of the stand column with 4 M8 screws. Use two people to
install the assembly table on the column.
Roll stand o of crate.
Remove wood strip.
Remove screws from spacers (both
sides).
Clip tie down straps.
Use two people to install the OB7
assembly table.
Remove spacers.
Using 4 M8 screws, attach the OB7
assembly table to the top of the
stand column.
OB7 Assembly Table Installed on
Stand

Robot
M8 Mounting Screws
5mm Allen Wrench
OB7 Control Tablet
Tablet Dock/Stand
Robot Computer
Instruction Manual
Emergency Stop
Cables
General Equipment
Interface (Optional)
Gripper (optional)
All OB7 Components Inside the Package Before Unpacking
OB7 Collaborative Robot User Manual Version 0.6
Getting Started With OB7 / 17
Step 1: Open the carton and remove the control computer, tablet, and other components from the
package and set them aside.
UNPACKING OB7

Clip only the holding base.
Remove OB7 out of the box. Do not remove OB7 from
the foam package.
Rotate base 180 degrees.
Rotate base 180 degrees.
OB7 Collaborative Robot User Manual Version 0.6
Getting Started With OB7 / 18
Step 2: Remove OB7 keeping it attached to the foam packaging. DO NOT remove OB7 from the foam
packaging yet. Aer removing, clip ONLY the tie which is around the base of OB7. Do not clip the
other ties yet.
Step 3: Rotate the base over 180 degrees. Note that as you rotate the base, the lights on the OB7’s
joints may illuminate or ash. This is normal.
Make sure to keep OB7 in its foam package. This will make it easier to handle OB7 while
mounting it on the stand in step 4.

Clip remaining renting ties and remove packaging.
Tighten 8 mounting screws securely.
OB7 Collaborative Robot User Manual Version 0.6
Getting Started With OB7 / 19
Place OB7 in package onto mounting.
Step 4: Use two people for this step. Using the 6 screws provided, mount OB7. Tighten the mounting
screws securely. Aer securely mounting OB7, clip the remaining ties and remove the foam packaging.
Note: The OB7 weighs 26 kg, or 58 lbs. Use two people to li OB7 onto its mounting.

OB7 Collaborative Robot User Manual Version 0.6
Getting Started With OB7 / 20
UPS Computer
Install computer on UPS power supply.
Install computer and power supply shelves.
Step 5: Install the computer and power supply.
Back of OB7 PC
Step 6: Install the cables.
Network Cable
to Robot
Network Connection
Wifi Antenna
Power Switch
Emergency Stop
Tablet USB
Cable
Mains Power
Cable
Power Cable to
Robot
Back of OB7 PC
Table of contents
Other productive robotics Robotics manuals
Popular Robotics manuals by other brands

adept technology
adept technology Quattro s650H user guide
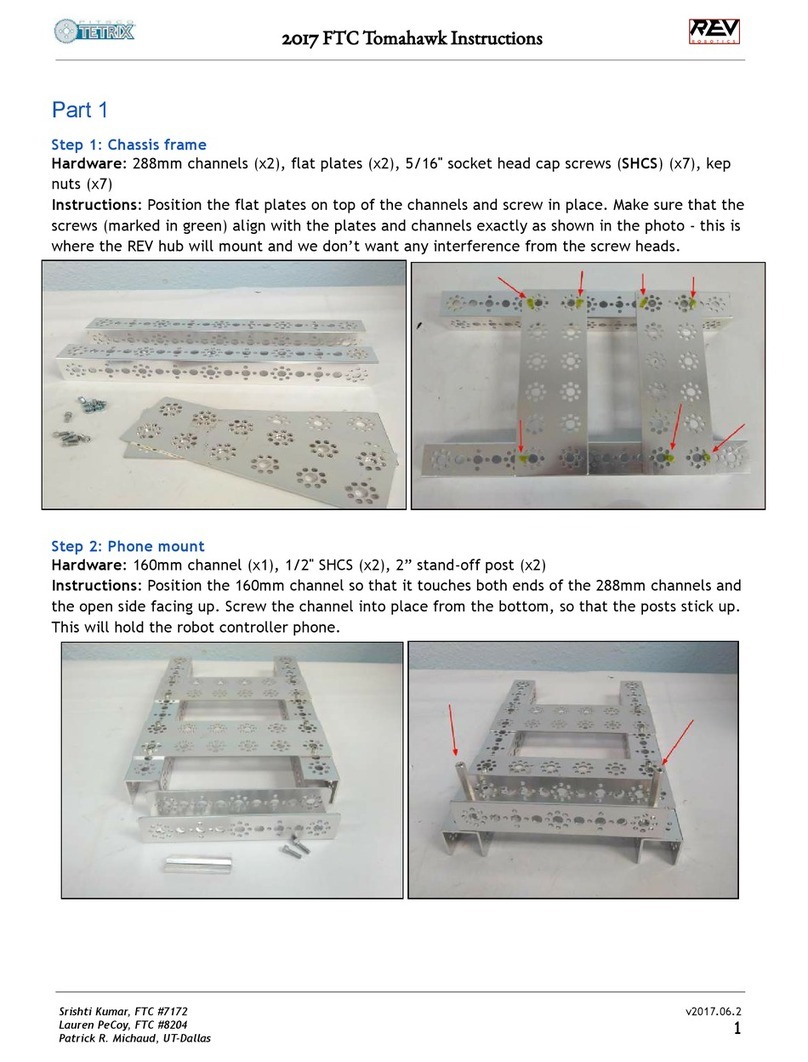
pitsco
pitsco TETRIX FTC Tomahawk instructions
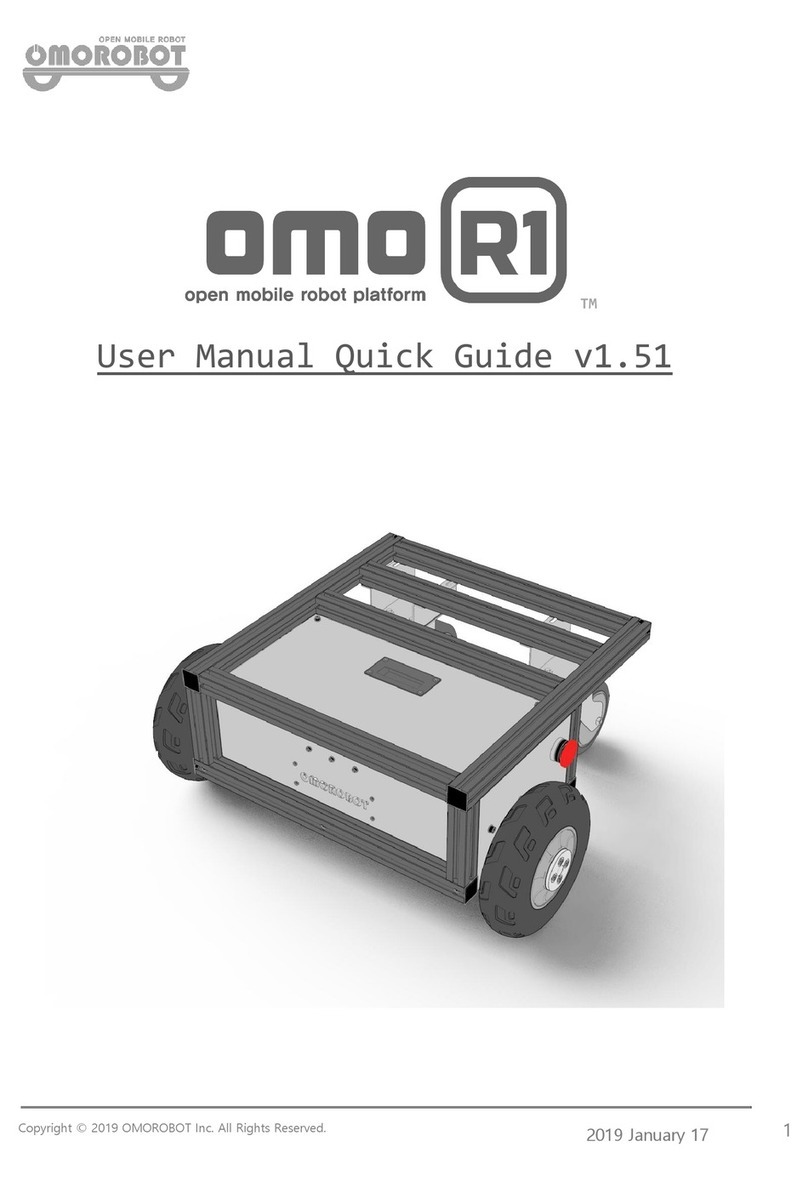
OMOROBOT
OMOROBOT OMO R1 User's manual guide
ECOVACS
ECOVACS WINBOT 880 user manual
Butterfly
Butterfly Amicus 3000 Plus user manual

Mitsubishi Electric
Mitsubishi Electric RV-4FM-SE Series instruction manual
