productive robotics PG2 User manual

Productive Robotics, LLC. 1035 Cindy Lane Carpinteria, CA 93013 United States
voice: 805.244.9300 web: www.productiverobotics.com email: support@productiverobotics.com 1
TSD0006 PG2 and Dual Gripper Guide
PG2 QUICK START GUIDE
Revision Date: 12/15/2022
CONTENTS
PG2 Quick Start Guide ���������������������������������������������������������������������������������������� 1
Technical Specifications 2
Replacing the Handle adapter Plate (Optional) 3
Installing the PG2 Gripper 4
Adding your PG2 to your gripper configuration 5
Dual Gripper Startup Guide��������������������������������������������������������������������������������� 7
Parts 8
Tools 8
Instructions 9

Productive Robotics, LLC. 1035 Cindy Lane Carpinteria, CA 93013 United States
voice: 805.244.9300 web: www.productiverobotics.com email: support@productiverobotics.com 2
TSD0006 PG2 and Dual Gripper Guide
TECHNICAL SPECIFICATIONS
Stroke 94 mm 3.4in
Grip Force 40 to 190 N 9 to 43 lbf
Closing Speed 10 to 100 mm/s 0.3 to 4 in/s
Gripper Weight 1.02 kg 2.2 lbs
IP Rating 65
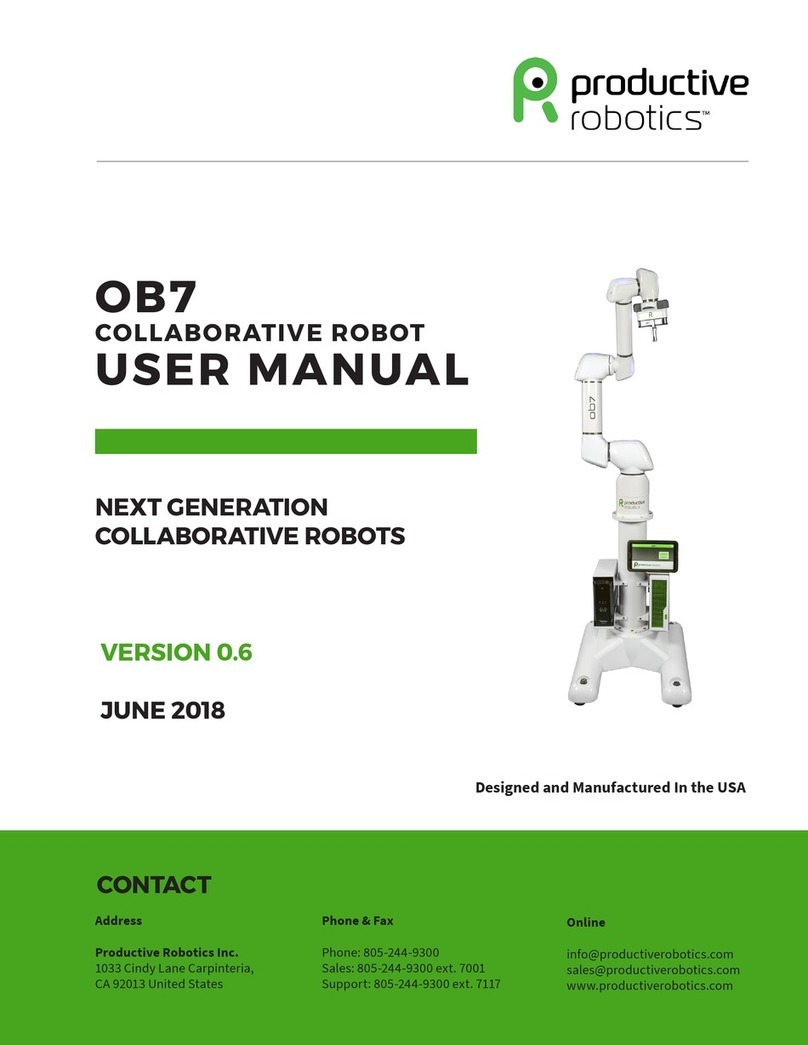
The new PG2 is the new and improved standard gripper provided with the OB7.
Your Productive Robotics PG2 gripper can actuate with a maximum of 150 Newtons
(approximately 15kg or 33lbs) of force. Be advised that this is not the specification for the
maximum payload to be carried by the gripper. It is recommended that the maximum
payload be limited to 5 kg (11 lbs). When gripping with the rubber finger tips, the
maximum recommended payload 3.5kg, (7.7 lbs). In all cases the maximum safe payload
to be carried by the PG2 gripper is dependent on a solid and reliable grasp.

Productive Robotics, LLC. 1035 Cindy Lane Carpinteria, CA 93013 United States
voice: 805.244.9300 web: www.productiverobotics.com email: support@productiverobotics.com 3
TSD0006 PG2 and Dual Gripper Guide
REPLACING THE HANDLE ADAPTER PLATE (OPTIONAL)
Coming from your standard PG1, you will need to replace the handle adapter plate with the ISO standard
plate. Below is a guide on how to complete this task.
TOOLS REQUIRED:
1� #1 Phillips screwdriver
2� 2.5mm Hex key
Step 1� Move the robot to face up to you so that
the underside is visible.
Step 2� Remove the Silicone handle covers by simply
prying them o.
Step 3� Remove the 4 socket - head screws and 4
Phillips head screws to remove the handle cover.
Replace with the ISO-style cover and use the
same screws to secure it.
Lastly, replace the handle covers.
From here you will be ready to install your PG2
gripper.

Productive Robotics, LLC. 1035 Cindy Lane Carpinteria, CA 93013 United States
voice: 805.244.9300 web: www.productiverobotics.com email: support@productiverobotics.com 4
TSD0006 PG2 and Dual Gripper Guide
INSTALLING THE PG2 GRIPPER
TOOLS AND MATERIALS REQUIRED:
1� 5mm Hex Key, Ball-End
2� 4pcs, M6 Socket-Head Screws, 12mm Long
Step 4: Tuck the excess wire inside in the housing
and line up the holes of the PG2 with the 4 hole
pattern.
Step 5: Secure the Gripper using the four M6 x
12mm screws as shown below.
Screw tightly with your hex key and secure.
Step 1: In the Gripper settings screen at tablet,
make sure that there are no grippers “Attached”
Step 2: In the IO settings screen at tablet, make
sure the end of arm output voltage is set to “O”
Step 3: Plug the cord into the Gripper port inside
the base of the Handle as shown below.

Productive Robotics, LLC. 1035 Cindy Lane Carpinteria, CA 93013 United States
voice: 805.244.9300 web: www.productiverobotics.com email: support@productiverobotics.com 5
TSD0006 PG2 and Dual Gripper Guide
Step 1: Navigate on your tablet to the Home Screen.
Tap the Settings icon (little “Gear” icon in upper le of
screen).
Step 2: Settings > Gripper > Press “Add New Gripper”
ADDING YOUR PG2 TO YOUR GRIPPER CONFIGURATION
Step 3: Name your gripper. Here, it is named PG2.
Step 4: Select the tab with “Generic” pre-selected
and change it to “Productive Robotics PG2”.
This will auto populate all the fields needed for
operation of the gripper.
Step 5: Select the “Attached” box. The gripper will
respond with a single blue LED pulse, followed by
running its reference routine.
Note: The Gripper will move its fingers during
the reference procedure. Be sure not to block this
movement.
NOT CONNECTED:
No RS485 data received on the set slave ID defined by
pulse timing below.
White Pulsing:
Slave ID: 9 - 1 second on 1 second o
Slave ID: 11 - 2 second on 1 second o
Slave ID: 12 - 3 second on 1 second o
Slave ID: 13 - 4 second on 1 second o
ERROR:
Red Pulsing:
Encoder Error - 1/2 second on 1/2 second o
Motor Overheated - 1 second on 1 second o
Red Solid:
Voltage at 12 Volts instead of 24 (Estop)
CONNECTED:
Blue Solid:
Everything is working properly
FIRMWARE UPLOADING:
Yellow / Red Rapid Pulsing
FIRMWARE UPDATING:
Yellow / Blue Rapid Pulsing
LED STATUS SIGNALS

Productive Robotics Inc. 1035 Cindy Lane Carpinteria, CA 93013 United States
voice: 805.244.9300 web: www.productiverobotics.com email: support@productiverobotics.com 6
TSD0006 PG2 and Dual Gripper Guide
190mm
7.48in
60mm
2.36in
45mm
1.77in
95.00mm
3.740in
19.00mm
.748in
M4 Accessory
Mounting holes
Both Sides
Status LED
67mm
2.64in
16mm
.63in
2x M4
Finger Tip Hole
13mm
.51in
15mm
.59in
31mm
1.22in
M5
Finger
Attach
60mm
2.36in
101mm
3.98in
M6
Mouting
Holes
This drawing outlines critical
dimensions and hole callouts.
Please refer to solid model for
general geometric information.
TRAVEL: 90mm
Weight: 1 kg.
Revisions
REV.
DESCRIPTION
DATE
APPROVED
A
B
C
D
1
2
3
4
5
6
7
8
A
B
C
D
1
2
3
4
5
6
7
8
PG2 Public
PG2 Parallel Gripper
63
SURFACE FINISH
A
1 OF 1
1:5
PG2
2/1/2021
2/1/2021
zb
zb
TOLERANCES ARE
x.x = +/- .25mm
x.xx = +/- .1mm
x.xxx = +/- .01mm
UNLESS OTHERWISE SPECIFIED
UNLESS OTHERWISE SPECIFIED
DIMENSIONS ARE IN MM.
THIS DOCUMENT CONTAINS PROPIETARY INFORMATION.
IT MAY NOT BE REPRODUCED, TRANSFERED TO OTHER
DOCUMENTS, DISCLOSED TO OTHERS OR USED FOR
MANUFACTURING OR ANY OTHER PURPOSE WITHOUT
PRIOR WRITTEN PERMISSION.
COPYRGHT 2012-2017 PRODUCTIVE ROBOTICS
PART NO.
DESCRIPTION
1035 Cindy Lane, Carpinteria, ca 93013
Phone (805) 576 1600 Fax (805) 576 1601
Productive Robotics
FINISH
MATERIAL
APPR
ENG
CHECKED
DRAWN
APPROVALS
DATE
REV.
SHEET
DWG. NO.
SIZE
SCALE

Productive Robotics, LLC. 1035 Cindy Lane Carpinteria, CA 93013 United States
voice: 805.244.9300 web: www.productiverobotics.com email: support@productiverobotics.com 7
TSD0006 PG2 and Dual Gripper Guide
DUAL GRIPPER STARTUP GUIDE
Revision Date: 03/18/2021

Productive Robotics, LLC. 1035 Cindy Lane Carpinteria, CA 93013 United States
voice: 805.244.9300 web: www.productiverobotics.com email: support@productiverobotics.com 8
TSD0006 PG2 and Dual Gripper Guide
PARTS
2 PG-2s - Parallel Grippers Model 2
PCB091 - Dual Gripper Adapter
MAC 1920 - Dual Gripper Union
TOOLS
12 M6 bolts
M5 allen wrench
M2.5 allen wrench
No. 1 Phillips screw driver

Productive Robotics, LLC. 1035 Cindy Lane Carpinteria, CA 93013 United States
voice: 805.244.9300 web: www.productiverobotics.com email: support@productiverobotics.com 9
TSD0006 PG2 and Dual Gripper Guide
Step 1� First we will attach the 2 PG2 gripper to
MAC 1920 with 4 M6 bolts each.
Step 2� Aer completing this for both PG2s take MAC
1920 with the 2 PG2’s over to your robot and prepare
to install the dual gripper.
Step 3� Before continuing navigate to:
Home>Settings>Gripper and make sure all
grippers are unattached, then navigate to IO
setup and make sure the end of arm voltage is set
to “O”.
Step 4� Maneuver the 7th axis of the robot into an
upright position that is easy to access.
INSTRUCTIONS

Productive Robotics, LLC. 1035 Cindy Lane Carpinteria, CA 93013 United States
voice: 805.244.9300 web: www.productiverobotics.com email: support@productiverobotics.com 10
TSD0006 PG2 and Dual Gripper Guide
Step 5� Remove the handle covers to expose the Phillips head screws and M2.5 bolts holding the
ISO plate down.
Step 6� Place PCB091 in the RS485 port.
OPTIONAL - For robots older than 02/01/21. Robots aer this date have 2 ports.
Your handle board will have two gripper ports if it is
newer than the 02/01/21 date. The gripper ports are
fully interchangeable; it does not matter which port
you plug into.

Productive Robotics, LLC. 1035 Cindy Lane Carpinteria, CA 93013 United States
voice: 805.244.9300 web: www.productiverobotics.com email: support@productiverobotics.com 11
TSD0006 PG2 and Dual Gripper Guide
Step 7� Replace the ISO plate and the 8 screws.
Make sure that PCB091 is centered in the hole.
(the board is designed for a snug fit).
Step 8� Aer replacing the ISO plate and the
rubber handle covers, plug ONE of the PG2s into
one of the RS485 ports coming out of PCB091.

Productive Robotics, LLC. 1035 Cindy Lane Carpinteria, CA 93013 United States
voice: 805.244.9300 web: www.productiverobotics.com email: support@productiverobotics.com 12
TSD0006 PG2 and Dual Gripper Guide
Step 9� Navigate back to the gripper screen:
Home > Settings > Gripper and add ONE gripper.
In the gripper drop down settings, change the
Modbus address from 9 to 11. If the address is
not changed before the next gripper is attached,
the grippers will enter an infinite loop during the
automatic calibration process.
Step 10� Plug the second PG2 into the second RS485
port and add a second gripper on the gripper screen.
No need to change the Modbus Address. Fasten your
dual gripper setup to the handle and activate the
grippers on the gripper screen.
Table of contents
Other productive robotics Robotics manuals
