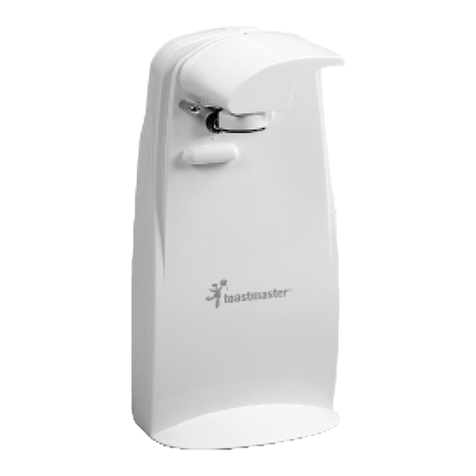
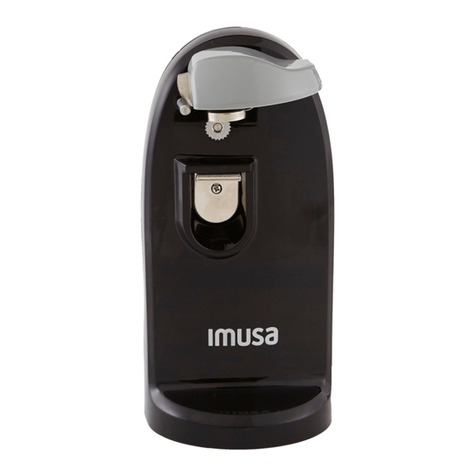
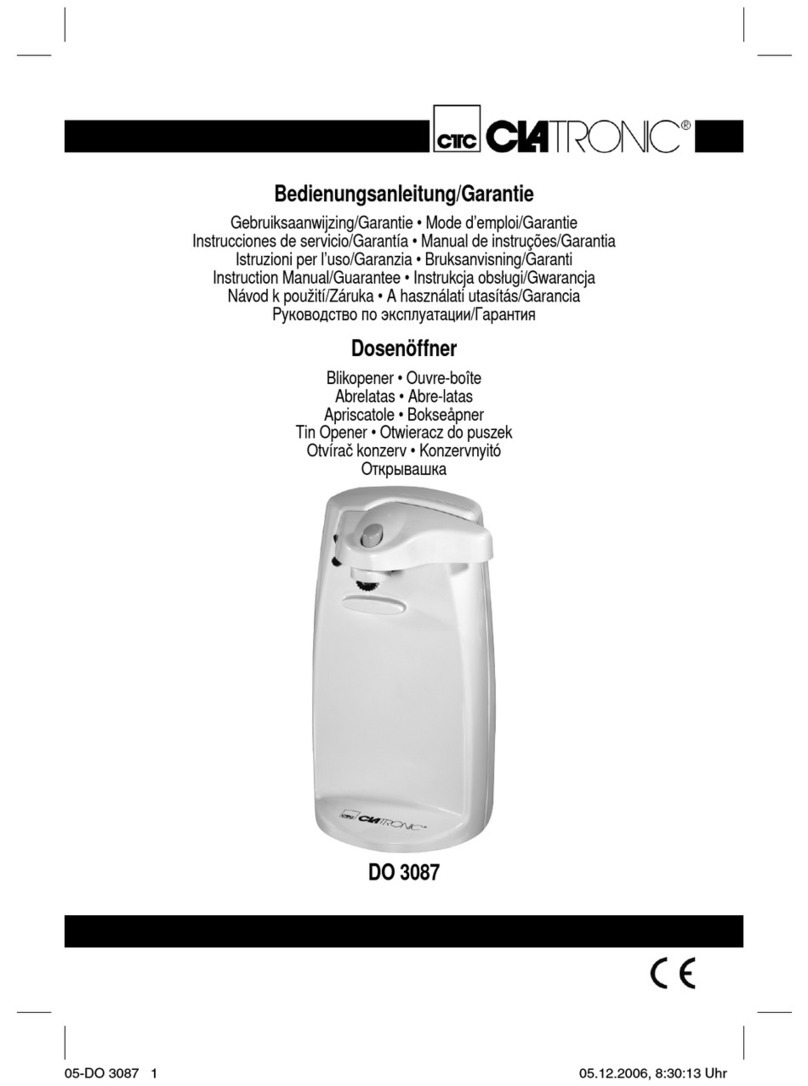
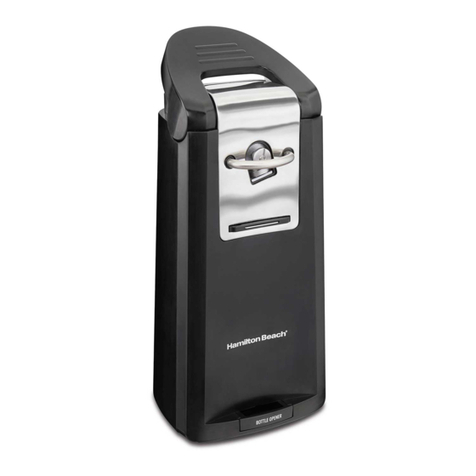
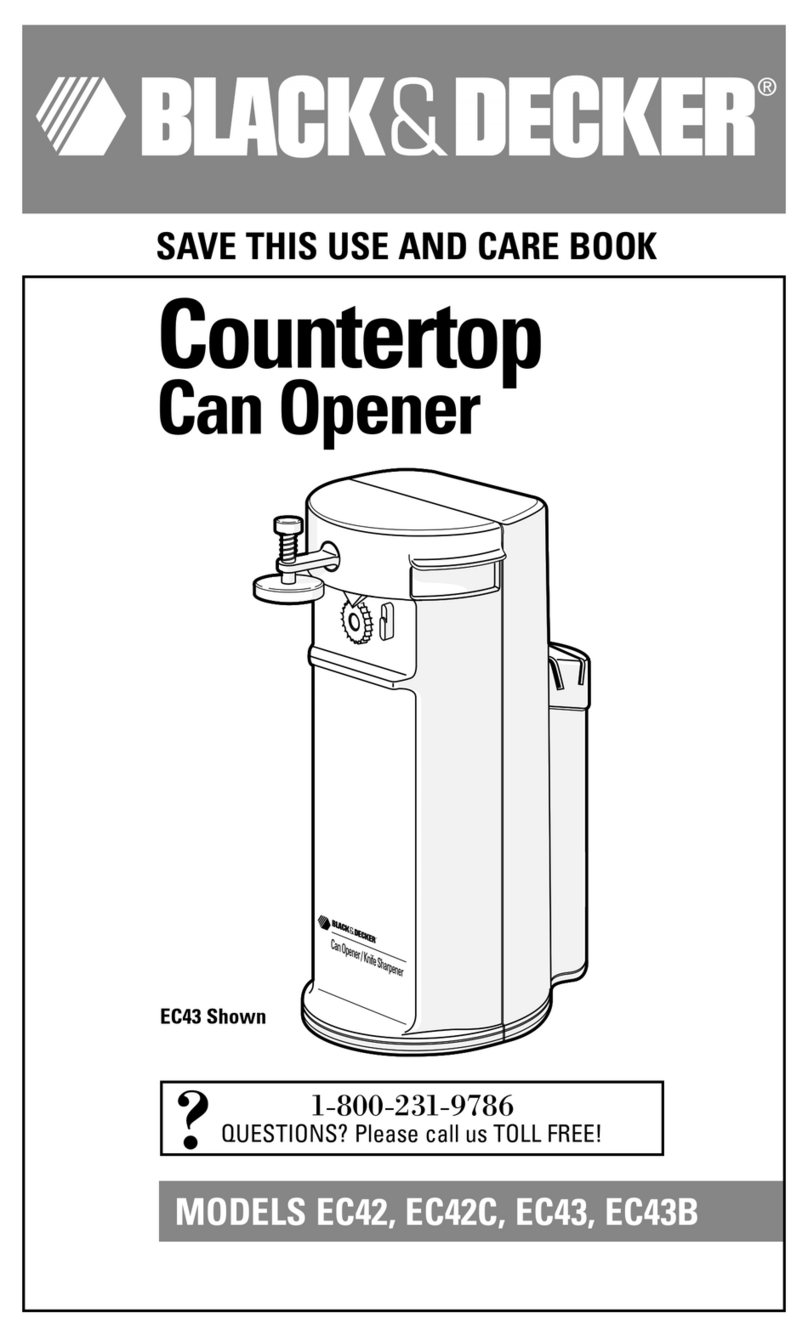
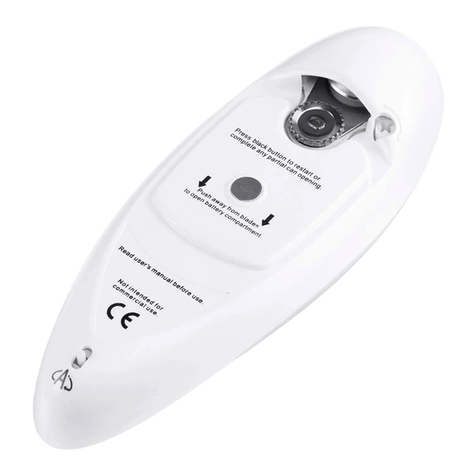
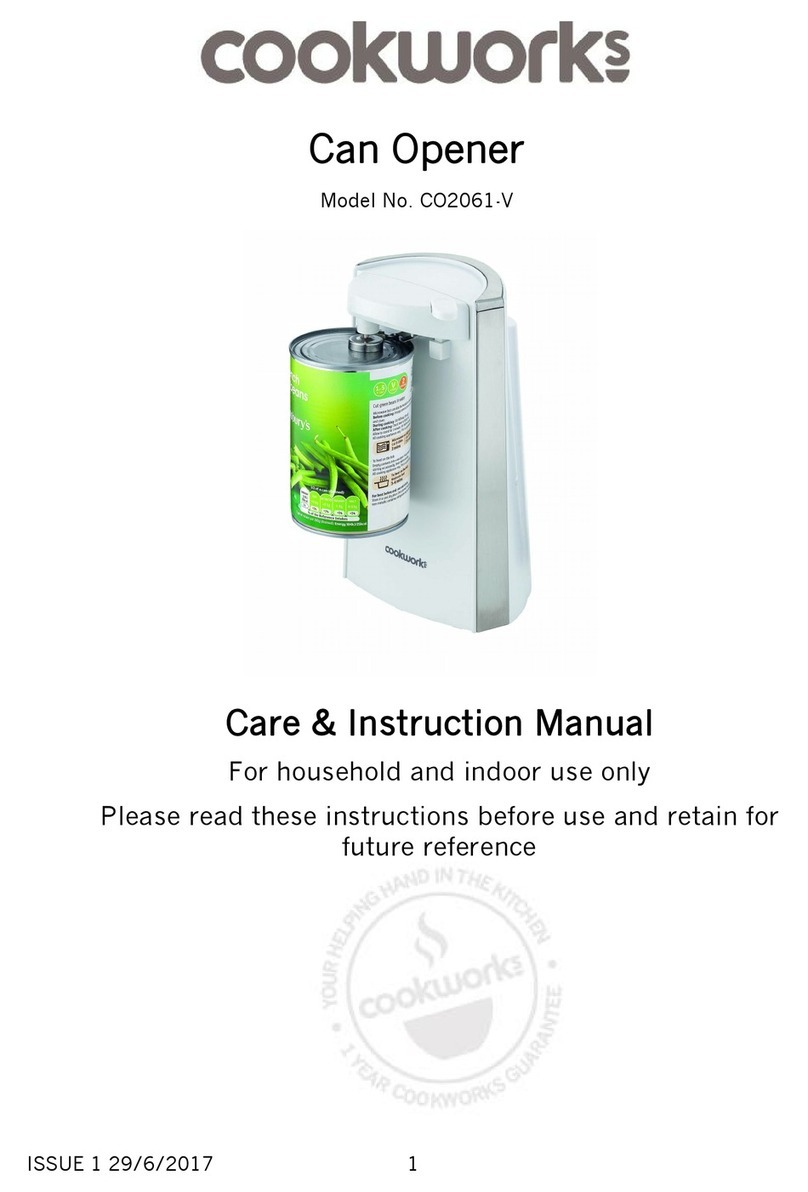
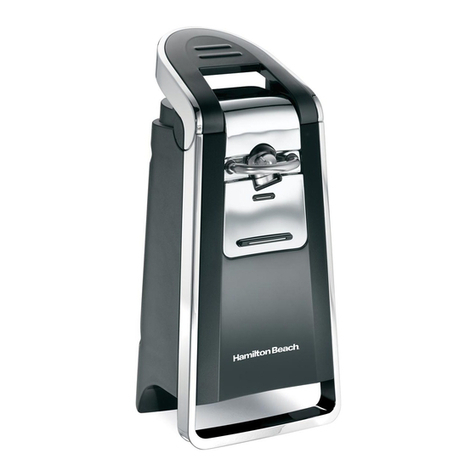
Professional Series PS-CO208 User manual

IMPORTANT SAFEGUARDS
When using electrical appliances, basic precautions should always be followed, including
the following:
1. Read all instructions before using.
2. To protect against electric shock, do not immerse appliance in water or other liquid.
3. Unplug from outlet when not in use, before putting on or taking off parts,
and before cleaning.
4. Close supervision is necessary when appliance is used by or near children.
5. Avoid contacting with moving parts.
6. Do not operate any appliance with a damaged cord or plug, or after the appliance
malfunctions, or if it has been dropped or damaged in any manner. Return the appliance
to the nearest authorized service facility for examination, repair or electrical or
mechanical adjustment.
7. The use of attachments not recommended or sold by the manufacturer may cause fire,
electrical shock or injury.
8. Do not let cord hang over edge of table or counter or touch hot surfaces, including the stove.
9. Do not use outdoors or for commercial purposes.
10. Do not open pressurized cans.
11. Do not use this appliance for other than intended use.
12. Do not open cans of flammable liquids such as lighter fluids.
13. This appliance is not intended for use by persons (including children) with reduced
physical, sensory or mental capabilities, or lack of experience and knowledge, unless
they have been given supervision or instruction concerning use of the appliances
by a person responsible for their safety.
14. Children should be supervised to ensure that they do not play with the appliance.
15. Save these instructions.
SAVE THESE INSTRUCTIONS
HOUSEHOLD USE ONLY
Can Opener
User Manual
Model: PS-CO208
POLARIZED PLUG
This appliance has a polarized plug (one blade is wider than the other). To reduce
the risk of electric shock, this plug is intended to fit into a polarized outlet only one way,
If the plug does not fit fully into the outlet, reverse the plug, If it still does not fit, contact
a qualified electrician, Do not attempt to modify the plug in any way

USING YOUR CAN OPENER
Remove the unit and blade bracket from the package before the first time use.
1. To attach blade bracket to the can opener, make the key tabs align with the key slots,
push it frontward to fix it (see Fig. 1), then press down the blade bracket to ensure it has
been assembled in place (see Fig. 2). Then lift the blade bracket
2. Connect to the power source.
3. Tip the can so that its rim is under the locating post, the lid of the can will be sucked
by magnet, then press down the blade bracket while the On/Off button to the “On”
position. Make sure the blade is inside the rim (see Fig. 3).
Drive wheel will actuate the can to rotate and the blade will
cut the can lid open. Because of the hands-free feature, it is
not necessary to hold blade bracket
down or support the can during cutting.
NOTE: 1.The can required to be opened shall be 50mm to
100mm in diameter and 178mm max in height. In the case total
weight of can is over 510g, it is necessary to press and hold the
can opener to avoid overturning2.No more than 5 cans could be open continuously. Every
interval time should 15 seconds.3.This product is only suitable for circular jar.
The cans opened with this Can Opener must be less than 0.6kg in weight.
4. When the can is opened, the can opener will stop automatically. To remove the can, hold it
with one hand and raise the blade bracket with the other one.
CAUTION: Avoid contacting with the cut edges of the can or lids as they are sharp, carefully
remove the lid from the magnet and discard.
NOTE: The time of opening cans continuously do not exceed 1 minute
(Note: the time is not KB time).
5. The excess cord can be stuffed into cord storage at the back of the unit, and feed the cord
through the notch for convenient storage.
Fig. 1 Fig. 2
Fig. 3
Fig. 4
Fig. 5
TO OPEN BOTTLES
Before opening bottles, unplug the power supply firstly.
1. To open a bottle, grasp it and position the cap under the
metal hook part in the bottle opener (see Fig. 4).
NOTE: Be sure the bottle neck is not under the metal hook
part, or the glass may break. Hold the can opener with one
hand and pull down to pop the cap off with the other one.
2. The bottle opener at the front of the unit will only
remove metal bottle caps. Do not use it for the bottle
with screw-off cap or pull ring.
TO SHARPEN KNIFES
Unplug the power supply firstly, and then place the knife which
is intended to be sharpened in the slot of knife sharpener at the
back of the unit. For best results, sharpen the entire length
carefully to pull the knife through the slot back and forth
(see Fig. 5), until desired sharpness achieved. After
sharpening, wash and dry the knife. The sharpener also
can be used for sharpening stationery scissor.
NOTE: Be cautious with knife after sharpening
KNIFE SHARPENING TIPS
1. Clean and dry knives before sharpening.
2. Do not attempt to sharpen serrated blades,
as this will smooth their edges.
3. Do not attempt to sharpen scissors.

CLEANING AND MAINTENANCE
ENVIRONMENT FRIENDLY DISPOSAL
1. Before cleaning any part of the can opener, unplug the cord.
2. To remove the blade bracket for easy cleaning, lift the blade bracket up and pull it out.
The blade assembly can be cleaned with a damp cloth, then wiped with a sponge and dried
thoroughly. It is not dishwasher-safe component. Reverse the procedure to replace
the blade bracket.
3. Before replacing the blade bracket, wipe the can opener housing, and area around the
drive wheel with a slightly damp cloth or sponge. To remove stubborn spots, wipe surfaces
with nylon or mesh pad and sudsy water, following with a clean, damp cloth.
Do not use abrasive cleaners on any part of the can opener as they can damage the finish.
4. Do not immerse main part of can opener into water as this would give rise to electric shock.
You can help protect the environment!
Please remember to respect the local regulations: hand in the
non-working electrical equipments to an appropriate waste
disposal center.
Abridor de Lata
Manual de usuario
Modelo: PS-CO208

SALVAGUARDIAS IMPORTANTES
Al usar aparatos eléctricos, siempre se deben seguir las precauciones básicas, incluyendo
el seguimiento:
1. Lea todas las instrucciones antes de usar.
2. Para protegerse contra descargas eléctricas, no sumerja el aparato en agua u otro líquido.
3. Desenchúfelo del tomacorriente cuando no esté en uso, antes de poner o quitar partes,
y antes de limpiar.
4. Es necesaria una estrecha supervisión cuando el aparato es usado por niños o cerca de ellos.
5. Evite el contacto con partes móviles.
6. No opere ningún aparato con un cable o enchufe dañado, o después del aparato
mal funcionamiento, o si se ha caído o dañado de alguna manera. Devuelve el aparato
a la instalación de servicio autorizada más cercana para su revisión, reparación o
Regulación mecánica.
7. El uso de accesorios no recomendados o vendidos por el fabricante puede causar
un incendio,Descarga eléctrica o lesiones.
8. No deje que el cable cuelgue del borde de la mesa o mostrador ni que toque superficies
calientes, incluida la estufa.
9. No usar al aire libre o con fines comerciales.
10. No abrir latas presurizadas.
11. No use este aparato para otro uso que no sea el indicado.
12. No abra latas de líquidos inflamables, como líquidos más ligeros.
13. Este aparato no está diseñado para ser utilizado por personas (incluidos niños) con
capacidades físicas, sensoriales o mentales, o falta de experiencia y conocimiento,
a menos que hayan recibido supervisión o instrucciones sobre el uso de los aparatos.
por una persona responsable de su seguridad.
14. Los niños deben ser supervisados para asegurarse de que no jueguen con el aparato.
15. Guarde estas instrucciones.
GUARDE ESTAS INSTRUCCIONES
SOLO PARA USO EN EL HOGAR
USANDO EL ABRIDOR DE LATAS
Retire la unidad y el soporte de la cuchilla del paquete antes del primer uso.
1. Para colocar el soporte de la cuchilla en el abrelatas, haga que las lengüetas de la llave se
alineen con las ranuras de la llave, empujehacia el frente para fijarlo (vea la Fig. 1), luego
presione hacia abajo el soporte de la cuchilla para asegurarse de que haya sido ensamblado
en su lugar (ver fig. 2). Luego levante el soporte de la cuchilla
2. Conectar a la fuente de alimentación.
3. Incline la lata de modo que su borde quede debajo del poste de ubicación, la tapa de la lata
será aspirada por el imán,luego presione hacia abajo el soporte de la cuchilla mientras el botón
de Encendido / Apagado está en la posición de "Encendido". Asegúrate que
la cuchilla está dentro del borde (ver Fig. 3). La rueda motriz actuará
La lata para girar y la cuchilla.
Cortar la tapa de la lata abierta. Debido a la función de manos libres, es
no es necesario sostener el soporte de la cuchilla
Abajo o apoyar la lata durante el corte.
NOTA: 1. La lata requerida para ser abierta debe ser de 50mm a
100 mm de diámetro y 178 mm de altura máxima. En el caso total.
El peso de la lata supera los 510 g, es necesario mantener presionado el botón
abrelatas para evitar que se vuelque 2. No se pueden abrir continuamente más de 5 latas. Cada
intervalo de tiempo debe 15 segundos. 3. Este producto solo es apto para tarro circular.
Las latas abiertas con este abrelatas deben tener un peso inferior a 0.6 kg.
4. Cuando se abre la lata, el abrelatas se detendrá automáticamente. Para quitar la lata, sosténgala.
con una mano y levante el soporte de la cuchilla con la otra.
PRECAUCIÓN: Evite el contacto con los bordes cortados de la lata o las tapas, ya que están
afiladas, con cuidado. Retire la tapa del imán y deséchela.
NOTA: El tiempo de apertura de las latas de forma continua no supera 1 minuto.
(Nota: el tiempo no es KB tiempo).
5. El cable sobrante se puede meter en el almacenamiento del cable en la parte posterior
de la unidad y alimentar el cablea través de la muesca para un almacenamiento conveniente.
Fig. 1 Fig. 2
Fig. 3
ENCHUFE POLARIZADO
Este aparato tiene un enchufe polarizado (una cuchilla es más ancha que la otra). Para reducir
riesgo de descarga eléctrica, este enchufe está diseñado para encajar en una toma de corriente
polarizada de una sola manera,Si el enchufe no encaja completamente en el tomacorriente,
invierta el enchufe. Si aún no encaja, comuníquese con un electricista calificado, no intente
modificar el enchufe de ninguna manera

ABRIR BOTELLAS
Antes de abrir las botellas, desenchufe primero la fuente de alimentación.
1. Para abrir una botella, tómela y coloque la tapa debajo de la
Parte de gancho de metal en el abrebotellas (ver Fig. 4).
NOTA: Asegúrese de que el cuello de la botella no esté debajo
del gancho de metal o el vidrio puede romperse. Sostenga
el abrelatas con una mano y tire hacia abajo para sacar l
a tapa con la otra.
2. El abridor de botellas en la parte delantera de la unidad solo
quitar las tapas de botellas de metal. No lo uses para la botella.
con tapa de rosca o anillo de tiro.
AFILAR A LOS CUCHILLOS
En primer lugar, desenchufe la fuente de alimentación y luego
coloque la cuchilla que está destinado a ser afilado en la
ranura del afilador de cuchillas en laparte posterior de la unidad.
Para mejores resultados, afilar toda la longitudcon cuidado
para tirar del cuchillo a través de la ranura de un lado a otro
(Ver Fig. 5), hasta lograr la nitidez deseada. Después
Afilado, lavar y secar el cuchillo. El sacapuntas tambien
Se puede utilizar para afilar tijeras de papelería.
NOTA: Tenga cuidado con el cuchillo después de afilar
CONSEJOS PARA AFILAR CUCHILLOS
1. Limpiar y secar los cuchillos antes de afilarlos.
2. No intente afilar las cuchillas dentadas,
ya que esto suavizará sus bordes.
3. No intente afilar las tijeras.
Fig. 4
Fig. 5
LIMPIEZA Y MANTENIMIENTO
ELIMINACION
1. Antes de limpiar cualquier parte del abrelatas, desenchufe el cable.
2. Para quitar el soporte de la cuchilla para facilitar la limpieza, levante el soporte de la
cuchilla y extráigalo.
El ensamblaje de la cuchilla se puede limpiar con un paño húmedo, luego se limpia con
una esponja y se seca
a fondo. No es un componente apto para lavavajillas. Revertir el procedimiento para reemplazar
El soporte de la cuchilla.
3. Antes de volver a colocar el soporte de la cuchilla, limpie la carcasa del abrelatas y el área
alrededor de la
Rueda motriz con un paño o esponja ligeramente húmeda. Para eliminar manchas rebeldes,
limpie las superficiescon almohadilla de nylon o malla y agua jabonosa, y luego con un paño
limpio y húmedo.No use limpiadores abrasivos en ninguna parte del abrelatas, ya que pueden
]dañar el acabado.
4. No sumerja la parte principal del abrelatas en el agua, ya que esto podría provocar una
descarga eléctrica.
LIMPIEZA Y MANTENIMIENTO
Y EL MEDIO AMBIENTE
1. Antes de limpiar cualquier parte del abrelatas, desenchufe el cable.
2. Para quitar el soporte de la cuchilla para facilitar la limpieza, levante el soporte de la
cuchilla y extráigalo.
El ensamblaje de la cuchilla se puede limpiar con un paño húmedo, luego se limpia con una
esponja y se seca
a fondo. No es un componente apto para lavavajillas. Revertir el procedimiento para reemplazar
El soporte de la cuchilla.
3. Antes de volver a colocar el soporte de la cuchilla, limpie la carcasa del abrelatas y el área
alrededor de la
Rueda motriz con un paño o esponja ligeramente húmeda. Para eliminar manchas rebeldes,
limpie las superficies
con almohadilla de nylon o malla y agua jabonosa, y luego con un paño limpio y húmedo.
No use limpiadores abrasivos en ninguna parte del abrelatas, ya que pueden dañar el acabado.
4. No sumerja la parte principal del abrelatas en el agua, ya que esto podría provocar una
descarga eléctrica.
¡Tú puedes ayudar a proteger el medio ambiente!
Por favor, recuerde respetar las regulaciones locales: entregue la
Equipos eléctricos que no funcionan a un desecho apropiado.
centro de disposición.
Table of contents
Languages:
