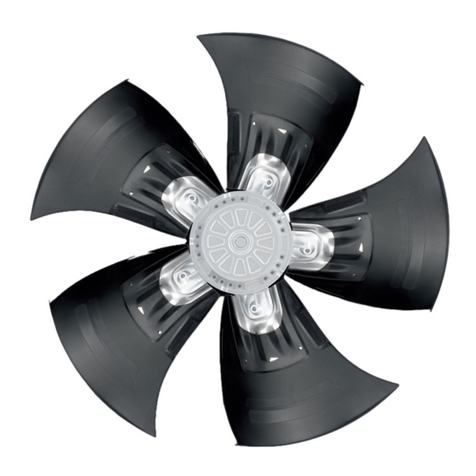
3. Hold the oil cooler assembly in the desired location on the vehicle. Ensure this
location is away from extreme heat sources and moving components.
NOTE: This cooler still needs access to airflow to perform at its best and prevent
overheating under high-load conditions. It is setup for PULLER applications only.
4. Using a marker, mark the four bolt hole locations on the vehicle. Dimensions of the
oil cooler bracket are shown below for reference.
5. Drill the four mounting holes and use M6 bolts, washers and nylon lock nuts to
attach the oil cooler assembly to the vehicle. You can also choose another method
of your choice to attach the oil cooler but this method is recommended to avoid
the oil cooler loosening over time due to vibration.
NOTE: Rubber isolation mounts are recommended for mounting this oil cooler.
Figure 1: Oil Cooler Mounting Dimensions
6. Install hose end fittings of your choice onto the oil cooler ports. Barbed hose ends
can be used with the appropriate adapters. Please consult a professional if unsure
how to plumb your oil cooler.
NOTE: The cooler core will flow in either direction, so there is no specified inlet or
outlet port.
7. Route hoses from the oil cooler to the desired component (e.g. engine or
transmission), ensuring all hoses are kept away from sharp edges, moving parts
and hot engine components. A kinked hose will restrict flow and could cause
failure.
8. Ensure all fittings and fasteners are secured before starting the vehicle.
