6 of 6
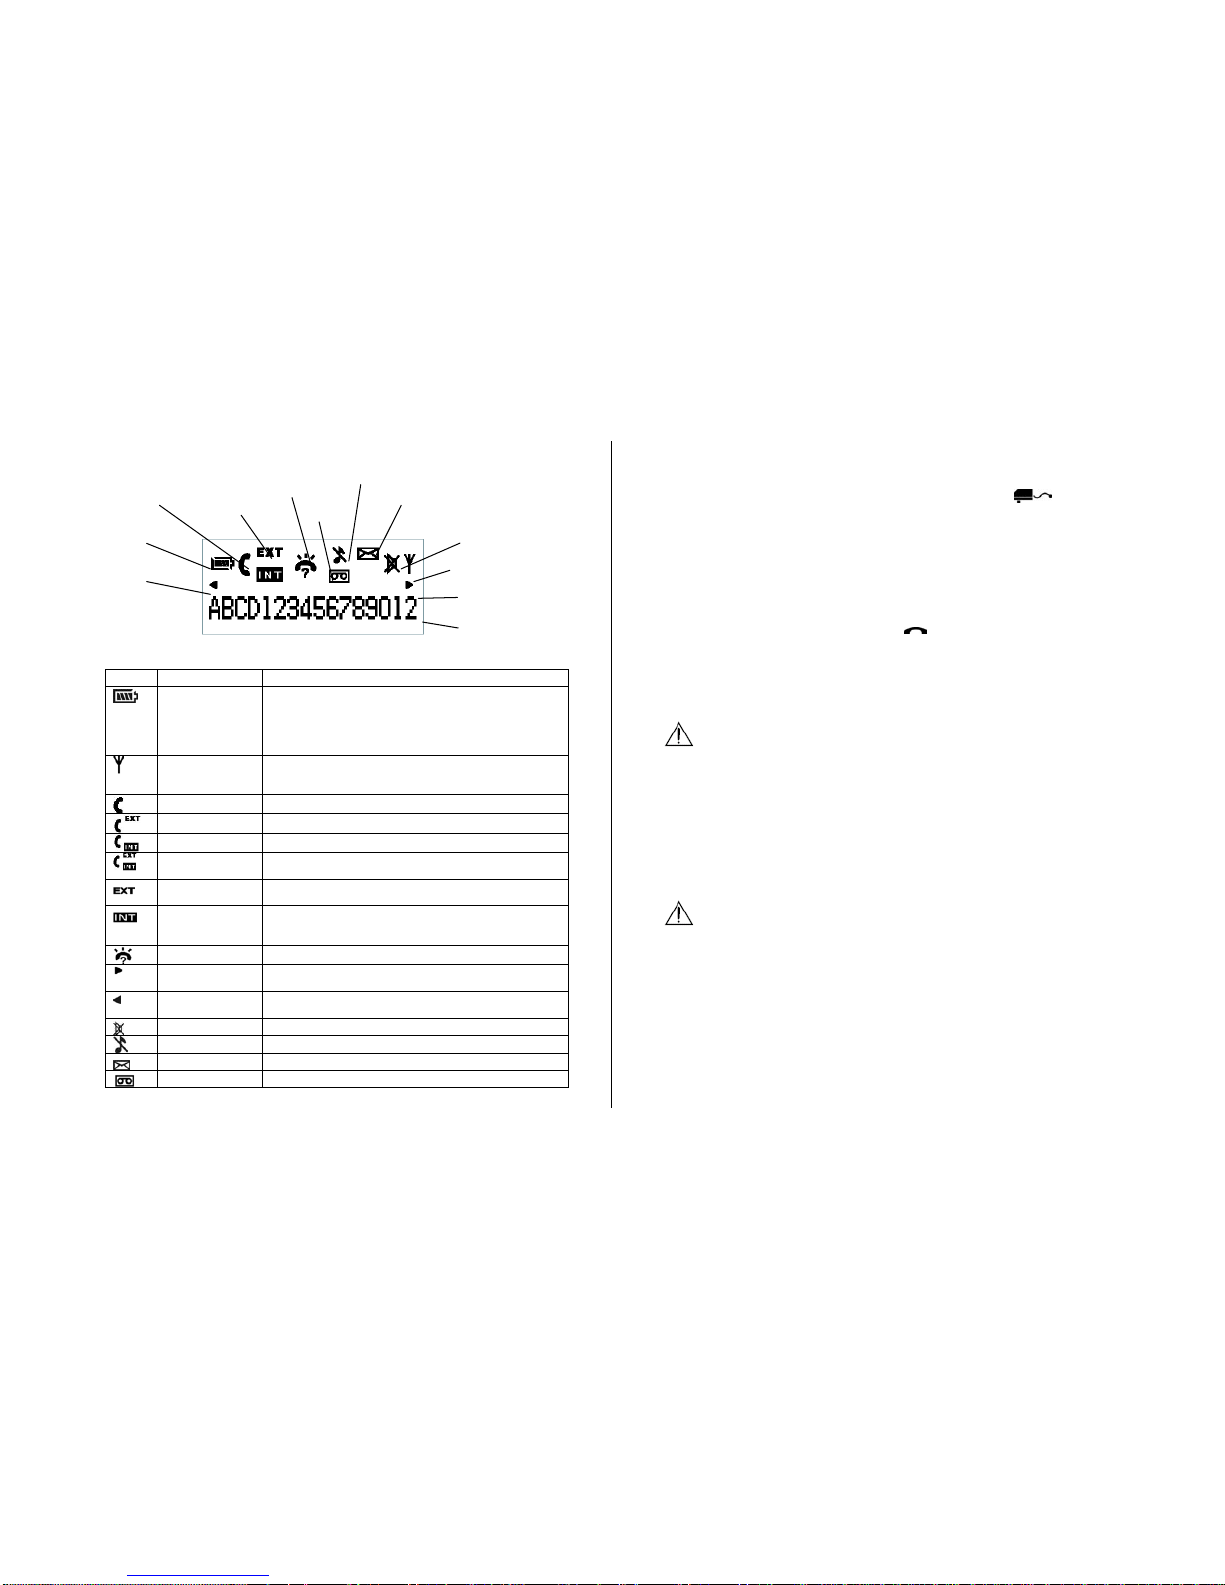
LCD Display on the Handset
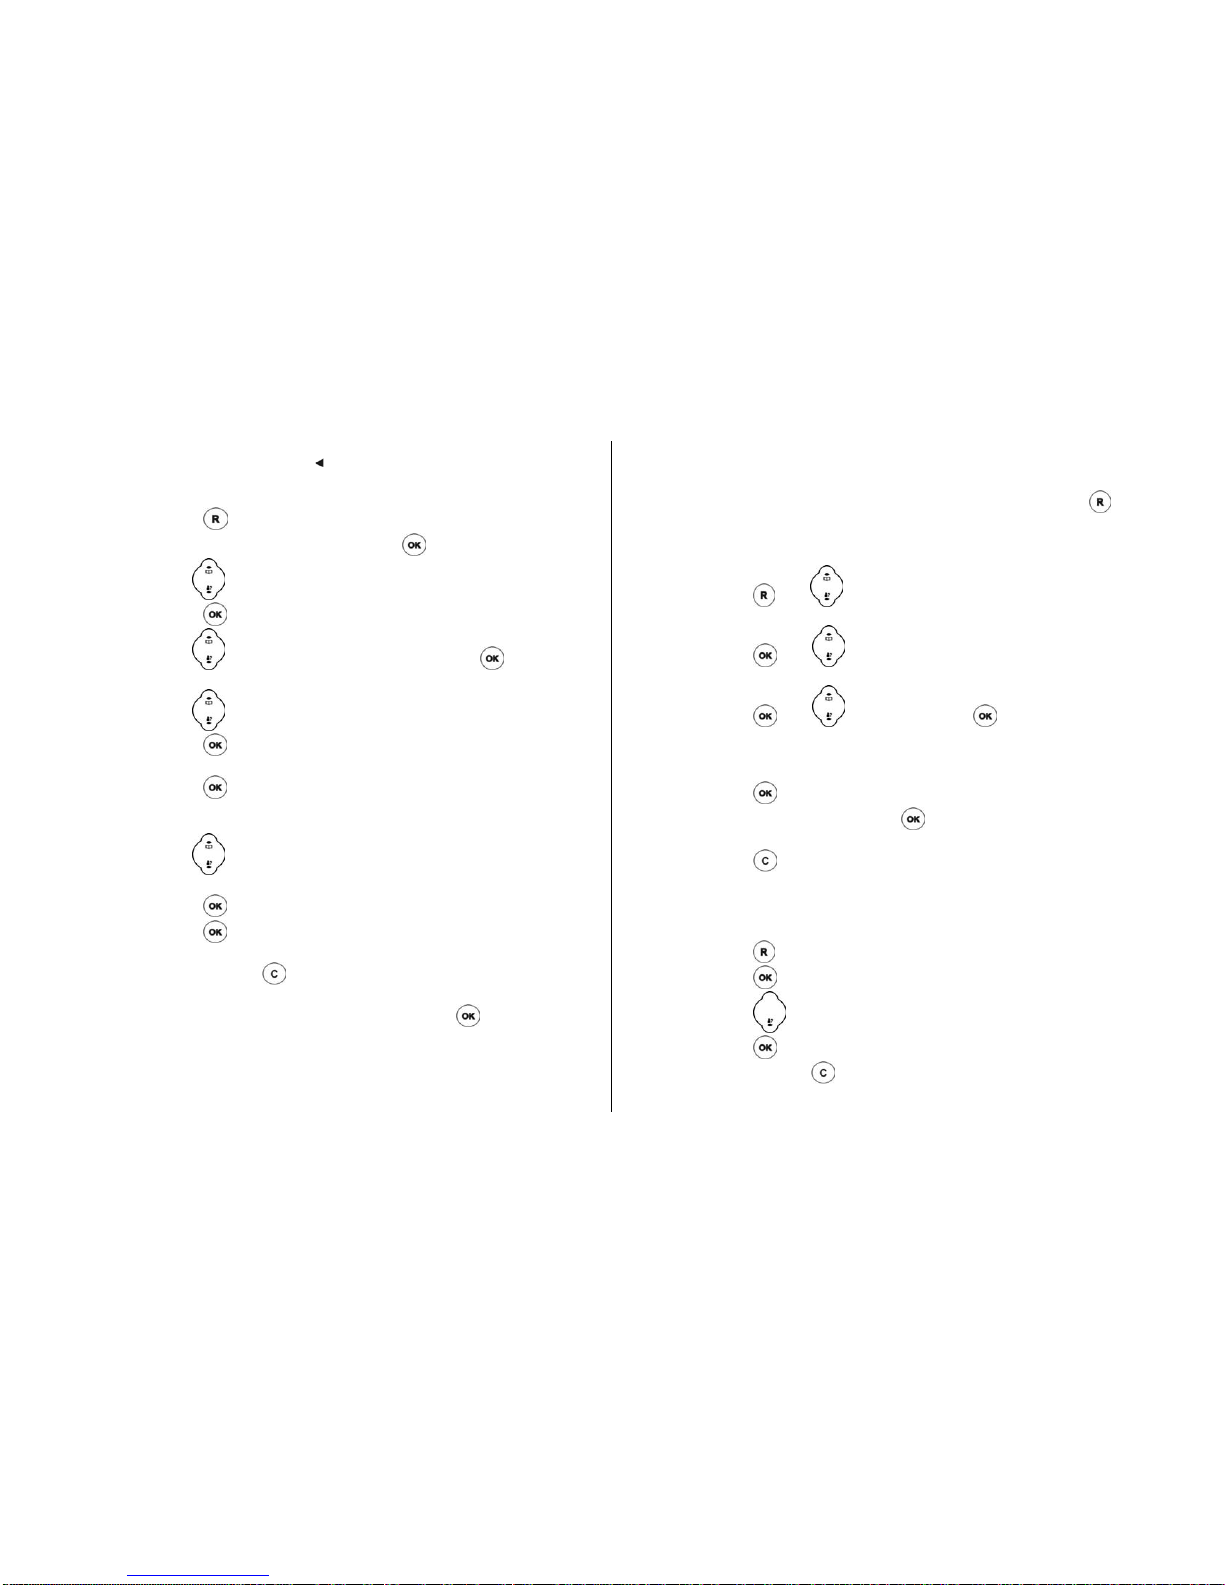
Icon Name Description
Battery • Animated when charging.
• When the battery indicator displays 4 blocks, the
battery is fully charged.
• When the battery indicator displays no block, the
battery is almost empty, and requires charging.
Signal Indicator Steadily – signal linkage between handset and base is
established.
Blinking – no signal linkage with any base.
Off Hook Display during off hook.
Calling External User is calling outside.
Calling Internal User is making an intercom call
Conference User is talking with one external and another internal
user.
External Call Blinking – there is a call from outside.
Steady – Line is engaged.
Intercom Blinking – there is an intercom call.
– when being paged.
Steady – Line is engaged.
New CID New CID received.
Right Scroll The number displayed contains more than 16 digits and
the first 16 digits are displayed.
Left Scroll The number displayed contains more than 16 digits and
the rightmost digits are displayed.
Mute Handset microphone is muted during off hook.
Ringer Off The handset ringer is turned off.
Message Waiting Message waiting indication (VMWI) has been received.
Answer Machine The answering machine is on.
Basic Steps to Install
1. Connect the output plug of the mains adapter to the socket
on the back of the base unit and the mains adapter to the wall
mains supply.
2. Place the 2 rechargeable NiMH AAA batteries (included), observing
their polarities, into the battery compartment on the handset.
3. Slide the battery door firmly into place.
4. Place the handset on the base unit and let the batteries charge for
a full 14 hours before using for first time installation.
5. Connect the telephone lead to the socket on the back of the
base unit and to the wall phone socket.
6. Align the belt clip with the holes on the both sides of the handset.
CAUTION
Use only the mains adapter supplied with this telephone.
Incorrect adapter polarity or voltage can seriously damage the
unit.
Adapter Model No.: VD090030C
Input: 230 VAC 50 Hz
Output: 9 VDC 300 mA
CAUTION
RISK OF EXPLOSION IF BATTERY IS REPLACED BY AN
INCORRECT TYPE. Never use non-rechargeable batteries; use
recommended type supplied with this telephone. NiMH batteries
must be disposed of in accordance with applicable waste disposal
regulations.
Left Scroll
Battery
Phone On
Digits Display
Right Scroll
Signal Indicator
Mute
Message
Waiting
Answering
Machine
On
Ringer Off
New CID
External /
Internal /
Conference