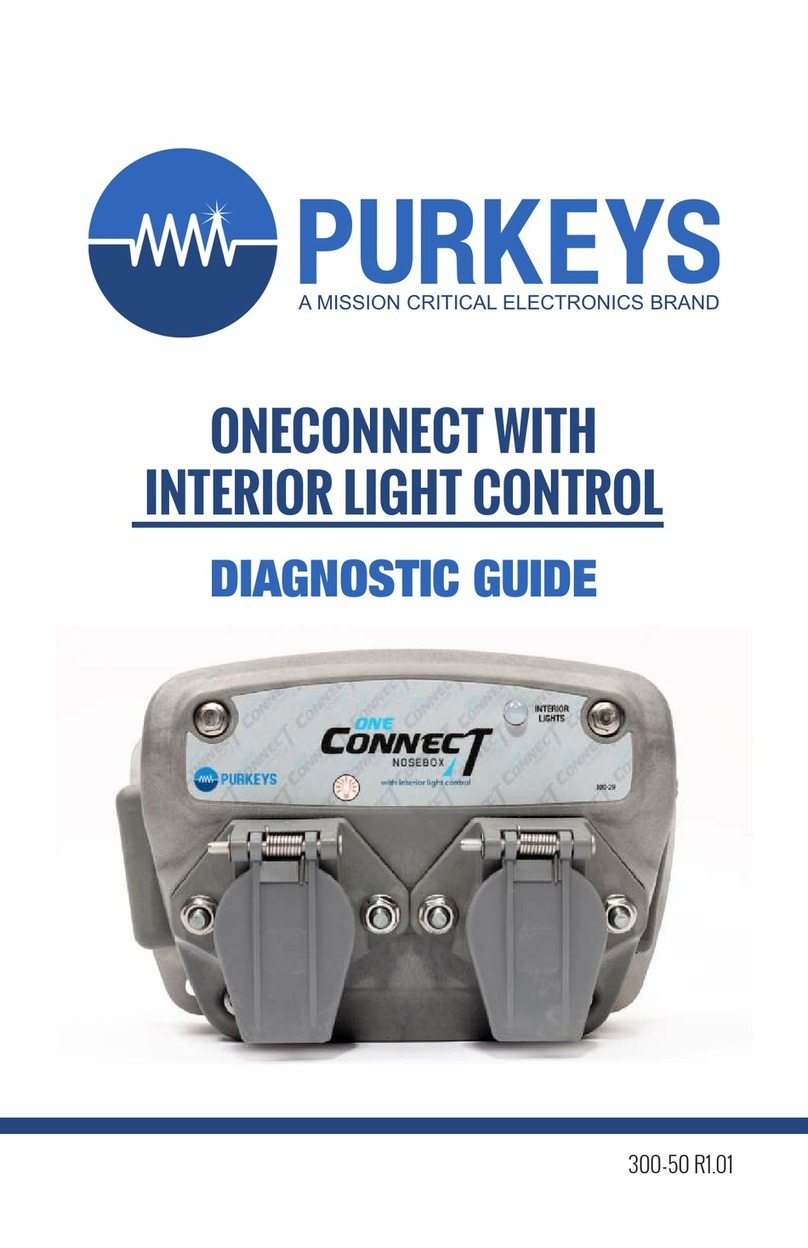
PROGRESSIVE DESK FLTCON-2-24VDC User manual

V 1.01
Scan for more information!
User Manual
FLTCON-2-24VDC

Dimensional Drawing 3
Specification 3
Installation 4
Operational Procedure 4
Reset Procedure 5
Setting Upper & Lower Limits 5
P a g e | 2
Table of Contents
Have any queries? Our expert engineers are here to help!
1-800-828-9414
Troubleshooting 6

Specifications
P a g e | 3
Dimensional Drawing
Input Voltage
Specification Description
24VDC
24VDC
15A
10A
2
Hall Effect Sensor
10% (2 min on, 18 min off)
5°C to 40°C
Black
POM
None
7.75" x 5.25" x 3.00"
0.56lbs
18 Months
Output Voltage
Current Rating total
Current Rating per channel
Number of Channels
Feedback Input
Duty Cycle
Operational Temperature
Housing Color
Housing Material
Certifications
Dimensions (LxWxH)
Unit Weight
Warranty

Operational Procedure
P a g e | 4
To raise the desk, press and hold the UP button. To lower the desk, press and hold the DOWN button. The UP and DOWN
buttons are momentary controlled. When either directional buttons are released, the desk will stop immediately.
To save a position, move the desk to the desired height. Press the “M” button followed by a number. The LED display will
flash an 'S', followed by an 'S - Number'. This will indicate that the position has been saved. To use a preset, press any of
the numbered buttons and the desk will begin to move to the preset position. It is important to ensure that no obstacles
impede the motion of travel. To stop motion while in travel, press any button. If the desk does not function as intended or
the LED display flashes "RST", please follow the Reset Procedure outlined below.
Installation
https://f.hubspotusercontent40.net/hubfs/7717445/PDF%20Manuals/Desk%20Accessories/PD%20Accessories/PA-BT1-24-2200%20User%20Manual%20v1.0.pdf
To use the FLTCON-2-24VDC with your desk, make sure to also acquire the PA-BT1-24-2200 and connect them together
using the diagram below. More information about the PA-BT1-24-2200 can be found at the link here.
1. Insert the battery into the dock. Determine the desired placement of the dock on the underside of the tabletop.
2. Remove the battery from the dock and attach the battery dock to the underside of the tabletop using the included
hardware.
3. Connect the dock wiring to the control box. For a mobile desk, the new FLTCON-2-24VDC control box will replace the
existing one on the purchased unit.
NOTE: Battery must be fully charged prior to the first use.
NOTE: To make your standing desk fully mobile, we recommend installing caster wheels.

Setting Upper & Lower Limits
P a g e | 5
Upper Limit
1. To set the upper limit, use the UP/DOWN buttons to move the table desk to your desired maximum height position.
2. Once it is at the desired position, press and release the "M" button so it shows "S-".
3. While "S-" is shown in the display, press and release the up arrow once.
4. Hold the "M" button until the display shows "999" then release.
The display will then automatically revert back to the height display. The upper limit is now set.
Lower Limit
1. To set the upper limit, use the UP/DOWN buttons to move the table desk to your desired minimum height position.
2. Once it is at the desired position, press and release the "M" button so it shows "S-".
3. While "S-" is shown in the display, press and release the down arrow once.
4. Hold the "M" button until the display shows "000" then release.
The display will then automatically revert back to the height display. The upper limit is now set.
Removing Limits
1. Press and release the "M" button so it shows "S-".
2. While "S-" is shown on the display, press and hold "M" again until the display shows "555"
The display will then automatically revert back to the height display. Any previously set limits are now removed.
*After the upper and lower limits are set, the previous memory positions (1,2,3,4) may be outside the new range of move-
ment. If this happens, simply reset the memory positions.
*A Reset procedure requires the desk base to fully retract beyond any lower limit. Please ensure you have proper clear-
ance below the desk base.
*If you attempt to revise a previously set upper or lower limit and it is outside of the existing range, you will need to remove
the original upper/lower limits first.
Reset Procedure
To enter the Reset Procedure, press and hold the DOWN button on the Hand Remote until the LED shows "RST" (If you
are not using an LED hand remote, hold the DOWN button for about 10 seconds). Release the DOWN button. Press and
hold the DOWN button once more until the desk(s) lower completely then slightly rise before coming to a stop. This signals
the end of the reset procedure. Release the DOWN button and your system is now ready to use.
If any error message persist after completing the reset procedure, contact us at 1-800-828-9414 or by email at
*If the height difference between the legs exceeds 1.5 inches, stop the reset procedure & contact us.
*lf the handset displays ‘HOT’, let the unit cool down for 20 minutes before starting the reset procedure again.

P a g e | 6
Troubleshooting
Have any queries? Our expert engineers are here to help!
1-800-828-9414
Code
E01
E02
E03
E04
E07
E08
E09
E10
H01
M1 overcurrent protection
M2 overcurrent protection
M3 overcurrent protection
M4 overcurrent protection
M1 hall error
M2 hall error
M3 hall error
M4 hall error
Over heat / Duty
Cycle protection
All columns stop moving and remote displays E01-E04. Ensure that the total
weight capacity of the lifting columns has not been exceeded and that no
obstacles obstruct the movement. Press any key and remote will display RST,
initiate the Reset Procedure. If the issue persists, disconnect and reconnect all
of the lifting columns, including the main power. Repeat the Reset Procedure.
All columns stop moving, remote displays H01 (if LED screen available). Allow
the system to rest for 16 minutes, use normally. Follow the Duty Cycle rating to
ensure no issues arise from overheating.
All columns stop moving and remote displays E07-E10. Ensure that all columns
are still properly connected to the control box. Check to see if any cables have
been damaged. Press any key and remote will display RST, initiate the Reset
Procedure. If the issue persists, disconnect and reconnect all of the lifting
columns, including the main power. Repeat the Reset Procedure.
Description Solution
Error Codes (remotes with LED display)
Problem
Remote LED
is off.
Lifting columns do
not move when
motion control
buttons are
pressed.
Lifting columns
travel at a
significantly slower
speed than rated
specification.
Unusual noise
during travel.
Lifting columns
stop abruptly
during travel.
Lifting columns
are not level.
Low power mode
activated Press any button on the remote and LED will activate.
Disconnect and reconnect the RJ-45 remote connector.
Ensure connection is secure and cable is not damaged.
Follow "Setting Limit Switches" instructions to remove the programmed
limit (FLTCON-02 only). If maximum or minimum height limit has been
reached, please move the system in the opposite direction.
Disconnect and reconnect the Lifting Columns,
Control Box, AC Power, and Remote.
Ensure weight capacity has not exceeded the maximum load rating.
Ensure weight capacity has not exceeded the maximum load rating.
Ensure there are no obstacles in the path of the lifting columns. If
the movement continues to fail, initiate the Reset Procedure.
Disconnect and reconnect all cables (Lifting Column, Control Box,
AC Power, and Remote), then initiate the Reset Procedure.
Connection issue
Weight issue
Weight issue
Obstacle
Out of sync
Limit switch reached
Connection issue
Description Solution
Troubleshooting Guide
Table of contents
