manuals.online logo
Brands
  1. Home
  2. •
  3. Brands
  4. •
  5. Projecta
  6. •
  7. Controllers
  8. •
  9. Projecta SC310 User manual

Projecta SC310 User manual

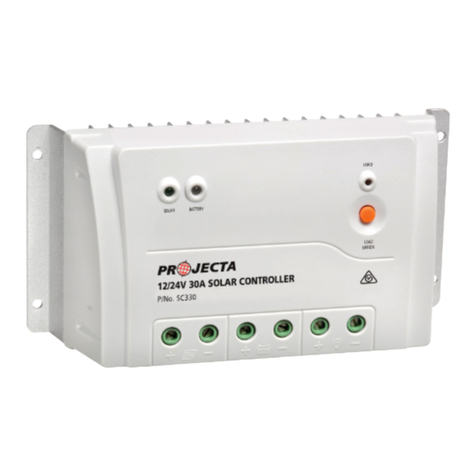
12/24 VOLT AUTOMATIC
SOLAR CHARGE CONTROLLER
P/No.s SC310 & SC320
SC310-320 Manual:1 18/8/11 2:58 PM Page 1
2
WARNING
• Please read these instructions completely prior to installation.
• Lead acid batteries can be dangerous. Ensure no sparks or flames are present when
working near batteries. Eye protection should be used. If mounting on a vehicle follow
all manufacturers’ instructions.
• Given sufficient light solar panels always generate energy even when they are
disconnected. Accidental ‘shorting’ of the terminals or wiring can result in sparks
causing personal injury or a fire hazard. It is recommended to cover the front face
of the panel(s) with a soft cloth to block incoming light during installation.
• For use with 12V or 24V (nominal) solar panels.
• For indoor, out of weather use only.
• Do not exceed the total limit of the solar controller –
P/No. SC310: 120W/10A
P/No. SC320: 240W/20A
FEATURES
3 STAGE CHARGING
Ideal for deep cycle batteries, SC310 & SC320 deliver 3 stage charging, maximising
battery life and performance. The in-built temperature sensor adjusts the output
guaranteeing a thorough charge in all conditions.
• aintains your battery ready for use
• Safe to leave permanently connected
• Prevents solar over-charge/discharge
LOW VOLTAGE DISCONNECT (LVD)
LVD will disconnect the DC load before the battery voltage falls too low, preventing
damage due to over-discharge. Once the battery is recharged, the DC load will be
automatically reconnected.
LOAD CONTROL
The SC310 & SC320 allow you to switch the DC load on/off from the controller without
having to physically disconnect the load or appliance. When switched to ‘off’, the DC
load is isolated from the battery ensuring maximum power conservation.
ELECTRICAL PROTECTION
• Short circuit & over current protection
• Reverse polarity protection
• Conformal coated for protection against dust and moisture
SC310-320 Manual:1 18/8/11 2:58 PM Page 2
3
SPECIFICATIONS
P/No. SC310 SC320
TYPE Automatic Automatic
INPUT 12V or 24V solar panel 12V or 24V solar panel
AX INPUT 50V DC, 10A 50V DC, 20A
AX LOAD 10A 20A
BATTERY 12V or 24V 12V or 24V
CHARGE CONTROL 3 stage charging 3 stage charging
12V 24V 12V 24V
Bulk 14.4V 28.8V 14.4V 28.8V
Absorption 14.4V 28.8V 14.4V 28.8V
Float 13.6V 27.2V 13.7V 27.4V
Start 11.1V 22.2V 11.1V 22.2V
LVD DISCONNECT 11.1V 22.2V 11.1V 22.2V
LVD RECONNECT 13.1V 26.2V 12.6V 25.2V
AX PANEL SIZE 120W 240W
STANDBY CURRENT 6mA 6mA
INSTALLATION
Projecta solar controllers are designed for indoor, out of weather use only.
ount to a suitable flat surface as close to the battery as possible and away from
moving parts or high temperature components. Ensure there is clearance around the
controller to allow for adequate ventilation.
The controller terminals are illustrated for easy identification:
Ensure connections are made to the correct terminals and polarity.
1. Connect the b ttery to the solar controller using suitable cable. It is recommended
to install a fuse close to the battery positive terminal. When correctly connected,
the Battery L.E.D will illuminate.
2. Connect the sol r p nel to the solar controller using suitable cable.
When correctly connected and in sunlight, the Solar L.E.D will illuminate.
Symbol Input/Output
Solar Panel
Battery
Load/Appliance
Recommended C ble Recommended Fuse
Up to 3m 3-6m+
SC310: 2.5 mm2(13 B&S) Not recommended SC310: 15A
SC320: 5 mm2(10 B&S) Not recommended SC320: 30A
SC310-320 Manual:1 18/8/11 2:58 PM Page 3
4
C ution:
Given sufficient light solar panels always generate energy even when they are
disconnected. Accidental ‘shorting’ of the terminals or wiring can result in sparks
causing personal injury or a fire hazard. It is recommended to cover the front face
of the panel(s) with a soft cloth to block incoming light during installation.
3. Connect the lo d or ppli nce to the solar controller.
When first connected, the Load is switched to ‘On’. If correctly connected the
Load Off/On L.E.D will illuminate and the load/appliance will be on. To turn the
appliance off/on, press the Load Off/On button.
OPERATION
The solar controller will automatically begin to charge and maintain the battery.
The temperature sensor will automatically adjust the charge output according to
the ambient temperature.
During operation, three L.E.Ds indicate the operation status.
L.E.D INDICATORS
St tus L.E.D Description Remedy
SOLAR
Normal ●Green –
Over voltage ●Green (slow flash) Check solar panel voltage matches
battery voltage
BATTERY
Full (float/absorption) ●Green (slow flash) –
Normal
12V: 12.0–14.4V ●Green –
24V: 24.0–28.8V
Low Yellow Remove load and/or recharge battery
Flat-disconnected ●Red Recharge battery
LOAD, OFF/ON
Normal ●Red –
Overload ●Red (slow flash) Check the combined power usage
of appliances is suitable for this
solar controller
Short Circuit ●Red (fast flash) Remove appliance and have it
checked by a qualified technician
Distributed by
AUSTRALIA
Brown & W tson Intern tion l Pty Ltd
Knoxfield, Victoria 3180
Telephone (03) 9730 6000
Facsimile (03) 9730 6050
National Toll Free 1800 113 443
NEW ZEALAND
N rv New Ze l nd Ltd
22–24 Olive Road
PO Box 12556 Penrose
Auckland, New Zealand
Telephone (09) 525 4575
Facsimile (09) 579 1192
IS162
Issue 27.7.10
SC310-320 Manual:1 18/8/11 2:58 PM Page 4

This manual suits for next models

1

Other Projecta Controllers manuals

Projecta SC030 User manual

Projecta

Projecta SC030 User manual

Projecta SC220 User manual

Projecta

Projecta SC220 User manual

Projecta INTELLI-RV PM200 User manual

Projecta

Projecta INTELLI-RV PM200 User manual

Projecta SC420/ND User manual

Projecta

Projecta SC420/ND User manual

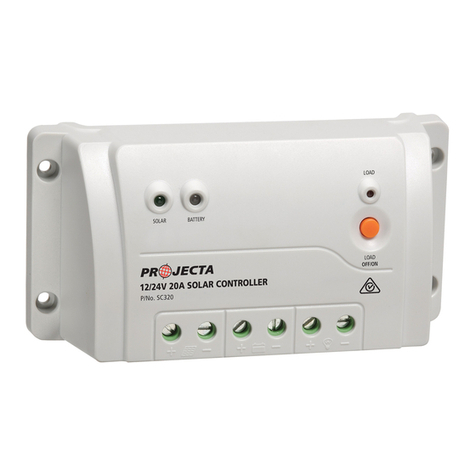
Projecta SC320 User manual

Projecta

Projecta SC320 User manual

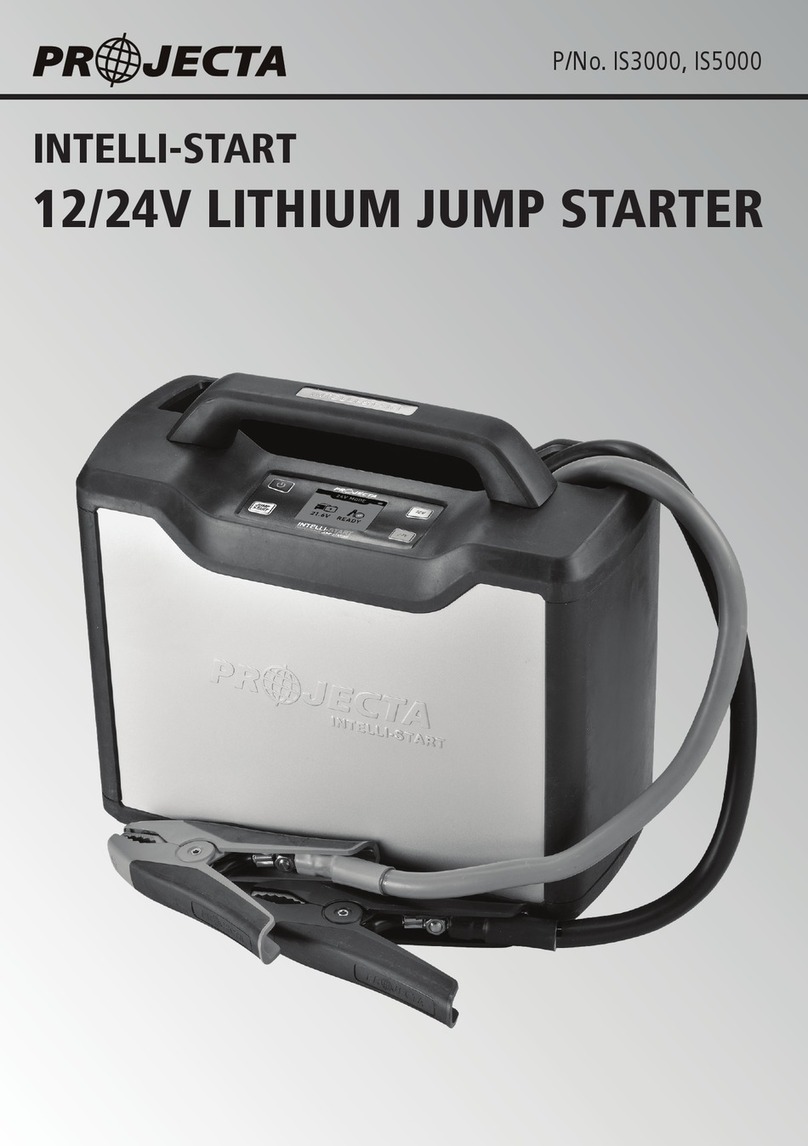
Projecta INTELLI-START IS3000 User manual

Projecta

Projecta INTELLI-START IS3000 User manual

Projecta SC300D User manual

Projecta

Projecta SC300D User manual

Popular Controllers manuals by other brands

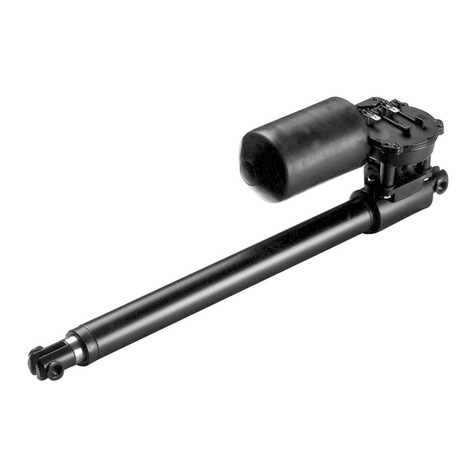
Linak LA20 user manual

Linak

Linak LA20 user manual

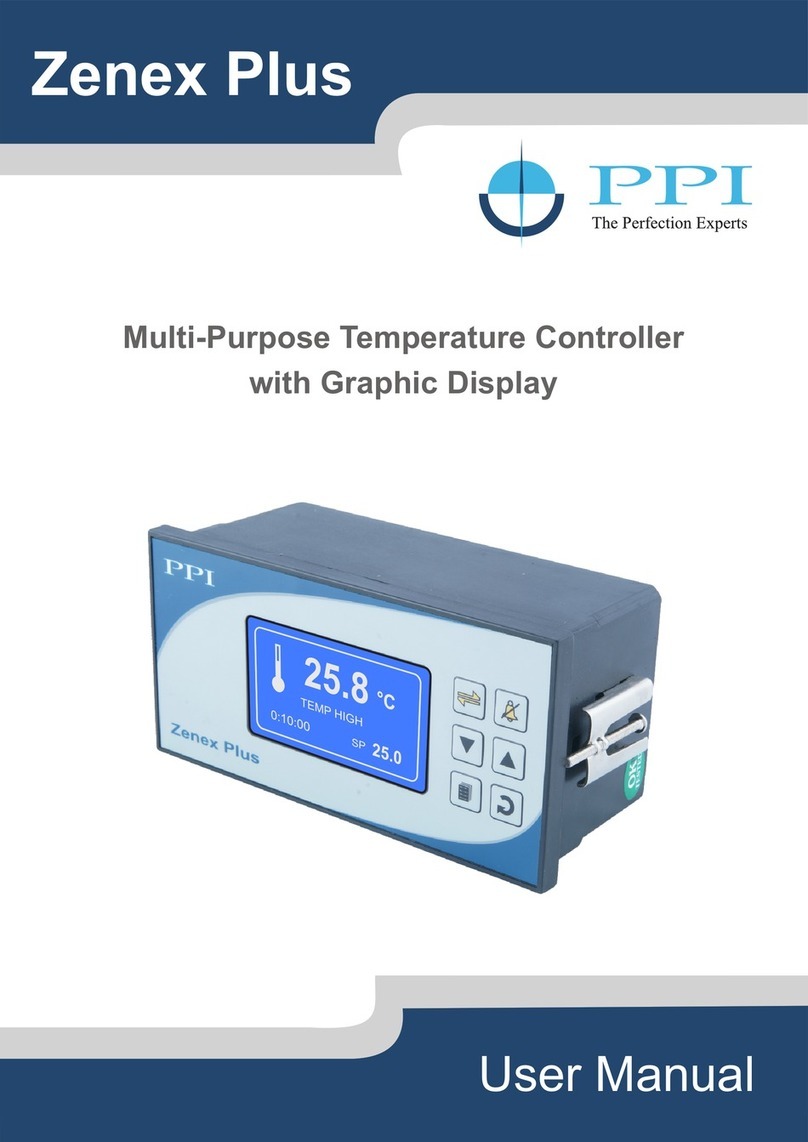
PPI Zenex Plus user manual

PPI

PPI Zenex Plus user manual

Habasit PMR-06 General manual use and maintenance

Habasit

Habasit PMR-06 General manual use and maintenance

National Instruments DAQ-STC Series Technical reference manual

National Instruments

National Instruments DAQ-STC Series Technical reference manual

Mitsubishi Electric AE-200A Instruction book

Mitsubishi Electric

Mitsubishi Electric AE-200A Instruction book

Sonos BRIDGE quick start guide

Sonos

Sonos BRIDGE quick start guide

BFT DEIMOS BT A 600 Installation and user manual

BFT

BFT DEIMOS BT A 600 Installation and user manual

System Studies 289 LAN Controller Card Setting up

System Studies

System Studies 289 LAN Controller Card Setting up

Siemens OpenAir GEB Series Technical instructions

Siemens

Siemens OpenAir GEB Series Technical instructions

Adaptec OnTarget quick start guide

Adaptec

Adaptec OnTarget quick start guide

Addonics Technologies AD2MS6GPX8-E user guide

Addonics Technologies

Addonics Technologies AD2MS6GPX8-E user guide

Nevco 827 Operator instructions

Nevco

Nevco 827 Operator instructions

Raven ISO Product Controller II Operation manual

Raven

Raven ISO Product Controller II Operation manual

M-Audio Oxygen Series manual 

M-Audio

M-Audio Oxygen Series manual 

QSC TSC-7t Hardware installation guide

QSC

QSC TSC-7t Hardware installation guide

TEXIO LSG-H SERIES instruction manual

TEXIO

TEXIO LSG-H SERIES instruction manual

Nicols CONTROL 24 instruction manual

Nicols

Nicols CONTROL 24 instruction manual

Fulham HotSpot LED FHSAC1-230-45CE installation instructions

Fulham

Fulham HotSpot LED FHSAC1-230-45CE installation instructions

manuals.online logo
manuals.online logoBrands
  • About & Mission
  • Contact us
  • Privacy Policy
  • Terms and Conditions

Copyright 2025 Manuals.Online. All Rights Reserved.