Promovec BUTCHER User manual

USER MANUAL
BUTCHER
Feb. 2020


Tabel of contents
Introduction ........................................................................................... 4
Product description ......................................................................... 4
How to get started ........................................................................... 5
Display - Connect+ ........................................................................... 6
Assist functions .................................................................................. 7
Extended features by mobil App .......................................... 7
Connecting new devices ............................................................ 8
Troubleshooting ................................................................................. 9
Tire size settings ................................................................................ 10
Youtube learning videos .............................................................. 11
Battery - mounting/dismounting ......................................... 12
Storage ..................................................................................................... 13
Capacity and use ............................................................................... 13
Warning .................................................................................................... 13
Disposal of battery ........................................................................... 14
Charger/Charging ............................................................................ 14
Battery registration .......................................................................... 15
Maintenance ......................................................................................... 16
Transportation of electric bike ................................................ 16
Road trac law .................................................................................... 17
Insurance ................................................................................................. 17
Frame No. ............................................................................................... 17
Technical data ..................................................................................... 18
Battery specications .................................................................... 19

4
Introduction
Congratulations with your new BUTCHER e-bike.
The new generation of e-bikes are designed and developed based on many
years of experience in the e-bike area.
Before you start using the e-bike, please read this manual, as it contains some
important information concerning the use and maintenance of an e-bike.
BUTCHER e-bike is manufactured according to the most advanced production
technology. Through tests and test driving, a high quality standard is ensured.
BUTCHER has a strong frame and great performance and is adapted to the Nordic
weather conditions.
You will achieve an easier and more fun way to transport yourself.
Product description
Your e-bike is produced according to the guidelines in European standard:
EPAC EN 15194:2017.
BUTCHER is the perfect choice if you want an electric bike that can be used for
varied purposes, as the bike is suitable for driving in both at and hilly terrain.
The bike is equipped with a front carrier that allows you to carry dierent goods
.
We recommend to tighten the goods when cycling.
The frame is produced in aluminum, which provides a sti and robust construction
and its low weight is maintained. The motor is integrated in the rear wheel and the
battery is integrated under the front carrier.
In that way the weight distribution is optimal. The electrical bicycle can also function
as a regular bike.

5
How to get started
When the battery is installed, the system can be powered on by using the on/o
button on the display. When using the pedals, the engine will start to assist you,
depending on the chosen assist level. The engine operates as follows:
Electronic controller applies the assist when the sensor detects a movement on
the pedals.
The assist power can be controlled by pre xed assist levels and can be used to
adjust to current needs.
Driving uphill gives you the full ability to use the assist function and can be turned
o when driving downhill.
The controls automatically disonnects the engine, when there isn't any movement
on the pedals or when the speed exceeds 25km/h.
For further details see the "Functions" on the next page.

6
Display - Connect+
The display is operable by 3 buttons from the left side of the handlebar.
* 5 levels of blue light indicate battery state of charge.
* 5 levels of green light after buttons are pressed indicate assist level.
* Error codes are integrated to the display and displayed by ashing LED's.
Attention! If the rst LED in the battery indicator starts to ash, this indicates
that the system has detected an error. (Look at page 9)
Battery-/Assist
indicator
On/O
Up/Down

7
Assist functions
The display have 2 dierrent assist functions:
• Assist levels (1-5), choosable by using up/down buttons.
• Walk assist is selected by holding down the ”down” button.
Light is toggled on and o by holding down the ”up” button.
If walk-assist function is supported by the bike, it allows you to drive up to 6 km/h
without the use of the pedals and regardless of the assist level setting. This function is
useful uphills.
Extended features by mobil App
When the phone is connected by Bluetooth, it is possible to access more real time
features such as:
- Current speed.
- Trip counter.
- Driving mode (eco/speed/dist).
- Map.
- Basic functions (timer, battery status, assist level osv.).
Note: The phone can be used as a display to control the e-bike and its functions.

8
Connecting new devices
Attention! The app “Promovec Connect+” must be downloaded before it is possible to
access the above functions.
Links:
IOS: https://apps.apple.com/dk/app/promovec-connect/id1458723615?l=da
Android: https://play.google.com/store/apps/details?id=com.ektos.e.bike.client
Turn on the Bluetooth, open for the app and the follow the onscreen instructions.
1. Start by turning on the display on the bike.
2. Tap the “new bike” in the app and a list of available bikes will now appear on the
screen.
3. Select your bike and complete the onscreen instructions. It is possible to rename
the bike while it is added to the bike list.
4. Return to the home screen and select your newly added bike.
5. Your electric bike is now connected.
Note: With the app you have the option to connect with multiple e-bikes
and select the specic one you need before your departure.

9
Troubleshooting
If the rst LED in the battery indicator starts to ash, this indicates that the system has
detected an error.
The numbers of ashes determine the error code.
Numbers of
ashes Description Solution
1Error on the motor If the motor is equipped with a
plug, check the plug or contact
your dealer
2Error on the controller. Contact your dealer
3Error on the display Contact your dealer
4Low battery voltage Charge the battery
5Error on the brake cut o
sensor
Release the brake and restart the
system or contact your dealer
6Error on the speed sensor Contact your dealer
7Error on the battery Contact your dealer
8High current or overload Contact your dealer
9Communication error Contact your dealer
10 Battery voltage to high Contact your dealer
11 Error on the display Contact your dealer
10
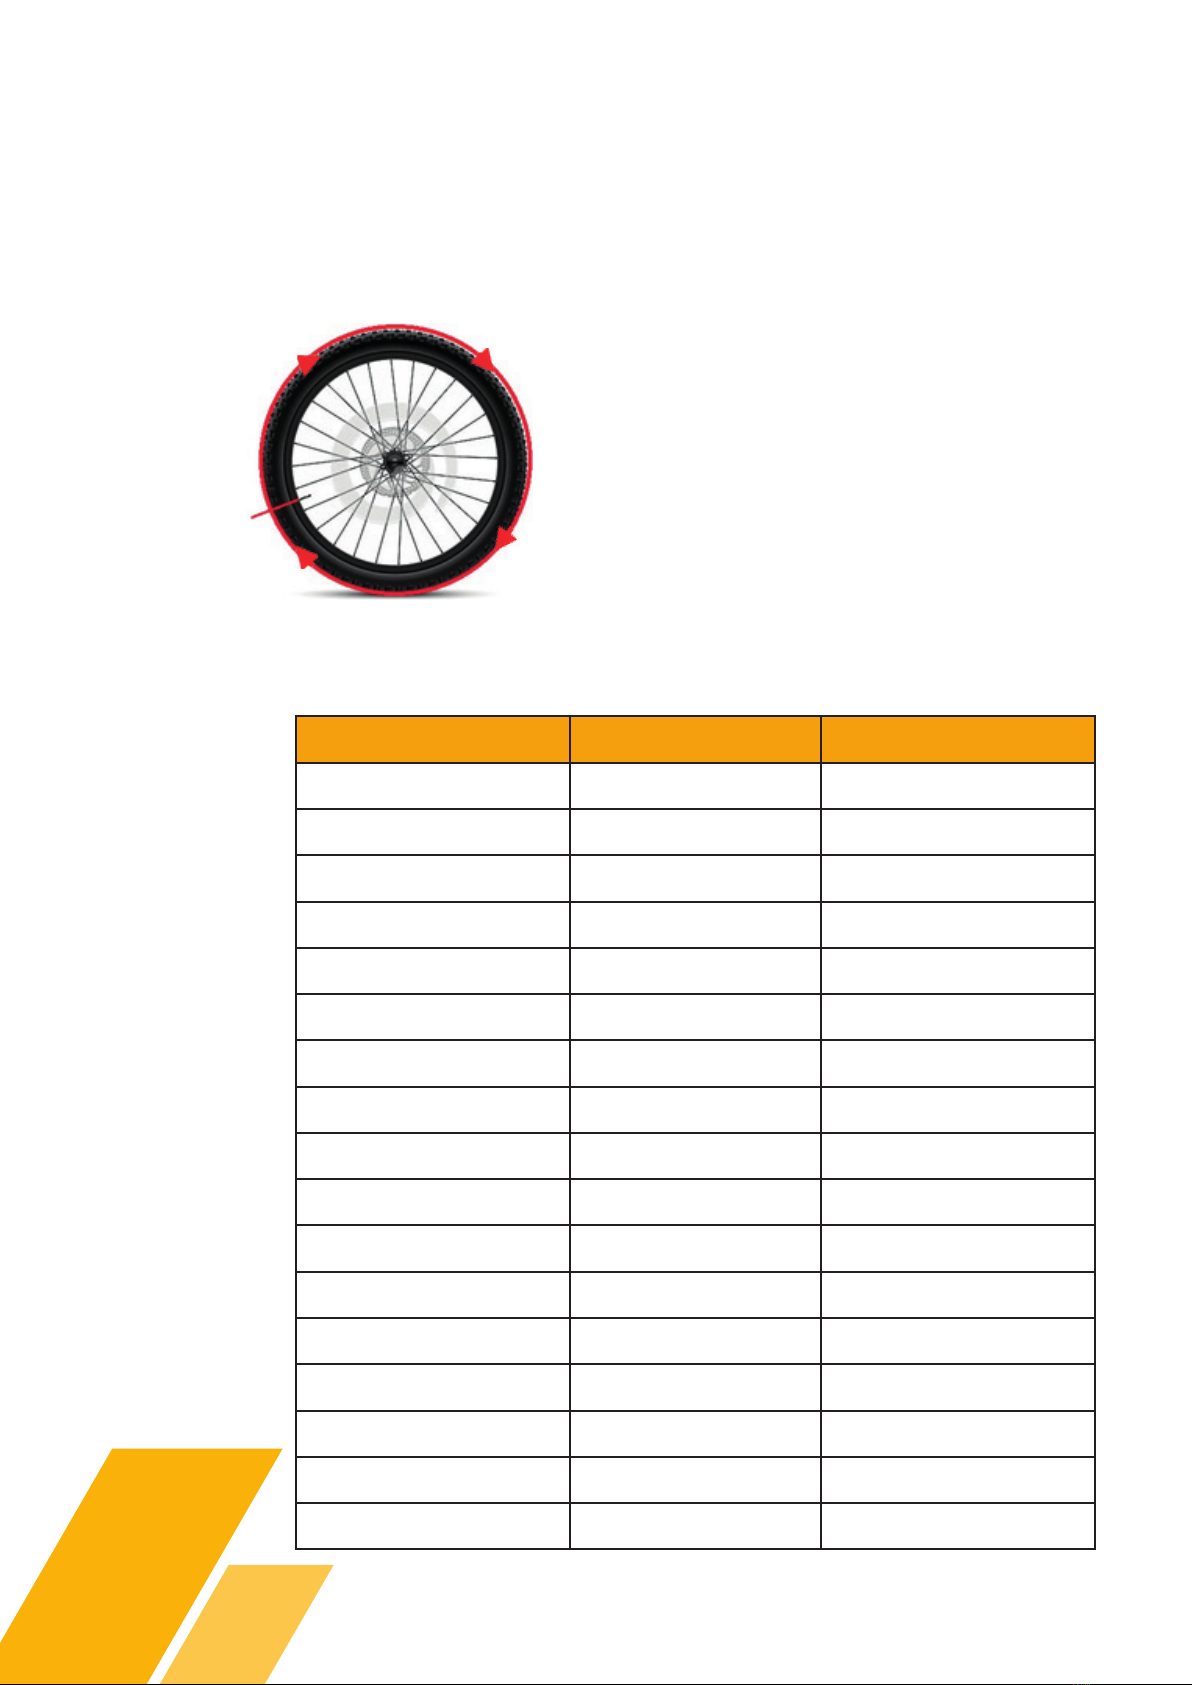
Tire size settings
The circumference of the wheel is found by measuring the distance around the wheel
from valve to valve or use the chart.
Type the measured value in the display.
Valve
ETRTO Tire size Circumference
40-406 20x1.50 1490
47-406 20x7.75 1515
50-406 20x1.95 1565
47-507 24x1.75 1890
50-507 24x2.00 1925
54-507 24x2.125 1965
40-559 26x1.50 2010
47-559 26x1.75 2023
50-559 26x1.95 2050
54-559 26x2.10 2068
35-622 700x35C 2168
38-622 700x38c 2180
40-622 700x40c 2200
42-622 700x42c 2224
44-622 700x44c 2235
45-622 700x45c 2242
47-622 700x47c 2268
You can nd the
ETRTO value on
the tire.
You can nd the
Tire size on the
side of the tire.
Circumference is
the value you type
in the display.

11
Youtube learning videos
How to pair your new display:
https://www.youtube.com/watch?v=LZHgKPralBg&t=1s
How to use your new display:
https://www.youtube.com/watch?v=LZHgKPralBg&list=PLx3qr090MDMwlXaFLYe6Z-
kLuhWeO1-BSZ
Settings for backlight and change between metric and imperial unit of length:
https://www.youtube.com/watch?v=TTIzjYc9Aew&t=1s
Setting the wheel size:
https://www.youtube.com/watch?v=2EAdE9FVgxc
Using assist levels, bike modes and the map:
https://www.youtube.com/watch?v=cZkBSOM0j0U

12
Battery - Mounting/Dismounting
* The battery is mounted under the front carrier from the left side of the bike.
* Use the provided key.
* Remove the key from the battery while driving.
* When the battery is inserted, the electrical system is turned on automatically.

13
Storage
If the e-bike is set aside for storage (more than one month), it will be enough
to recharge one time per month. If your e-bike is stored outdoors or in an
unheated room, we recommend removing the battery and storing / charging
it at room temperature.
The batteries should always be fully charged in storage since they cannot
aord to stand discharged completely or partially for a long time.
Capacity and use
• The e-bike uses a maintenance-free Li-ION battery.
• The battery is supplied approx. 60% charged from the factory. Before using
taking the battery must be fully charged with the supplied charger.
• Optimum charging of the battery takes place at 18-20ºC.
• Many frequent charging of the Li-Ion battery can extend battery life.
• Be aware that the capacity of the batteries decreases over time and
at lower temperatures. Too little tire pressure, weather and wind, road
characteristics, user weight and own eort aect the range of the battery.
• Batteries have, in normal use, a life of up to 600 recharges and discharges.
Warning
• Do not heat, short circuit, puncture, or otherwise mistreat the battery.
• The battery must not be dismantled or destroyed.
• Do not throw the battery into re.
• Do not immerse the battery in water or any other liquid.
• The battery can only be charged with the included charger.
• Never charge the battery at temperatures below 0ºC or above 45ºC.

14
Disposing of battery
Batteries contain substances that can be harmful to human
health and the environment if not handled properly.
Batteries are marked with the crossed-out garbage. It
symbolizes that wasted batteries must not be disposed of with
normal household waste but must be collected separately.
It is important that you submit your used batteries to the collection systems
established. In this way, you help to ensure that the batteries are recycled in
accordance with the law and will not harm the environment.
All municipalities have established collection systems, where wasted portable
batteries can be collected from households or free can either be submitted at
recycling stations and other collection sites. Additional information is available
from your local authorities.
Charger/Charging
Before using the battery, it has to be fully charged with the supplied
charger for at least 24 hours.
We recommend to charge the battery every time it has been used,
as many frequent charging helps to prolong the battery life.
CAUTION:
- Only allow children at least 8 years old to use the battery charger. Give
sufficient instruction so the child can use the battery charger in a safe
way and explain that it is not a toy and must not be played with.
- Instruct the child not to try and recharge non-rechargeable batteries
because of the danger of eruption.
- Examine the battery charger regularly for damage, especially the cord,
plug and enclosure. If the battery charger is damaged, it must not be
used until it has been repaired.

15
It is recommended to sometimes leave the battery connected for
minimum 24 hours after the green diode lights up. This allows better
balance out the cells in the battery, to maximise capacity.
Charging must be done indoors or under a pent roof, as the charger
is only splashproof. Preferably at a temperature of 18-20°.
You can either leave the battery on the bicycle or remove it for charging.
• Insert charger plug in the battery, and the mains plug in the
socket - and check to confirm that the charger is on.
• When the “charge” and “power” are red, it indicates that battery is
charging.
• When the “charge” light is green, and “power” light is red -
it indicates the battery is fully charged.
Charging must only be done with the supplied charger - see picture below.
If charging does not begin immediately, check to make sure the
charger is connected correctly.
Battery registration
Register your battery via Promovecs website and obtain 2-year capacity
waranty. In addition to the prevailing sale of goods 2-year warranty
provided, Promovec A/S oer a 2-year capacity warranty on all batteries for electric
bikes equipped with Promovecs electrical system and intended for
private use.
The waranty covers a guaranteed minimum capacity of 70% in 2 years from date of
purchase.
To qualify for this 2-year capacity waranty the battery must be registered via the Pro-
movec website. Registration must take place within 8 days from the date of purchase.

16
Transportation of electric bike
If the electric bike is due to be transported, this must be carried out in a responsible
manner. We recommend that the bike is transported with an approved bicycle carrier
marked with TÜV and is specially made for electric bike. The reason being, that electric
bikes are more heavier compared to traditional bike, which requires a bicycle carrier
with a larger load capacity.
Before transporting your electric bike, remove the battery and cover the bike for any
humid weather conditions. NB! The battery should not be stored in any enviroment,
that exceed the temperatur of -10 °C or 60 °C. It is also recommend that the battery is
kept out of direct sunlight.
Maintenance
The bike and the electrical system does not require any special maintenance. It is
recommended to clean the bike and lubricate moving parts at regular intervals.
Be aware, that wearing parts such as tire, chain, brake pads are replaced as needed.
Models equipped with v-brake has a wear indicator engraved as a line or dot
indicating the wearing time. If the dot or line is no longer visible, the rim must be
replaced.
The rim is changed when the
wear indicator is no longer visible
In order to maintain and preserve electric bike’s condition, we recommend an
inspection two times a year, however, at least once a year by a professional workshop.

17
Frame No.
The e-bike is tted with a frame number. It is located under the crank.
Road trac law
The electric bicycle is part of the road trac laws, such as regular bicycles.
According to the “Order on trac law” under section § 49. You can read more
about this.
You are therefore considered a cyclist in trac with the same driving conditions.
It is recommended to wear helmets and having the right lights equipped for your
bicycle.
Insurance
An electric bike for insurance purposes as an ordinary bicycle, it is usually
covered by a standard household insurance. However, we recommend that
you talk to your insurance agent about the technical aspects of e-bike.

18
Technical data
Frame Alloy
Fork Unicrown
Frame size Low 43 cm - High 56 cm
Handlebar Kalloy - oversize
Handlebar stem Zoom, adjustable
Motor Rear w/cassette - 250W/36V
Assist 5 levels
Battery Carrier 6 - Various sizes from 15,6Ah to 17.4Ah
Range Up to 150 km
Display Connect+
Wheel 20” front and 26" rear
Tyre Schwalbe Delta
Gears 9 speed Shimano
Brakes Shimano front disc brake
Color Black - one color
Weight 28 kg, ex. battery
Total weight 150 kg incl. luggage
19
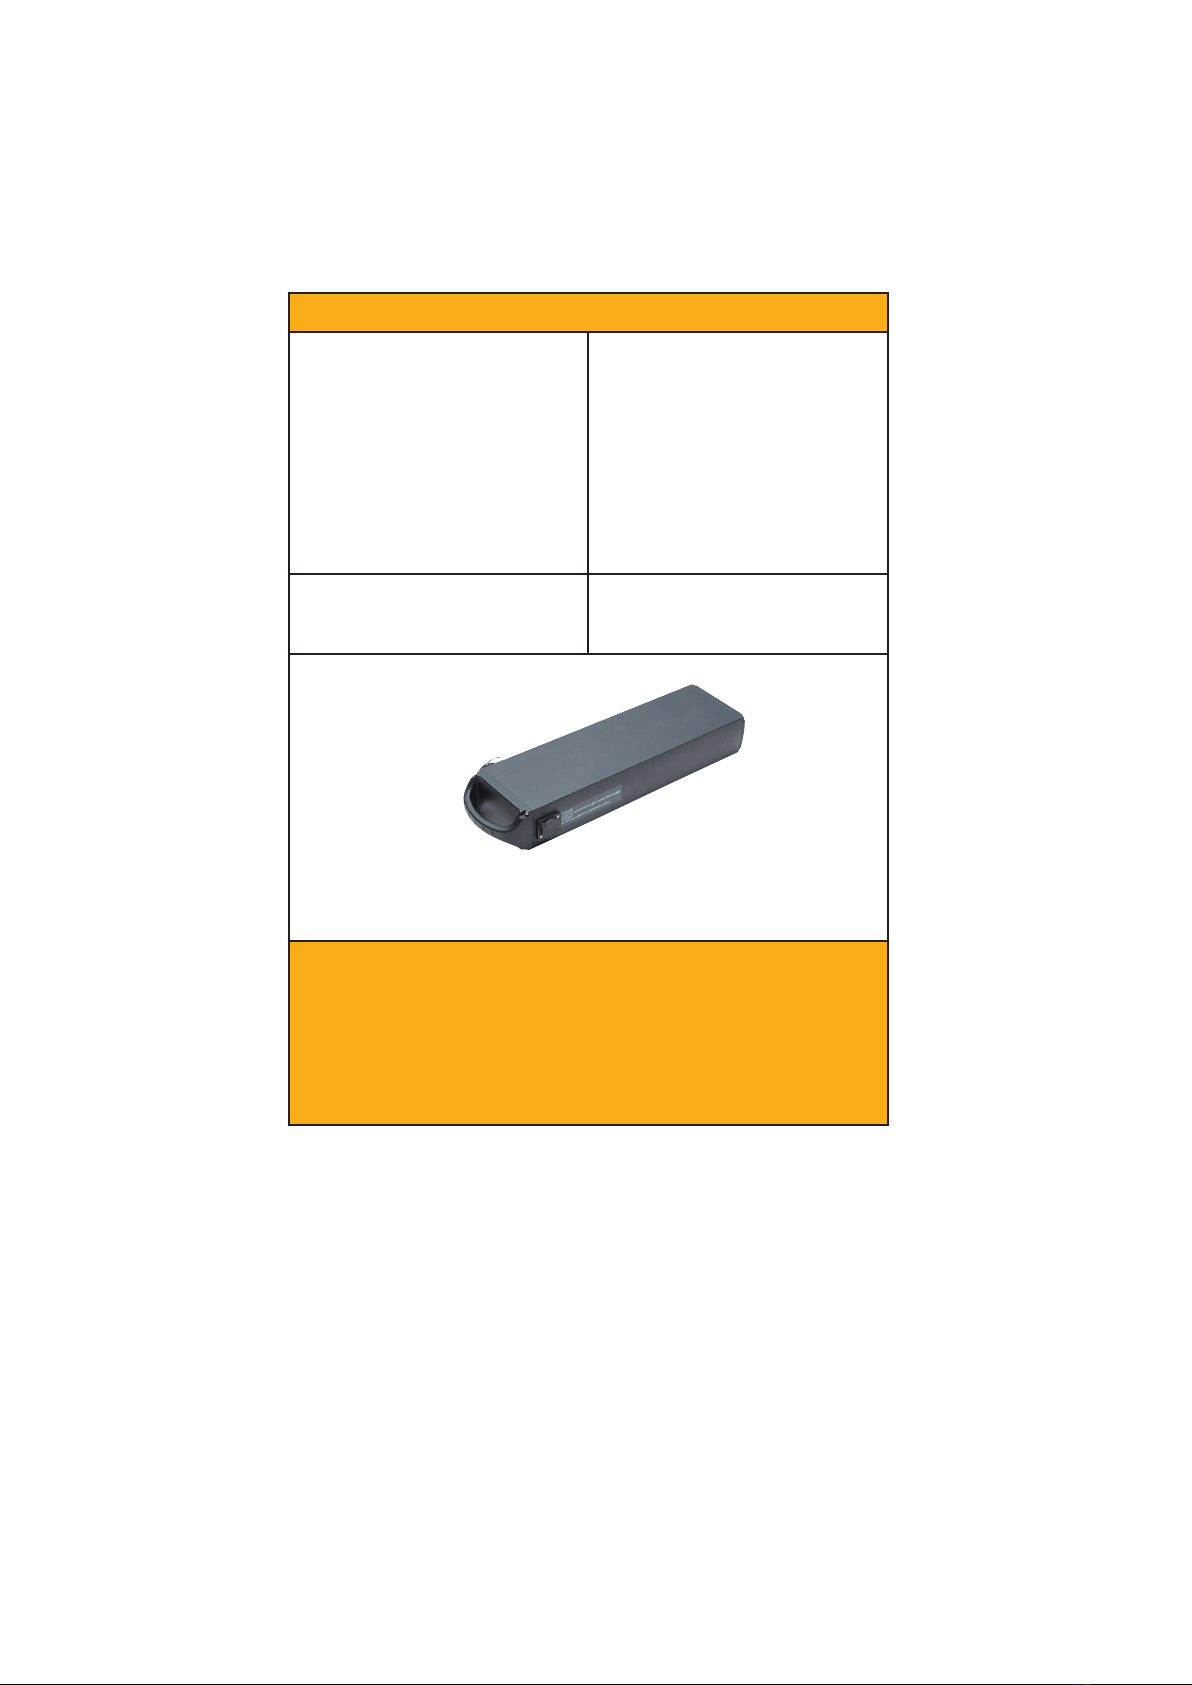
Battery specications
XL batteries
15,6AH 36V
Li-Ion
561Wh
Removeable
Weight: 3,9 kg
17,4AH 36V
Li-Ion
626Wh
Removeable
Weight: 3,9 kg
Range:
Up to 130 km
Range:
Up to 150 km
Charger
Swift mode, Splash proof
Charging time
4-5 hours
XL battery
20
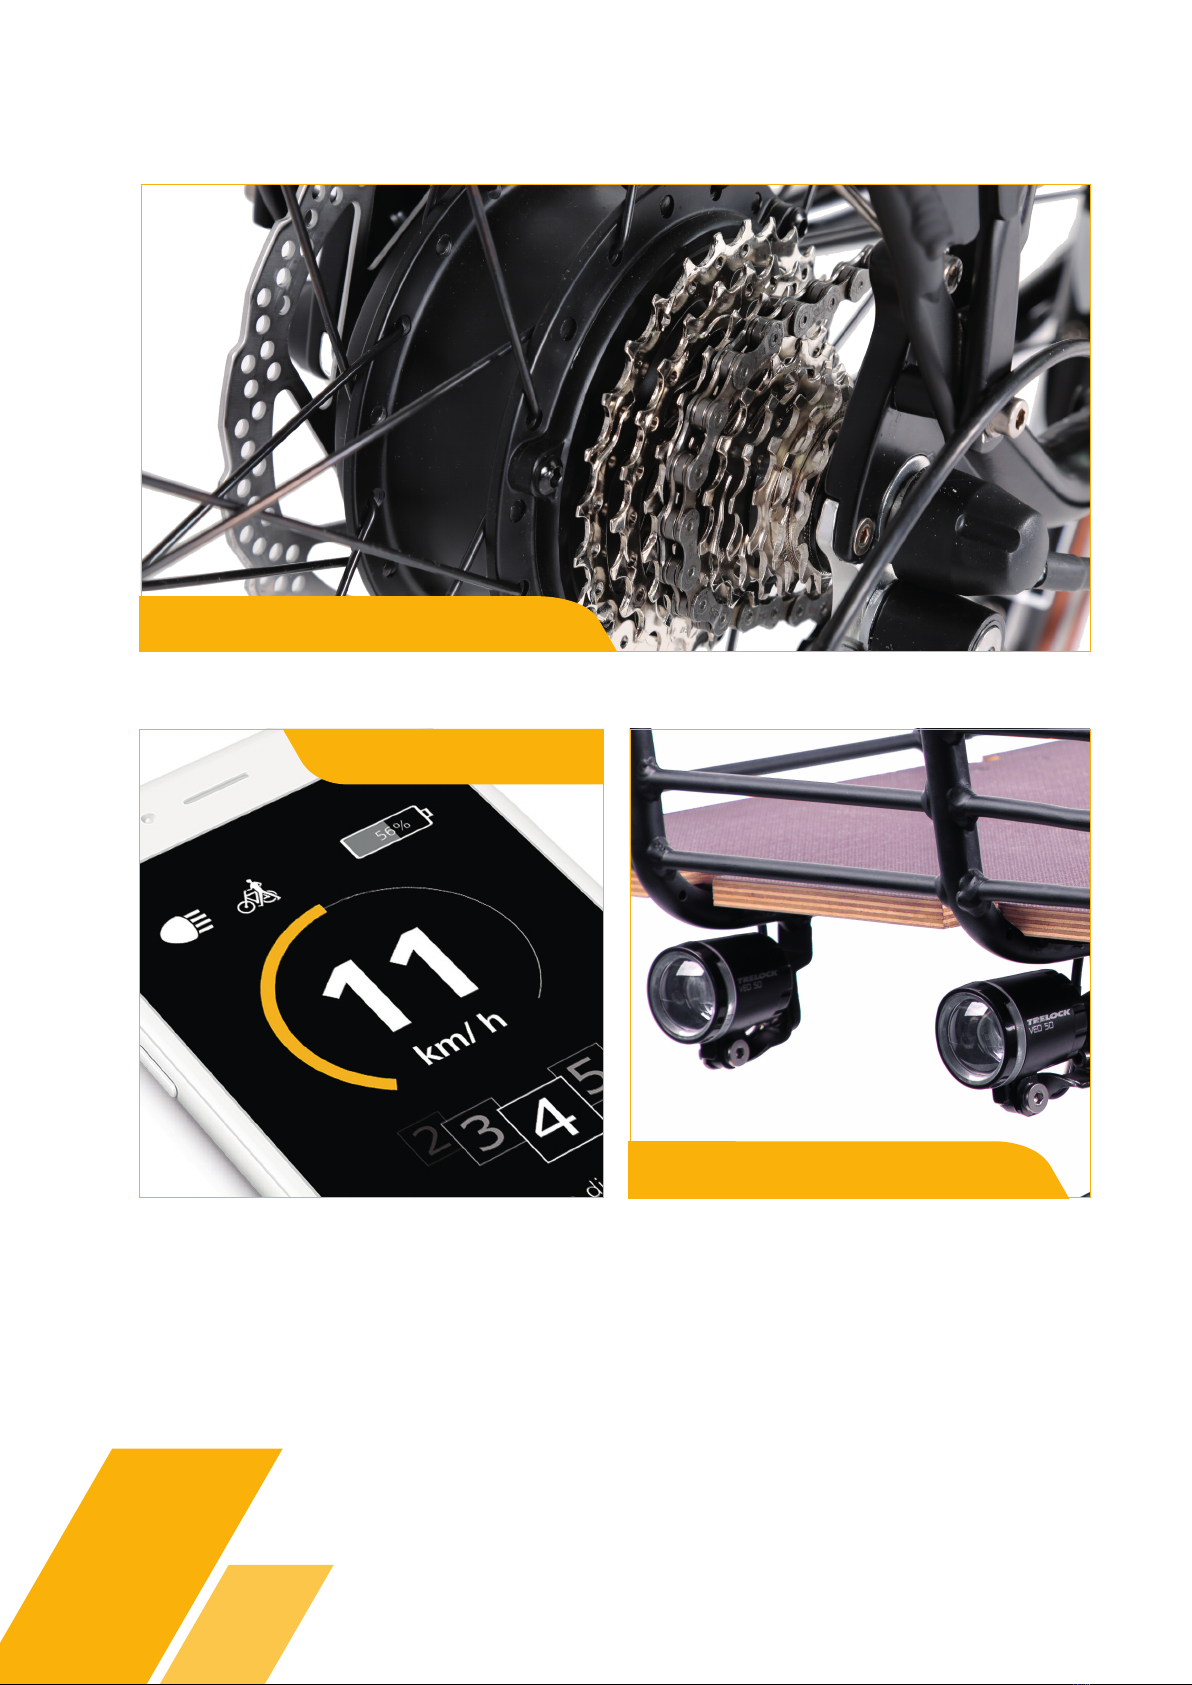
9 speed Shimano
Connect+ display
2 headlights
Table of contents
Other Promovec Bicycle Accessories manuals


