Promovec Display Graphic D400+ User manual
Display
Graphic D400+
QUICK START

CONTENT
DISPLAY....................................................................................................3
THROTTLE ..............................................................................................4
ASSIST FUNCTIONS............................................................................4
DISPLAY INFO........................................................................................5
BIKE INFO................................................................................................5
BATTERY AND SERVICE INFO.........................................................6
WHEEL SIZE SETTINGS.....................................................................6
DISPLAY SETTINGS.............................................................................7
BACK LIGHT SETTINGS .....................................................................7
TIME AND DATE SETTINGS..............................................................8
TIME FORMAT........................................................................................8
ASSIST TYPE ..........................................................................................9
TROUBLESHOOTING........................................................................ 11
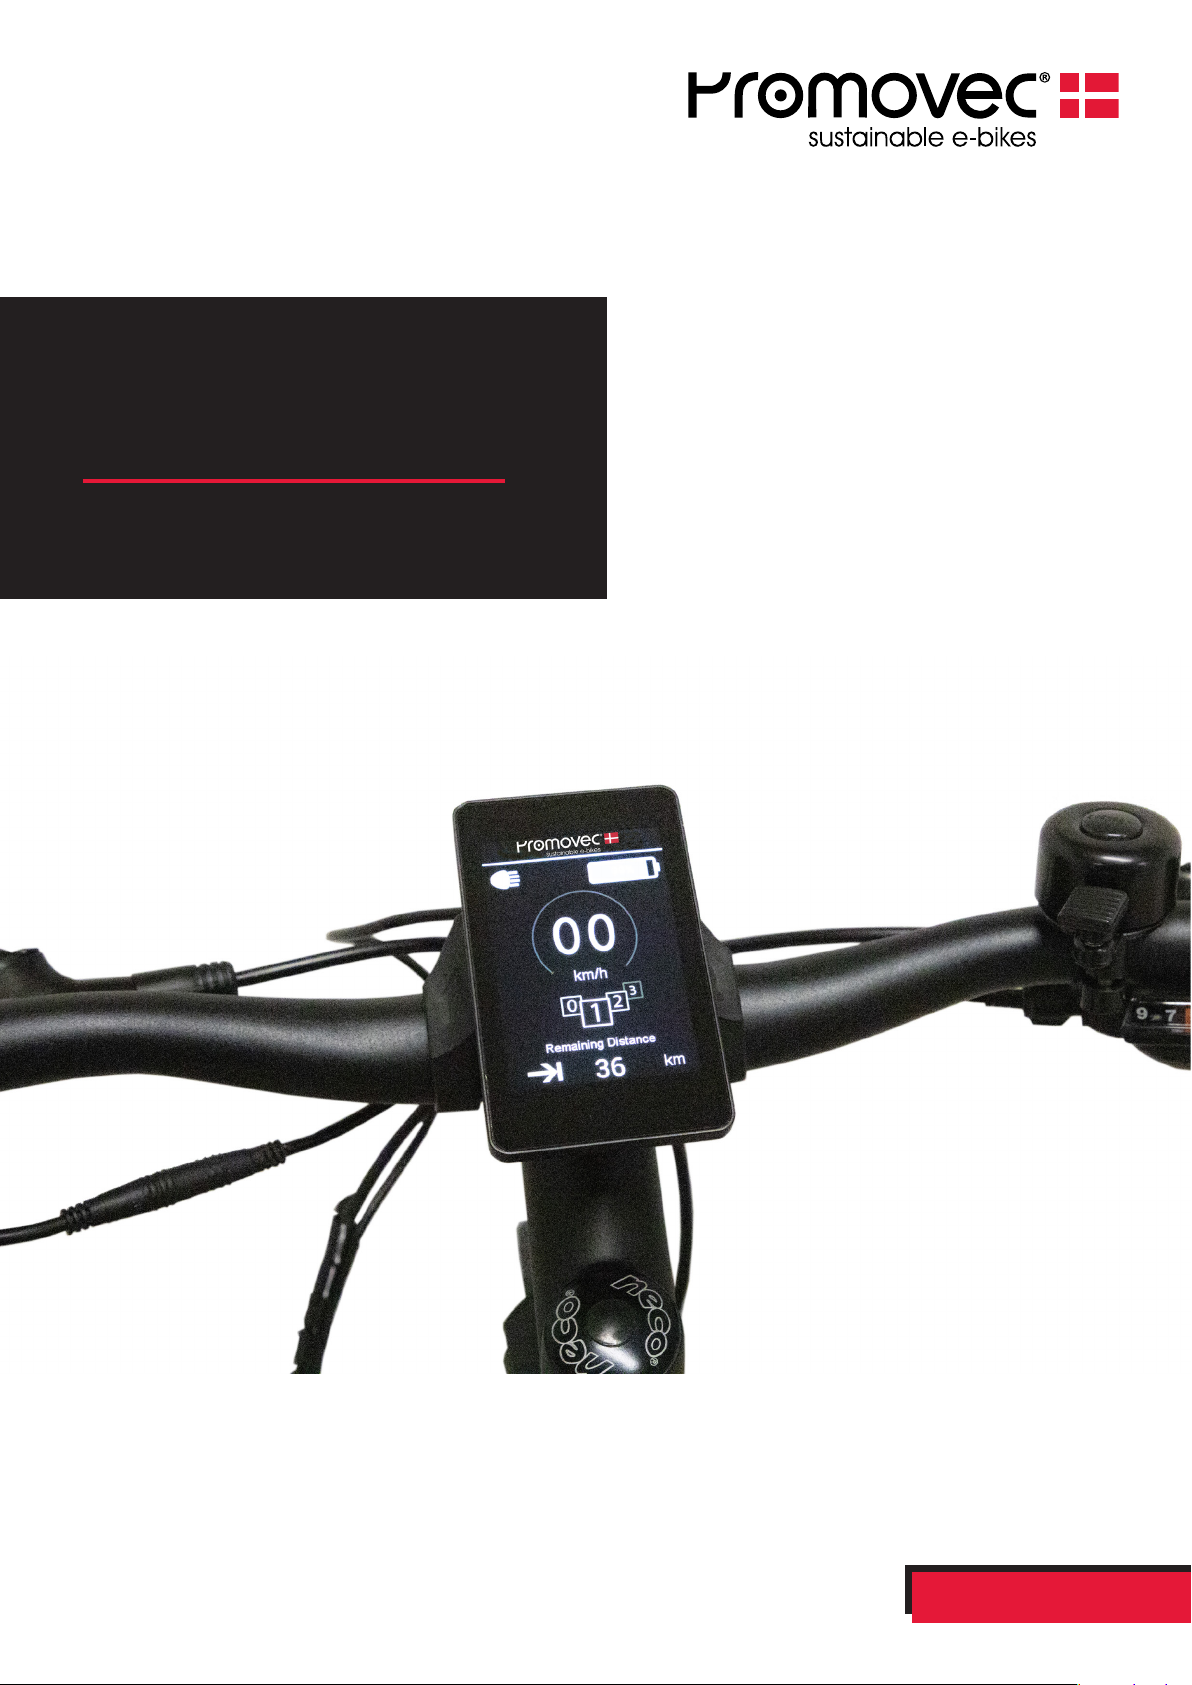
The display is accessed with 5 buttons and the throttle from the left side of
the handlebar. The display is mounted on the stem. Read this guide for more
information about display functionality and bike information.
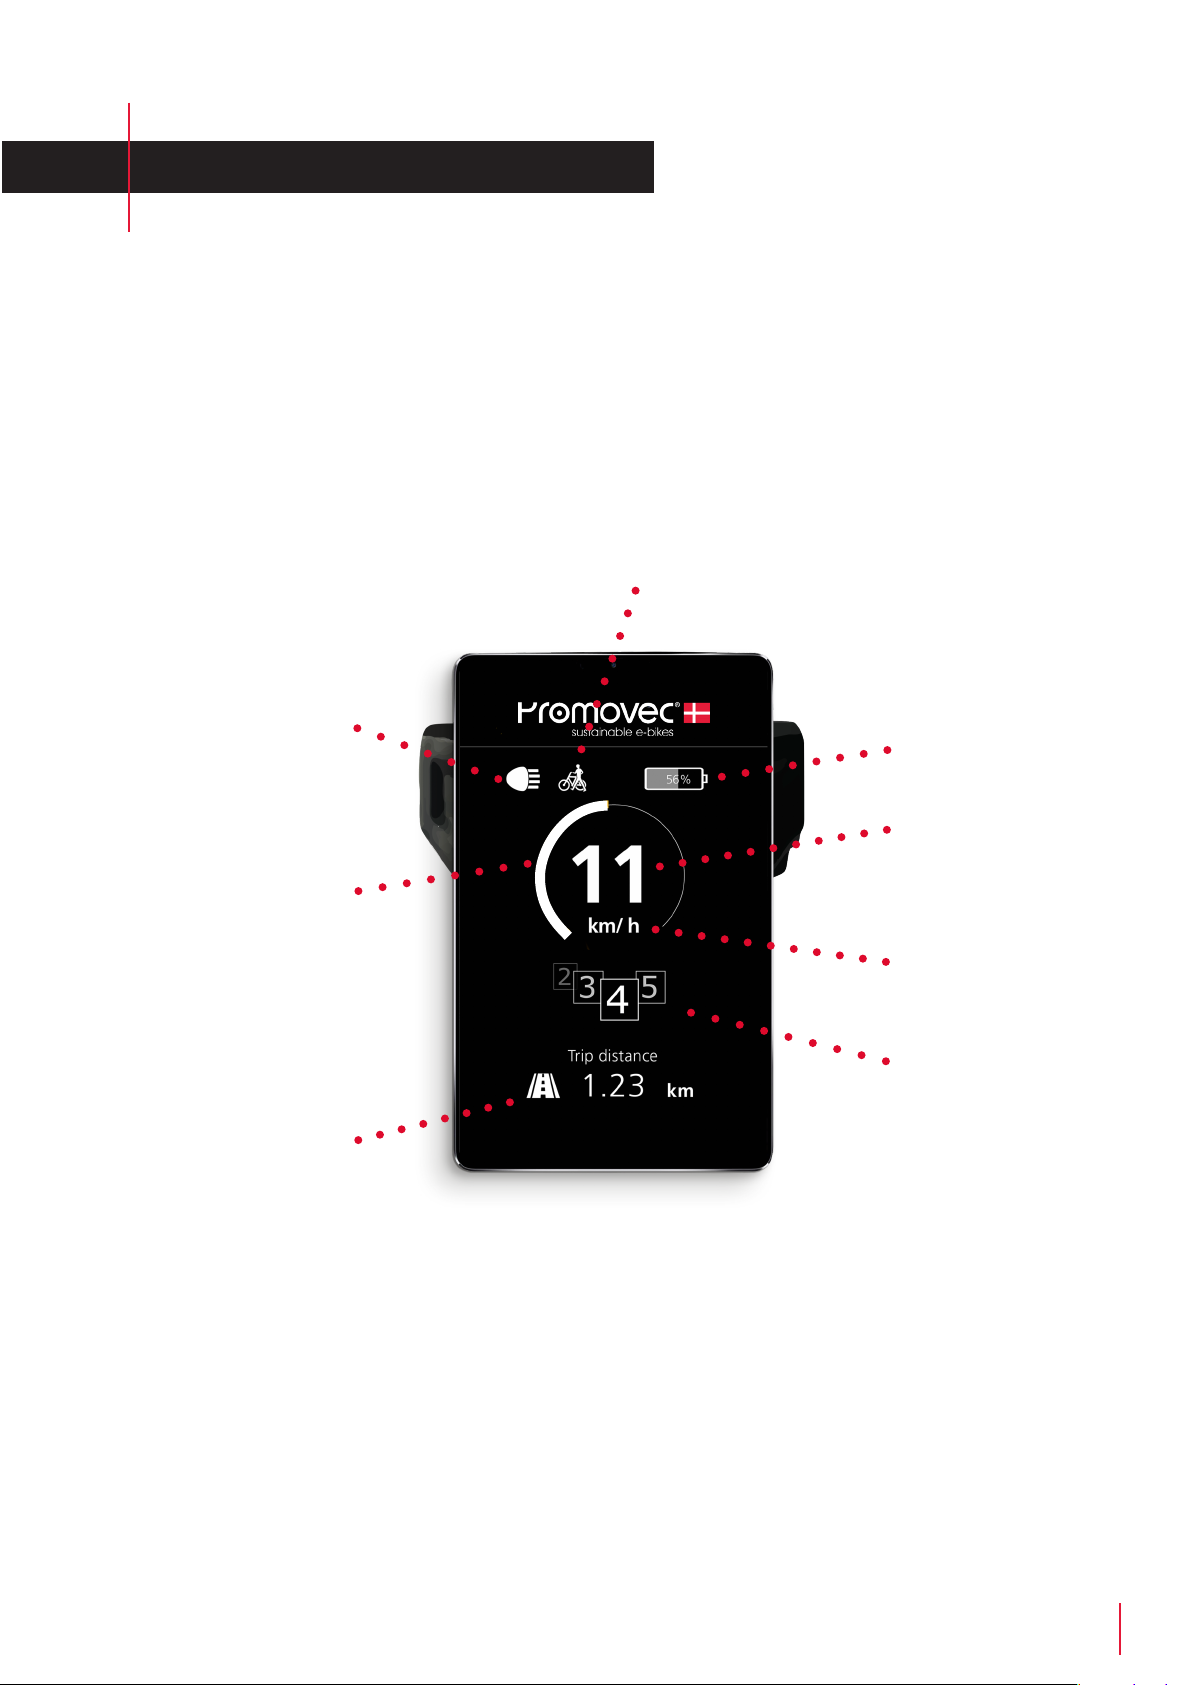
DISPLAY
When the light button is
activated, then the light
symbol is displayed
Displays the
selected assist
level, distance
and bike mode
Speed units
Speed indicator
Bike info
* Total distance
* Trip distance
* Trip time
* Remaining distance
* Bike power
* Clock
When "Walk assist" is acti-
vated, then this symbol is
displayed
Battery status
Power consumption
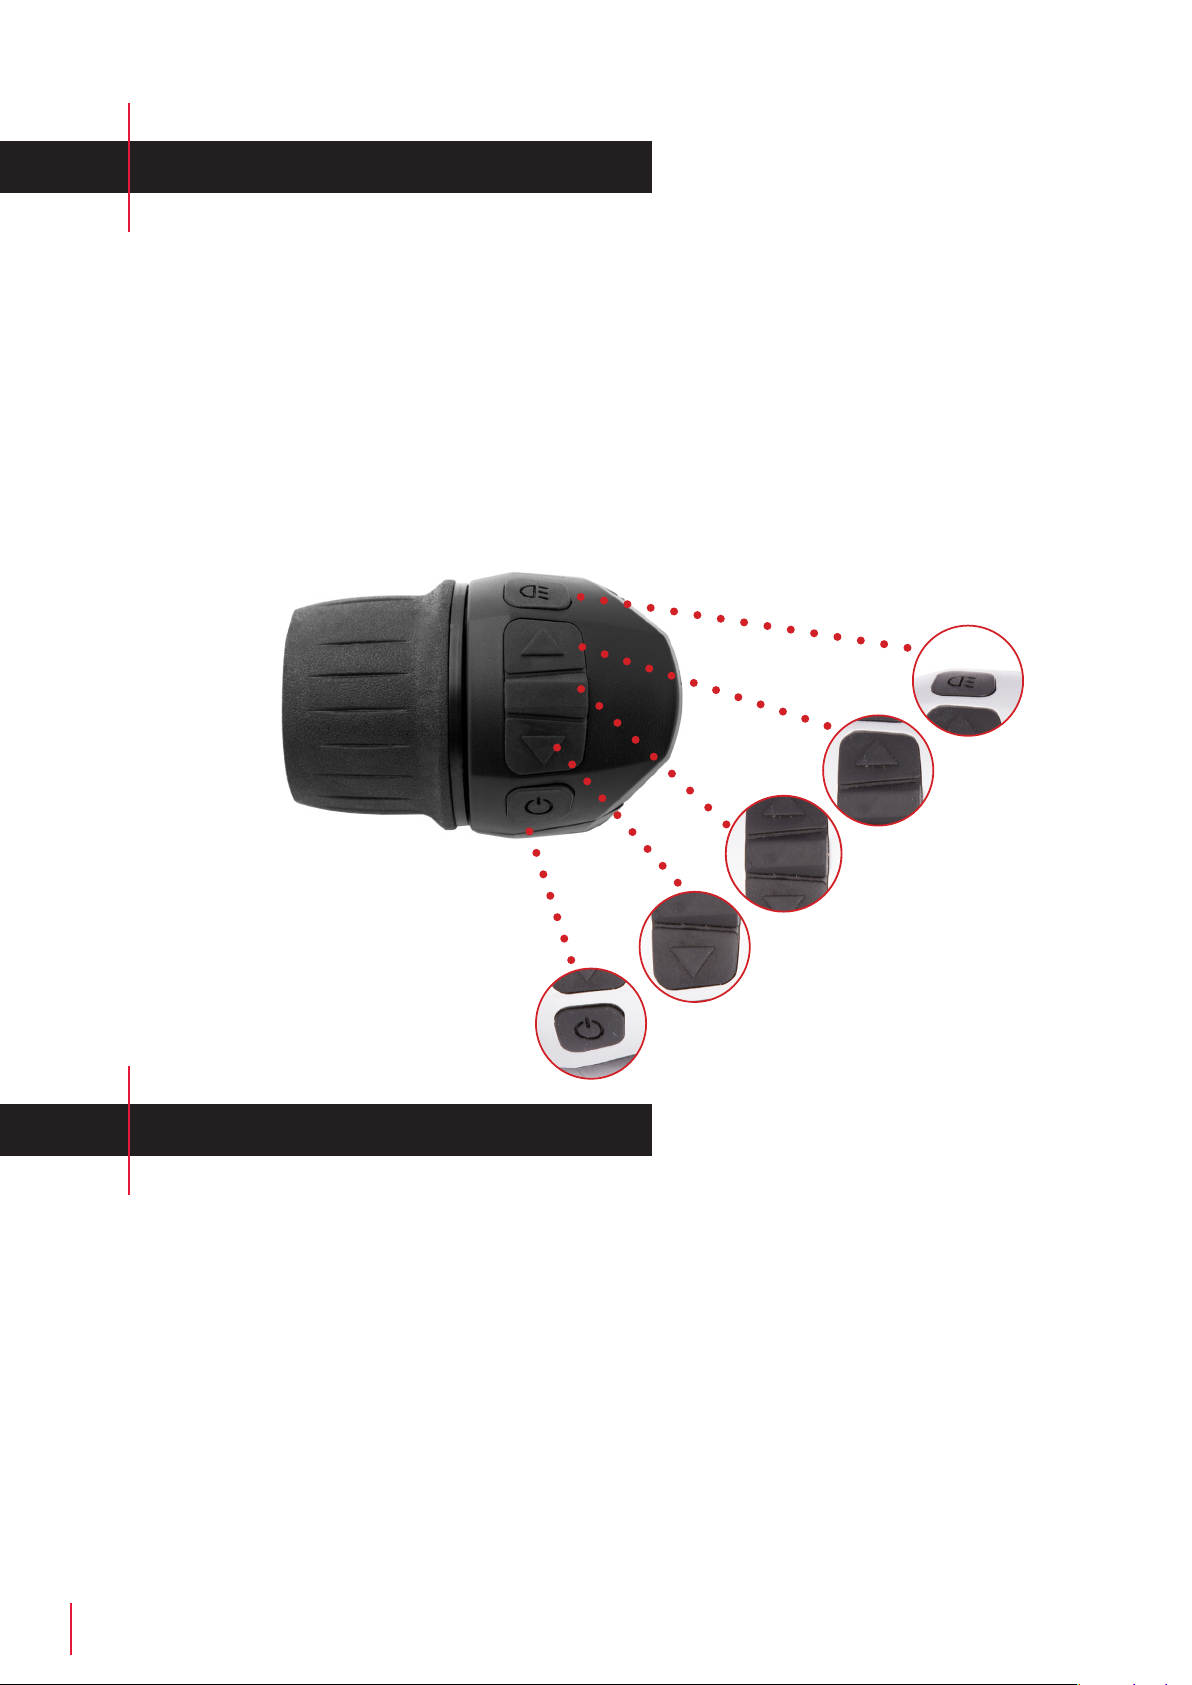
THROTTLE
ASSIST FUNCTIONS
The system has two assist functions options. The assist function will show in the
display, when selected:
• Assist level 1–5. Select by using the "Up" and "Down" buttons
• "Walk-Assist" function is activated by holding the down button in or by using the
throttle without pedalling. When "Walk assist" is activated then the bike travels with
6 km/h.
"Walk-Assist" is usable if you need to pull the bike up a hill.
Note! " Walk-Assist" is not available on bikes equipped with centre motor and footbrake.
When the throttle is turned then the assist functionality is bypassed and the „Booster
eect“ is activated. Release the throttle and the system returns to assist mode.
Using the throttle is suitable in heavy trac where short bursts of extra power is
required e.g. in situations with overtaking of slow cyclists.
Light
Arrow up
"Up"
Menu
Arrow down
"Down"
On/O

DISPLAY INFO
BIKE INFO
Toggle between the following in the display "Bike info" with the "Menu" button:
• Total distance
• Trip distance
• Trip time
• Remaining distance
• Bike power
• Clock
Information about the bike and trip(s) is found in the "info" menu.
1. Press "Menu" down until the main menu is displayed
2. Go to "Info" with "Up" or "Down" - Select with "Menu"
3. Go to "Bike" with "Up" or "Down" - Select with "Menu"
4. When the sub menu "Bike" is select, it is possible to see the following information:
• Total distance
• Trip distance
• Trip time
• Average speed
• Max speed
All values except "Total Distance" can be reset.
• In the "Bike" submenu, go to the information you want to reset with "Up" or "Down" -
Select with "Menu". Reset the value by selecting "Reset" in the display with "Menu"
• Return to the main display by pressing the "Menu" button down in 2 seconds or by
selecting the "back" arrow in the display with "Menu"
BATTERY OR SERVICE INFO
Table of contents
Other Promovec Bicycle Accessories manuals


Popular Bicycle Accessories manuals by other brands


Specialized
Specialized Elite CylcoComputer user manual

Sigma
Sigma BC 16.16 manual

Playcore
Playcore Dero Setbacks installation instructions

VDO Cyclecomputing
VDO Cyclecomputing x3dw instruction manual

Cateye
Cateye RAPID X2 manual

buratti meccanica
buratti meccanica Clorofilla Trail Use and maintenance manual


