Protelx stylo User manual

User Manual
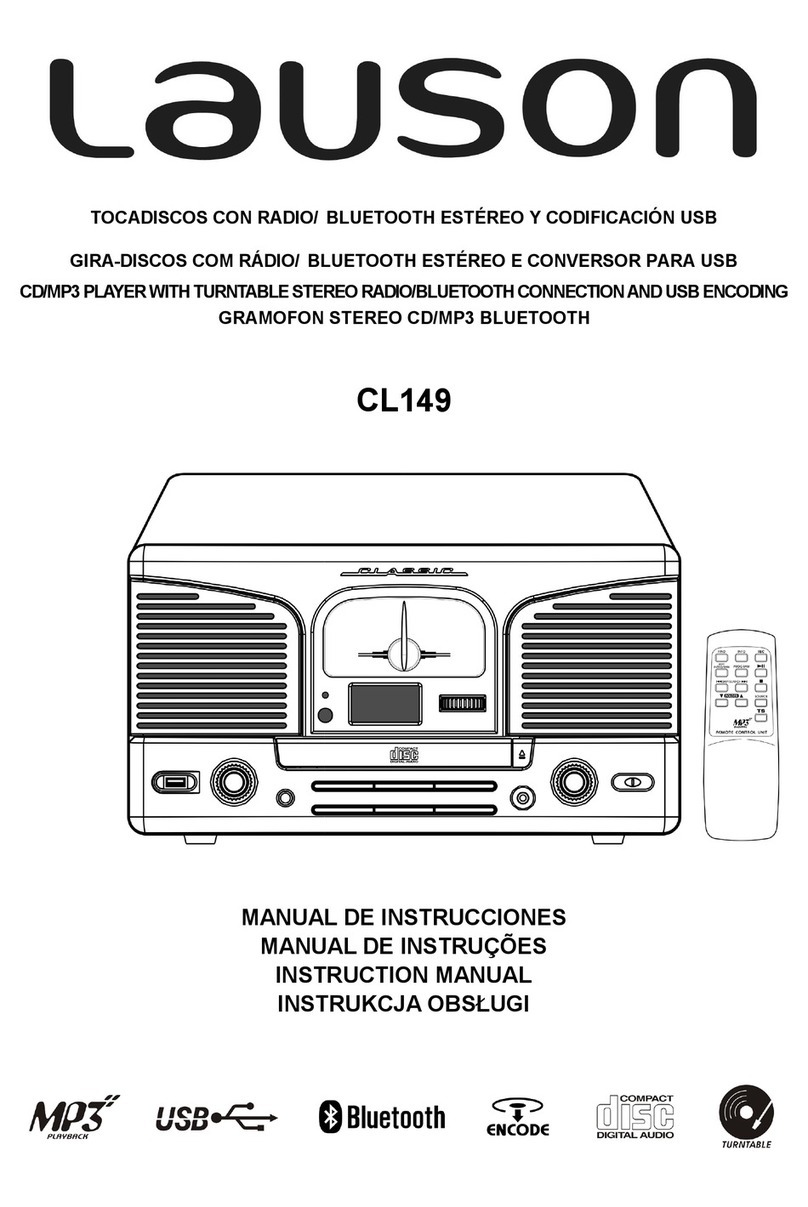
Stylo Retro Vinyl Player
Please read this
instruction manual
carefully before
use and store in a
safe place for future
reference

● Keep these instructions for future use.
● Handle the unit with care at all times
● Choose the installation location of your unit carefully. Avoid
placing it in direct sunlight or close to a source of heat. Also
avoid locations subject to vibrations and excessive dust,
heat, cold or moisture.
● Make sure no has no liquid is spilled on device and
device openings.
● The ventilation holes should not be covered. Make sure there
is enough space above and beside the amplifier/receiver
(about 4 hours).
● Do not place a CD player or other equipment on top of the
Turntable Player/Recorder.
● Do not open or disassemble the cabinet, as this may result
in damage to the circuitry or electrical shock.
● The power cord should be unplugged during long period of
inactivity.
● Do not attempt to clean the unit with the chemical solvents
as this might damage the finish. Use a clean, dry cloth.
● The user shall not try to maintain device beyond that
which is described in this information form. The guarantee
would negate.
READ BEFORE OPERATION

● 3-speed turntable fit suitable to play at 33, 45, 78 rpm
● Belt-drive and semi-automatic play tone arm
● Ceramic stereo cartridge with jewel stylus
● Built-in 45 rpm adapter
● 3.5mm headphone socket (front)
● L/R output jack(rear)
● Full range stereo speakers
● Translucent plastic dust cover
TURNTABLE FEATURES
INSTALLATION AND OPERATION
CAUTION: To avoid stylus damage, make certain the included
stylus guard is in place whenever the turntable is being
installed, moved or cleaned.
1
2
3
1 Stylus Assembly
2 Stylus (Needle)
3 Stylus Guard

1 Translucent dust cover
2 45rpm adapter
3 Play/pause arm lever
4 Stylus boom arm
5 Full range dynamic
stereo speakers
6 Auto / Manual stop switch
CAUTION: This unit should not be adjusted or repaired by anyone
except qualified service personnel.
CONNECTION: Connect the power cord to AC outlet 230V/50Hz.
7 Speed setting switch
8 Volume knob
9 3.5mm Headphone jack
10 On / Off Switch
11 Turntable
12 3.5mm input jack (rear)
13 L/R output jack(rear)
LOCATION OF CONTROLS
1
2
3
4
5
6
7
8
9
10
5
11
12
13

1. Play turntable
A - Turn on the power switch knob (10), then place a record
carefully on the turntable. In certain circumstances, 45 RPM
adapter is needed.
B - Select the speed of record: 33, 45, 78rpm (7) according to
vinyl to played.
C - Lift the boom arm (4) and carefully place the stylus on the
record where you would like play to begin.
D - Adjust volume as desired. (10)
2.Play Aux-in
Turn on the power Switch knob, you can connect the other music
source (mp3 player, DVD, CD) via AUX-IN cable.
PHONO OPERATION
The GPO Stylo can be hooked up to headphones or more powerful
speakers via 3.5mm jack connection using the headphone socket. (9).
The GPO Stylo can be connect more powerful speakers or other
amplifier via L/R jack connection using the L/R line.
HEADPHONES OUTPUT

This operation is quite delicate so proper care and attention must
be taken to avoid damage to the unit.
1. Safety first! Ensure the unit is unplugged from the power.
2. Holding the stylus boom arm steady, carefully slide the red
portion of the tip from the end of the boom arm housing – you
may need to tease the clip out with your thumbnail.
3. Add the replacement stylus by simply sliding it back on to the
end of the boom arm where you removed the original piece. It
should click into place when housed correctly.
REPLACING STYLUS

Your ProTelX product has been carefully manufactured and 100%
tested using high quality assured components. It is guaranteed
against faulty workmanship and materials for a period of 12
months from the date of purchase. In the unlikely event that failure
should occur, the unit will be repaired or replaced free of charge
when returned postage paid to the address below within the
guarantee period.
The guarantee does not include damage or failure resulting from
misuse or damage in transit. Your statutory rights under common
law are in no way affected by this guarantee.
For service in or out of the guarantee period, please return the unit
postage paid to the ProTelX address below.
When returning your unit please ensure that the package contains
a covering letter stating where and when the unit was purchased
and the nature of the faults plus your proof of purchase.
* Repair or replacement is at the discretion of the manufacturer.
ProTelX reserves the right to change product specification without
prior notice.
Protelx Ltd Unit 6 Park 17, Moss Lane,
Whitefield, Manchester M45 8FJ
You may wish to call our customer service department on
0845 521 4095
WARRANTY & SUPPORT

Table of contents
