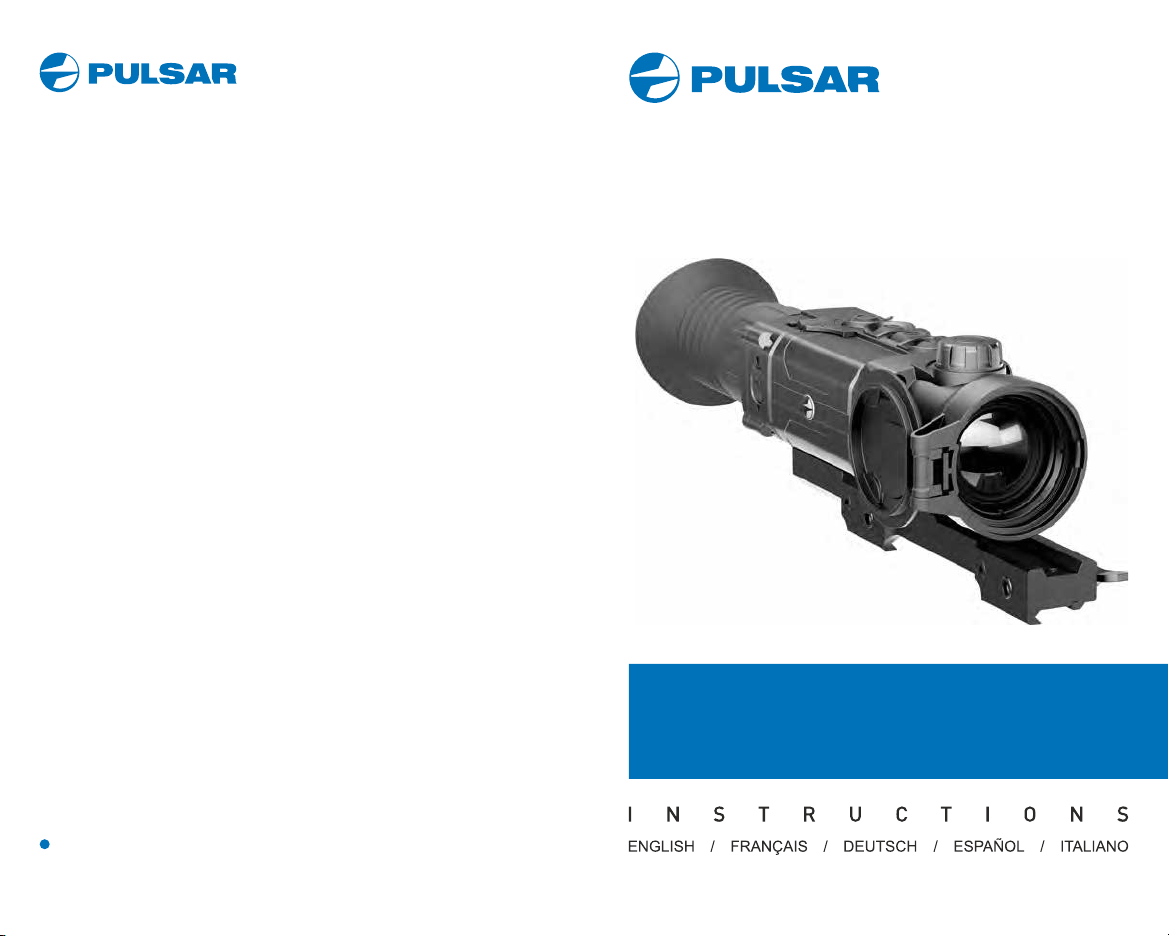
Pulsar Trail Series User manual
www.pulsar-vision.com
TRAIL Thermal
Imaging Sights
v.0819
Per informazioni dettagliate sul dispositivo, scaricare il manuale d'uso completo:
http://www.pulsar-vision.com/products/thermal-imaging-sights/
Avvertenza: l'uso di questa apparecchiatura in un'area residenziale può causare
perturbazioni radioelettriche.
Attention! Trail thermal imaging sights require a license if exported outside your
country.
Das Produkt entspricht der Europäischen Norm EN 55032:2015, Klasse A.
http://www.pulsar-vision.com/de/products/w-rmebild-zielfernrohre/
For detailed information about the device, please download the complete user
manual: http://www.pulsar-vision.com/products/thermal-imaging-sights/
Ce produit est conforme à la norme européenne EN 55032:2015, Classe A.
Attention! Les viseurs d'imagerie thermique Trail nécessitent une licence s'ils
sont exportés hors de votre pays.
Electromagnetic compliance
Compatibilité électromagnétique
Attention! L'utilisation de ce matériel dans un environnement résidentiel peut
produire des interférences radio.
Pour des informations détaillées sur la lunette, prière de télécharger le manuel
complet d'utilisation:
This product complies with EU Standard EN 55032:2015, Class A.
http://www.pulsar-vision.com/products/thermal-imaging-sights/
Achtung! Wärmebildzielfernrohre Trail benötigen eine Lizenz, wenn sie
außerhalb Ihres Landes exportiert werden.
Warning! Operation of this equipment in a residential environment could cause
radio interference.
Elektromagnetische Verträglichkeit
Warnung! Der Betrieb dieses Gerätes im Wohngebiet kann Funkstörungen
verursachen.
Für detaillierte Informationen über das Gerät, bitte das vollständige Handbuch
herunterladen:
¡Atención! Los visores de visión térmica Trail requieren una licencia si se
exportan fuera de su país.
Advertencia: el funcionamiento de este equipo en áreas residenciales podría
causar radio interferencias.
Para obtener información detallada acerca del dispositivo, descargue el manual
de usuario al completo:
http://www.pulsar-vision.com/es/products/visores-t-rmicos/
Attenzione! I cannocchiali termici Trail necessitano una licenza se esportati al di
fuori del proprio paese.
Este producto cumple con la reglamentación de la UE EN 55032:2015, Clase A.
Compatibilità elettromagnetica
Compatibilidad electromagnética
Questo prodotto è conforme alla norma europea EN 55032:2015, Classe A.
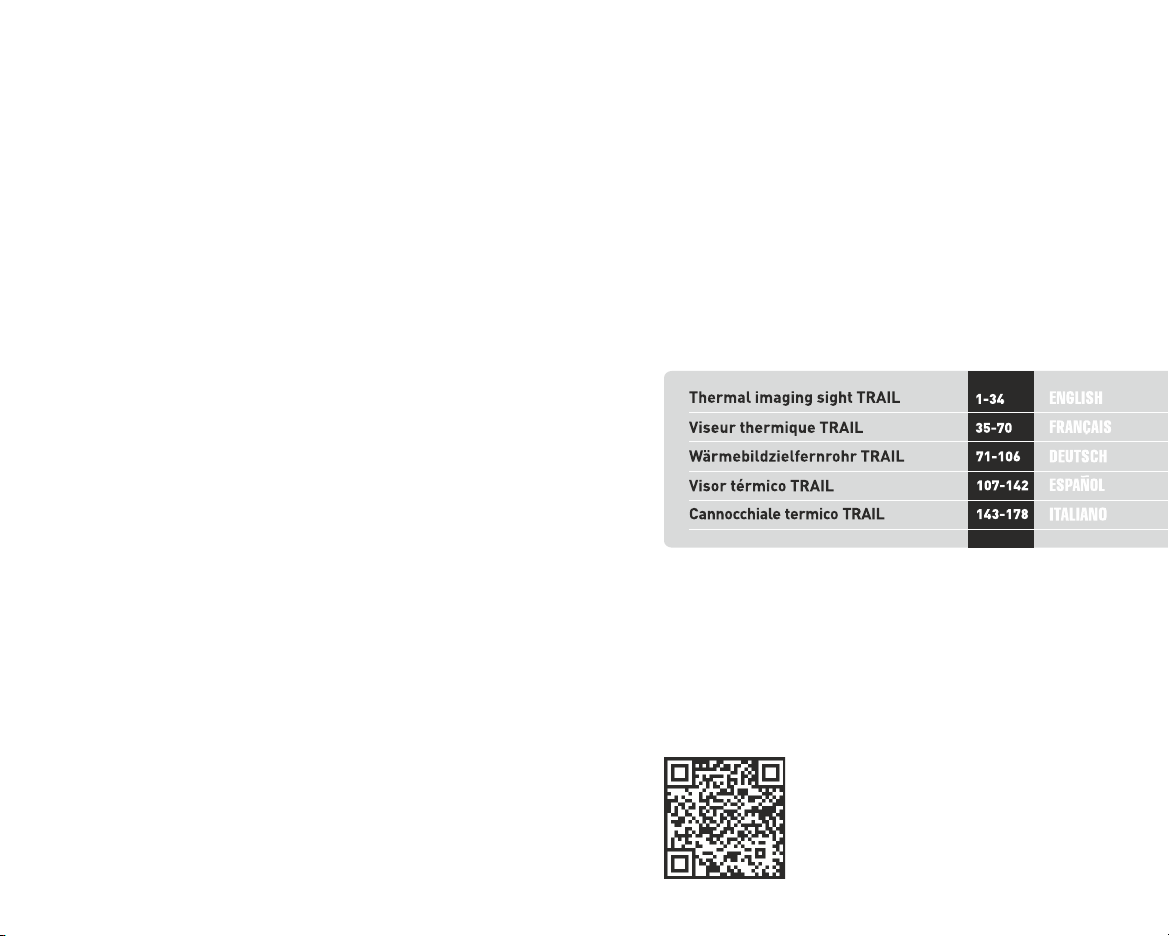
EN
FR
DE
ES
IT


Built-in video and sound recorder

Operating modes / Navigation UP/
RIGHT (menu)
Black Hot /
White Hot modes


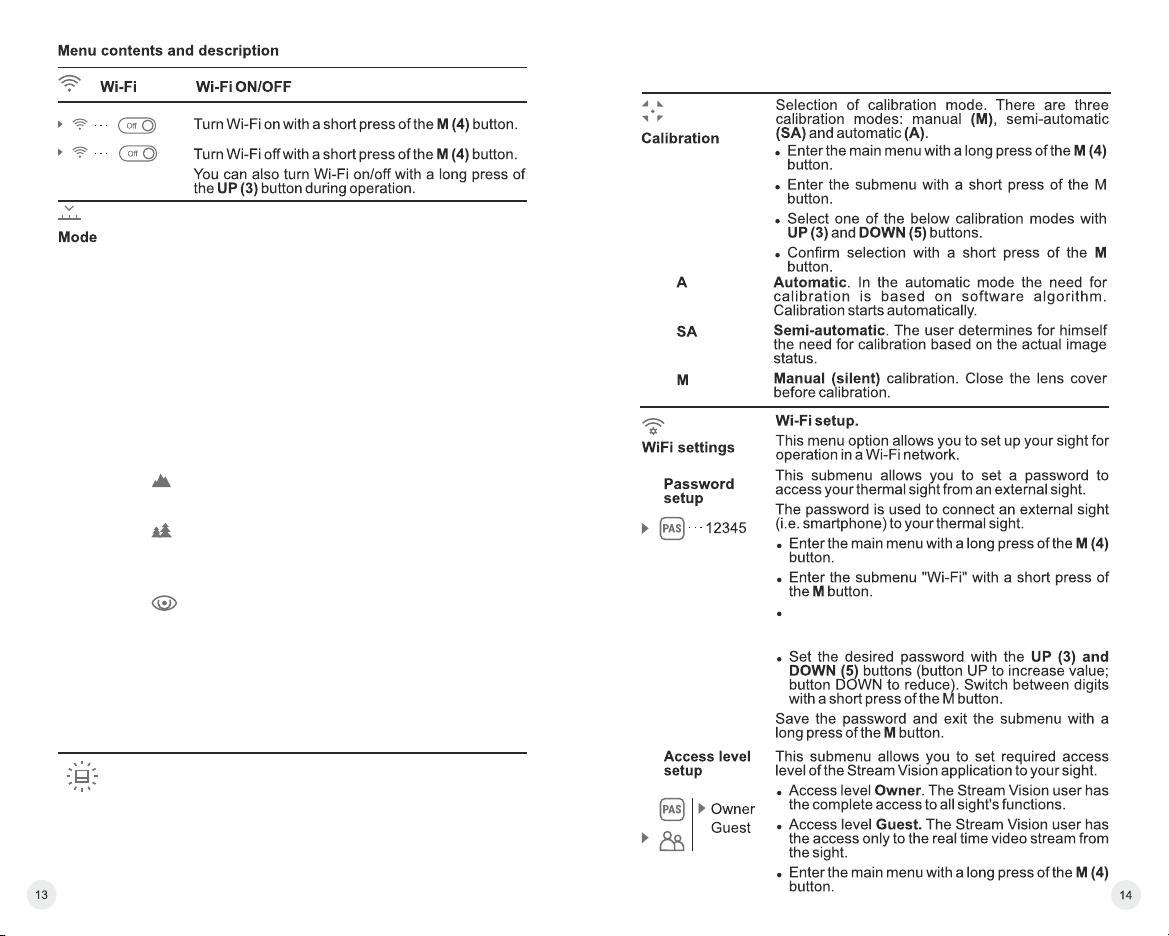
Graphics
brightness
=Set the desired graphics brightness (menu and
status bar icons) from 0 to 10 with UP/DOWN
buttons.
=Press briefly the M button the enter the submenu.
=Select submenu with UP (8) and DOWN (10)
buttons.
=Hold down the M (9) button to enter the main
menu.
=Select the 'Operating mode' option.
=A short press of the Menu button opens the menu.
FOREST MODE – This is the best mode when
searching and observing within field conditions,
against the background of leaves, bushes and
grass. The mode is highly informative about an
object being observed as well as landscape details.
=Press and hold the Menu button to enter the
menu.
ROCKS MODE – This is the best mode when
observing objects after a sunny day or within urban
conditions.
The devices have three operating modes: FOREST
(observation mode of objects within low thermal
contrast conditions), IDENTIFICATION (high zoom
mode), ROCKS (observation mode of objects
within high thermal contrast conditions). Each
mode has been created to provide the best image
quality of a wild nature object being observed within
various observation conditions.
IDENTIFICATION MODE – This is the best mode
when observing objects within adverse weather
conditions (fog, mist, rain and snow). It allows you to
recognize the characteristics of an object being
observed more clearly. Zoom increase may be
accompanied by insignificant image graininess.
=A short press of the Menu button confirms the
selection.
=Select one of the settings described below with
the UP / DOWN buttons.
Note: Quick activation of the operating modes is
possible by using the UP button (2). Short press of
the UP button (2) activates the switching of the
operating modes.
=Confirm your selection with a short press of the M
button.
21
The default password (12345 or 12345678
depends on product firmware) will appear on
the screen.
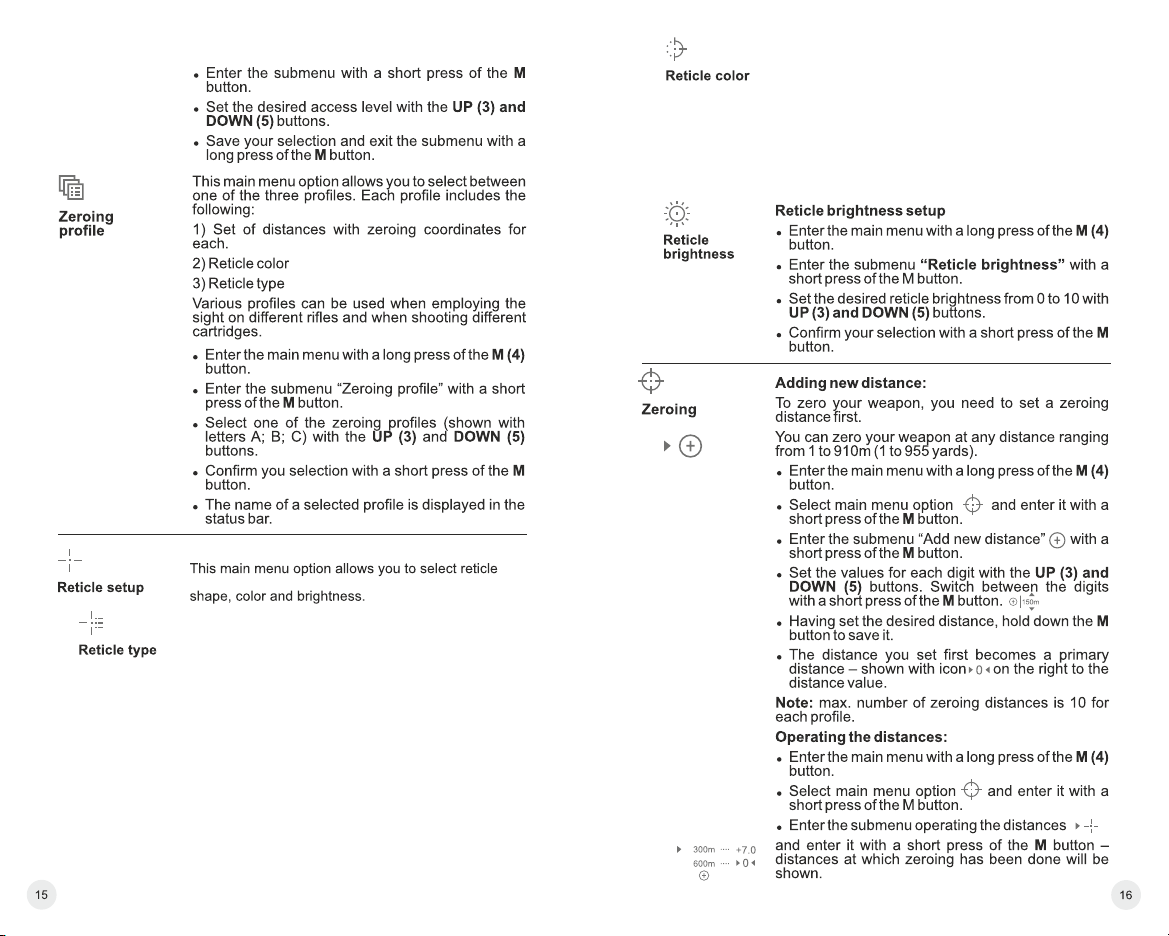
=Enter the main menu with a long press of the M (4)
button.
=Confirm you selection with a short press of the M
button.
=Enter the submenu “Reticle type” with a short
press of the M button.
=Select the desired reticle shape out of the list with
UP (3) and DOWN (5) buttons.
=The reticle types change as the cursor goes down
the reticle list.
Selection of reticle shapes.
=Enter the main menu with a long press of the M (4)
button.
=Enter the submenu “Reticle color” with a short
press of the M button.
=Select the desired reticle color: black, white, fully
black or fully white - with UP (3) and DOWN (5)
buttons.
Selection of reticle color
=Confirm you selection with a short press of the M
button.
This manual suits for next models
6
Table of contents
Languages:
Other Pulsar Riflescope manuals


