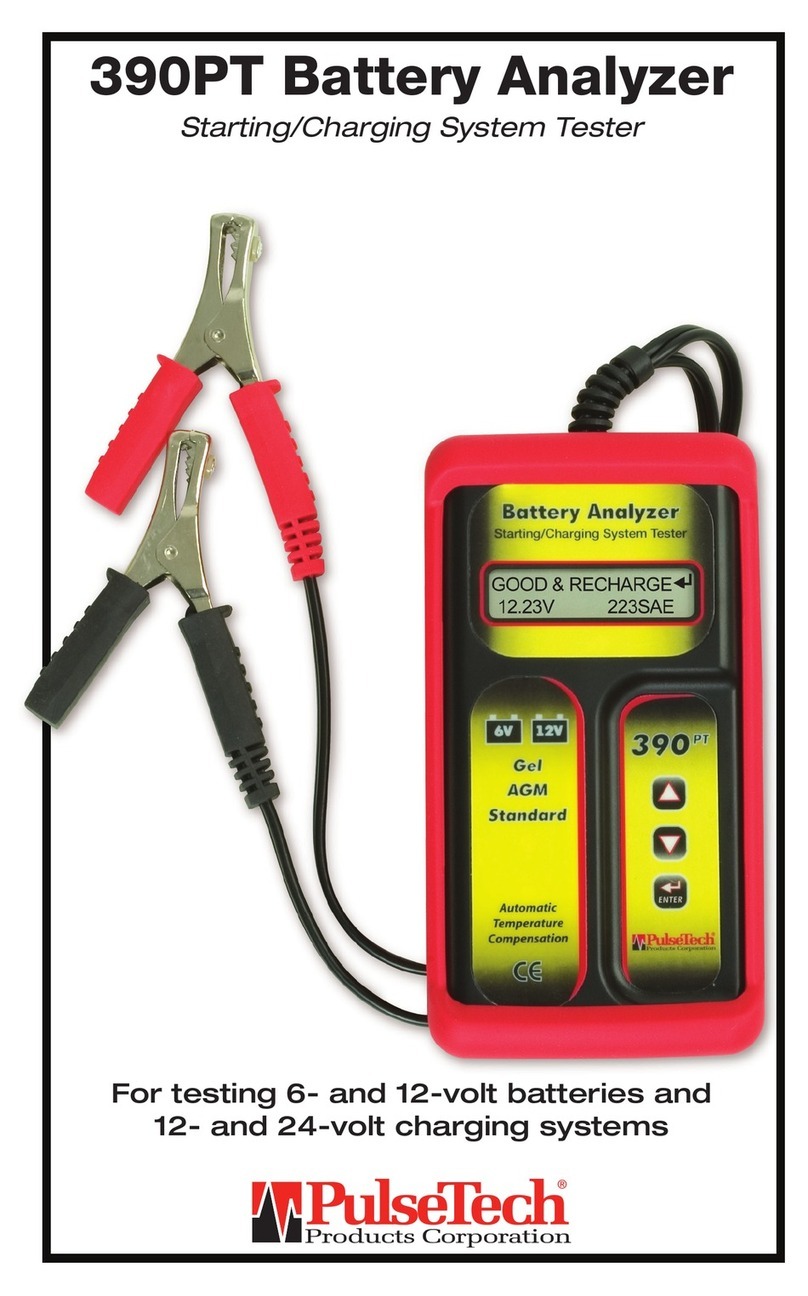
PulseTech 475 User manual

,
~--------~------~
~~
~~--
----
----
For
testing
6-
&
12-volt
batter
i
es
rated
from
.100
to
1400
eCA
INSTRUCTION
MANUAL . '
1
.
1
f-
.r
jK:
hl
c.:.
t.
~
t:o
..
p o n,
ti
o n
'': .
. :;.
~
. " j
. " 1

WARNING
Because
of
the possibility
of
personal injury, always
use extreme caution when working with batteries.
Test Results
Voltage
Available
Power
Prior
To
Testing
•
Clean
battery
posts
or
side
terminals
with
a
wire
brush.
•
For
group
31
or
side-post
batteries,
install
&t
ighte
n
lead
terminal
stud
adapters
(included).
Failure t6 install stud
adapters,
or
using stud adapters that are
dirty
or
worn
may result
in
false test results.
·11
testing
in
the
vehicle,
make
sure
all
vehicle
accessory
loads
a
re
off
&
the
ignition
is
in
the
"off"
position
.
Read
Testing
In
The
Vehicle
section
before
testing
.
ConnectingTheTester
•
Connect
red
clamp
to
pos
i
tive
terminal.
•
Connect
black
clamp
to
negative
terminal.
•
To
ensure
a
proper
connection,
rock
the
clamps
back
and
forth.
The
te
s
ter
requires
both
sides
of
the
clamp
to
be
firm-
ly
connected
prior
to
testing.
A
poor
connection
will
prevent
testing
&a
CHECK
CONNECTION
me
ss
age
will
appear.
II
this
occurs,
clean
the
terminals
&
reconnect.
Testing Procedure
• U
se
the
yellow a
rro
ws
to
scroll
to
the
batte
ry's
CCA
rating
.
Press
the
green
start
button
to
test
.
After
testing,
if
the
battery
's
temperature
is
32
°F/ DOCor
below,
pres
s
the
blue
temper-
ature
compensation
button
to
get
a
com-
pensation
test
re
s
ult.
'':
:'
.
Battery
Condition
GOOD
BATTERY
= F
ully
charged.
Return
to
service.
GOOD-RECHARGE
=
Charge
battery
&
re
turn
to
service.
PULSE
CHG
I
RETEST
=
Pulse
battery
using
a
Pul
se
Tech
produ
c
t,
then
fully
charge
battery
&
retest.
Failure
to
fully
charge
the
battery
before
retesting
may
cause
false
readings.
REPLACE
BATTERY
=
Re
p
lace
battery.
BAD
CELL-REPLACE
=
Repla
ce
battery.
Testing In The Vehicle
•
Tu
rn
on
the
highbeam
headlights
for
one
minute
to
remove
the
battery
's
surface
charge,
then
wait
at
least
one
minute
to
allow
the
voltage
to
recover
before
starting
the
test.
• A
REPLACE
reading
may
be
the
result
of
a
poor
connec-
tion
or
corrosion
between
the
vehicle's
battery
cables
&
the
battery.
Retest
the
battery
after
disconnecting
the
cables
before
replacing.
•
If
the
SYSTEM
NOISE
message
appears,
make
sure
all
..
vehicle
accessory
loads
are
off
&
the
ignition
sw
itch
is
in
the
"off"
position
.
Retest.
.
' \
If
the
SYSTEM
NOISE
message
continues
after
several
rete
st
attempts,
disco
n
nect
the
battery
cables
&
retest.
Troubleshooting
If
display
does
not illuminate:
•
Check
connection
to
the
battery.
•
Battery
may
be
too
low
to
power
the
tester
(below
5.5
volts).
Fully
charge
the
battery
&
retest.
If
the tester displays
SYSTEM
NOISE
message
when
the
battery
is
not
connected
to
the
vehicle:
•
You
may
be
testing
too
close
to
a
source
of
noise
(charger
or
other
high-current
device).
If
so,
move
away
&
retest.
•
If
no
source
is
iden
ti
fied,
fully
charge
t
he
battery
&
retest
.
If
message
appears
after
charging,
replace
the
battery.
i
,;'
'I
":.~)
'
I \ "
I • • •

Limited Warranty
This tester
is
warranted
to
be
free of defects
in
materials
and
work-
manship for a period
of
one
(1)
year from date
of
purchase.
PulseTech will repair or replace unit with a remanufactured
uniL
This
limited warranly applies only
to
the battery tester, and does not
cover any other equipment, slatic damage,
wa
ter damage, overvolt-
age damage, dropping unit, or damage resulting from extraneous
causes
including
owner misuse. P'JlseTech
is
not
liable
for
any
direct,
special
indirect,
incidental
,
consequential
,
punitive
or
exem-
plary damages of any kind for breach
of
this warranty. The warranty
is
void
if
owner attempts to disassemble the unit, or
to
modify
the
cable assembly.
To
obtain warranty service, purchaser should contact PulseTech
Products Corporation
for
a
Re
turn Authorization number. Then
return Ihe unit wi
th
proof of purchase
shOwing
date purchased to
PulseTech Products Corporation, Attn: Servi
ce
Depa
rt
ment. Battery
testers beyond the warranty period are subject to the repair charges
in
effect at that time.Optional remanufacturing service
is
available
to
return the tester to "like-new" condition.
The
World
Leader
in Battery
Main
t
enance
T
echnology
1100 South Kimba
ll
Avenue
Southlake, Texas 76092
..
TO
il
-F
ree
in
North America: 1-800-580-7554
Phone 817-329-6099 ' FAX 817-329-5914
www.pulsetech.net
0,/99
For testing 6 & 12-volt batteries
rated from 100 to 1400 CCA
INSTRUCTION
MANUAL
', .
...
-, :,
Table of contents
Other PulseTech Measuring Instrument manuals
Popular Measuring Instrument manuals by other brands

Precision Digital Corporation
Precision Digital Corporation PD686 quick start guide

Bacharach
Bacharach CO2 Analyzer 3150 Operation & maintenance instructions

MSA
MSA SUPREMA Calibration operating manual

horiba
horiba LAQUAact D-74 instruction manual

Thies CLIMA
Thies CLIMA First Class Advanced X Instructions for use

Omega
Omega SP-003 user guide