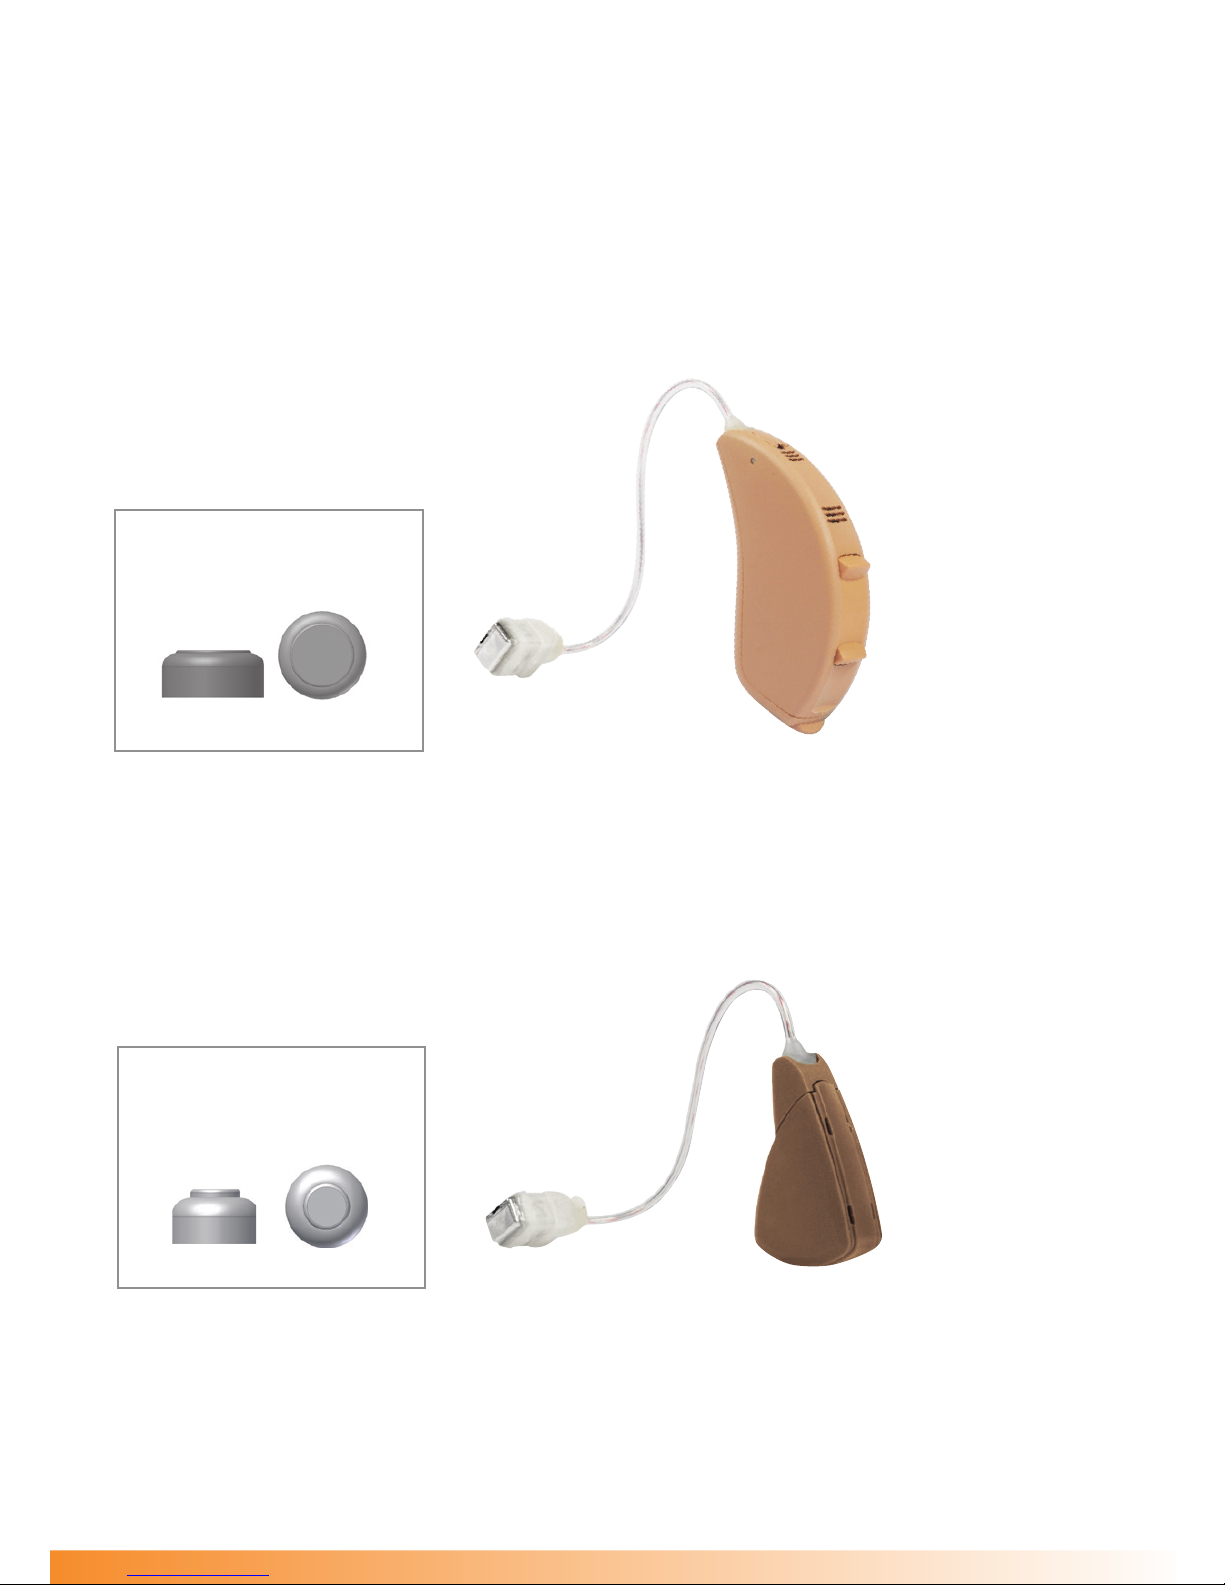
Battery Installation
Open the battery compartment by using
the nger nail notch on the edge of the
battery tray as shown in g. 1.
Remove the used battery if present.
Pull off the protective sticker on the new
battery using the tab provided and wait
a few seconds for air to enter and begin
to activate.
Insert the new battery of the appropriate
type ensuring that the negative
(shouldered) contact is pointing
downward, with the positive (at) contact
is uppermost.
Close the battery compartment until a
distinct click is felt/heard. Your hearing
system is now ready for use.
Low battery indicator
The hearing instrument will reduce amplication and emit a melody if
battery power gets too low. This signal will recur every ve minutes until
the hearing instrument automatically switches off. It is recommended that
you keep spare batteries on hand.
(Model shown in diagrams for illustrative
purposes only. Actual model may vary from
that shown).
2)
3)
1)
9