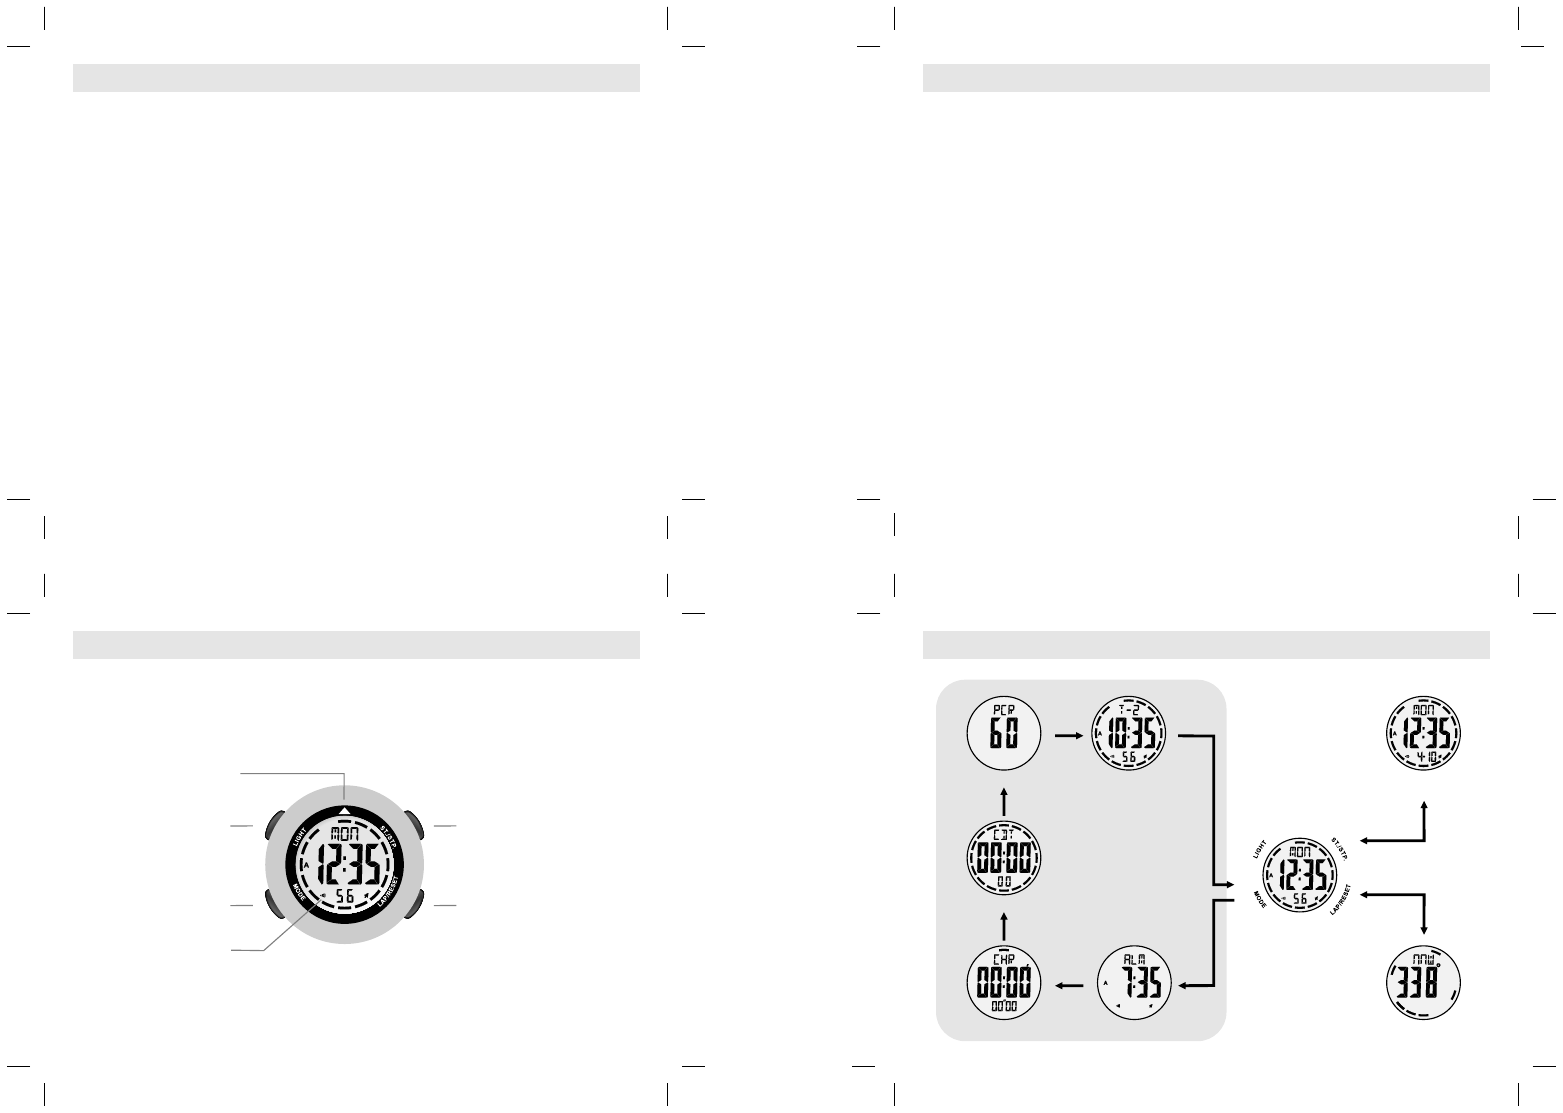
11.3 Compass Mode - Magnetic Declination Compensation
11.4 Compass Mode - Magnetic Declination at Major Cities
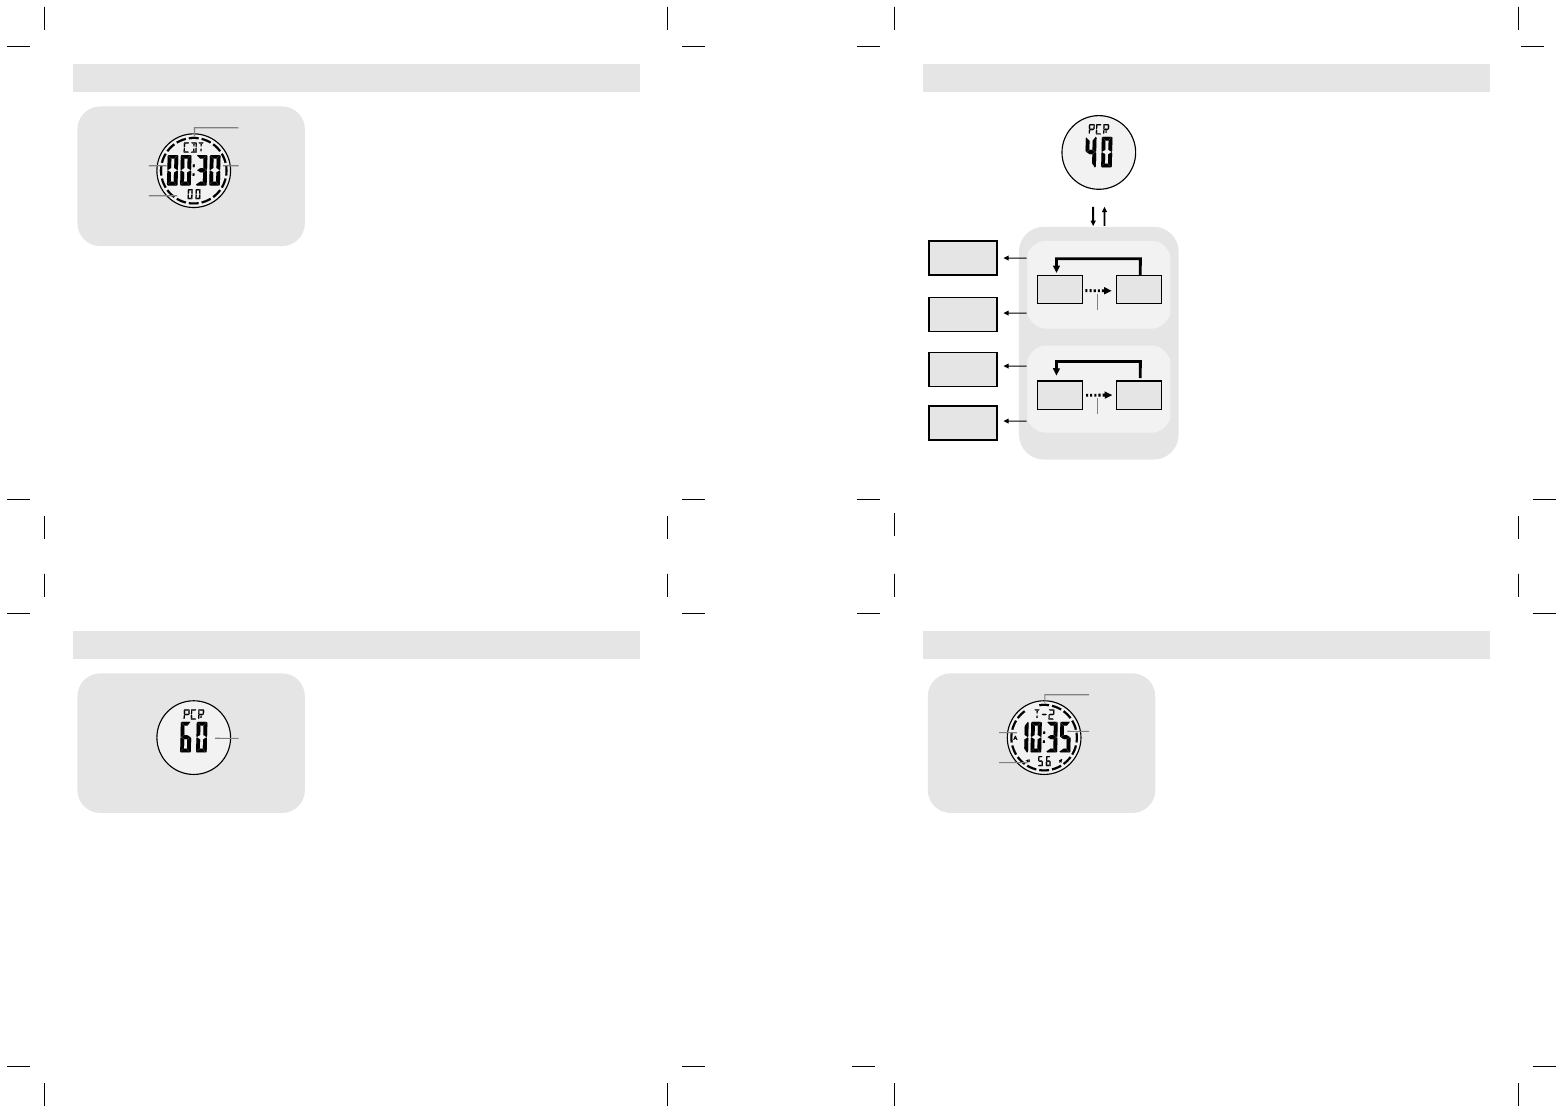
Magnetic Declination Compensation
Compensate an object's bearing by subtract westerly
(W) magnetic declination or add easterly (E)
magnetic declination with the magnetic bearing.
!
!
Magnetic
Declination Setting Mode
!
Example 1
Westerly magnetic declination (W): 23°; the
magnetic bearing (MB): 323°.
The true bearing (TB) = 323° (MB) - 23° (W) = 300°
Example 2
!Easterly magnetic declination (E): 22°8; the
magnetic bearing (MB): 278°.
!The true bearing (TB) = 278°(MB) + 22°(E) = 300°
!This Watch will compensate the compass bearing
wherever the magnetic declination is either
Westerly (-ve) declination or Easterly declination
(+ve) automatically, if the user input the magnetic
declination angle of the city which close to the user's
current location into the watch at the
!Check the 'Calibrating the Compass' section for
more detail of the calibration.
Compensate th e Bearin g at a pla ce
(Weste rly (W ) Magnetic Decli nati on)
Compensate th e Bearin g at a pla ce
(Easterly (E) Magnetic Declinati on)
magnetic
declination
238 W
magnetic
declination
228 E
true
bearing
300°
true
bearing
300°
magnetic
bearing
323°
magnetic
bearing
278°
true north
0°
true north
0°
magnetic
north
magnetic
north
object B
object B
point A
point A
11.5 Compass Mode - Before the Compass Calibration
11.6 Compass Mode - Calibrating the Compass
Before the Compass Calibration
IMPORTANT: If the watch has NOT been calibrated,
the direction reading may be inaccurate.
the 'Magnetic Declination at Major Cities'
section to get the magnetic declination of the city
which is close to your current location, because such
angle will be inputted into the Watch during the
calibration.
!Perform the compass calibration on the following
conditions:
1) Use the Watch the first time,
2) When the 'DIST' indicator is flashing,
3)Tthe battery has been replaced, and
4) Use the compass in a location where is apart from
the place in which the compass had been
calibrated.
!Check
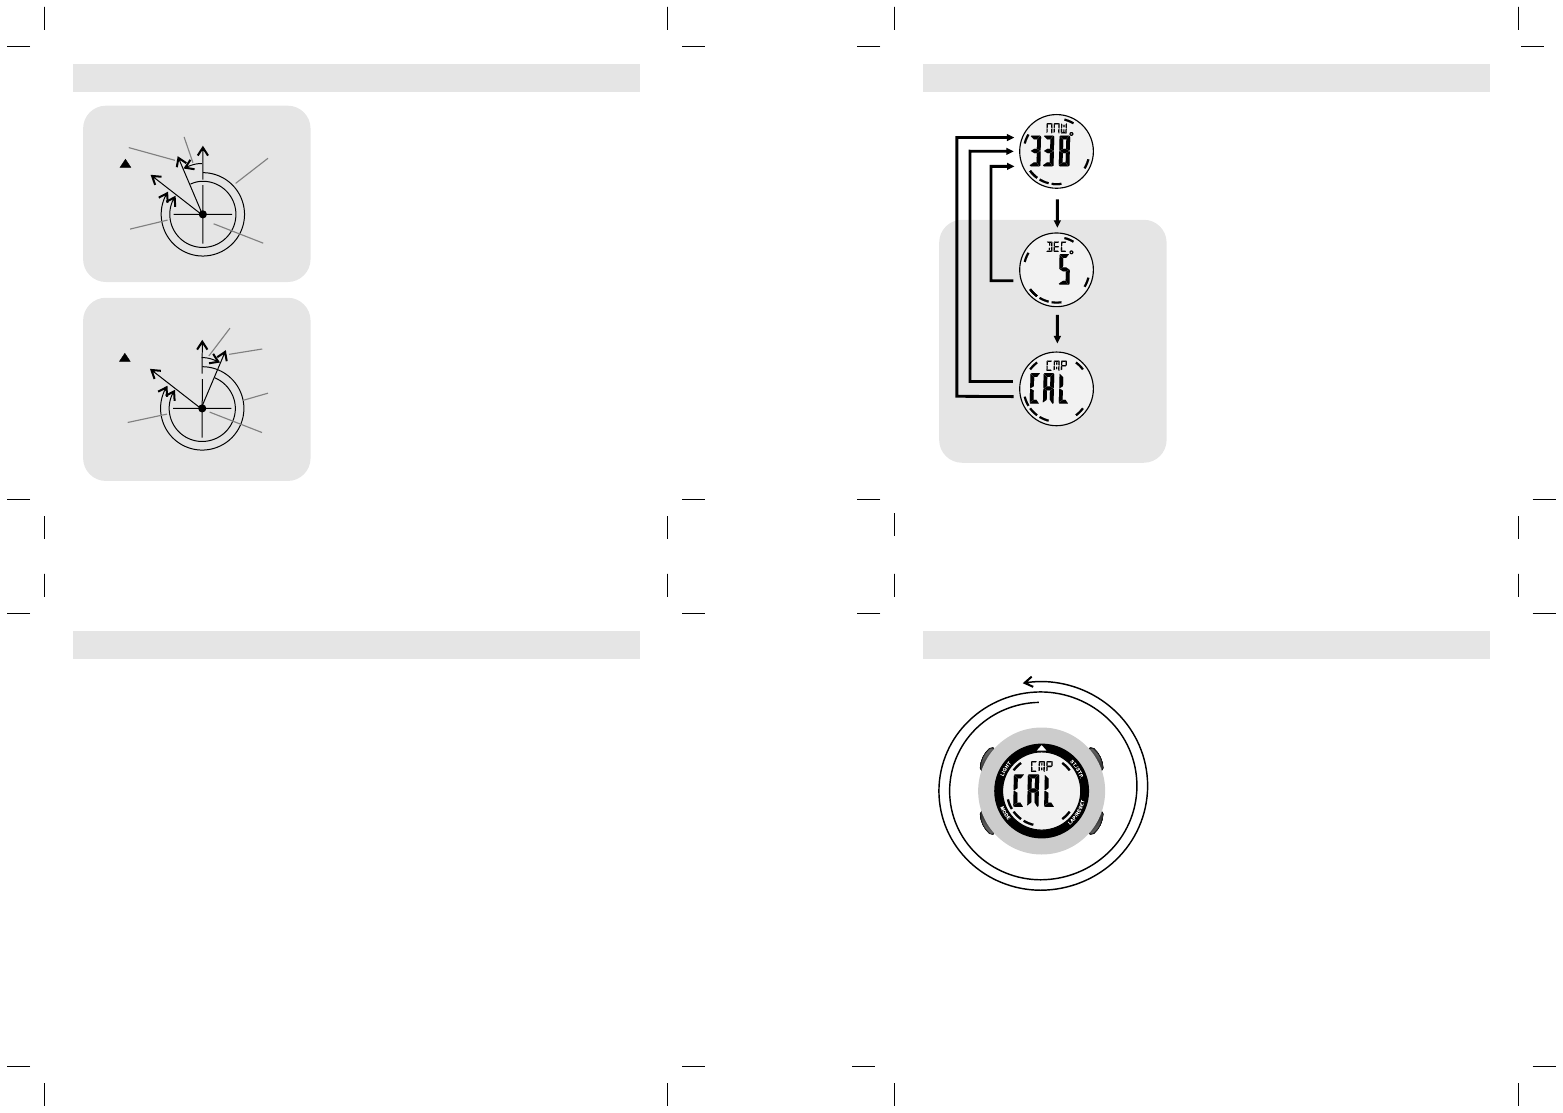
To Calibrate the Compass
the [MODE] button for 2 seconds in the
Compass Mode.
he 'DEC'
indicator will be appeared on the 1st row of the
display. When the digit start flashing, press the
[ST./STP.] button to set magnetic declination (from -
90 to 90) until the desire angle appeared.
When the magnetic declination has been set, press
the [MODE] button to go to the Calibration 'Rotation'
Mode.
Once it gets into the 'Rotation' Mode, the 'CAL'
indicator will be appeared on 1st row of the display
and the north pole pointer starts moving.
Hold the Watch on a flat surface which is parallel to
the horizon, then steadily rotate the Watch
anticlockwise and keep the pointer towards the same
direction during the rotation.
When the rotation (two turns) is completed, press the
[MODE] button to return to Compass Mode.
!To select Magnetic Declination Setting Mode, hold
down
!Once it gets into the Setting Mode, t
!
!
!
!
finish
start
Compass
Mode
Calib ra tio n
'Rota ti on' Mode
Calib ratio n Sequence
Calib ra tio n
'Rota ti on' Mode
Magnetic
Decli nati on
Setti ng Mode
hold
[MODE]
[LAP/RESET]
[MODE]
[MODE]
1 minute
No. Country/Place Major City Declination
1 Afghanistan Kabul +3E
2 Australia Canberra +12E
3 Austria Vienna +3E
4 Bahrain Manama +2E
5 Bangladesh Dhaka +0E
6 Belgium Brussels +0E
7 Brazil Brasilia -21W
8 Canada Ottawa -14W
9 Chile Santiago +3E
10 China Beijing -6W
11 China Hong Kong -2W
12 Costa Rica San Jose -1W
13 Cuba Havana -4W
14 Czech Republic Prague +3E
15 Denmark Copenhagen +3E
16 Egypt Cairo +4E
17 Finland Helsinki +8E
18 France Paris -1W
19 Germany Berlin +3E
20 Greece Athens +4E
21 Hungary Budapest +4E
22 India New Delhi +1E
23 Indonesia Jakarta +1E
24 Israel Jerusalem +4E
25 Italy Rome +2E
26 Japan Tokyo -7W
27 Jordan Amman +4E
28 Kenya Nairobi +0E
29 Korea Seoul -8W
30 Malaysia Kuala Lumpur +0E
31 Mexico Mexico City +6E
32 Nepal Kathmandu +0E
No. Country/Place Major City Declination
33 Netherlands Amsterdam +0E
34 New Zealand Wellington +22E
35 Norway Oslo +2E
36 Pakistan Islamabad +2E
37 Philippines Manila -1W
38 Portugal Lisbon -3W
39 Russia Moscow +10E
40 Singapore Singapore +0E
41 South Africa Cape Town -24W
42 Spain Madrid -2W
43 Sweden Stockholm +5E
44 Switzerland Bern +1E
45 Taiwan Tai-pei -4W
46 Thailand Bangkok -1W
47 UAE Abu Dhabi +2E
48 United Kingdom London -2W
49 United States Washington, DC -11W
50 United States Juneau +22E
51 United States Phoenix +11E
52 United States Little Rock +1E
53 United States Sacramento +14E
54 United States Denver +9E
55 United States Atlanta -4W
56 United States Honolulu +10E
57 United States Boston -15W
58 United States Saint Paul +1E
59 United States Jackson +0E
60 United States Santa Fe +9E
61 United States Oklahoma City +5E
62 United States Salem +16E
63 United States Harrisburg -11W
64 United States Salt Lake City +12E
NOTE: Since magnetic declination will be changed as going with time, recommend to check the update data from following site:
http://www.magnetic-declination.com/ & http://www.ngdc.noaa.gov/geomagmodels/Declination.jsp