Pyle PLINK4 User manual

PCI-EGen24KHDMIVideoCaptureCard
withLineinandLineout
4K@30FPS; 2560x1440@60FPS,
1920x1080@120FPS PC Capture Card,
Internal Capture Card
PLINK4

www.PyleUSA.com
2
Overview
1. PCI-E X1: Connect to PCI-E slot of your computer
2. LINE IN: Connect to Audio mixer or Microphone, and mix the audio with
video together.
3. LINE OUT: Connect to Earphone or Speaker.
4. HDMI IN: HDMI input port, connect to console.
5. HDMI OUT: HDMI output port, connect to TV.
What’s in the Box:
PCI-E GEN2 Video Capture Card
1
2
3
4
5
This product can expose you to a chemical or group of chemicals, which may include
“Nickel Carbonate” which is known in the state of California to cause cancer, birth defects,
or other reproductive harm. For more info, go to https://www.p65warnings.ca.gov/.

www.PyleUSA.com 3
Hardware
Before installing PLINK4 Video Capture Card, make sure your computer has a
free PCI-E X1 slot.
Before you get started, make sure your PC is shut down. Then disconnect all the
cables from the back of the computer. Only begin this process when everything
is disconnected.
Remove the cover on the PC. After you identify a PCIe slot, unscrew the small
metal bracket attached to the computer case directly behind the PCIe slot.
Gently yet rmly, slide the video capture card into the PCIe slot, making sure it's
fully locked down. Screw the card into the back of the case so that the inputs
and outputs are exposed on the back of the computer case.
Place the panel on the case, put the screws back in, and stand the case upright.
Plug all the cables back into the case. Power on the PC.
System will automatically recognize the game capture card, and you will see the
device name “Pyle LiveGamer PLINK4” in the Device Manager, which means
that the device is ready to work.
Note:
We don't recommend using the device on Windows 7 system, but if you need,
please download the driver and install it.
http://www.cddownload.top/ezcap323win7driver.zip
Software
For professional live streaming or recording, we suggest use OBS, download
link: https://obsproject.com/
Note:
PLINK4 Video Capture Card also can work with Mac Pro, and please download
OBS Mac version. The operation is similar as working under Windows as below.

www.PyleUSA.com
4
You also can insert a name you want to create for the device. One window will
appear you after above. Please click the drop-down box next to Device and
select Pyle LiveGamer PLINK4.
Video Setting
You should get the video in window. If not, and you see Check Resolutions
Settings on the window, you need to set the video resolution.
Click the drop- down box next to Resolution/FPS Type and select Custom.
Pyle LiveGamer PLINK4
(Pyle LiveGamer PLINK4)
Work with OBS
Select Device
After download and installation, double click OBS
Studio icon on desktop to run OBS.
Click icon +under Sources window at the bottom
left of OSB panel, and select Video Capture Device.
Click OK in the new pop-up window.

www.PyleUSA.com 5
Then click the drop- down box next Resolution to select one resolution that
same or smaller as the resolution of your video source. Because the default
video output resolution of device is 3840 x 2160, and software will not display
video if resolution of video source is smaller than 3840 x 2160, such as 1920 x
1080. Now you need to set resolution to 1920 x 1080 or smaller resolution, then
you will see the video on the window.
If resolutions of video source and device output are 3840 x 2160, you may nd
that the viewing picture is way out of the frame of OBS. Right click image window
of OBS, select Resize output (source size), and you will get the whole picture.
You can click the drop-down box next to FPS to select the appropriate FPS-30,
60, Highest FPS, or Match Output FPS, and click the drop-down box next to
Video Format to select the video format - XRGB, NV12, or YUY2.
The video format options depend on resolution, the max FPS depends on both
resolution and video format:
Video Format options MAX FPS
3840 x 2160 NV12 30
NV12 120
1920 x 1080 YUY2 60
XRGB 30
2560 x 1440 NV12 60
YUY2 50
NV12 60
1280 x 720 YUY2 60
XRGB 60

www.PyleUSA.com
6
Audio Setting
You may cannot hear the sound when you nish above settings.
Please tick “Use custom audio device”, and click the drop-down box next to
Audio Device and select HDMI (Pyle LiveGamer PLINK4), you will hear the
sound now. If you still cannot hear the sound, please click under Audio Mixer
and Video Capture Device at the bottom middle of OBS panel as below picture
and select Advanced Audio Properties.
In Advanced Audio Properties window, click drop-down box under Audio
Mornitoring and select Monitor Only (mute output).
Please set to - 470ms under Sync oset, for audio and video sync, you can
adjust it till your audio video is synchronous.
Maybe you hear the noise if the resolution is 3820 x 2160.
Please click the drop box next to Audio Output Mode as above picture, and
change the selection from Capture audio only to Output desktop audio
(WaveOut) or Output desktop audio (DirectSound).
Note:
If you want to change video audio settings, please double click the name of
video capture device in Sources column, and change the settings you want as
above operations.

www.PyleUSA.com 7
Recording
Click Settings in the low right conner of OBS panel, and click Video on the left
in the pop-up Settings window. Click the drop-down box next to Base (canvas)
Resolution to select the appropriate resolution, and click the drop-down box
next to Output (Scaled) Resolution to select the output resolution. Click the
drop-down box next to Common FPS Values to select the FPS values. If you
want to record 120HZ video, please click the drop-down box of Common FPS
Values and select Integer FPS Values, then enter 120 in the window on the right.
Click Output on the left of Settings window as above, in Recording column, you
can set Recording Path, Recording Quality, Recording Format, Encoder.
If you want record a better quality, one of the suggest setting is:
Recording Quality: High Quality, Medium File Size
Recording Format: MP4
Encoder: Software (x264 low CPU usage preset, increase le size)

www.PyleUSA.com
8
After setting, click Apply and Ok in the low right conner of Settings panel, then
simply click Start Recording in the low right conner of OBS panel to start
recording videos, and click Stop Recording to stop recording.
Streaming
Click Output in the Settings panel, in the Streaming column, set video quality
for streaming (adjust depends your computer, network speed), then click icon
Apply and OK in the Settings panel.
Click Stream in the Settings panel, then you can click the drop-down box next
to Service to choose the software platform you want, then click icon Apply and
OK in the Settings panel.
Click Start Streaming in the low right conner of OBS panel to start streaming,
and click Stop Streaming to stop streaming.
Note:
Please click the help at the top of the OBS interface, and learn more about OBS
in the link that pops up.
Operating System
Windows 10 x64, PCI-E X1 slot
For 4Kp30 or 1080p120 recording:
• Intel Core i5-6XXX / AMD Ryzen 3 XXX or above
• NVIDIA GTX 1060 / AMD RX 5700 or above
• 8 GB*
For 1080p60 recording:
• Intel Core i5-3330 or above (i7-3770 recommended)
• NVIDIA GeForce GTX 650 / AMD Radeon R7 250X or above
• 4 GB
• * RAM must be DDR4 2400 or above
Mac system requirement:
Mac Pro, Mac OS X High Sierra 10.15 and above, PCI-E X1 slot

www.PyleUSA.com 9
Features:
• Seamless Picture Quality with Video Capture at 4K@30FPS;
2560x1440@/60FPS, 1920x1080@120FPS
• Real 4K HDMI Capture with High-Quality Video Experience
• 4K@30FPS, 1920*1080@120FPS and 2560x1440 @60 FPS,
HDMI Input and Pass-through
• 4K@30FPS, 1920*1080@120FPS and 2560x1440 @60 FPS Recording.
• Multi Video Format Support: YUY2, NV12, RGB
• RGB Real Color Video Format Up to 1920@30FPS
• Ultra-Low Latency: Latency Less than 50ms Instant Gameview Technology
• UVC & Multi Compatible
• Supports Most of Third-Party Video Capture Software
• Game/Education/Video Conference/Medical Imaging and Entertainment Field
• Capture Video from Game Console (PS3,P4,PS5,XBOX,SWITCH,Wiiu etc), PC,
Mobile, Settop Box, Media Player, DSLR, Camcorder, Action Camera, etc.
• Use for Live Broadcasts, Conference Rooms, Video Recording, Teaching Recording,
Medical Imaging, Game Entertainment, Live Broadcasting, etc.
Technical Specs:
• Recording Quality: 4K@30FPS; 2560x1440@/60FPS, 1920x1080@120FPS
• Interface: PCI-E GEN2
• Power Supply: 12v 0.5A
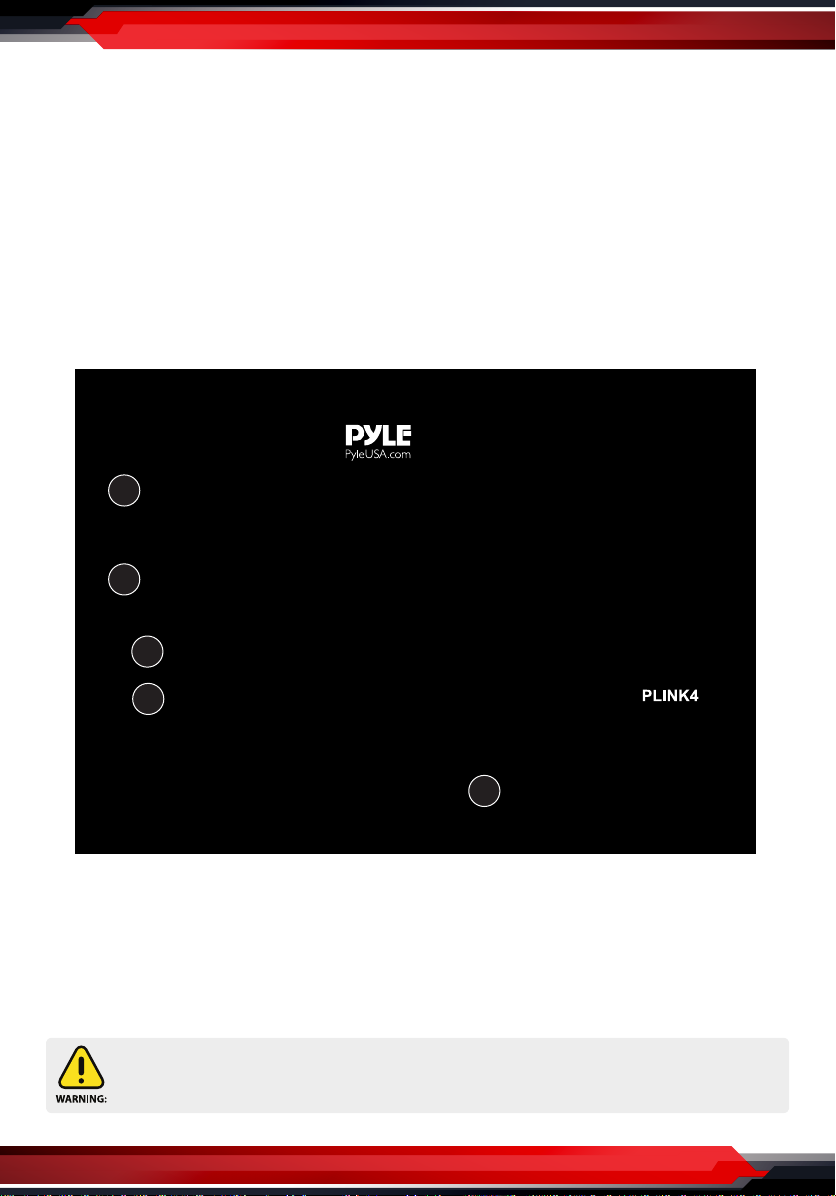
• Video Connection Interface: HDMI
• Operating system: Windows 7,8,10, Mac Pro, macOS X High Sierra 10.15 and
above Audio/Video Support: HDMI, LINE IN, LINE OUT
• Product Dimensions (L x W x H): 4.96’’ × 4.76’’ × 0.86’’ -inches
Table of contents
Popular Video Card manuals by other brands

Diablotek
Diablotek V7300LE-256P specification

Diamond Multimedia
Diamond Multimedia Radeon X1650AGP256 Specification sheet

EVGA
EVGA GeForce GT 520 Specifications

Abit
Abit Siluro GF4 TI4600 user manual

Diamond Multimedia
Diamond Multimedia Radeon X1050 Specification sheet

Diablotek
Diablotek V6600-512P Specifications