TROUBLE SHOOTING
Before going through the check list, finish wiring connection. If there still are
any question after finish testing the items in the following list, consult your
nearest service dealer.
Symptom Cause
The fuse is blown. Replace the fuse with another fuse.
Switch the ignition to the "ON" or
"ACC" position.
No power.
Select a station using manual tuning.The signals are weak.
The radio does
not stop on any
stations when
automatic
tuning is used.
Insert the antenna cable firmly into
the antenna jack on the unit.
The antenna cable is not
connected.
No radio
reception.
Turn the power off and then on
again.
Eject the disc or tape, then insert it
again.
The microcomputer has been
affected by electrical noise.
The unit does
not work
properly (Eject,
Load, Play).
The vehicle ignition is switched
off.
Clean the disc.
The disc is dirty.
Try another disc. If it plays properly,
the first disc may be defective.
The disc is defective.
Install the unit securely. Be sure to
use the rear strap if the vehicle
does not provide support for the
rear of the unit.
The unit is not mounted
securely.
Wait for the road surface to
improve before playing a disc.
The road surface is rough.
The sound from
the CD player
skips.
Check the +12V and ground
connections.
The power connections are not
wired correctly.
The volume control is turned
down.
The compact
disc or tape
does not play
when inserted
into the unit.
Solution
Turn up the volume control.
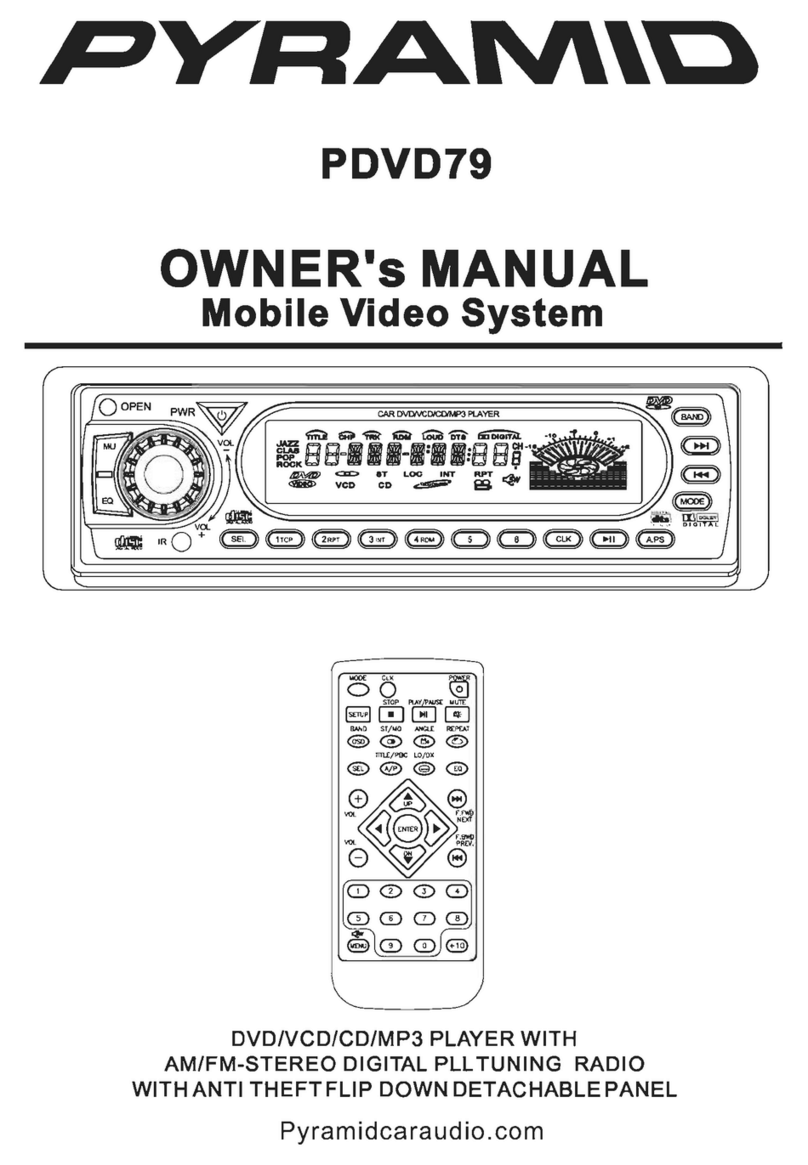
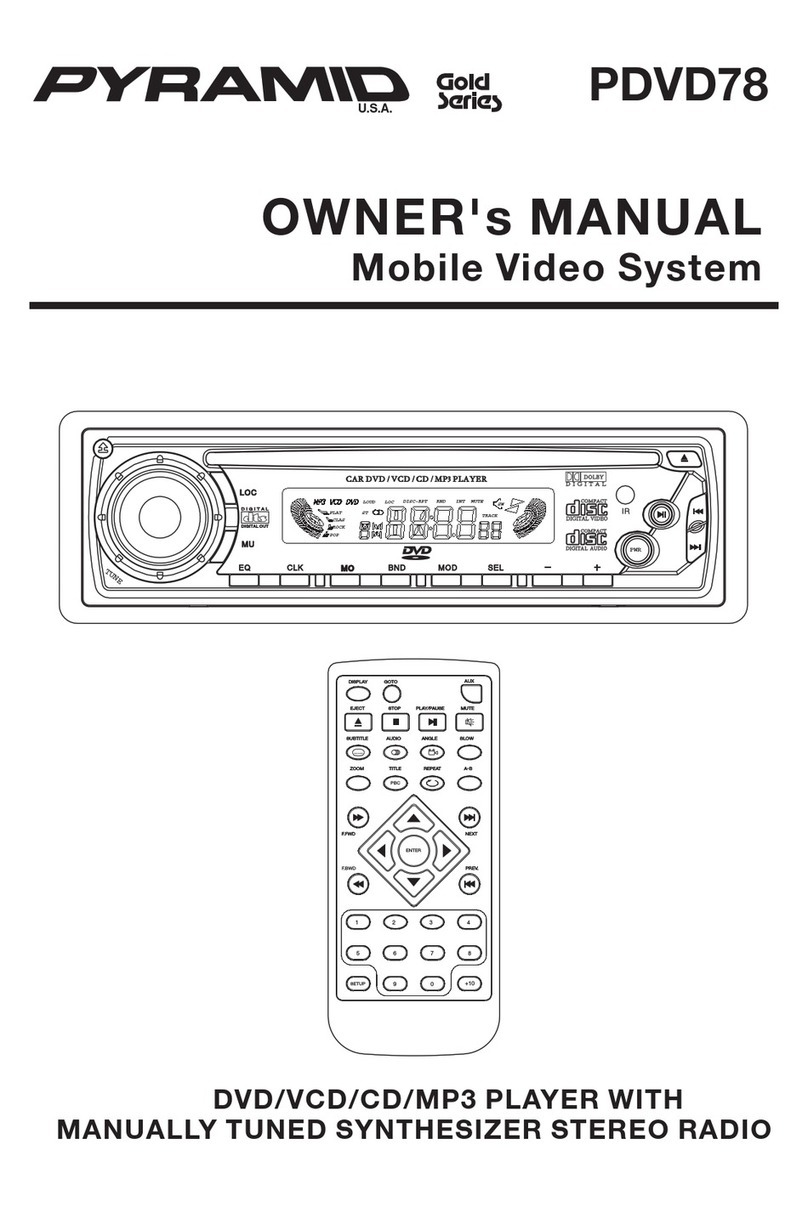
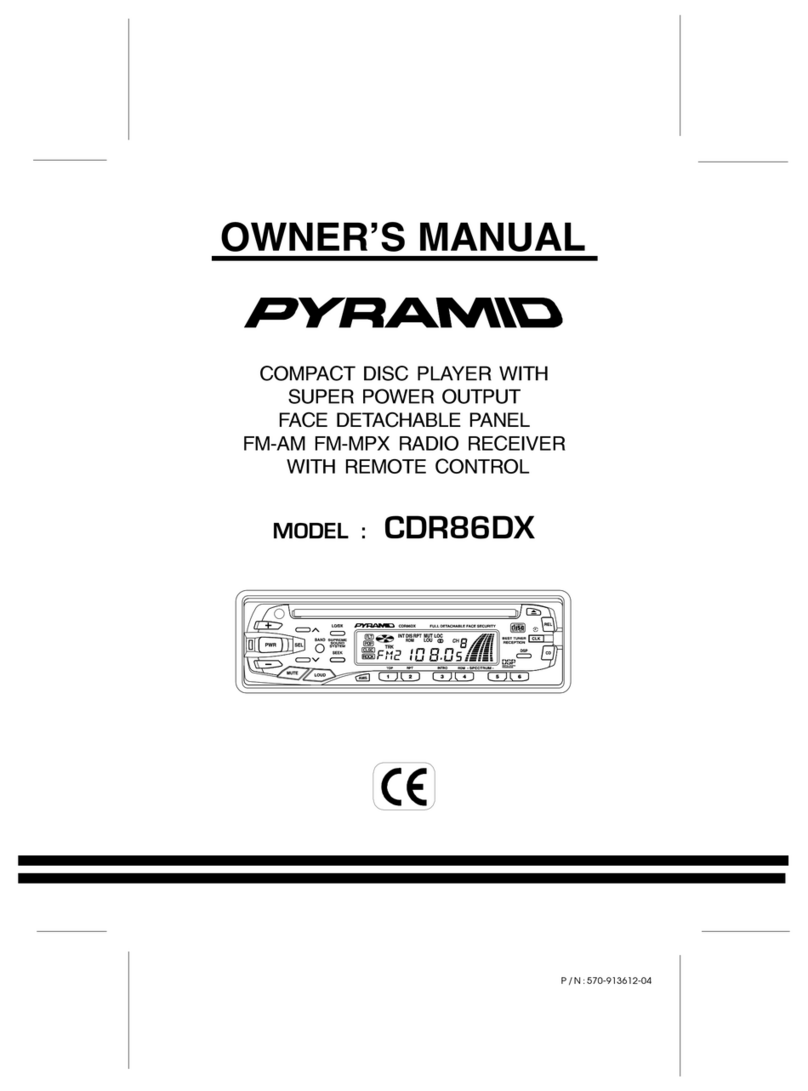
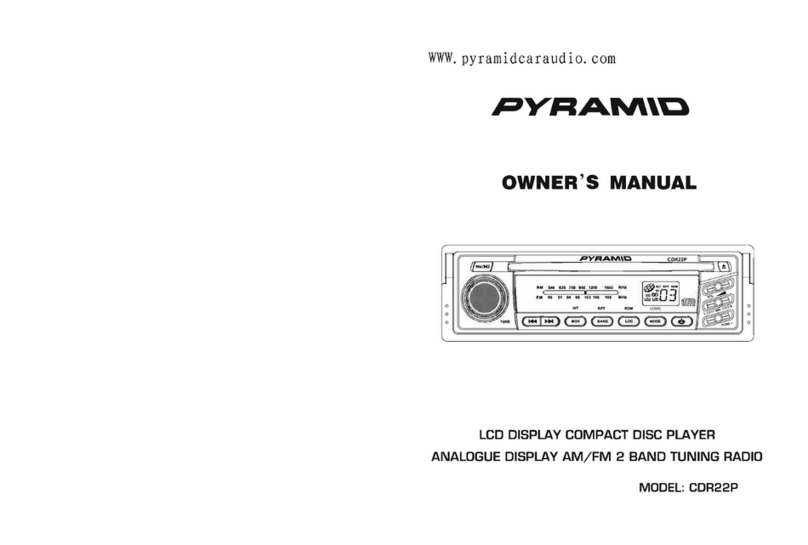
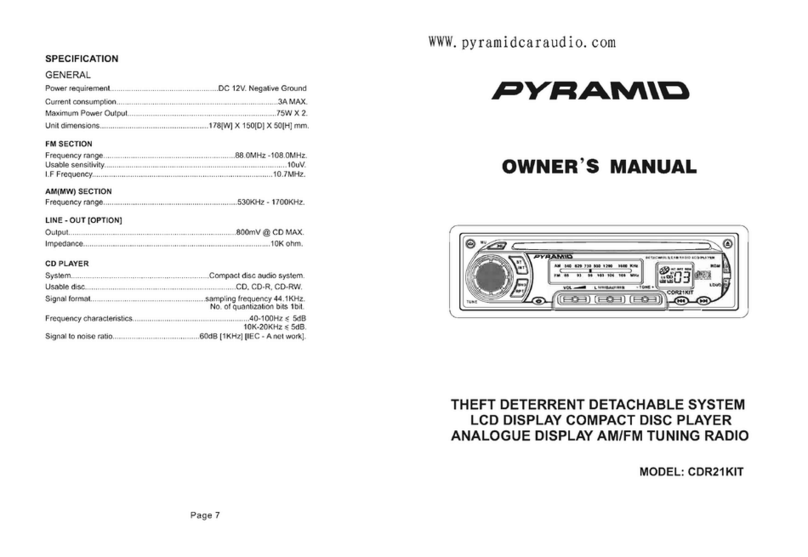
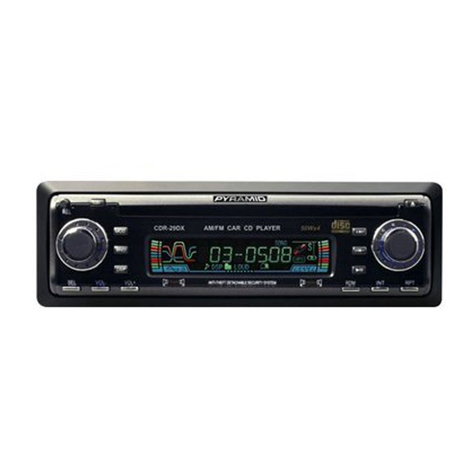
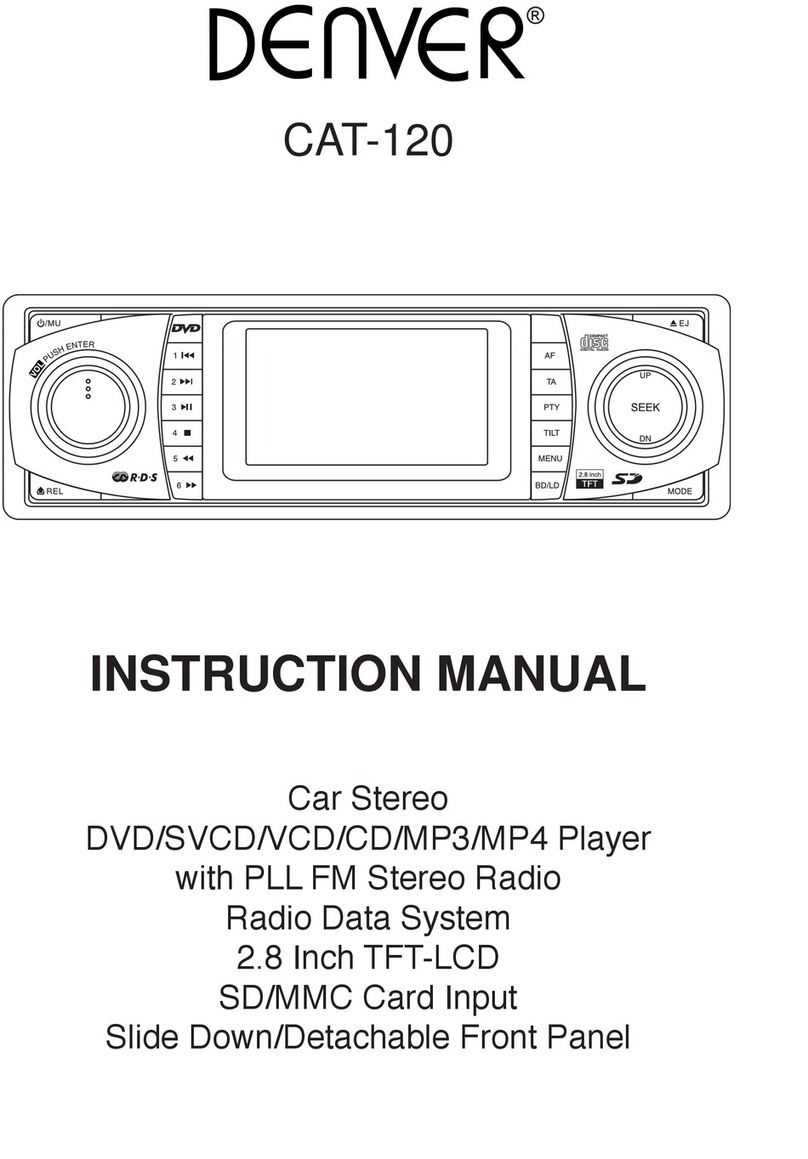
1,7.TUNE/SEEK UP/DOWN and TRACK UP/DOWN BUTTONS
1). During RADIO mode, the frequency scans up/down by one step when
pressing or Button once; Hold them for more than 2 seconds to
seek for a station of higher or lower frequency.
2). During CD mode, press or button to track forwards/backwards.
Hold them to skip forwards/backwards.
2. OPEN BUTTON
Press it to flip down the front panel and then you can insert the tape into the
tape compartment to play tape.
3. PLAY/PAUSE BUTTON
Press it to change into CD mode from TAPE or RADIO mode, press it again to
pause the CD playback, press it again to return back into normal CD playback.
4. DISC COMPARTMENT
5. LCD (LIQUID CRYSTAL DISPLAY)
6. EJECT DISC BUTTON
During CD playing mode, press it to eject the disc from the compartment to
end the disc playing.
8. BAND BUTTON
Press it to change into RADIO mode from TAPE or CD mode, then press it
repeatedly to select your desired radio band.
9. IR REMOTE SENSOR
It will flash when the remote controller operate effectively.
10,11,12.PRESET STATION [ 1-6 ] / TOP, RPT, INT,RDM BUTTONS
A]. To memorize the current frequency, press any one of the six preset
buttons for more than 2 seconds.
B]. To recall the preset memory, press one of the preset button [1-6].
C]. TOP BUTTON
Press the button during playback to return to the first track of CD.
D]. INT: Preview all tracks
Press INT to play first ten seconds of each track on CD. Press again
to stop scan and listen to track.
9 2


