3
www.topvehicletech.com
FITTING GUIDE
1. Use a bojo tool to pry away and unclip the middle trim panel above the main radio.
1. Open the passenger side door and proceed to pull away the door trim from the pillar.
STEREO REMOVAL
DAB ANTENNA INSTALLATION
2. Using a set of panel removal tools, begin to pry away the pillar casing.
4. The DAB antenna not only has a self adhesive backing, but also features a black earth sheet. When plac-
ing the DAB antenna, the earth sheet MUST be placed onto the metal part of the pillar. The antenna itself
must be located roughly 15cm from the top of the windscreen.
Note: this antenna must not be placed atop any kind of heang elements, this will interfere with the
antenna’s signal.
5. Once happy with the placement, take the 3m of wiring extension and feed it down through to the
stereo’s opening. With the wiring adjusted to the appropriate length, feel free to re-install the glovebox.
3. The glovebox will need to be dropped down to route the antennas wiring. To do this you will need to
unclip the hydraulic arm and push both sides of the glovebox inwards. Then all that is needed is to let the
glovebox fall open.
2. Using the bojo tool again, pry away the plasc panel holding the air controls & buon panel. Once out,
proceed to disconnect any/all wiring from behind.
3. With the air control panel removed, it will reveal 2x screws that will need to be undone to free the main
radio. Once free, pull out of the dashboard and disconnect all the wiring.
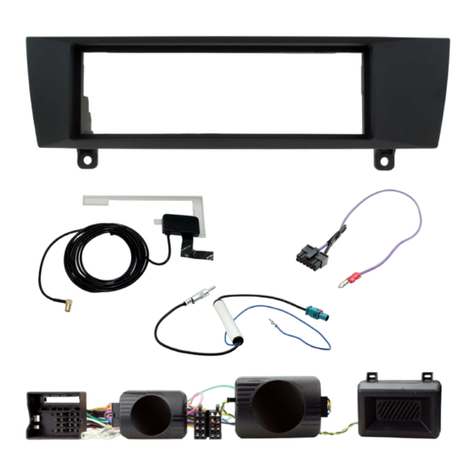
FASCIA PLATE SET-UP
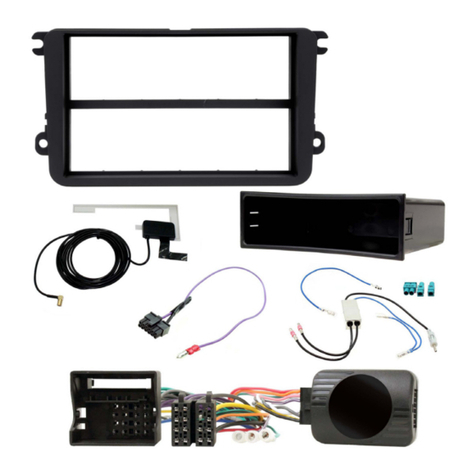
1. Take the new fascia and place it into the dash where the OEM radio used to sit, once placed correctly,
screw into place using the 2x pre-exisng screws.
2. With the cage secured into place, and once the “Stereo Installaon” process is complete, simply slide
the stereo into the fascia and re-assemble the dashboard.
