manuals.online logo
Brands
  1. Home
  2. •
  3. Brands
  4. •
  5. Qazqa
  6. •
  7. Outdoor Light
  8. •
  9. Qazqa Mossa WL PIR Black 89437 User manual

Qazqa Mossa WL PIR Black 89437 User manual

Mossa WL PIR Black
MODEL: 89437
INTRODUCTION
The bulkhead light incorporates a PIR (Passive Infra Red) sensing
device which connuously scans a preset operang zone and immedi-
ately switches the lamp on when it detects movement in that area.
This means that whenever movement is detected within the range of
the sensor the lamp will switch on automacally to illuminate
pathways, steps, paos, porches, or whatever area you have selected
to light for reasons of safety, convenience or security.
While there is movement within range of the unit the lamp will
remain on.
WHILE TO FIT YOUR LIGHT
To achieve best results, we suggest you take into account the follo-
wing points:
■ Ideally the bulkhead light should be
mounted 1.8 to 2.5 meters (6 to 8)
above the area to be scanned (refer
Fig.1A).
■ To avoid damage to unit-do not aim the
sensor towards the sun.
■ To avoid nuisance triggering, the sensor
should be directed away from heat sour-
ces such as barbecues, Air-condioners, other outside lighng,
moving cars and flue vents.
■ To avoid nuisance triggering, keeping away from the area of strong
electromagnec disturbance.
■ Do not aim towards reflecve surfaces such as smooth white
walls, swimming pools, etc. The PIR Sensor scanning specificaons
(approximately 10 meters at approx. 110°--horizontal) may vary
slightly depending on the mounng height and locaon. The
detecon range of the unit may also alter with temperature
change. Before selecng a place to install your
global lamp you should note that movement
across the scan area is more effecve
than movement directly toward or away from
the sensor (refer Fig.1B). If movement is made
walking directly towards or away from the
sensor and not across, the apparent detecon
range will be substanally reduced. (refer Fig. 1C)
appro.110°
1.5 Meters
Fig. 1(A) DETECTION AREA
4M 7M 10M
Fig. 1(C) NOT GOODFig. 1(B) GOOD
2
INSTALLATION
Installaon the bulkhead light, please referring to the Fig.2
1. Installaon by a licensed electrician and according to IEC wiring
Regulaon.
2. Switch power off at the meter box and ensure that there is no
power to the lamp.
3.Ensure install the unit according to the indicator of symbol direc-
on on cover ( UP)
4. Remove the Lampshade by Screwdriver, see figure.
5. Unscrew the Screw (A) and remove the Transparent Plate.
6. Mark the mounng hole posions onto the wall. Drill and plug the
wall at the marked posions. Screw the lamp body to wall with
suitable Mounng Screws (supplied)
7. Connecng the main power wires to the Terminal Block (see the
relave symbols—Fig.2), the Cable must pass through the Wiring
Rubber Gasket.
8. Insert the Max. 60Wa / 230V~ 50Hz incandescent Bulb into the
Lamp-holder (E27)
9. Re-screw Transparent Plate.
10. Re-fit the Lampshade by hand.
11. Aer finish the mounng, you can adjust the detecon area and
working state of PIR Sensor.
L
N
Fig. 2 Mounting and Wiring to Treminal
Screwdriver
Transparent
Plate
Terminal Block
Bulb
Mounting Scerws
(2PCS)
Screw (A) Lampshade
UP
118 mm
256 mm
114 mm
NOTES FOR ELECTRICIAN-- Installaon by a licensed elec-
trician
1) The Bulkhead Light should be wired
to its own lamp switch. Do not
interconnect with other lights on
the same switch.
2) Do not connect to Dimmer.
UNDERSTANDING THE CON-
TROLS
ADJUSTING THE DURATION TIME: The length of me that remains
switched on aer acvaon can be adjusted from (10±5) seconds to
(4±1) minutes. Rotang the TIME knob from (+) to (-) will reduce the
duraon me.
Note: Once the light has been triggered by the PIR sensor any subse-
quent detecon will start the med period again from the beginning.
ADJUSTING THE LUX CONTROL LEVEL: The Lux control module has a
built-in sensing device (photocell) that detects daylight and darkness.
The () posion denotes that the bulkhead light can work at day and
night, and the () posion only work at night. You can set to operate
the unit at the desired level by adjusng the LUX knob.
SETTING THE CONTROLS
1. Put the Lux control knob to light () posion, turn the wall switch
on and wait half a minute for the control circuit to stabilize. At this
stage ensure that the TIME control knob is set at minimum dura-
on me (-) posion. The bulkhead light will now switch on and
remain on for about 30 seconds (within 60 seconds).
2. Direct the sensor toward the desired area to be scanned.
3. Carry out the WALKING-TEST to know the detecon area. (refer
Fig. 1B).
4. Adjust me control to required seng.
5. To set the lux level at which the lamp will automacally switch
“on” at night, please turn the LUX control knob from daylight to
night. If the lamp is required to switch on earlier, e. g. Dusk, wait
for the desired environment light level, then slowly turn the LUX
control knob towards the daylight () while someone walks
across the center of the area to be detected. When the lamp
switches on, release the LUX control knob. You may need to make
further adjustments to achieve your ideal light level seng.
Important: 1) To avoid dust build-up and ensure proper funconing of
the global lamp, wipe the sensor lens lightly with a damp cloth every
3 months. But never modify the unit, there are no any user
3
serviceable parts inside. 2) Before touching the lamp or replacement of
the bulb, please switch off first and then let it cool 3) Any replacement
of bulb, please Switch power off.
TECHNICAL DETAILS:
Voltage: 230 V~ 50 Hz
Waage: Max. 60 Wa for incandescent
Detecon range: Approx.110º (horizontal), Max. 10 meters adjustable
Duraon me: from (10±5) seconds to (4±1) minutes adjustable
LUX control level: from daylight to night adjustable
Weatherproof: IP44
Class I protecon
Rubber Power Cord must be used for outdoor light, such as H05RR-F
3G 0.5mm².
Trouble shoong and user hints
4
PROBLEM
POSSIBLE CAUSE
SUGGESTED REMEDY
Lamp does not switch
on when there is
movement in the
detection area.
1. no mains voltage Check all connections, and
Fuses/switches
2. near by lighting is too
bright.
Relocate the unit
3. controls set incorrectly
Readjust control knob
4. sensor positioned in wrong
direction
Relocate the unit
Lamp switches on for
no apparent reason
(false trigger)
1. heatsources such as
air-con, Vents, heater flues,
barbecues, other outside
lighting, moving cars are
activating sensor.
Away from heat sources.
2. animals/birds e.g. possums
or domestic animals.
Away from the area which
animals often pass through .
3. interference from on/off
switching of electric fans or
lights on the same circuit as
yoursecurity floodlight. (this
problem does not always
occur but a faulty switch or
noisy fluorescent light may
cause the security floodlight
to switch on.)
Should the false triggering
become, troublesome, consider:
a) replacing a faulty switch.
b) Replacing noisy fluorescent
Tubes and/or starters.
c) connecting the global lamp to
a separate circuit(in most cases
where one or more of the above
suggestions have been carried
out, false triggering has been
reduced.)
4. reflection from swimming
pool, or reflective surface.
Relocate the unit .
Light remains on.
1. continuously false
triggered
See above mentioned
2. time is set too long. Reduce time
Light switches on
during daylight hours.
LUX control knob is set to
daylight position.
Turn the LUX control knob to
desired light level setting.
When setting controls
in daylight the
detection distance
becomes shorter.
1.interference by sunlight Re-test at night.

Other Qazqa Outdoor Light manuals

Qazqa NAUTICA WL 1 User manual

Qazqa

Qazqa NAUTICA WL 1 User manual

Qazqa Noud FL 105052 User manual

Qazqa

Qazqa Noud FL 105052 User manual

Qazqa Garly SL 4 Black Solar User manual

Qazqa

Qazqa Garly SL 4 Black Solar User manual

Qazqa NAUTICA WL1 91857 User manual

Qazqa

Qazqa NAUTICA WL1 91857 User manual

Qazqa NAUTICA WL 2 User manual

Qazqa

Qazqa NAUTICA WL 2 User manual

Qazqa Empoli FL Brass CCT 2 User manual

Qazqa

Qazqa Empoli FL Brass CCT 2 User manual

Qazqa Margarita FL 36 Black User manual

Qazqa

Qazqa Margarita FL 36 Black User manual

Qazqa Eva FL 1 User manual

Qazqa

Qazqa Eva FL 1 User manual

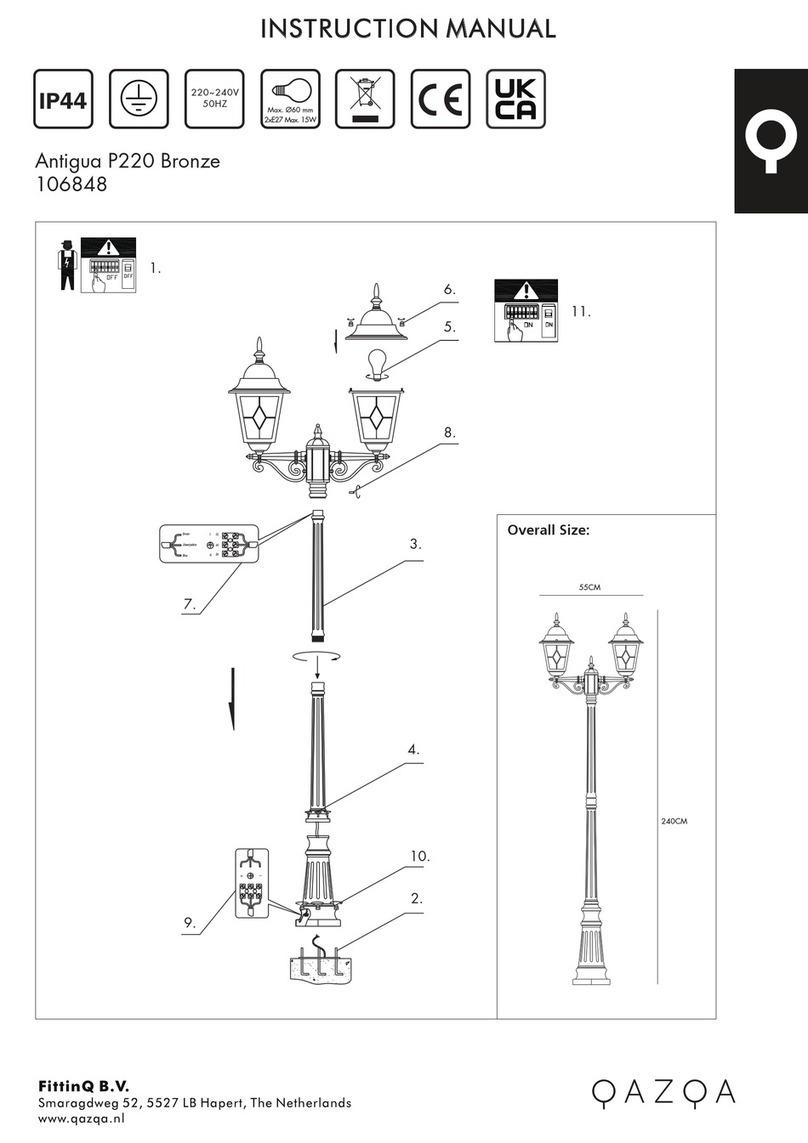
Qazqa Antigua P220 Bronze User manual

Qazqa

Qazqa Antigua P220 Bronze User manual

Qazqa Simon WL 2 PIR User manual

Qazqa

Qazqa Simon WL 2 PIR User manual
Qazqa Odense P50 Black User manual

Qazqa

Qazqa Odense P50 Black User manual

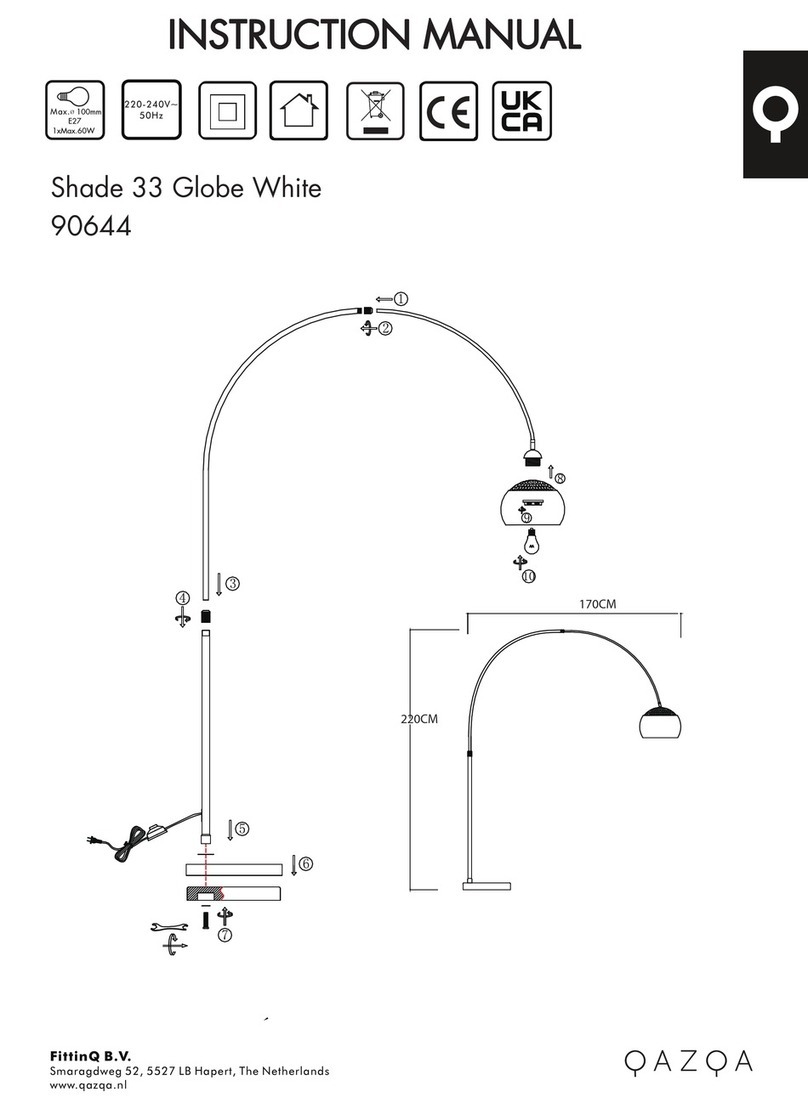
Qazqa Shade 33 Globe White User manual

Qazqa

Qazqa Shade 33 Globe White User manual

Qazqa Big Cage FL 3 Black User manual

Qazqa

Qazqa Big Cage FL 3 Black User manual

Qazqa Charlois WL Black User manual

Qazqa

Qazqa Charlois WL Black User manual

Qazqa Grande FL Satin User manual

Qazqa

Qazqa Grande FL Satin User manual
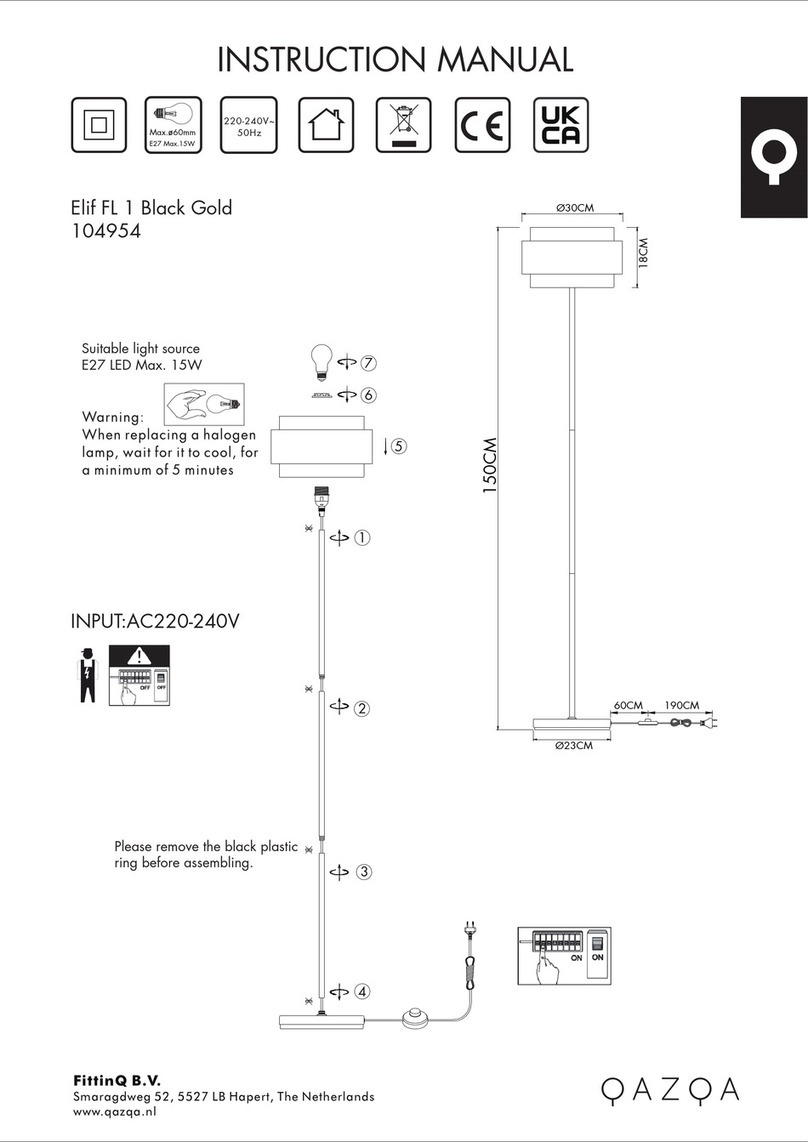
Qazqa Empoli FL Bronze CCT 2 User manual

Qazqa

Qazqa Empoli FL Bronze CCT 2 User manual

Qazqa NAUTICA WL 2 User manual

Qazqa

Qazqa NAUTICA WL 2 User manual
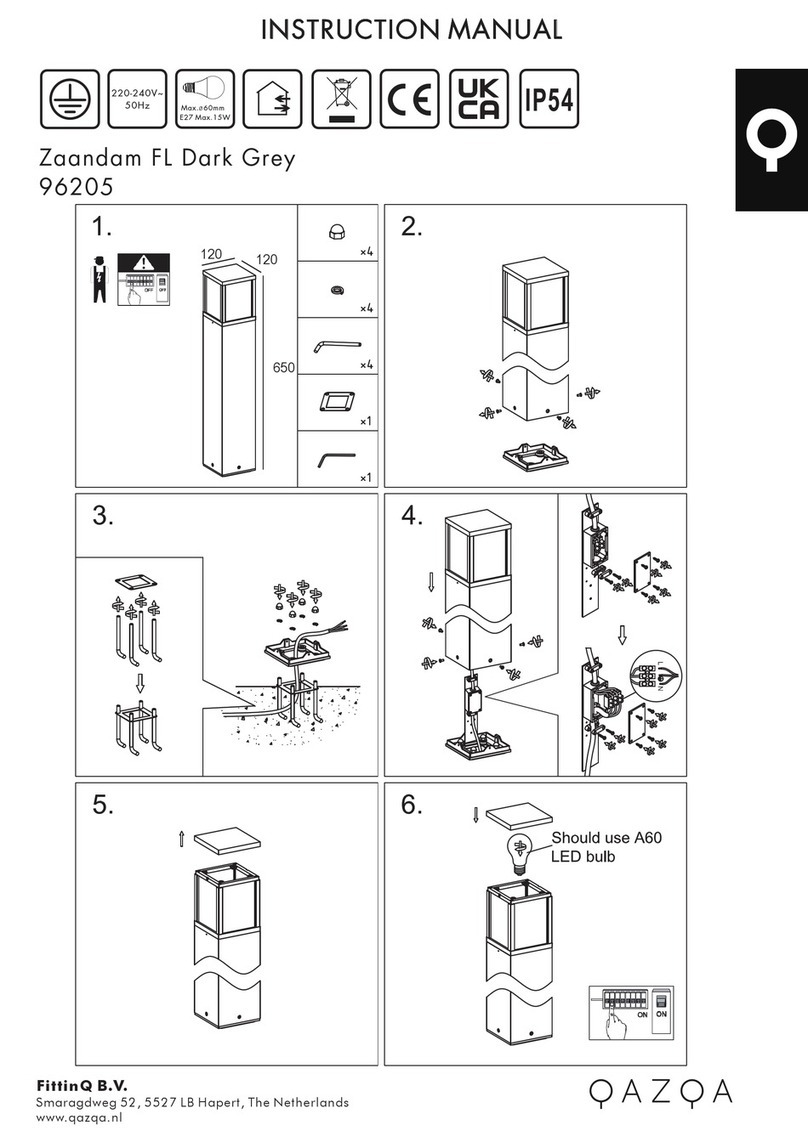
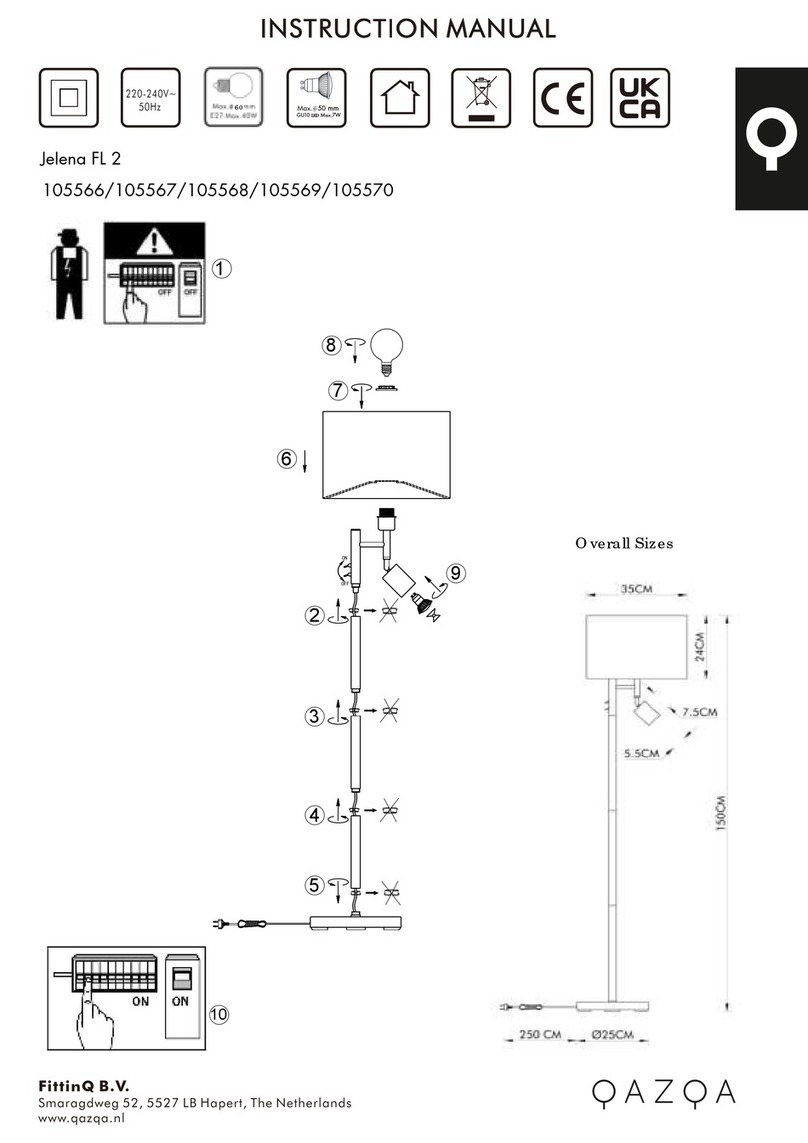
Qazqa JeIena FL 2 User manual

Qazqa

Qazqa JeIena FL 2 User manual

Qazqa NAUTICA WL ROUND BRASS User manual

Qazqa

Qazqa NAUTICA WL ROUND BRASS User manual

Qazqa Zaandam FL User manual

Qazqa

Qazqa Zaandam FL User manual
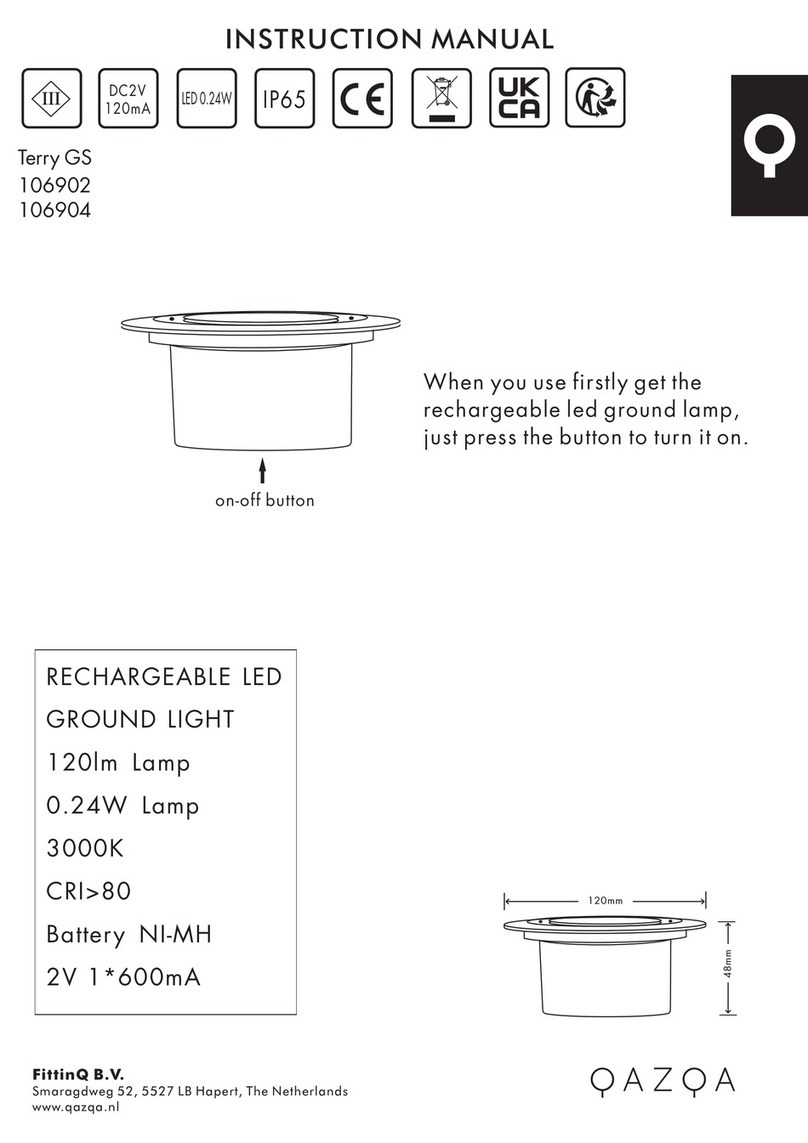
Qazqa New York WL Dark Grey User manual

Qazqa

Qazqa New York WL Dark Grey User manual

Qazqa Pallon FL Brass Pink User manual

Qazqa

Qazqa Pallon FL Brass Pink User manual

Qazqa Charlotte 104418 User manual

Qazqa

Qazqa Charlotte 104418 User manual

Qazqa Eva FL 1 Bronze User manual

Qazqa

Qazqa Eva FL 1 Bronze User manual

Popular Outdoor Light manuals by other brands

Jensen Dynamique Assembly and instructions for use

Jensen

Jensen Dynamique Assembly and instructions for use

Urban Barn 216637 Use and care guide

Urban Barn

Urban Barn 216637 Use and care guide

NEBO NEB-LSP-0009 Use and care guide

NEBO

NEBO NEB-LSP-0009 Use and care guide

lap S083S Installation

lap

lap S083S Installation

LightPro Tiga DL user manual

LightPro

LightPro Tiga DL user manual

Orion AL 11-1138/1 Mounting and safety instructions

Orion

Orion AL 11-1138/1 Mounting and safety instructions

Acuity Brands Lithonia KAXW LED installation instructions

Acuity Brands

Acuity Brands Lithonia KAXW LED installation instructions

Hihome WAL-RGBCCT27 quick start

Hihome

Hihome WAL-RGBCCT27 quick start

Garden Trading Festoon Cluster Lights - 5 Bulbs instructions

Garden Trading

Garden Trading Festoon Cluster Lights - 5 Bulbs instructions

atmosphera 190609 manual

atmosphera

atmosphera 190609 manual

LIGMAN VA-20023 installation manual

LIGMAN

LIGMAN VA-20023 installation manual

STEINEL professional XSolar GL-S instructions

STEINEL

STEINEL professional XSolar GL-S instructions

LIGMAN NYB-80113 installation manual

LIGMAN

LIGMAN NYB-80113 installation manual

Seliger QUELLSTAR 2000 LED operating instructions

Seliger

Seliger QUELLSTAR 2000 LED operating instructions

Garden Gear D9838 instruction manual

Garden Gear

Garden Gear D9838 instruction manual

LIGMAN CA-30607 installation manual

LIGMAN

LIGMAN CA-30607 installation manual

Maxim Lighting Prime manual

Maxim Lighting

Maxim Lighting Prime manual

HUDSON VALLEY LIGHTING Troy Lighting Napa County installation instructions

HUDSON VALLEY LIGHTING

HUDSON VALLEY LIGHTING Troy Lighting Napa County installation instructions

manuals.online logo
manuals.online logoBrands
  • About & Mission
  • Contact us
  • Privacy Policy
  • Terms and Conditions

Copyright 2025 Manuals.Online. All Rights Reserved.