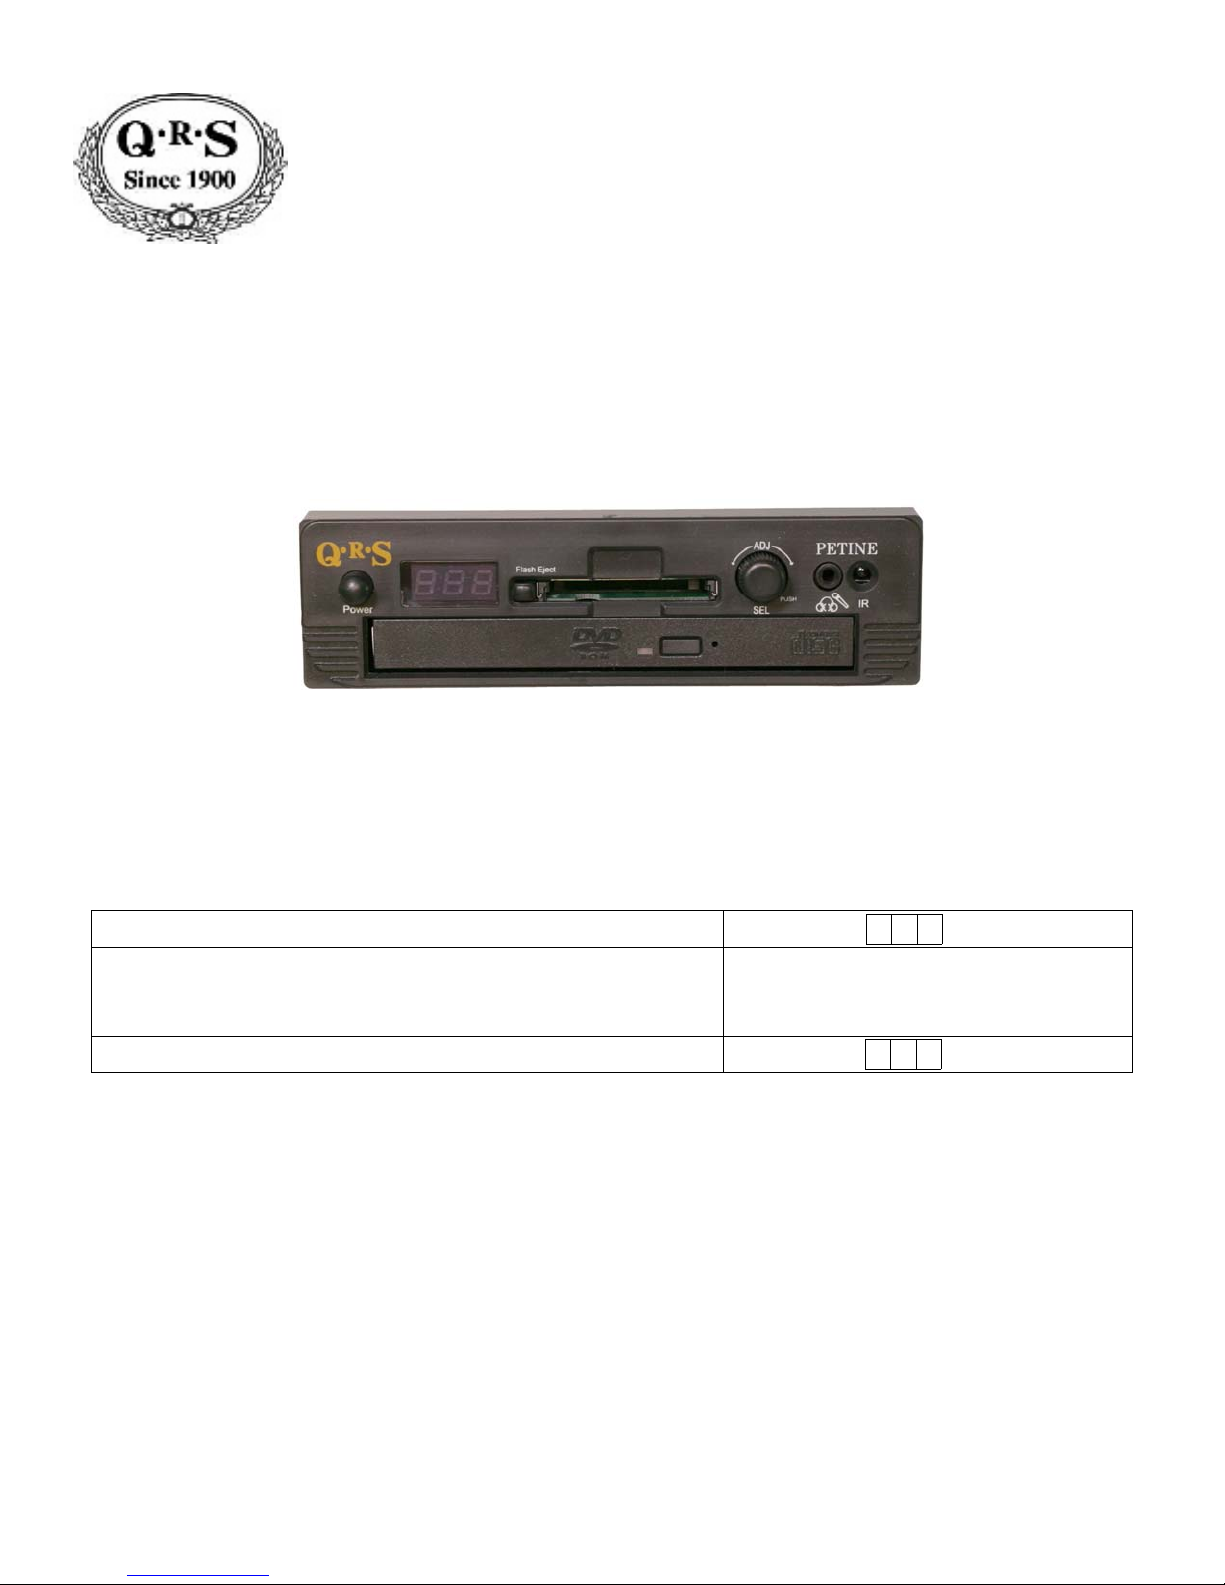
Petine Owners Manual
QRS MUSIC TECHNOLOGIES, INC.
The QRS SyncAlong series music plays the piano and the audio using two of Petine’s sources. The audio of the original artist’s CD
sounds through powered speakers via the CD drive and the piano keys play from MIDI files located on the CompactFlash card.
With your first SyncAlong series order you will receive one CompactFlash card along with all of the original artist CDs ordered. This
CompactFlash card contains the piano music for ALL of the SyncAlong series CDs in production to-date. On all subsequent
SyncAlong CD orders you place, QRS will ship the original artist CDs ordered and one CDROM containing all of the update files
needed to keep Petine and the CompactFlash card up to date with new SyncAlong series releases.
Understanding How SyncAlong Series Music Works
Preparing Petine for SyncAlong Series Music
For the QRS SyncAlong CD to work properly in Petine the following three things must happen.
Petine must recognize the CD as QRS SyncAlong Series by locating it’s ID number in an index file embedded in Petine’s Internal
Source (demo.ima).
Petine must find the Access Code, in it’s memory, for the SyncAlong CD currently in the CD drive.
This code is located on the packing slip, next to the catalog number, that comes with each SyncAlong order.
The code is entered by the user, once for each CD title, and is stored in Petine’s memory.
Petine must find and access the MIDI files located on a CompactFlash card.
Update the demo.ima to insure that the latest SyncAlong index is installed.
See the CompactFlash Utilities or CD Drive Utilities sections of this manual for instructions.
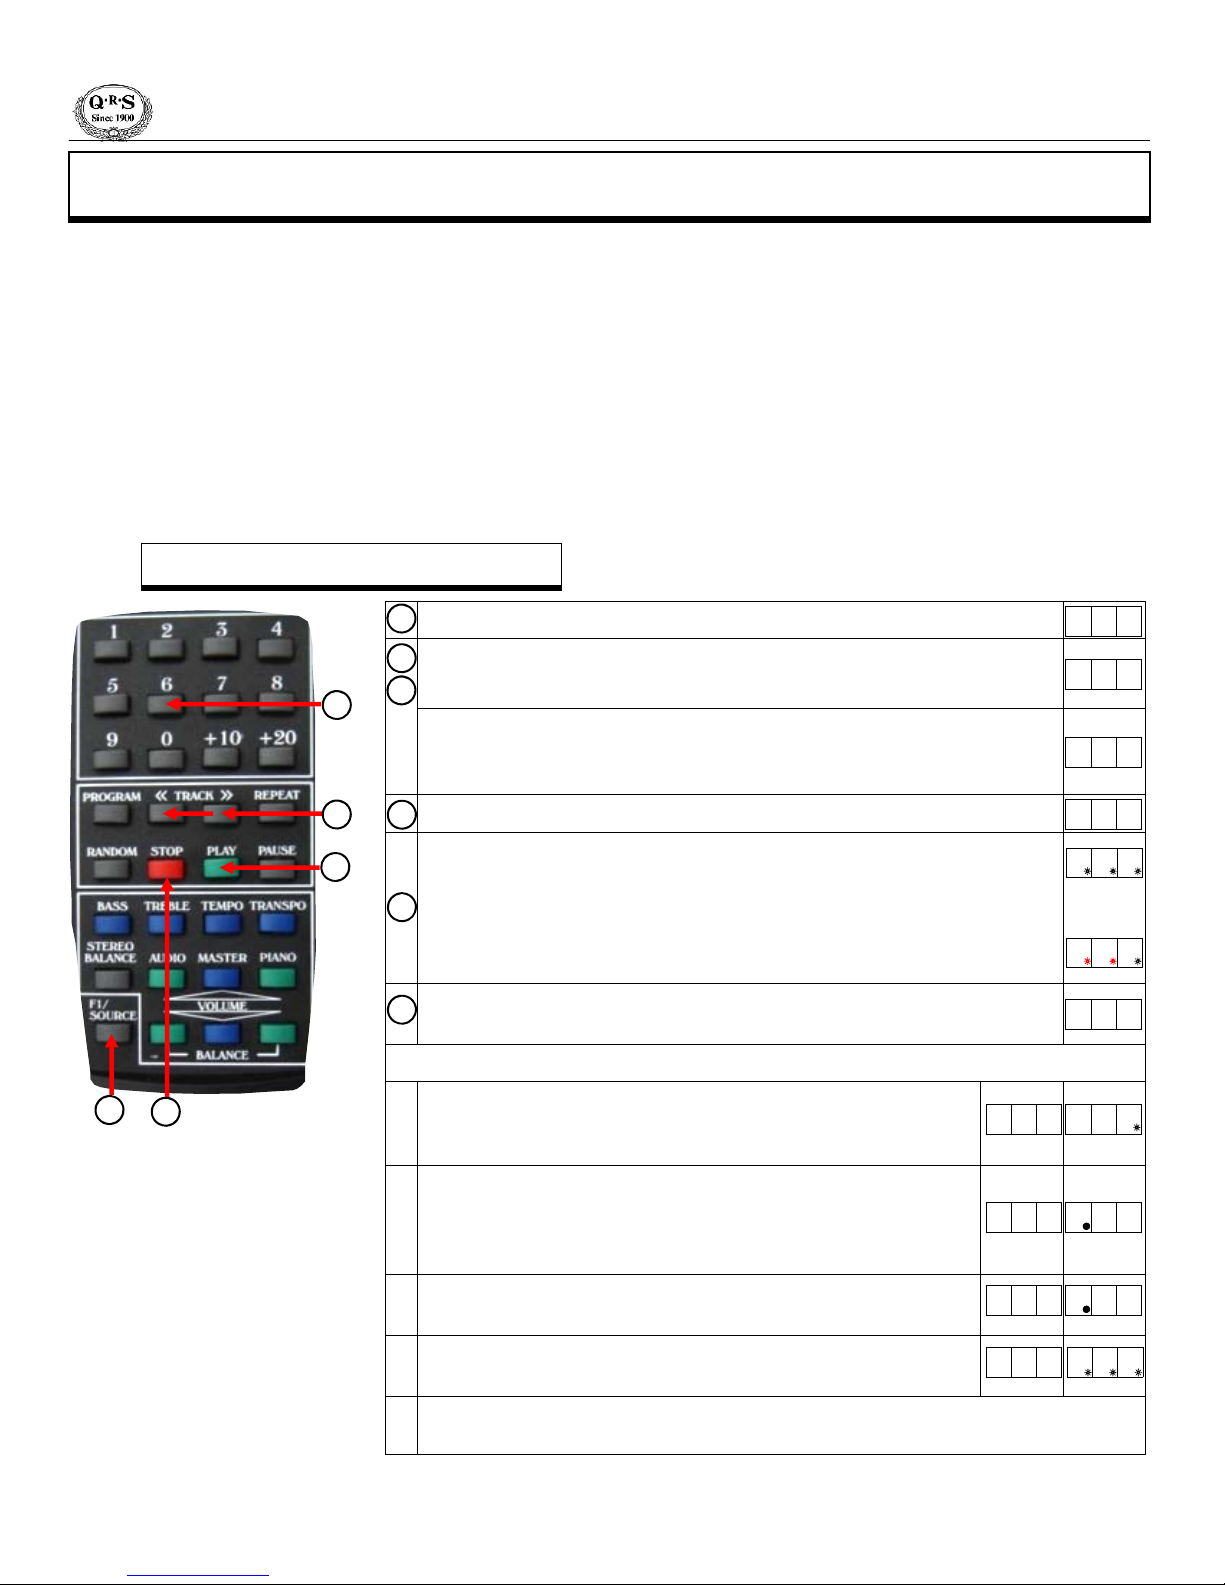
1] Use the CompactFlash card or the CDROM that you received with your most recent SyncAlong order.
2] Go to the QRS website to download the current demo.ima file. http://www.qrsmusic.com/support_pa.asp
See if the SyncAlong music will work without updating. See the next page, “Playing a QRS SyncAlong Series CD for the First Time”.
Copy SyncAlong Files From CDROM To CompactFlash
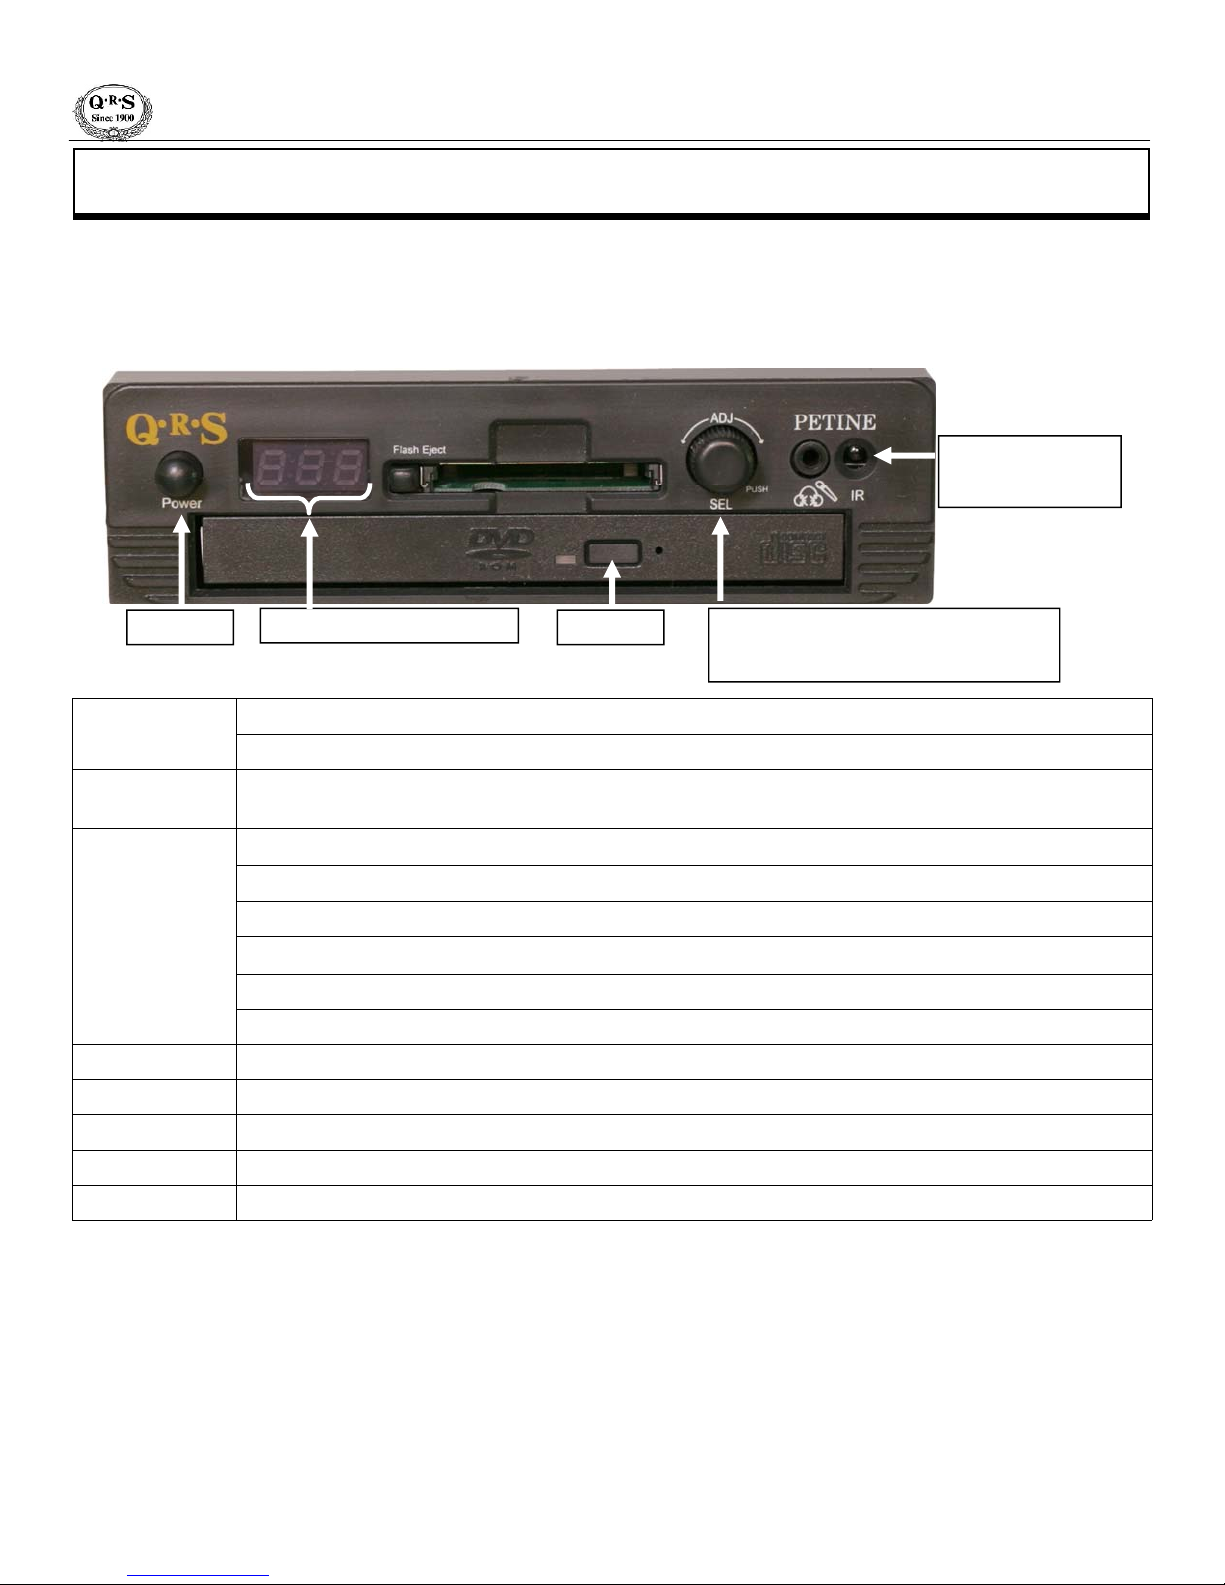
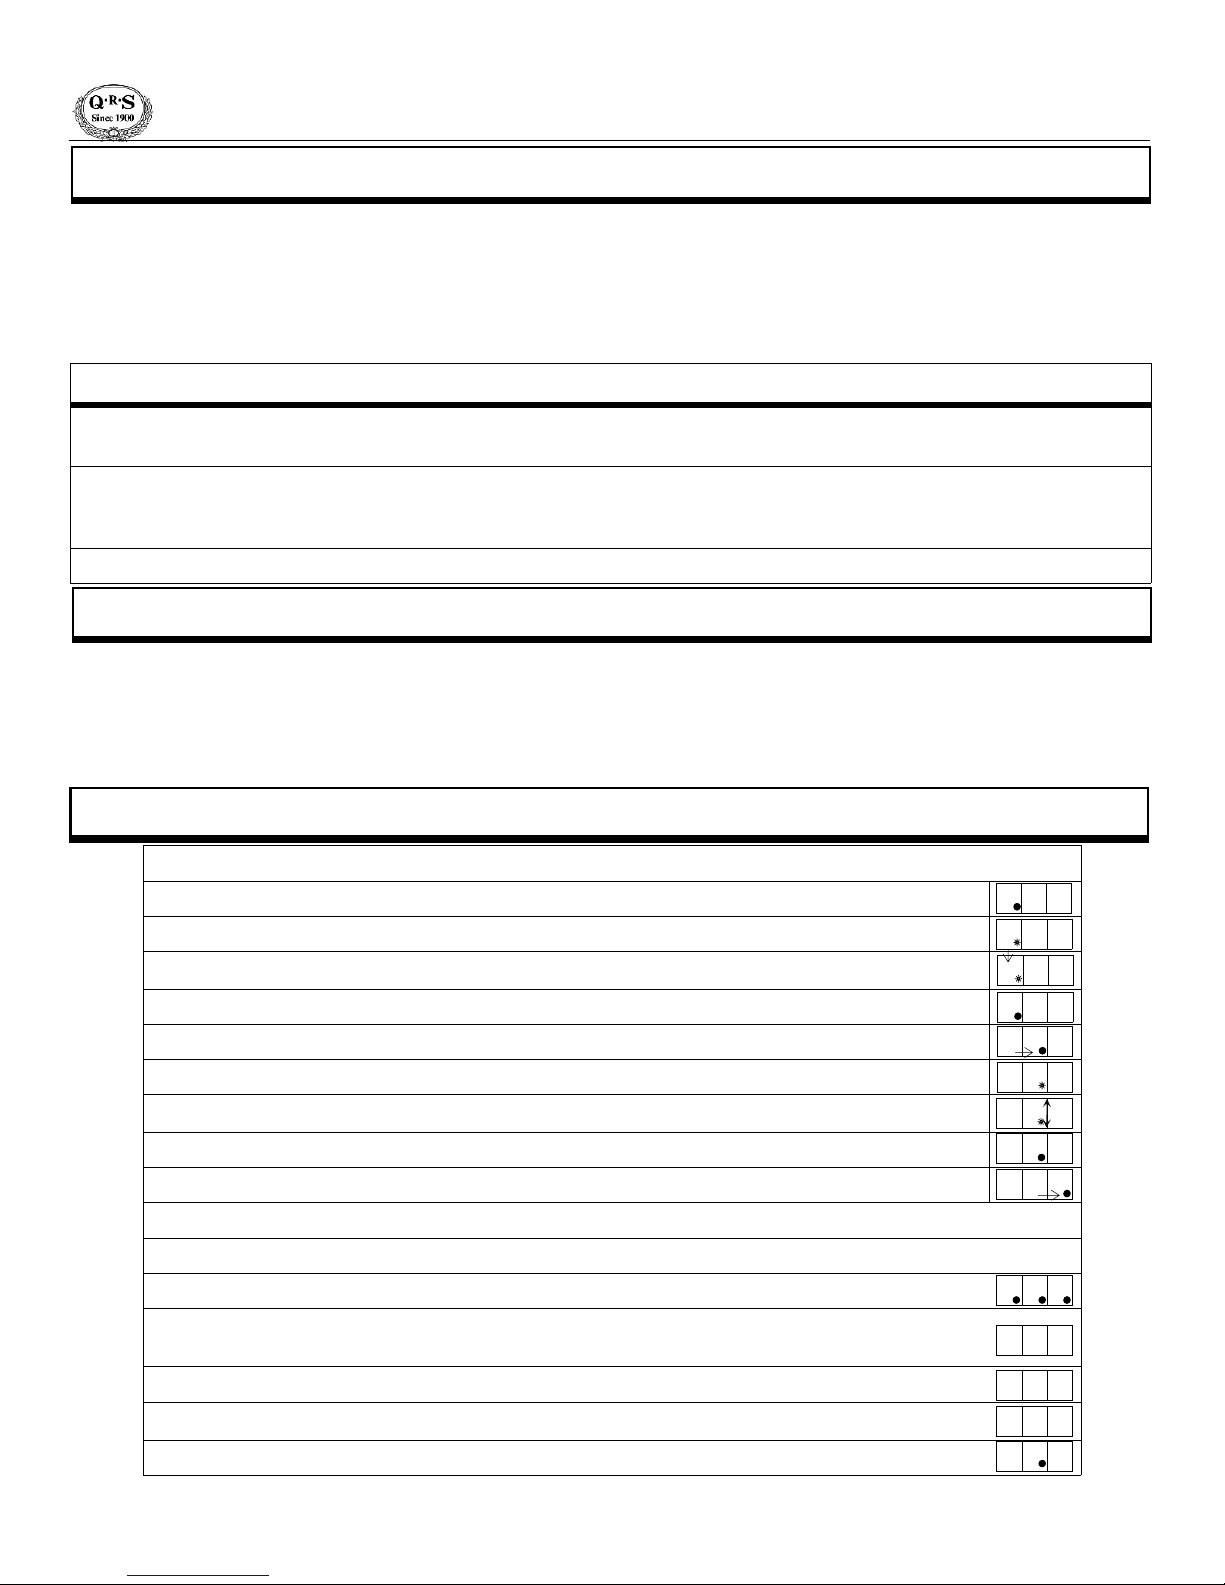
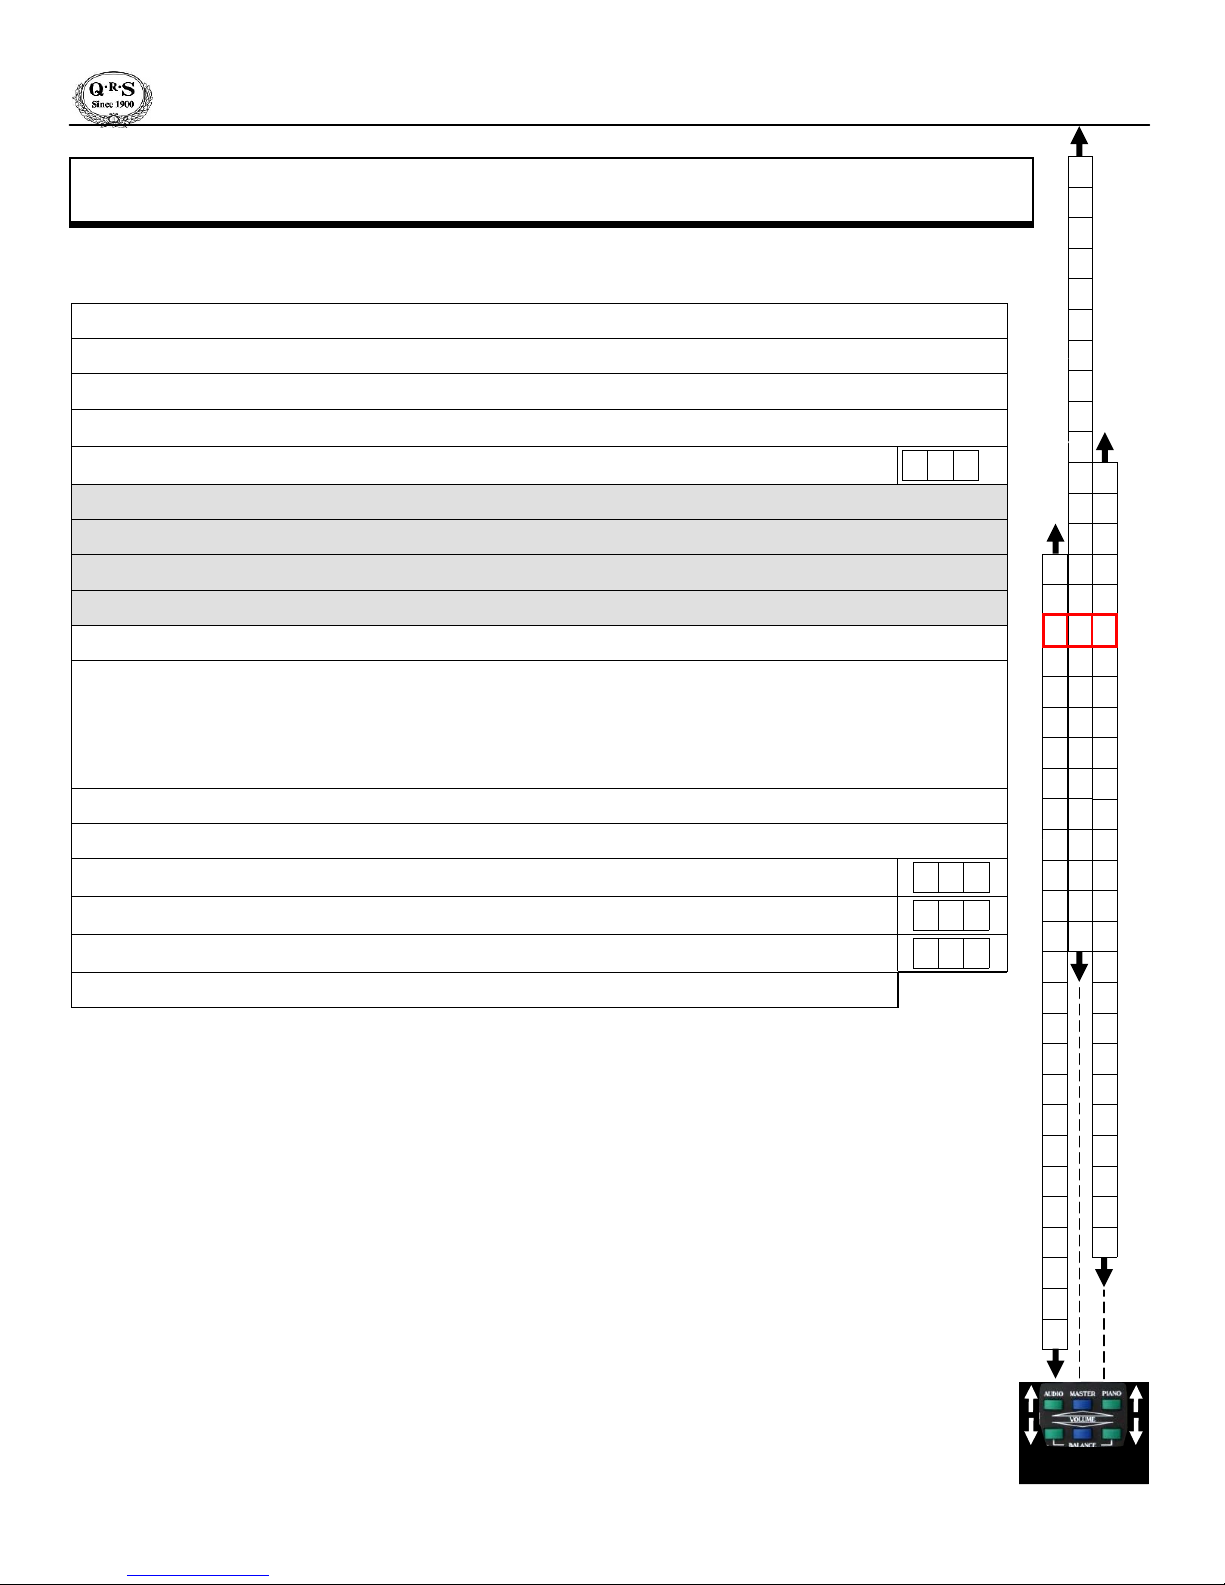
While playback is stopped, press the Petine’s ADJ Dial twice within one-half second to enter the Setup Menu.
Petine will open to the source section of the Setup Menu and display the current source.
Press the ADJ Dial once so that the dot begins to flash.
Rotate the ADJ Dial to display a large “C” and access the CD Drive’s Utility functions.
Press the ADJ Dial to stop the flashing.
Rotate the ADJ Dial to move the dot to the center display segment.
Press the ADJ Dial so the dot flashes.
Rotate the ADJ Dial to display the a small “c” in the center display segment.
Press the ADJ Dial to stop flashing.
Rotate the ADJ Dial to move the dot to the far right display segment.
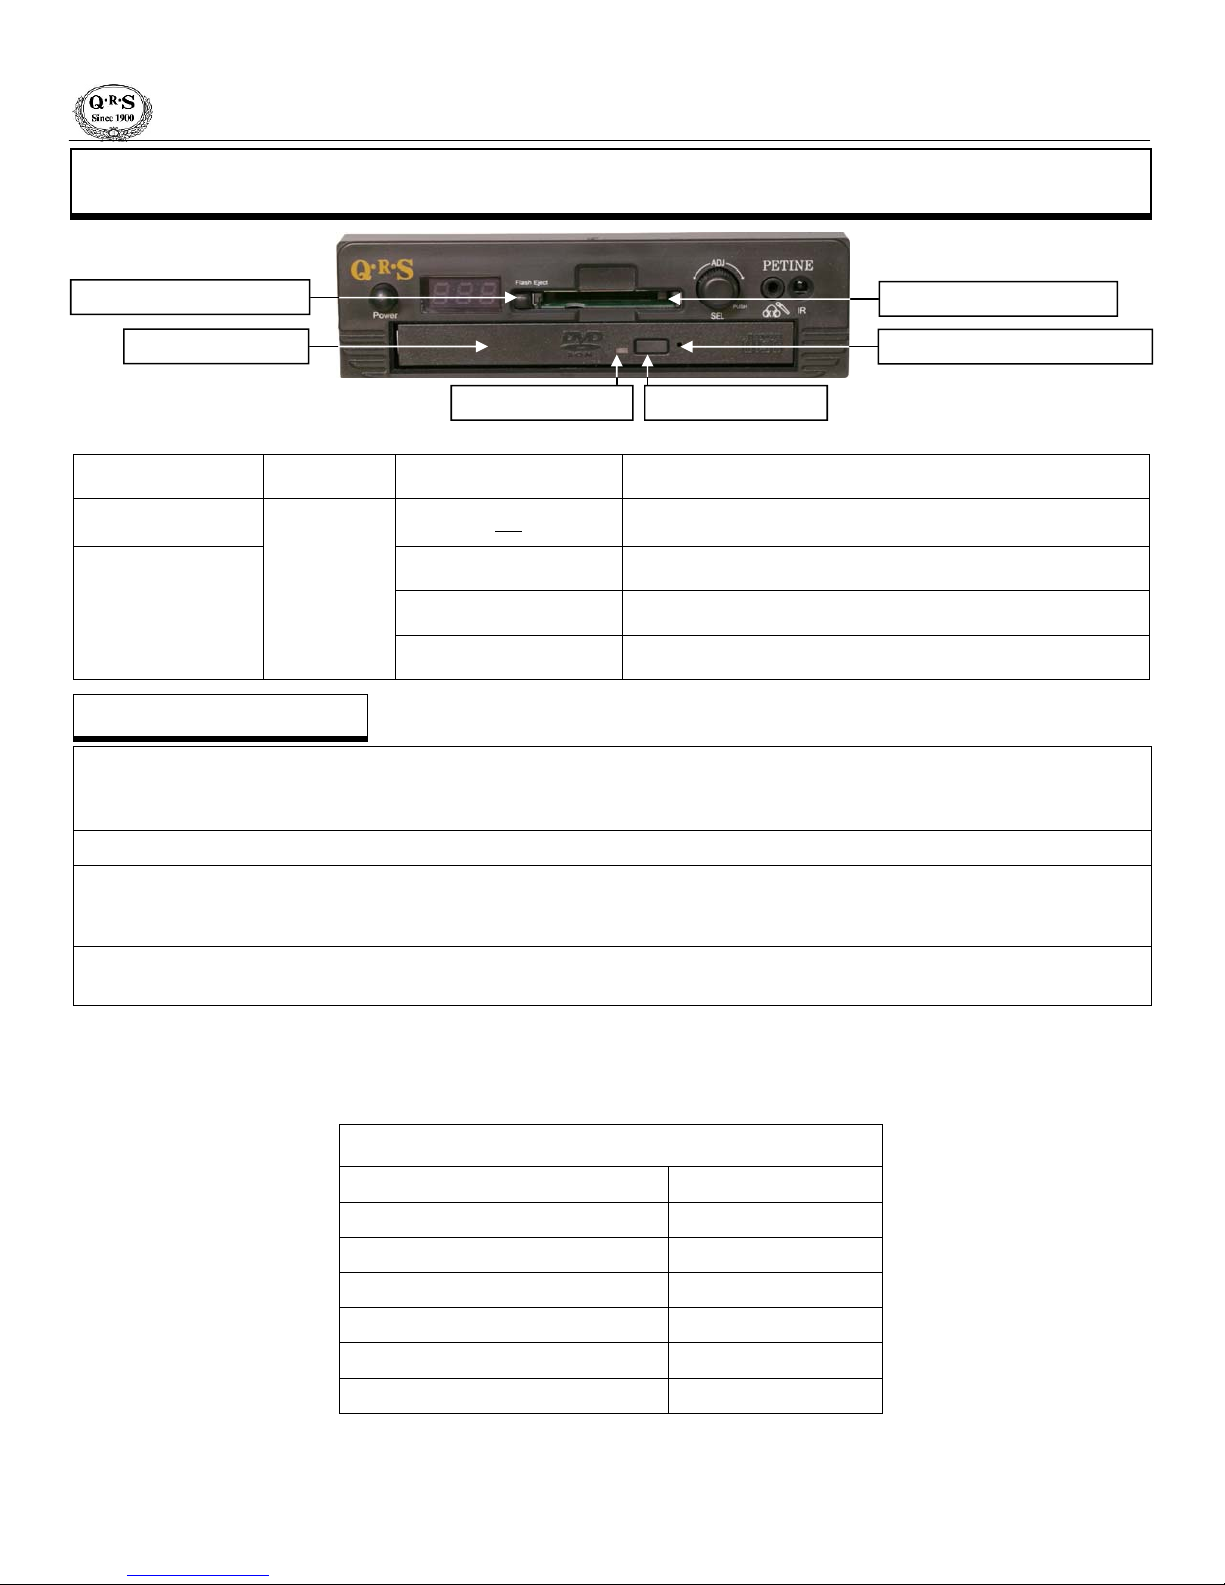
Insert the update CDROM disk into the CD drive and the SyncAlong CompactFlash card in the reader.
Press the ADJ Dial to execute the copy function.
Petine will read a group of files from the CDROM...
...and then copy the group to the CompactFlash card. Groups of files will be read and copied until the
all files are copied. This will take several minutes.
A countdown to zero will begin to verify that the files are copied.
Press the ADJ Dial when “Scc” displays.
Press the Petine’s ADJ Dial twice within one-half second to exit the Setup Menu.
S i n
C d E
S i n
C D e
C c E
C c E
C c E
C d E
C D E
1 1 6
1 1 6
S c c
C c E
1 1 6
PAGE 10