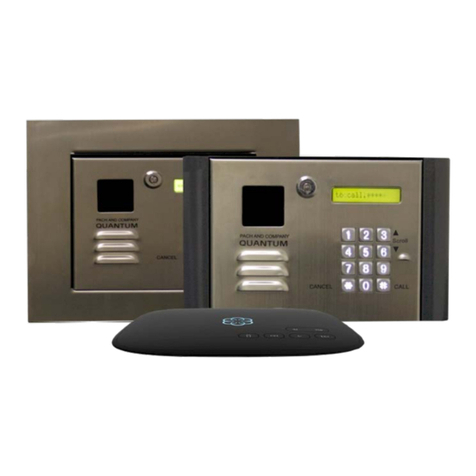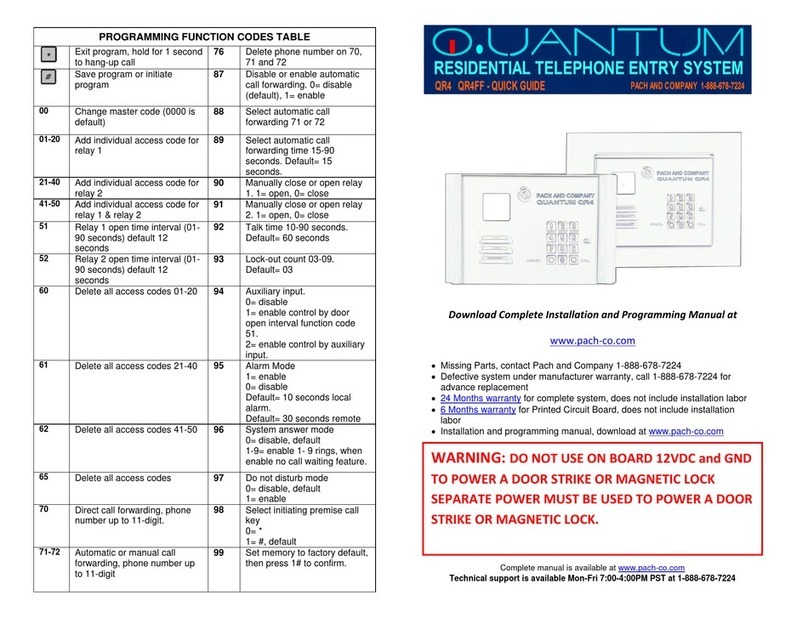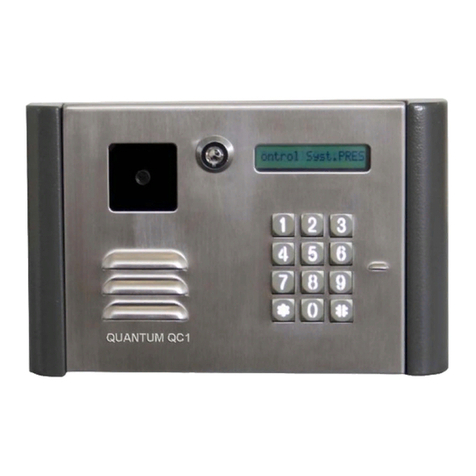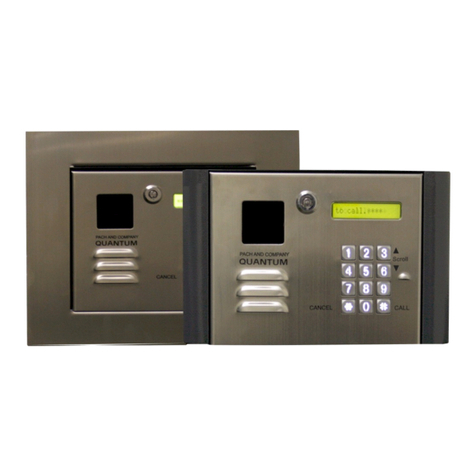
Missing Parts, contact Pach and Company 1-888-678-7224
Defective system under manufacturer warranty,
call 1-888-678-7224 for advance replacement
24 Months warranty for complete system
6 Months warranty for Printed Circuit Board
Exit program, cancel call 25 Keypad beep
0= disable (default)
1=enable
Save program 26 Door beep
0= disable
1= enable (default)
00 Change master code (0000 is
default) 27 Talk time (060-240
second). Default=60
second
01 Add new forwarding tenant’s
directory 28 Unlock relay1 time
(12-99 second). Default=
12 second
02 Edit existing tenant’s directory 29 Unlock relay2 time
(12-99 second). Default=
12 second
03 Delete existing tenant’s
directory 30 Call Forwarding
0= disable 1= enable
04 Clear all forwarding tenant’s
directory 31 Call forwarding time
05-60 second
05 Call Forwarding 32 Forwarding directory
0-9
06 New access code 33 Temporary code
07 Delete access code 34 Special code
08 Clear all access code 35 Temporary card
09 Access code digit (4-8 digit).
Default is 4-digit 36 Special card
10 Add new card 37 Initiate premise call
0=**, 1=## (default)
11 Delete card 38 System acknowledge
(0-9). Default= 3
12 Clear all card 39 Remote access
0= disable
1=enable (default)
13 Set time 40 DTMF relay 1 (1-9).
Default=9
14 Set date 41 DTMF relay 2 (1-9).
Default=8
15 Initializing event recording 42 Relay 2 Mode
1= door control (default)
2= relay 2 trigger
simultaneously as relay 1
3= enable if function code 24
is enable
4= turn relay 2 on and off
On=7, Off=6
16 AUS= auto unlock schedule
(0-9 schedule) 43 DND: do not disturb time
zone (0-9)
17 TMZ= time zone. 20 TMZ, 00-
20. 44 Disable Time zone relay
1, 2 or both
18 HLD= holiday zone. 20 HLD,
1-20 45 Relay 1 and 2 unlock
timer
20 AUXIN1
0= disable (default)
1= enable control by relay 1 open
interval
2= relay 1 control by AUXIN1
46 Firmware version
21 AUXIN2
0= disable (default)
1= enable control by relay 2 open
interval
2= relay 2 control by AUXIN2
48 PBX enable. Default=
disable
22 Do not disturb
0= disable (default), 1= enable
23 Lock-out Count 49 Edit Access code
24 Alarm
0= disable
1= local beep for 60 seconds
2= disable system for 60 seconds
with no beep
3= call directory (0-9)
50 Erase the memory to
factory default
51 Welcome screen
Log on to programming: Press and
simultaneously then release, the
welcome message will stop scrolling
(repeat if screen still scrolls) enter 4-digit
“MASTER CODE” (0000 is default), the
screen will show:
Select the “Function Code” from the table
OPERATION
Opening the door remotely press (relay 1) or (relay 2)
Opening the door with the access code press (display screen
will stop scrolling) then press a valid 4-digit access code.
Extending talk time tenant must press from the phone after the
time out warning beep.
Calling into the system from premise location (Intercom)
1. Press or depending on function code 37, then
press to communicate with the person
Calling into the system from remote location:
Enable function code 39
1. Call the system phone number, hear one beep if the system
answering the call.
2. Press then 4-digit master code, hear one short beep
3. Press to establish two way communication
4. Press or to release the door.
Call waiting: function code 38 must be set 1-9 and function code 39
can be set either 1 or 0, press on your phone to transfer between
calls
See Function Code 37
Premise
Relay 1 Relay 2
Open cycle ##9/**9 ##5/**9
Open hold ##8/**8 ##4/**4
Close ##7/**7 ##3/**3
OPERATION
TO CALL FROM THE SYSTEM
1. INTERCOM MODE PRESS
2. CALL FORWARDING MODE, press to scroll name from A-Z or
to scroll name from Z-A then press to call name selected.
Opening the door remotely press (relay 1) or (relay 2)
WARNING: DO NOT USE ON BOARD 12VDC
and GND TO POWER A DOOR STRIKE OR
MAGNETIC LOCK
SEPARATE POWER MUST BE USED TO POWER
A DOOR STRIKE OR MAGNETIC LOCK.


