Quidel Virena WR11 User manual

Sofia Surveillance Mode Installation Instructions for Virena WR11 Router Page 1of 4
If this is the first time setting up Sofia, please review the Sofia User Manual to enable the features on your new
Sofia.
Virena Package Contents
The following system components are supplied with the router.
Virena WR11 Router
Cellular Antenna
Ethernet Cable
Power Supply
Installation Instructions
Note: If any item is missing or damaged, please contact Quidel Technical Support at 800.874.1517 (in the U.S.),
Sofia and Virena Surveillance Installation Overview
There are a few simple steps required in order to set up your Virena WR11 Router and Sofia. Let’s begin with
the Virena WR11 Router:
Virena Router Installation and Connection
1. Connect the Cellular Antenna: Connect the cellular antenna to the
connector on the router (Figure 1). The antenna provides improved
signal strength resulting in better performance.
2. Connect the Power Supply: Connect the plug end of the 5 volt power
supply to the power connector on the router. Insert power supply end
fully and rotate clockwise to engage and lock (Figure 2). Then plug the
other end into a wall outlet.
3. Connectivity Verification: After powering on the Virena WR11 Router,
wait 5 minutes before confirming the following lights are illuminated
for connection purposes (Figure 3).
Sofia Surveillance Mode
Installation Instructions
for Virena WR11 Router
Figure 1
Figure 2
Figure 3
*Only authorized users approved by the Healthcare
Provider’s Organizational Administrator have
access to registering on MyVirena.com.

Sofia Surveillance Mode Installation Instructions for Virena WR11 Router Page 2of 4
POWER –solid green light
SIGNAL –solid green light represents good connection. If amber color light is shown, consider
relocating the router to a different location.
SERVICE –this light should flash in groups of either 1, 2 or 3 times
Note: The connection provisioning time may take up to 15 minutes. If there is no Verizon Wireless connection
or if LAN connection is preferred, please contact Quidel Technical Support at 800.874.1517 (in the U.S.),
Sofia Installation and Connection
There are five (5) steps to establishing the connection between the Sofia and Virena WR11 Router.
Sofia and Virena WR11 Router Connection
Set Network Configuration on Sofia
Surveillance Mode Set Up
Virena WR11 Router Connection Verification
Operator Number Set Up (Optional)
How to Perform a Test in Surveillance Mode
Sofia and Virena WR11 Router Connection
1. Power OFF Sofia.
2. Connect the Ethernet Cable: Connect one end of the Ethernet cable to
the LAN port on the router and the other end to a LAN port on the back
panel of Sofia (Figure 4).
3. Power ON Sofia.
Set Network Configuration on Sofia
1. Go to Main Menu Supervisor Menu (log in as Supervisor) Settings Network Settings Set
Network Configuration.
2. Scroll to “Set IP Address:” and ensure Manual is checked, see Figure 5. Scroll to “Network Address” and
enter IP network address to 192.168.0.5. Verify that all configurations on your device including: Subnet
Mask, Gateway and Port Number match what is shown in Figure 5. If it does not match, please enter the
correct numbers. Select OK.
3. Screen will display "Please wait." Once this message disappears, you will be back on the General Analyzer
Settings menu. Select the "Back" button twice to get back to the Supervisor Menu. Go to Supervisor Menu
Statistics View Network Settings to ensure that you have a valid IP address.
Note: The IP address will automatically be entered if Sofia is already connected to the Virena WR11 Router.
Figure 5.
Figure 4

Sofia Surveillance Mode Installation Instructions for Virena WR11 Router Page 3of 4
Surveillance Mode Set Up
1. Go to Main Menu Supervisor Menu Settings Network Settings Surveillance Settings.
Note: If Sofia does not show Surveillance Settings as an option, Sofia will require an upgrade to firmware 2.0.0
or above. For further assistance, please contact Quidel Technical Support at 800.874.1517 (in the U.S.),
2. In “Set SURV Parameters” screen (Figure 6) select the following:
Age Required: ✔Yes
Transmit Patient ID: ✔Off
Transmit Order Nr: ✔Off
Auto Send: ✔On
Queue Results: ✔On
3. When completed, press “OK” Back Main Menu.
Virena WR11 Router Connection Verification
1. Go to Main Menu Review Data Send Results Send Results
to SURV Receiver Test SURV Connection.
2. If connection is established, screen displays “The Analyzer can be connected to SURV.”
3. Return to the Main Menu (Press “OK” Back Back); Sofia is now ready to be run in the Surveillance
Mode.
4. If connection is not established, screen displays “The Analyzer cannot be connected to SURV.”
5. Return to the Main Menu (Press “OK” Back Back). Review the following steps to confirm all settings
and connections are correct:
i. Sofia and Virena WR11 Router Connection
ii. Set Network Configuration on Sofia
6. Next, run a Calibration Cassette to begin sending data to the cloud. (For instructions on running a
calibration, refer to the Sofia User Manual.)
Note: If unsuccessful in configuring router or network connections, contact Quidel Technical Support at
800.874.1517 (in the U.S.), 858.552.1100 (outside the U.S.) or e-mail technicalsup[email protected].
Operator Number Set Up (Optional)
This new entry with Sofia Firmware Version 2.0 allows an account the option of entering an Operator number
that is transmitted to the cloud. The Operator number is an optional field used for tracking operator
performance on MyVirena.com. The Operator number should be different than the User ID (log-in pin). The
User ID and User Name are not transmissible fields to the cloud.
Setting Up the ability to Transmit Operator Number
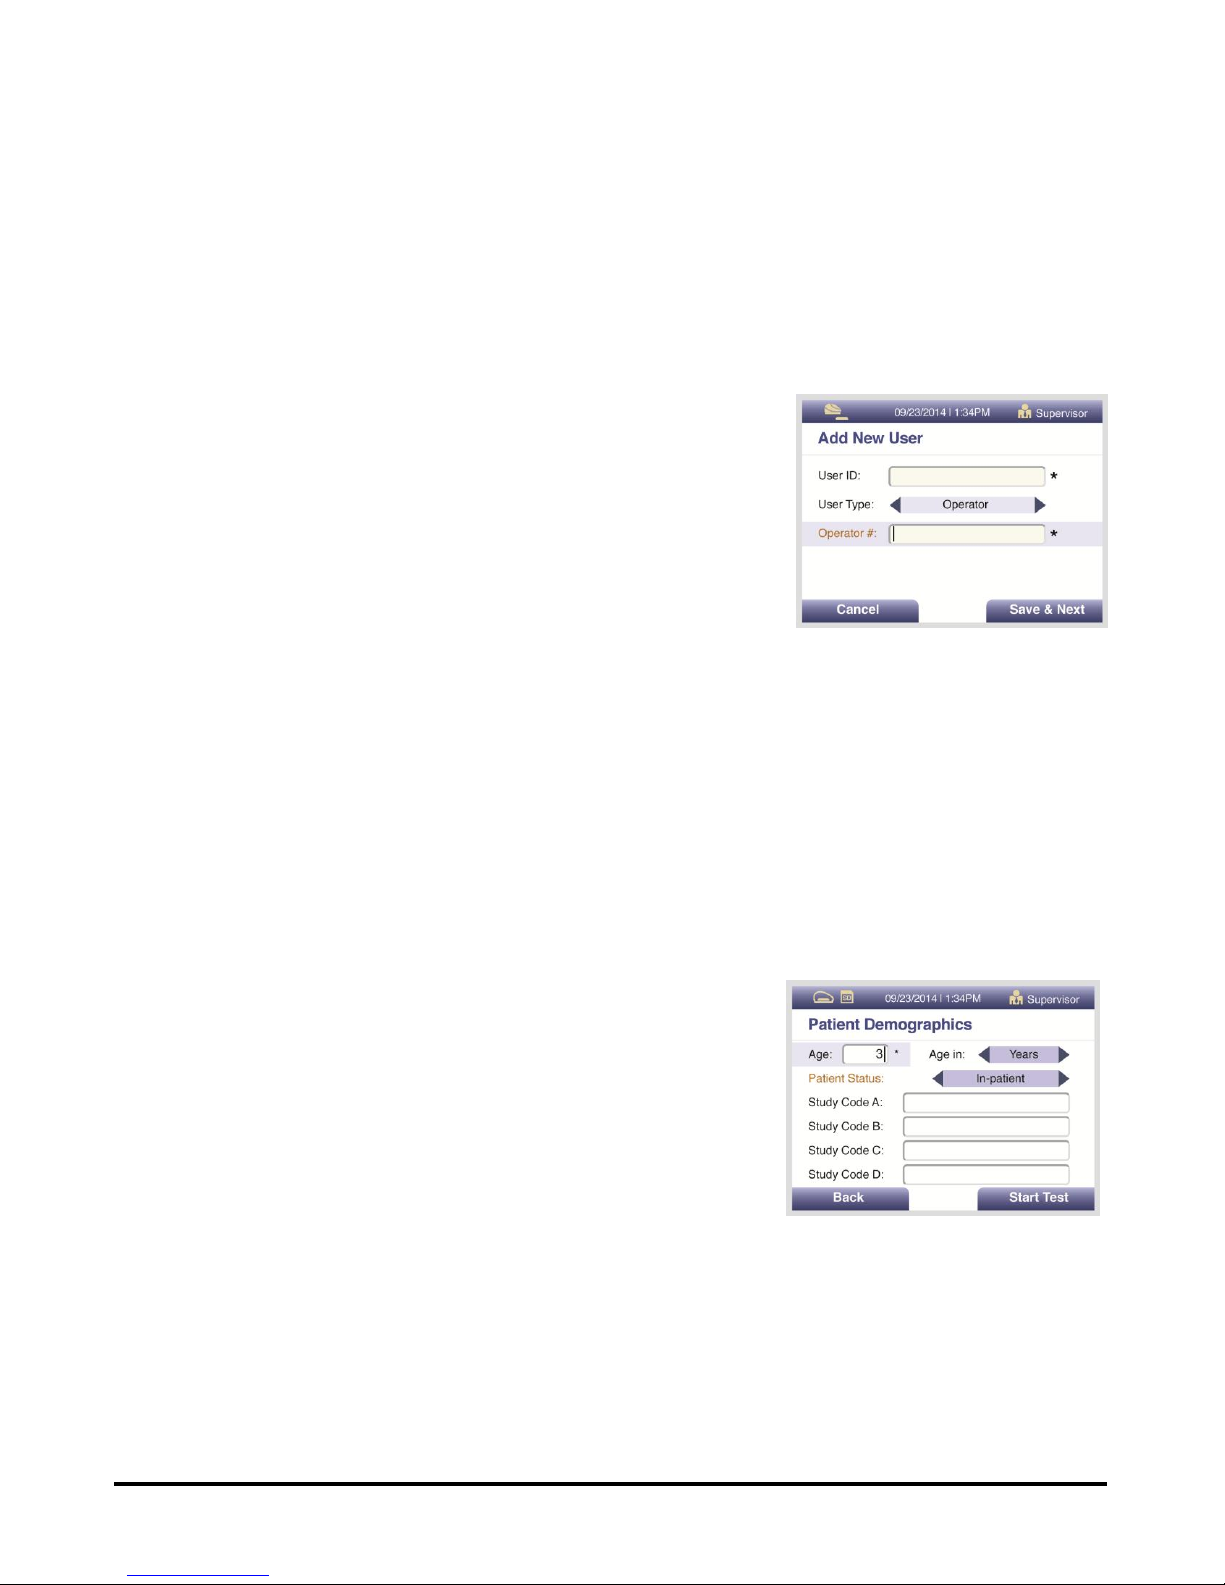
When Operator # is set to “Required”, a new Operator # must be entered when adding new users or when
editing current users.
1. Go to Main Menu Supervisor Menu Manage Users
2. In User Management Settings, set Operator # to Required by using the right arrow key and press “OK.”
Figure 6

Sofia Surveillance Mode Installation Instructions for Virena WR11 Router Page 4of 4
Add or Edit Users:
3. Select the Options key in the Manage Users screen to view the pop-up menu. Use the Up/Down arrows to
select Add User or Edit User.
4. Use the numeric keypad or barcode scanner to enter the User ID. User ID must be numeric and at least 4
digits.
5. Then use the Up/Down arrows to select User Type and Left/Right
arrows to toggle between Operator and Supervisor.
6. Use the Up/Down arrows to select Operator #, then use the numeric
keypad to enter the Operator # (Figure 7). The Operator # must be
numeric and have a limit of 12 characters. (Operators may use their
User ID with an extra number at the end for Operator Number).
7. Press the Save & Next button when all fields are complete.
8. Using the Left/Right/Up/Down arrows, select a letter at a time and
press OK to construct the User Name. (Please see Sofia User Manual
for details on how to set up users.)
How to Perform a Test in Surveillance Mode
1. Go to Main Menu Run Test.
2. Enter (User ID, Patient ID, and Order #) if required, then press “Start Test.”
3. Patient Demographics screen is displayed (Figure 8).
4. Enter numeric value for “Age” (select appropriate units of Years, Months, or Weeks) by using the right
arrow key.
5. Press the down arrow and select “Patient Status” (select In-patient, Outpatient, or Proficiency) by using
the right arrow key.
6. Then press “Start Test.”
Note: Study Code A-D allows for additional demographics data not
currently defined in Sofia with a limit of 2 numeric characters.
Note: For additional information regarding Virena WR11 Router
safety, certifications, and product disposal, refer to: quidel.com/virena.
1276801EN00 (11/14)
Figure 7
Figure 8
Table of contents
Other Quidel Network Router manuals