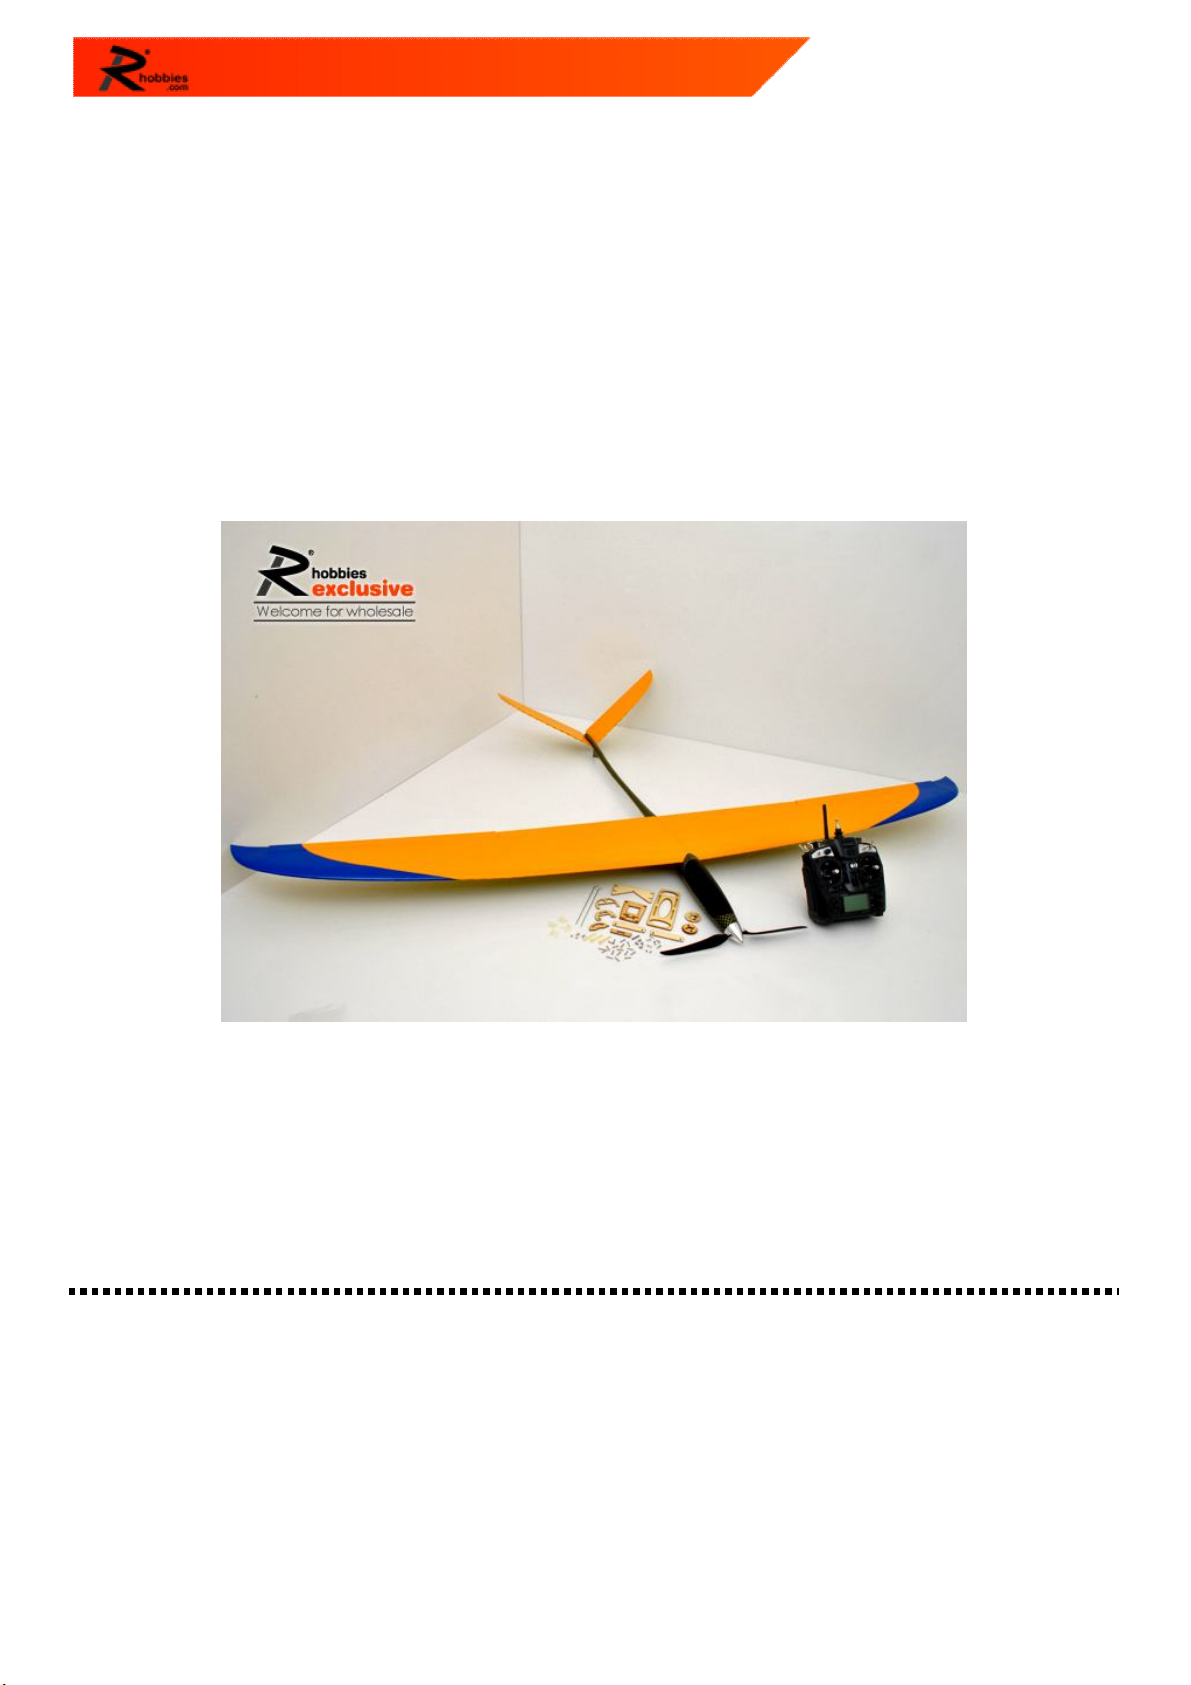
2M Sloopy 2000 Sailplane
Join our FREE Membership and accept 10%off Offer! R2hobbies.com
SLOOPY 2000
SLOOPY 2000 is new mate of R2hobbies Gliding Team. It’s the latest Edition of R2 Glider. Like others, its
fuselage is made up of Carbon Giber but in additional, it has 4 extra Fiberglass Clothes Layer turn out an
Ultra-Strong and in Carbon-Kevlar Pattern Fuselage. Covered with Top 1 Covering Frame - Oracover, the
Sloopy 2000 fly freely and be an outstanding one in the sky!
Specification
Length : 1110mm
Wingspan : 2000mm
Wing Type : S-4083
Wing Area : 32 dm. sq.
Wing Load : 25-35g /dm. sq.
Propeller : 12 x 6”
Flying weight : ~800g
Recommended Devices(Not included):
Radio Gear: Turborix 2.4Ghz 6 Channel Radio Gear
Servo : 4 x Turborix SG90 9g Mini Servo
Motor : Turborix 1200rpm/v 105W D2627 Brushless Motor
ESC : Turborix 60A Brushless ESC
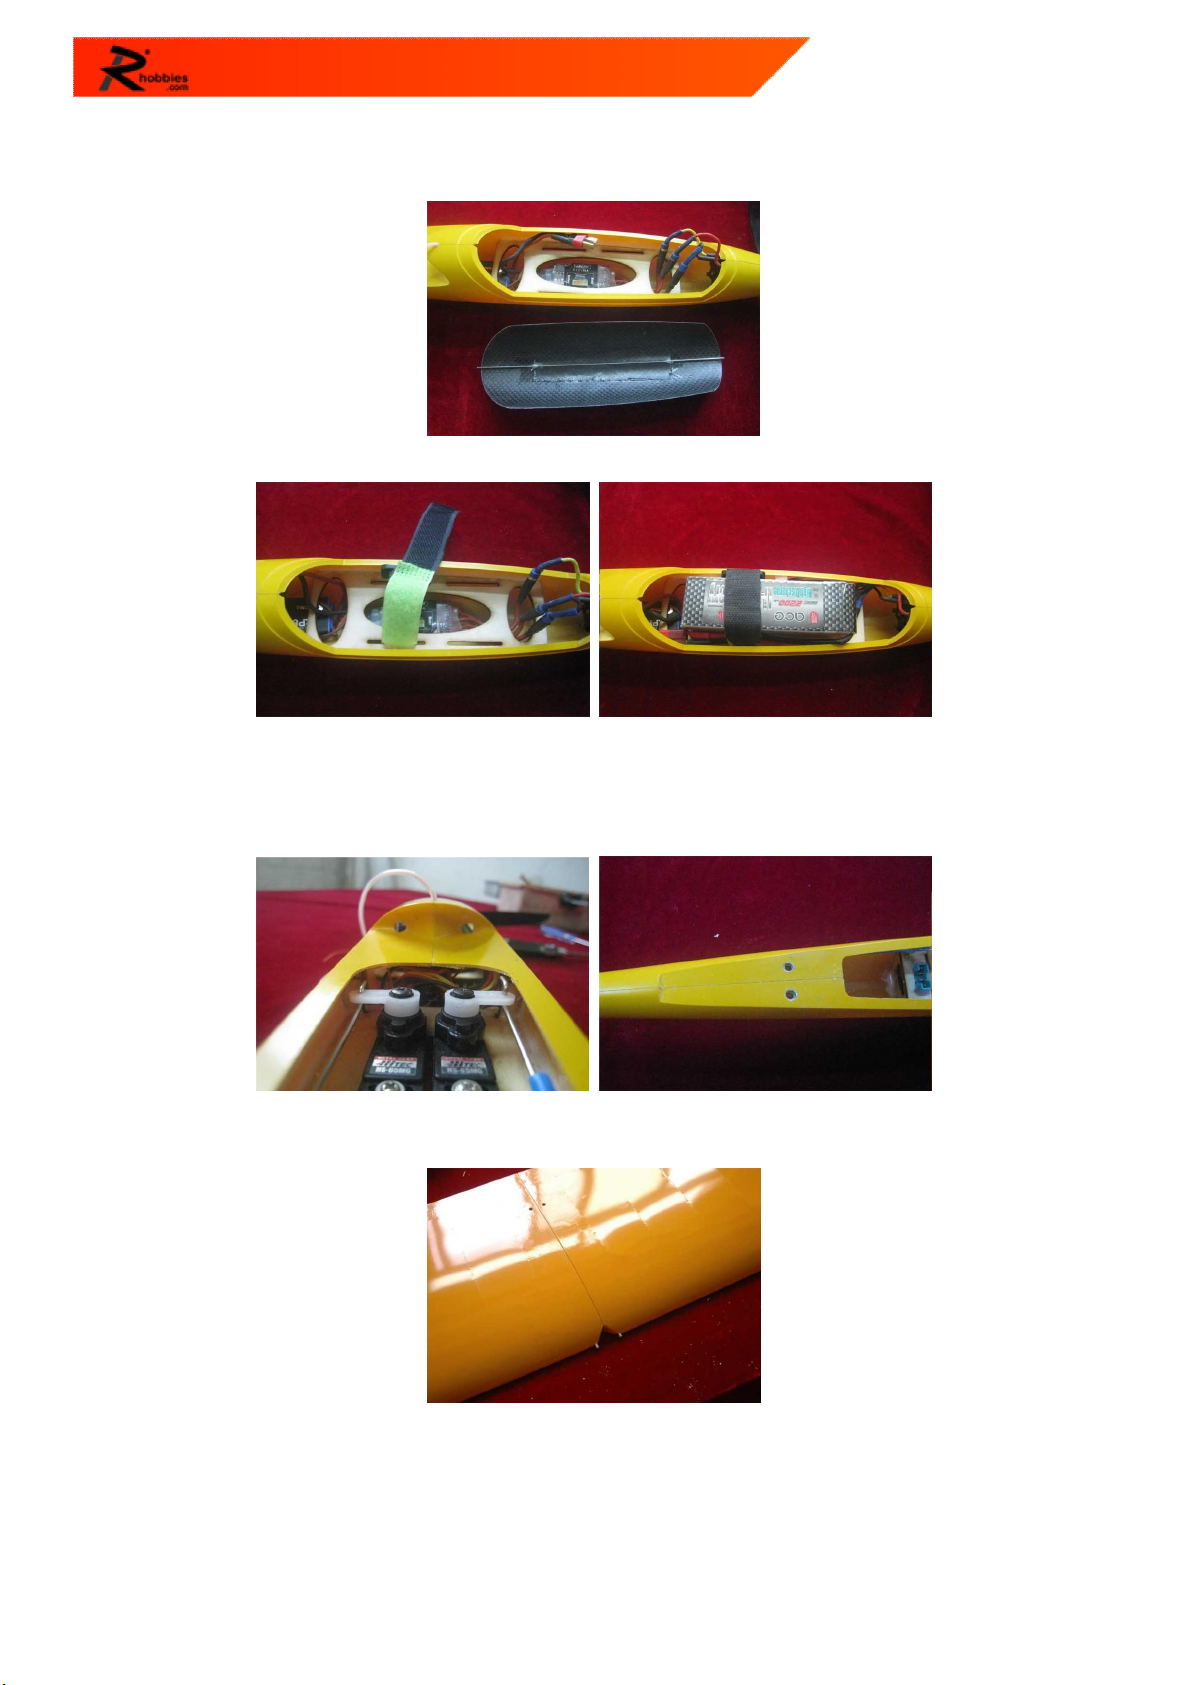
Preparation
1. Check all parts. If you find defective or missing parts. Please contact your local dealer.(Or contact
R2hobbies If you order from R2hobbies directly.)
2. Changes in weather, temperature and humidity may cause the covering film to slacken. If necessary,
use an iron to tighten the covering film.
Attention:
Iron should be covered with cloth, and start at low temperature.
Slowly rise to proper temperature, or you may damage the film if it’s too high.
Thrust the covering film and make some small holes. This allows hot air goes out.
Check the joints and re-cut if it’s not obviously show. You will find it easier when constructing the
Hinge.
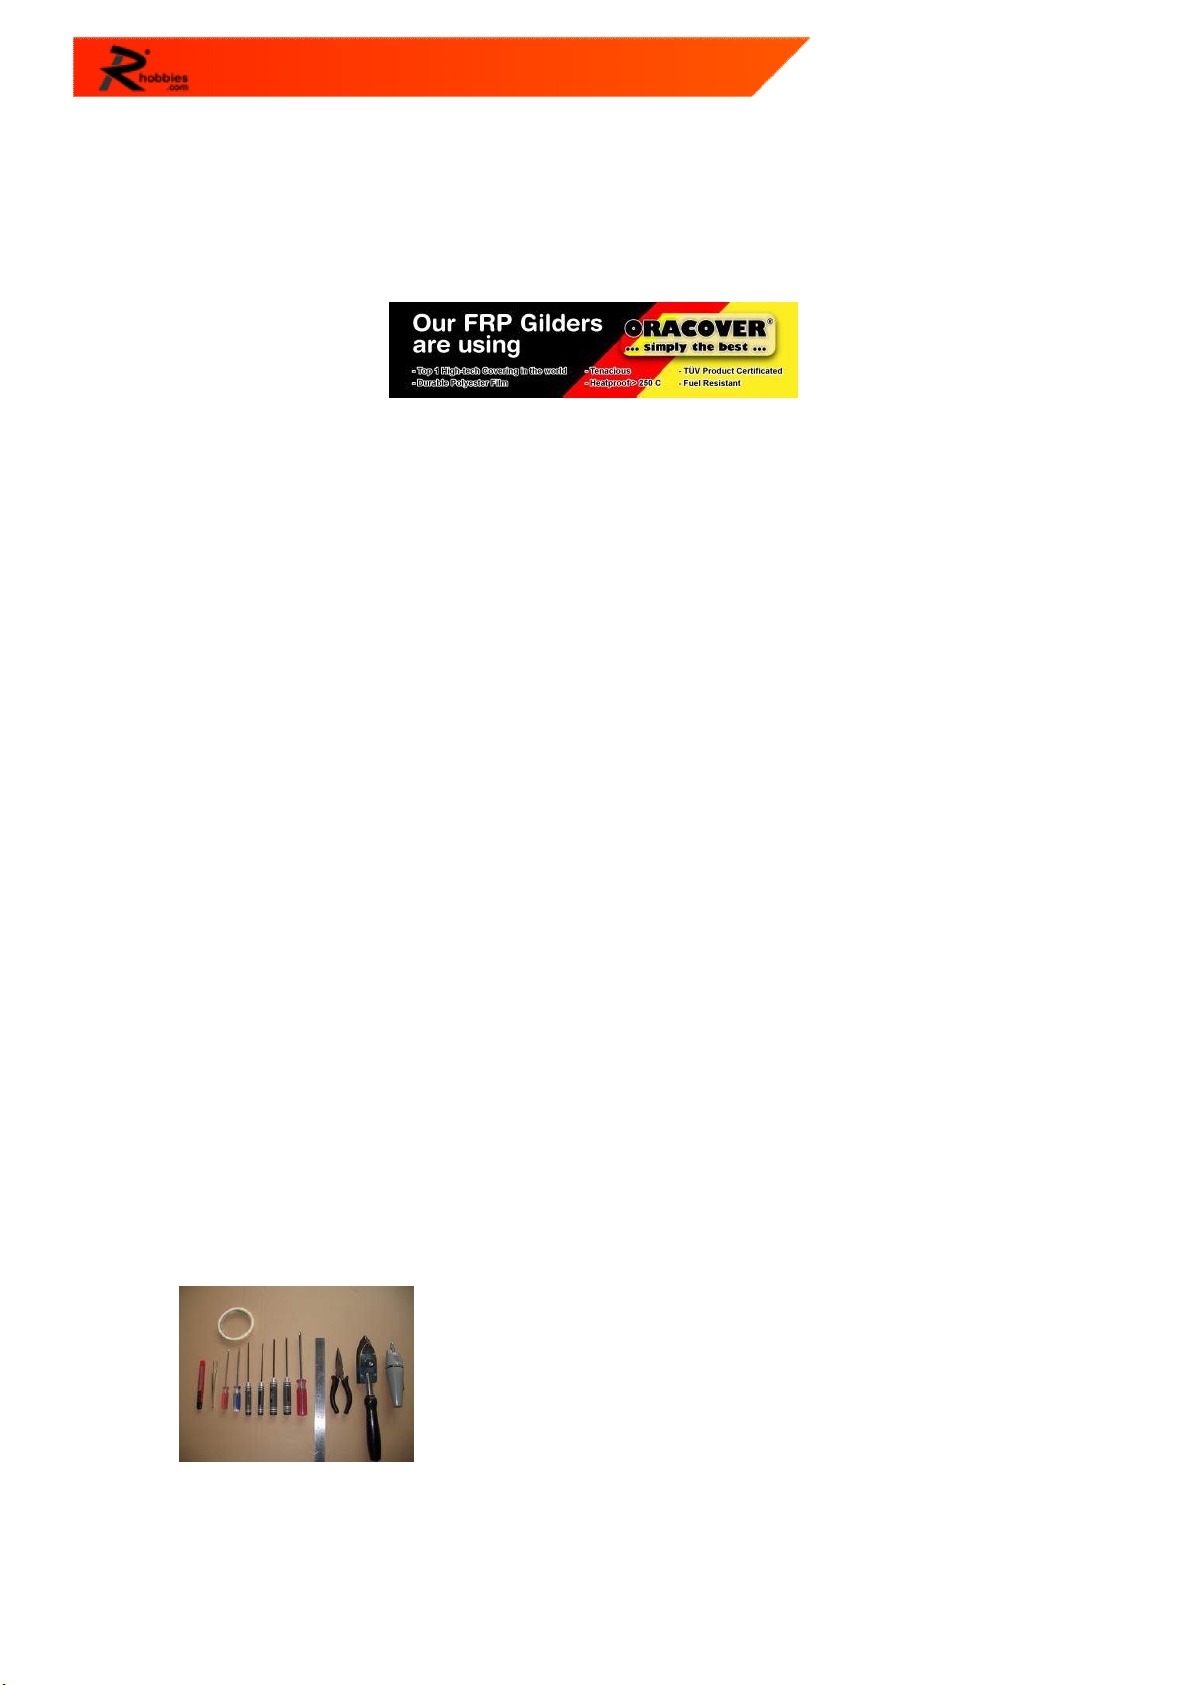
Tools
Cutter
Iron Pincers
Glue Screwdrivers
Paper Adhesive Tape