manuals.online logo
Brands
  1. Home
  2. •
  3. Brands
  4. •
  5. RAB Lighting
  6. •
  7. Accessories
  8. •
  9. RAB Lighting LOS2400 User manual

RAB Lighting LOS2400 User manual

The LOS2400 sensor “sees”
infrared heat changes caused by
the motion of people within its
detection zone and turns on lights
automatically.
How long do the lights
stay on?
Lights stay on as long as motion
is detected. They turn off a short time
after motion in the detection range stops.
You can adjust this time from 6 to 15
minutes. Since the lights are only on
when needed, and the sensor uses a
negligible amount of power, the
savings in energy costs are substantial.
How much motion is necessary
to keep lights on?
A 6" wave of a hand or head tilt once
every 6 to 15 minutes is sufficient to
keep the lights on.
How do you adjust the
sensor?
Time delay and sensitivity adjustments
are located on the back of the unit. An
LED indicator on the front panel shows
when motion is detected and aids
installation testing.
How large an area does the
LOS2400 cover?
At a 9 foot mounting height, the
maximum coverage is 2000 square feet.
At a 20 foot mounting height, the
maximum coverage is 2500 square feet.
The detection pattern covers 360
degrees from the sensor location in the
following pattern:
Detection Pattern
How much energy cost can be
saved?
Wattage Controlled by Sensor
1200W 2400W 4500W
25% $150 $300 $560
50% $300 $600 $1120
75% $450 $900 $1685
Saving based on % of time space
is unoccupied 12 hours/day,
260 days/year, @ $.08/kwh
over a two year period.
How Does the LOS2400 Occupancy Sensor Work?
Smart Switch Sensor
Installation Manual
Also includes instructions
for LOS2400H Hallway Sensor
LOS2400
20’ ceiling
9’ ceiling
50’
30’
30’
50’
Specifications:
Switching Capacity: 20 Amps
1.5 Horsepower
Fluorescent:
2400w (120v), 4800w (277v)*
Incandescent:
, 4800w (277v)*
2400w (120v)
Voltage: 120 or 277 volts*
Detection Zone: 50' x 50' (360 degrees) w/20' ceiling
Time Adjustment: 6 to 15 minutes
Power Consumption: 250 micro amps
UL Listing: Appliance Control, Specification Grade
*To switch 120 volts, the LOS2400/120 must be used.
*To switch 277 volts, the LOS2400/277 must be used.
2
Locate the LOS2400 where it has an
unobstructed view of the room, particu-
larly the areas normally occupied by
people.
If people can not see the sensor lens
from their normal positions in the room,
the sensor will not detect their pres-
ence.
High cabinets, walls, columns, doors
and other obstructions may limit the
sensor’s view of the entire room.
If obstructions can be moved the sen-
sor will have a better view. If the
obstructed areas are not normally
occupied, the sensor will still see suffi-
cient activity to operate properly.
Several sensors cover large or
oddly shaped rooms
Selecting A Location
When Heating, Ventilating or Air
Conditioning (HVAC) registers turn on
they create turbulence which can
cause the sensor to activate. It is
important that the sensor and HVAC
register be separated by at least 4'.
Avoiding HVAC Turbulence
If the sensor’s location gives it a view
of other rooms or hallways, lights will
be turned on when movement is
detected in these adjacent areas. The
sensor’s detection zone may be
restricted
by masking a portion of the lens.
Move sensor to eliminate
detection through doorway
Basic Wiring Diagram
Caution:
• TURN OFF ALL POWER BY
REMOVING THE POWER FUSE OR
TURNING OFF THE CIRCUIT BREAKER
FOR YOUR SAFETY AND TO PREVENT
DAMAGE TO THE UNIT.
• Please read this entire Installation
Manual before proceeding.
• All wiring should comply with local
electrical codes and requires a quali-
fied electrician.
• Make sure the total lighting load
connected to the LOS2400 does not
exceed the following ratings:
20 Amps
1.5 Horsepower
Fluorescent:
2400w (120v), 4800w (277v)
Incandescent:
2400w (120v), 4800w (277v)
To switch more wattage, install a relay
to handle the load.
Make sure line voltage has not browned
out below 110 volts. If voltage is not
adequate, sensor will not operate
properly.
1. Place sensor in circuit in front
of all lights.
2. Connect as shown in wiring
diagram below.
3. Twist on wire nuts. Secure with
electrical tape.
4.
Make Time and Sensitivity
adjustments while power is off
(see page 5)
Wiring:
LIGHT FIXTURE LIGHT FIXTURE LIGHT FIXTURE
NEUTRAL
DOORWAY
HVAC REGISTER
minimum 4 ft.
CEILING
FLOOR
DETECTION PATTERN
DOORWAY
Sensor sees
through doorway
Sensor’s view
is limited
A Black 120 volt EXISTING SWITCH REMAINS BUT IS NOT
A Orange 277 volt REQUIRED IN NEW CONSTRUCTION
LINE (HOT)
RED
RED
WHITE
A
34
The unit will not turn off lights when
power is initially applied until the time
delay period (6 to 15 minutes) has
passed. You may shorten this time to
30 seconds by inserting the ByPass
key half way.
Detection Test
1. Walk to an area of the room where
normal activity will occur. Remain
motionless for 5 seconds. This 5 sec-
ond period allows the Red LED Test
Circuit to recharge. Move one arm
until the LED blinks. This indicates
that your movement has been detect-
ed.
2. Move to other areas. Repeat
the test.
LED will blink when sensor
detects movement
Time Adjustment
The LOS2400 allows adjustment
of the delay time from 6 to 15
minutes.
If no movement is detected for the
time period selected, the lights turn
off. The Time Adjustment is factory set
for 12 minutes.
The Time should be reduced only in
heavy traffic areas such as hallways,
kitchens, copier rooms, etc. to achieve
maximum energy savings.
Keep the time setting at maximum in
large rooms (over 400 sf).
The time delay can be shortened to
30 seconds for testing by inserting the
ByPass key half way.
LED
Adjustment
Sensitivity Adjustment
Adjusting the Sensitivity control is not
normally necessary. It can reduce
detector sensitivity 5%. Less sensitivi-
ty may be desired for smaller rooms
(less than 400 sf).
If the unit is being activated by HVAC
or other infrared sources (other than
people), reducing the sensitivity may
help.
Masking The Lens
If the sensor’s location gives it a view
of other rooms or hallways, lights will
be turned on when movement is
detected in these adjacent areas. The
sensor’s detection zone may be
restricted by covering a portion of the
lens with the masking elements pro-
vided. Make sure the sensor is not
“seeing” people in other rooms or hall-
ways through open doorways. Mask
the lens in the direction of the door.
Temperature Stabilization
If the sensor was in transit and
subjected to extreme heat or freezing
before installation it may take up to an
hour for the sensor to reach room
temperature and operate normally.
Maintenance and Repair
The LOS2400 requires no maintenance
other than keeping the lens area clean
and free of obstructions. Do not attempt
to open or repair the unit. There are
dangerous voltages inside the case
and no user serviceable parts. For
repair service, follow the instructions
in the limited warranty section.
ByPass Key
In the unlikely event of unit failure, insert
the ByPass key completely on the side
of the unit. This will bypass all electronic
circuitry and keep lights on all the time.
Temperature Variation:
This is a passive infrared sensor
that detects changes in temperature.
Dramatic changes in temperature can
activate the lights.
56
Bypass
Logic
Key
Masking Segment “A” Installed
Masking
Segments
15 Min.
6 Min.
Min.
(100%
Min.
(95%
Lights Turn On for Unknown
Reasons
1. Housepets can trigger the sensor.
Check sensor aiming to reduce
nuisance triggering.
2.
The sensor may turn on during
voltage
surges. Reset by turning power off for
at least 10 seconds
3. A possible source of “mysterious”
sensor activations is the sensor receiv-
ing strong local radio
signals. Check for
nearby CB, Ham,
VHF radio transmit-
ters or Cellular telephones, the sensor
will not be permanently impaired by
these signals.
4. Check all the Solutions mentioned
under “Lights Turn On and Off”.
Lights Do Not Turn Off
1. Make sure there is no motion
in the room for at least 15 minutes.
Stay completely out of the protection
pattern to avoid activating the unit.
2. Check the room for possible sources
of infrared energy that are within the view
of the sensor. Look for air conditioners,
heaters, fans, concentrated or reflected
lights, moving equipment or machinery
with heat venting fans (computers,
copiers, etc.) Move the offending infrared
source or mask the sensor lens facing
that direction to avoid detection.
Reducing sensitivity will also help.
Lights Do Not Turn On
1. Make sure there is no obstruction
between sensor and area of activity.
2.
Check that the bulbs and fixtures
work. Check that the wiring exactly
matches the wiring diagram.3. Check
that power is on.
4. If the red LED blinks but the lights
do not turn on, insert bypass key all
the way into its slot. If the light switch-
es on, the sensor is defective.
5. Increase sensitivity control to maximum.
Troubleshooting
LOS2400H: Hallway Sensor
Application & Mounting Notes
The narrow end of the LOS2400H
must be mounted in the direction
shown in the diagram below.
The sensor is more sensitive to move-
ment ACROSS its pattern than if a
person walks directly toward the sensor.
Crossing zones is best and the
installer should keep this in mind
when using any passive infrared
technology.
The closer the movement is to the
sensor, the SMALLER the movement
is needed to trigger the sensor. The
opposite is also true….if you are far
away from the sensor it will take a
LARGER movement to trigger the
sensors.
7
Your LOS2400 will be replaced or
repaired, at our option, if it proves to be
defective in workmanship or materials
within one year from the date of origi-
nal purchase.
For repair or replacement, return
the product freight prepaid and insured
to the address below. The LOS2400
should be packed carefully. Please
include your sales receipt and a
description of the problem.
If your unit is out of warranty or the
damage is unrelated to the original
manufacture, return your unit directly to
us with a check for $20.00 (made out
to RAB Lighting). We will repair or
replace your unit.
Under no circumstances shall we
be liable for any incidental or
consequential damages arising out of
or in connection with the use or perfor-
mance of this product or other indirect
damages with respect to loss of prop-
erty or revenue or cost of installation,
removal or re-installation. This warranty
gives you specific legal rights and you
may also have other rights which vary
from state to state.
Limited Warranty
Tech Help Line Fax Back Website e-mail
888 RAB-1000 888 RAB-1236 www.rabweb.com [email protected]
170 Ludlow Avenue, Northvale, NJ 07647 USA
Over 30 warehouses nationwide.
East
South
North
West
Crosswalk Detection Pattern
Random Detection Pattern
Max. 16’ Max. 16’
LOS2400H LOS2400H LOS2400H
Max. 80’ Max. 80’
Coverage Pattern
16’ x 80’ (sensor should ideally be
mounted at 9’ - 11’ for maximum
coverage)
8
Other RAB Lighting Accessories manuals

RAB Lighting Lightcloud LCSENSE15/D10 User manual

RAB Lighting

RAB Lighting Lightcloud LCSENSE15/D10 User manual

RAB Lighting LOS800CA User manual

RAB Lighting

RAB Lighting LOS800CA User manual

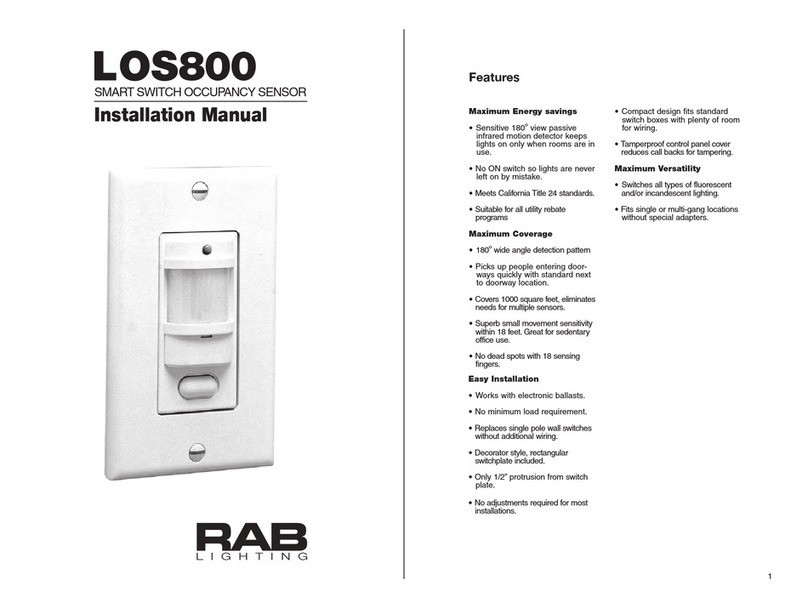
RAB Lighting LOS800 User manual

RAB Lighting

RAB Lighting LOS800 User manual

RAB Lighting Stealth STL200 User manual

RAB Lighting

RAB Lighting Stealth STL200 User manual

RAB Lighting STL360HBW User manual

RAB Lighting

RAB Lighting STL360HBW User manual

RAB Lighting Lightcloud LCLCSENSE User manual

RAB Lighting

RAB Lighting Lightcloud LCLCSENSE User manual

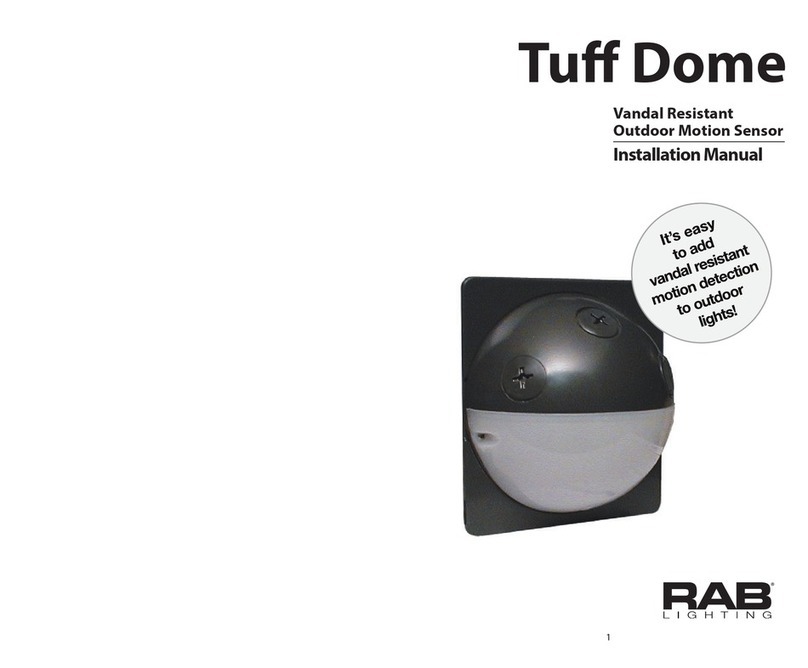
RAB Lighting Tuff Dome User manual

RAB Lighting

RAB Lighting Tuff Dome User manual

RAB Lighting GT500 User manual

RAB Lighting

RAB Lighting GT500 User manual

RAB Lighting los 2500 User manual

RAB Lighting

RAB Lighting los 2500 User manual

Popular Accessories manuals by other brands

fontastic Kari 10 user manual

fontastic

fontastic Kari 10 user manual

Rancilio iSteam specification

Rancilio

Rancilio iSteam specification

RJM Mini Amp Gizmo user manual

RJM

RJM Mini Amp Gizmo user manual

Takex TXF-125 Series instruction manual

Takex

Takex TXF-125 Series instruction manual

INTERTECHNO ITLR-3500S operating instructions

INTERTECHNO

INTERTECHNO ITLR-3500S operating instructions

Delfino DRH7 user manual

Delfino

Delfino DRH7 user manual

Airspan Air4Gp installation guide

Airspan

Airspan Air4Gp installation guide

Festo ASLR-D-L1 Mounting instructions

Festo

Festo ASLR-D-L1 Mounting instructions

Interlogix International Shock Sensor installation instructions

Interlogix

Interlogix International Shock Sensor installation instructions

Harvest TEC 600A Operation manual

Harvest TEC

Harvest TEC 600A Operation manual

Schwaiger SDW33USB user guide

Schwaiger

Schwaiger SDW33USB user guide

BERKSHIRE PRODUCTS 2010 user manual

BERKSHIRE PRODUCTS

BERKSHIRE PRODUCTS 2010 user manual

PRESONUS Quantum 4848 owner's manual

PRESONUS

PRESONUS Quantum 4848 owner's manual

Hytronik HMW39/RF Installation and instruction manual

Hytronik

Hytronik HMW39/RF Installation and instruction manual

Comunello RS instruction manual

Comunello

Comunello RS instruction manual

Panasonic AR42P9W - Plasma Panel anti-glare Filter Fitting instructions

Panasonic

Panasonic AR42P9W - Plasma Panel anti-glare Filter Fitting instructions

NuTone Knock DCAM100RB installation instructions

NuTone

NuTone Knock DCAM100RB installation instructions

Baumer UNAM 12N1914/S14 manual

Baumer

Baumer UNAM 12N1914/S14 manual

manuals.online logo
manuals.online logoBrands
  • About & Mission
  • Contact us
  • Privacy Policy
  • Terms and Conditions

Copyright 2025 Manuals.Online. All Rights Reserved.