manuals.online logo
Brands
  1. Home
  2. •
  3. Brands
  4. •
  5. RAB Lighting
  6. •
  7. Floodlight
  8. •
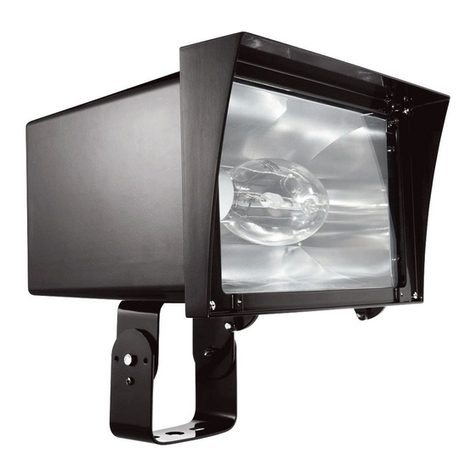
  9. RAB Lighting FXLED Series User manual

RAB Lighting FXLED Series User manual

FXLED INSTALLATION INSTRUCTIONS
®
IMPORTANT
READ CAREFULLY BEFORE INSTALLING FIXTURE. RETAIN THESE INSTRUCTIONS FOR FUTURE REFERENCE.
RAB xtures must be wired in accordance with the National Electrical Code and all applicable local codes. Proper grounding
is required for safety. THIS PRODUCT MUST BE INSTALLED IN ACCORDANCE WITH THE APPLICABLE INSTALLATION CODE BY A
PERSON FAMILIAR WITH THE CONSTRUCTION AND OPERATION OF THE PRODUCT AND THE HAZARDS INVOLVED.
WARNING: Make certain power is OFF before installing or maintaining xture. No user serviceable parts inside.
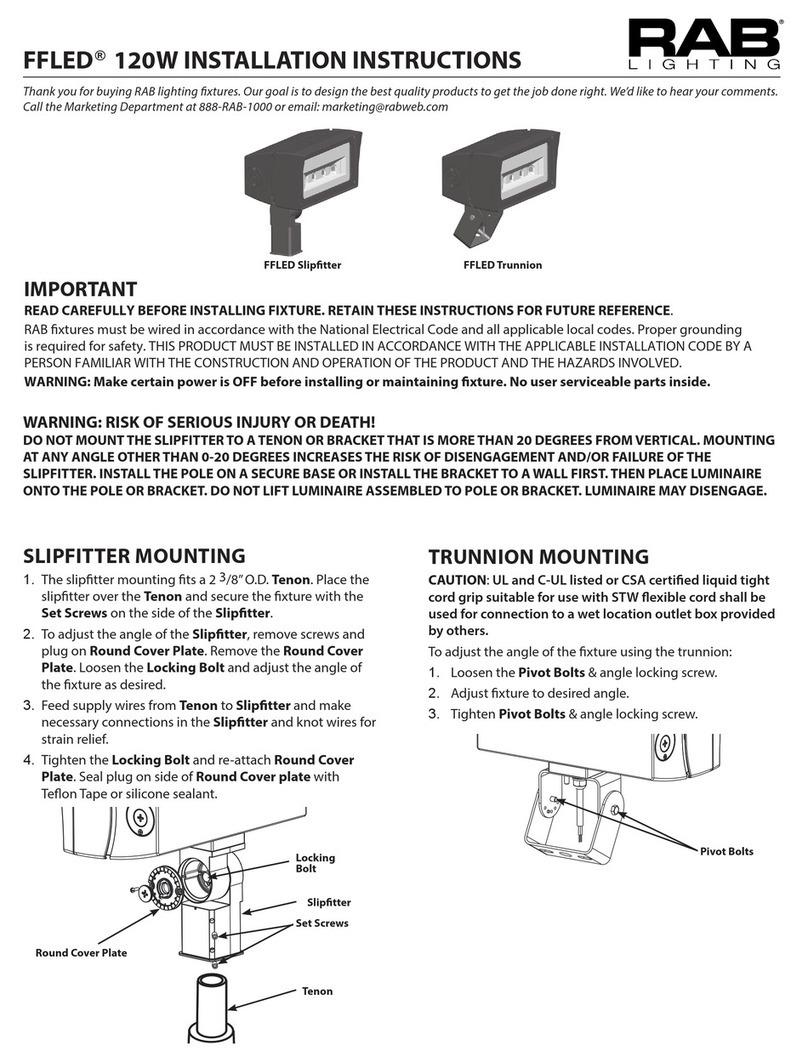
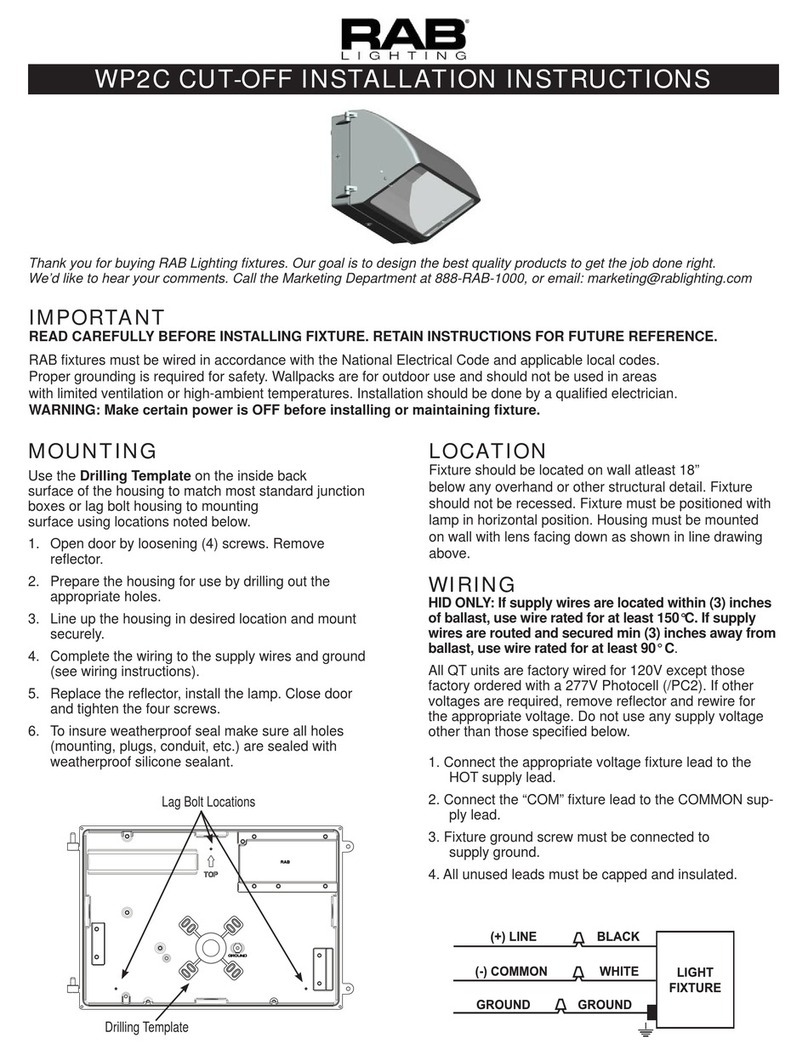
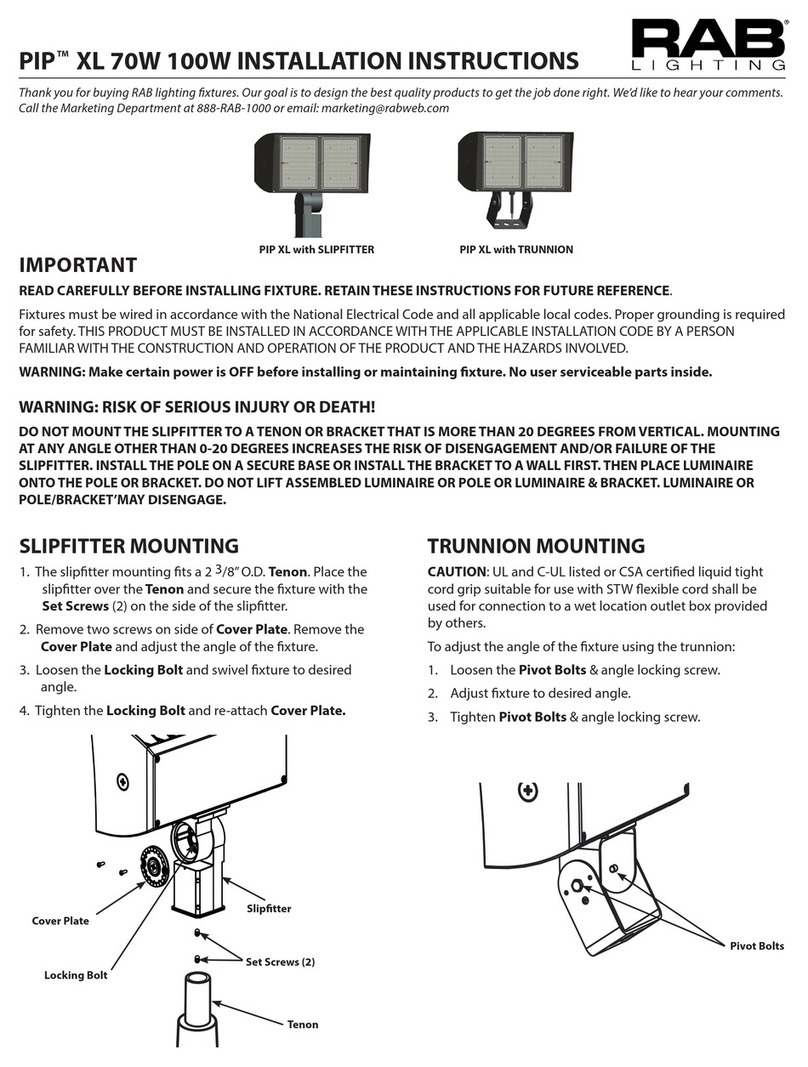
SLIPFITTER MOUNTING
1. The sliptter mounting ts a 2 3/8” O.D. Tenon. Place the
sliptter over the Tenon and secure the xture with the
Set Screws (2) on the side of the sliptter.
2. Remove two screws on side of Round Cover Plate.
Remove the Round Cover Plate and adjust the angle of
the xture.
3. Loosen the Locking Bolt and swivel xture to desired
angle.
4. Tighten the Locking Bolt and re-attach Round Cover
Plate.
Tenon
Set Screws
Round
Cover
Plate
Locking Bolt
Pivot Bolts
TRUNNION MOUNTING
CAUTION: UL and C-UL listed or CSA certied liquid tight
cord grip suitable for use with three conductor type STW
exible cord shall be used for connection to a wet location
outlet box provided by others.
To adjust the angle of the xture using the trunnion:
1. Loosen the Pivot Bolts & angle locking screw.
2. Adjust xture to desired angle.
3. Tighten Pivot Bolts & angle locking screw.
TROUBLESHOOTING
1. Check that the line voltage at the xture is correct. Refer
to wiring directions.
2. Be sure the xture is grounded properly.
3. Is the photocell, if used, functioning properly?
CLEANING & MAINTENANCE
CAUTION: Be sure xture temperature is cool enough
to touch. Do not clean or maintain while xture is
energized.
1. Clean glass lens with non-abrasive glass cleaning
solution.
2. Do not open the xture to clean the LED. Do not touch
the LED.
ACCESSORIES
Chrome Wire Guard: GDFXLED78W
Poly Shield: GDFXLED78P
Lens & Door Replacement: LFXLED78 (bronze)
LFXLED78W (white)
FXLED INSTALLATION INSTRUCTIONS
®
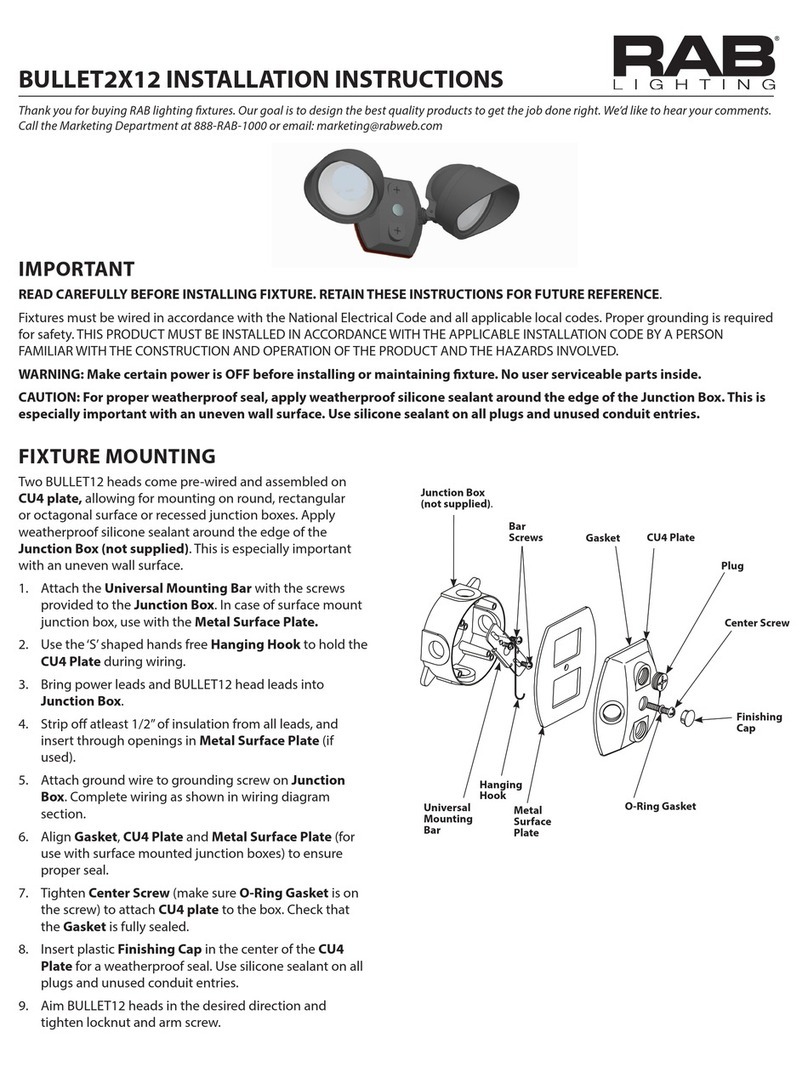
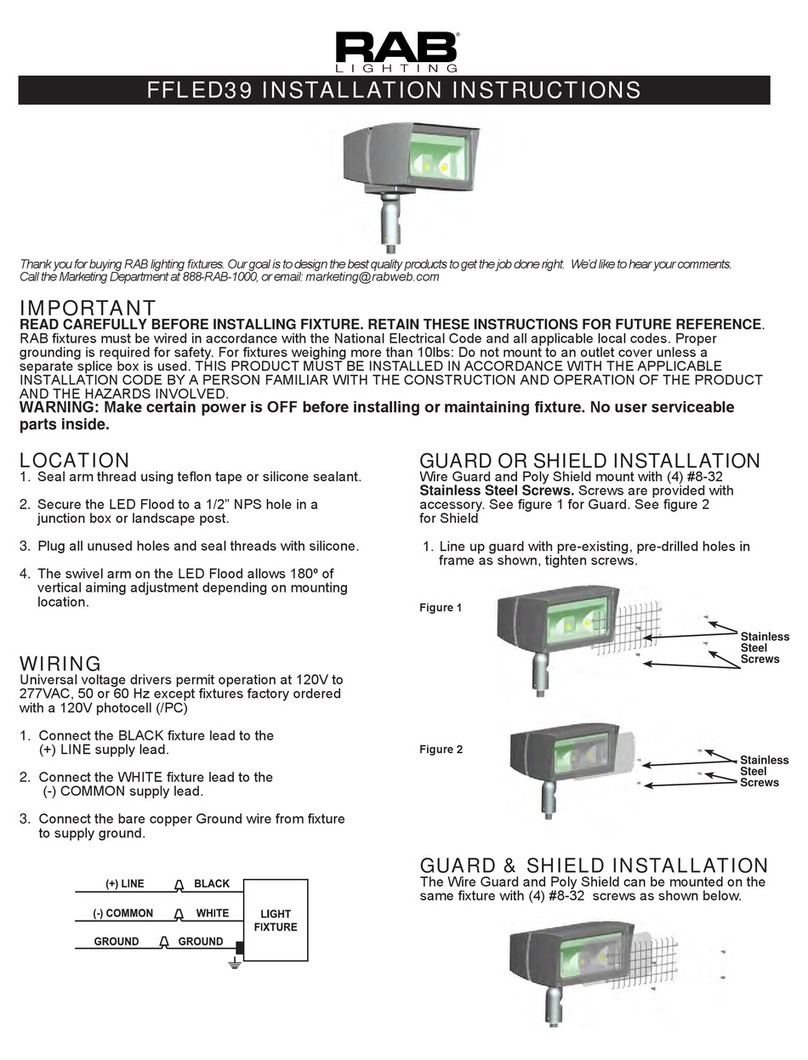
GUARD OR SHIELD INSTALLATION
Wire Guard and Poly Shield mount with (4) #8-32 Stainless
Steel Screws. Screws are provided with the accessory. See
g. 3 for Guard. See g. 4 for Shield
1. Line up guard or shield with existing pre-drilled holes in
frame as shown, tighten screws.
GUARD & SHIELD INSTALLATION
The Wire Guard and Poly Shield can be mounted on the
same xture with (4) #8-32 screws as shown below.
Stainless
Steel
Screws
Fig. 3
Fig. 4
Note: These instructions do not cover all details or variations
in equipment nor do they provide for every possible situation
during installation, operation or maintenance.
Patent - US:
pat. D659,280
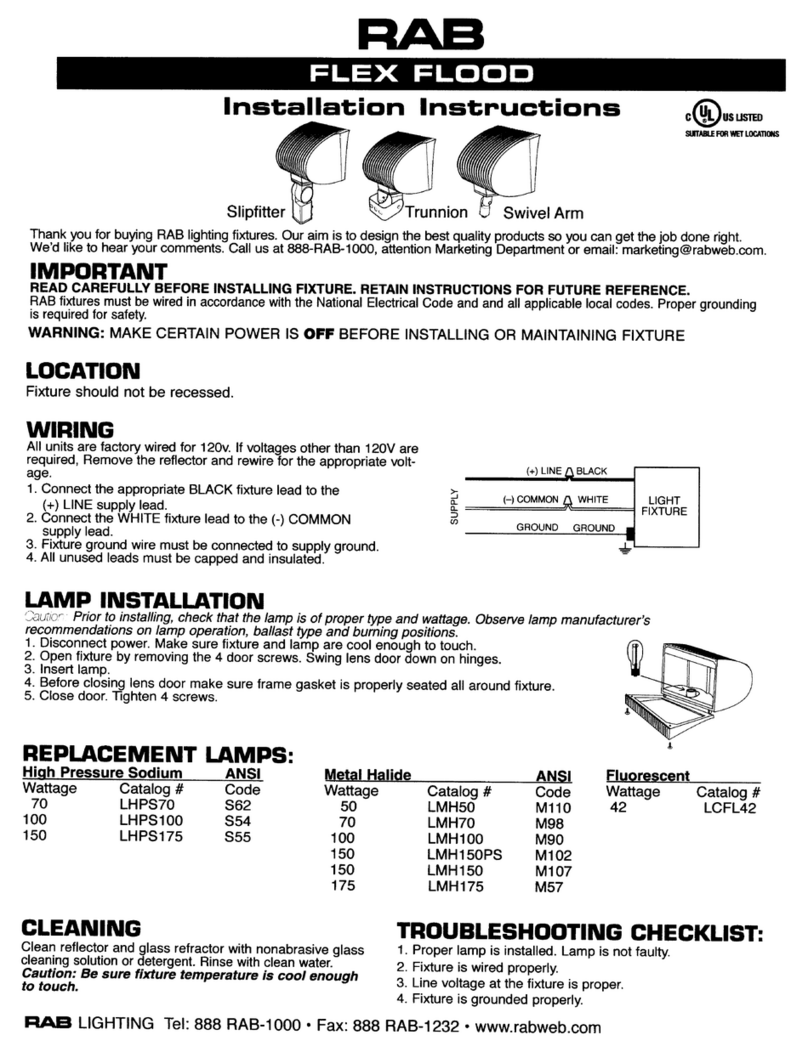
ON-OFF WIRING
Universal voltage driver permits operation at 120V thru 277V,
50 or 60 Hz. Units ordered with (/480V) sux are 480V, 60Hz.
For Non-Dimming, follow the wiring directions as in g. 1.
1. Connect the black xture lead to the (+) LINE supply lead.
2. Connect the white xture lead to the (-) COMMON supply
lead.
3. Connect the GROUND wire from xture to supply ground.
LIGHT
FIXTURE
(+)LINE BLACK
(-)COMMON WHITE
GROUND GROUND
Fig. 1
Fig. 2
0-10V DIMMABLE WIRING
Universal voltage driver permits operation at 120V thru 277V,
50 or 60 Hz. For 0-10V Dimming, follow the wiring directions
as in g. 2.
1. Connect the black xture lead to the (+) LINE supply lead.
2. Connect the white xture lead to the (-) COMMON supply
lead.
3. Connect the GROUND wire from xture to supply ground.
Do NOT connect the GROUND of the dimming xture to
the output.
4. Connect the purple xture lead to the (V+) DIM lead.
5. Connect the gray xture lead to the (V-) DIM lead.
6. Cap the yellow xture lead, if present. Do NOT connect.
Stainless
Steel
Screws
Stainless
Steel
Screws
FXLED SLIPFITTER BILEVEL INSTRUCTIONS
®
IMPORTANT
READ CAREFULLY BEFORE INSTALLING FIXTURE. RETAIN THESE INSTRUCTIONS FOR FUTURE REFERENCE.
RAB xtures must be wired in accordance with the National Electrical Code and all applicable local codes. Proper grounding is
required for safety. This product must be installed in accordance with the applicable installation code by a person familiar with the
construction and operation of the product and the hazards involved.
WARNING: Make certain power is OFF before installing or maintaining xture. No user serviceable parts inside.
MOUNTING ARM ON FIXTURE
1. Bi-level xtures have LED’s wired in sets of three LEDs. The sets are shown below.
2. Each set has leads brought through the sliptter and labeled.
3. Use the set for switching as needed in your application.
Set # 1
Set # 2

Other RAB Lighting Floodlight manuals

RAB Lighting CANVAS78TW User manual

RAB Lighting

RAB Lighting CANVAS78TW User manual

RAB Lighting ANGSHARK User manual

RAB Lighting

RAB Lighting ANGSHARK User manual

RAB Lighting FFLED Slipfitter Service manual

RAB Lighting

RAB Lighting FFLED Slipfitter Service manual

RAB Lighting PIP XL 70W User manual

RAB Lighting

RAB Lighting PIP XL 70W User manual

RAB Lighting FLOODZILLA User manual

RAB Lighting

RAB Lighting FLOODZILLA User manual

RAB Lighting SMSBULLET2X12 User manual

RAB Lighting

RAB Lighting SMSBULLET2X12 User manual

RAB Lighting WP2C Service manual

RAB Lighting

RAB Lighting WP2C Service manual

RAB Lighting FLEX FLOOD Service manual

RAB Lighting

RAB Lighting FLEX FLOOD Service manual

RAB Lighting LESLIE SMSLES2X13 User manual

RAB Lighting

RAB Lighting LESLIE SMSLES2X13 User manual

RAB Lighting Gotcha! Plus GT500 User manual

RAB Lighting

RAB Lighting Gotcha! Plus GT500 User manual

RAB Lighting SMARTBULLET SQB1 User manual

RAB Lighting

RAB Lighting SMARTBULLET SQB1 User manual

RAB Lighting BULLET2X12 User manual

RAB Lighting

RAB Lighting BULLET2X12 User manual

RAB Lighting FFLED39 User manual

RAB Lighting

RAB Lighting FFLED39 User manual

Popular Floodlight manuals by other brands

Hugo Lahme VitaLight installation instructions

Hugo Lahme

Hugo Lahme VitaLight installation instructions

Gardens at Night Flood Light Slim Line 10 installation instructions

Gardens at Night

Gardens at Night Flood Light Slim Line 10 installation instructions

ASTORA WS 840D quick start guide

ASTORA

ASTORA WS 840D quick start guide

PXM PxArt+ 6 manual

PXM

PXM PxArt+ 6 manual

Martec GUARD instruction manual

Martec

Martec GUARD instruction manual

Gantom Precision DMX user guide

Gantom

Gantom Precision DMX user guide

Life 39.9F4030C user manual

Life

Life 39.9F4030C user manual

ACME TS-300M CW user manual

ACME

ACME TS-300M CW user manual

Eurolux FS235 manual

Eurolux

Eurolux FS235 manual

LIGMAN PIB-50012 installation manual

LIGMAN

LIGMAN PIB-50012 installation manual

Sealite BargeSafe 3NM Installation & service manual

Sealite

Sealite BargeSafe 3NM Installation & service manual

thomann STAIRVILLE xBrick HEX 16x8W RGBAW UV user manual

thomann

thomann STAIRVILLE xBrick HEX 16x8W RGBAW UV user manual

Nature Power 1200 instruction manual

Nature Power

Nature Power 1200 instruction manual

Robus RRE1040-04 quick start guide

Robus

Robus RRE1040-04 quick start guide

ANSMANN FL800AC manual

ANSMANN

ANSMANN FL800AC manual

Malibu Boats CL9 instructions

Malibu Boats

Malibu Boats CL9 instructions

LDDE MKII SWMKII-I-118-RGB/B user manual

LDDE

LDDE MKII SWMKII-I-118-RGB/B user manual

Beghelli BoxLED BL736LED Series installation instructions

Beghelli

Beghelli BoxLED BL736LED Series installation instructions

manuals.online logo
manuals.online logoBrands
  • About & Mission
  • Contact us
  • Privacy Policy
  • Terms and Conditions

Copyright 2025 Manuals.Online. All Rights Reserved.