RADEMACHER HomePilot 9486 User manual

VBD 659-2 (09.16)
Item No.: 3200 42 19
EN
HomePilot® HD Camera (indoor) 9486
Instruction Manual for Installation and Commissioning
Type: 9486

2
EN
i
Dear Customer...
With your purchase of a HomePilot® HD Camera (indoor) 9486,
you have chosen a quality product manufactured by RADEMACHER.
Thank you for the trust you have placed in us.
RADEMACHER products have been developed with the greatest
possible convenience in mind. Having applied uncompromising
quality standards and thorough testing, we are proud to be able
to present this innovative product to you.
It’s brought to you by all the highly-qualified
personnel here at RADEMACHER.

3
EN
i
Contents
I Dear Customer... .................................................................2
1. These instructions..............................................................4
1.1 Application of this manual................................................................4
1.2 Related instructions.............................................................................4
2. Hazard symbols ..................................................................5
2.1 Levels of danger and signal words.................................................5
2.2 Symbols used and depictions..........................................................6
3. Glossary - Definition ..........................................................6
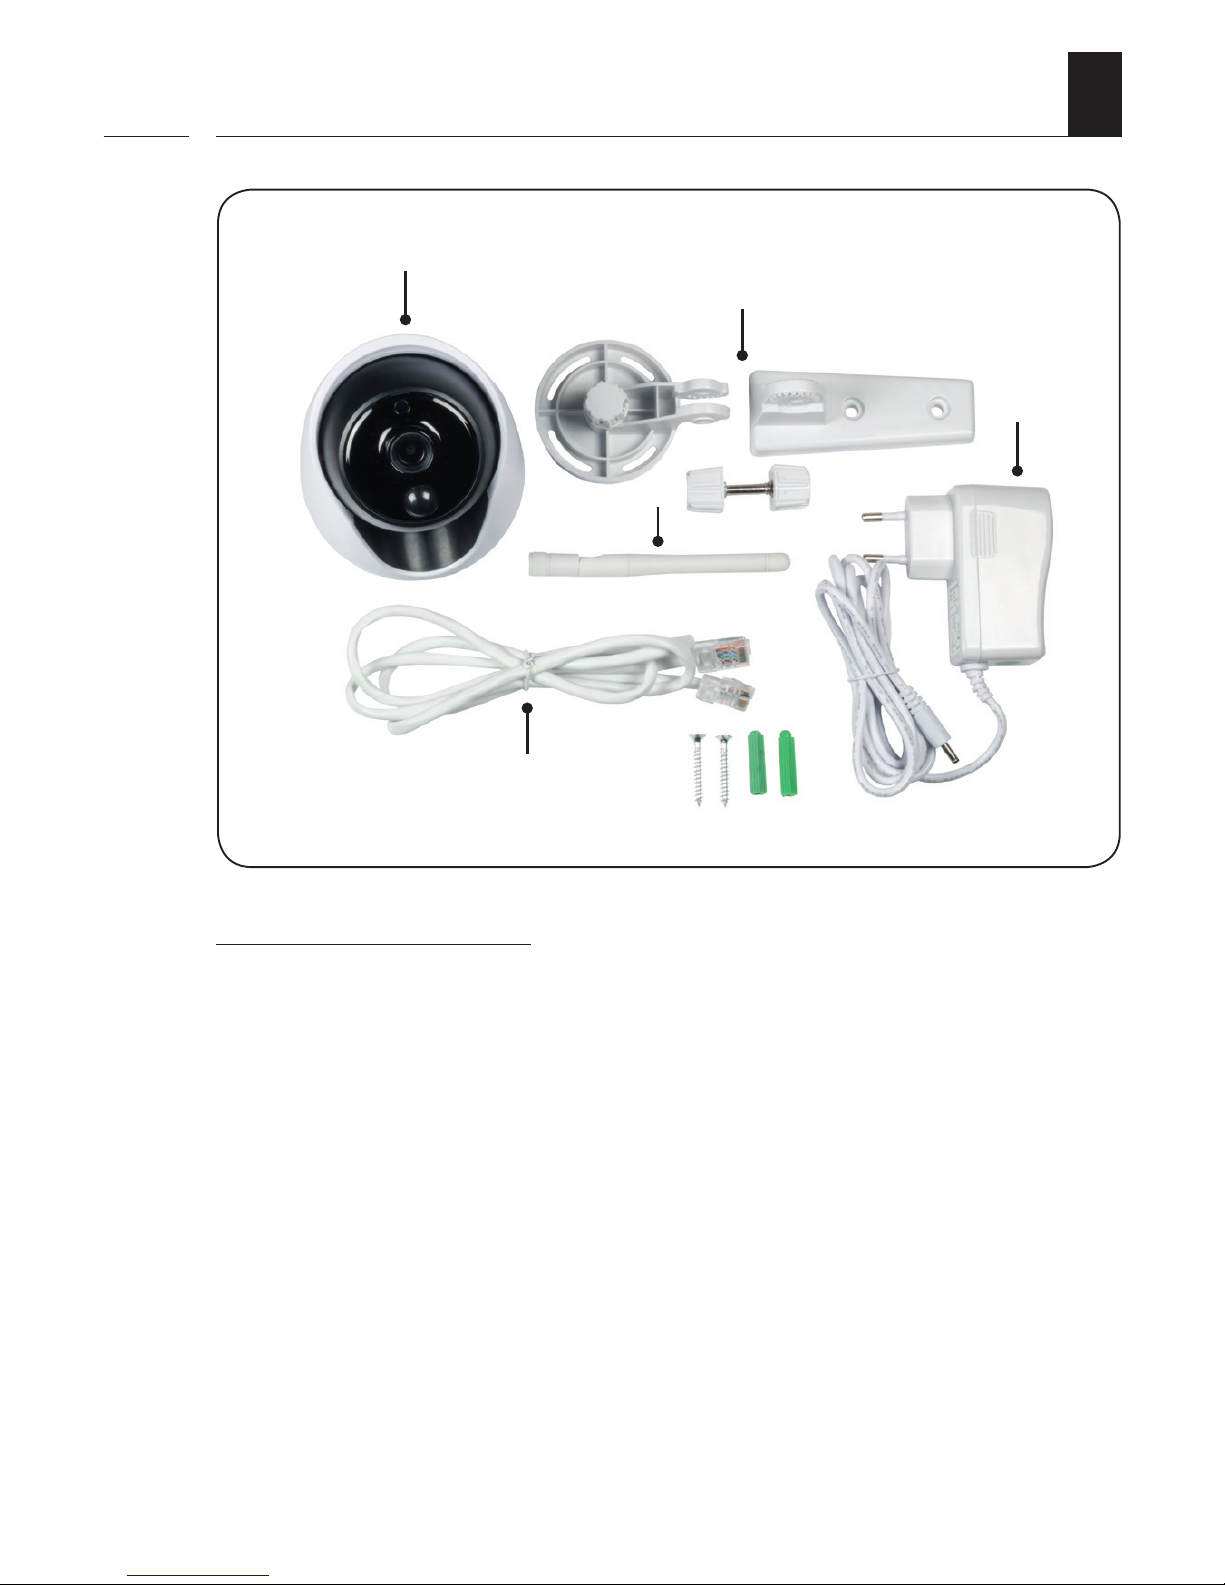
4. Included in delivery ...........................................................7
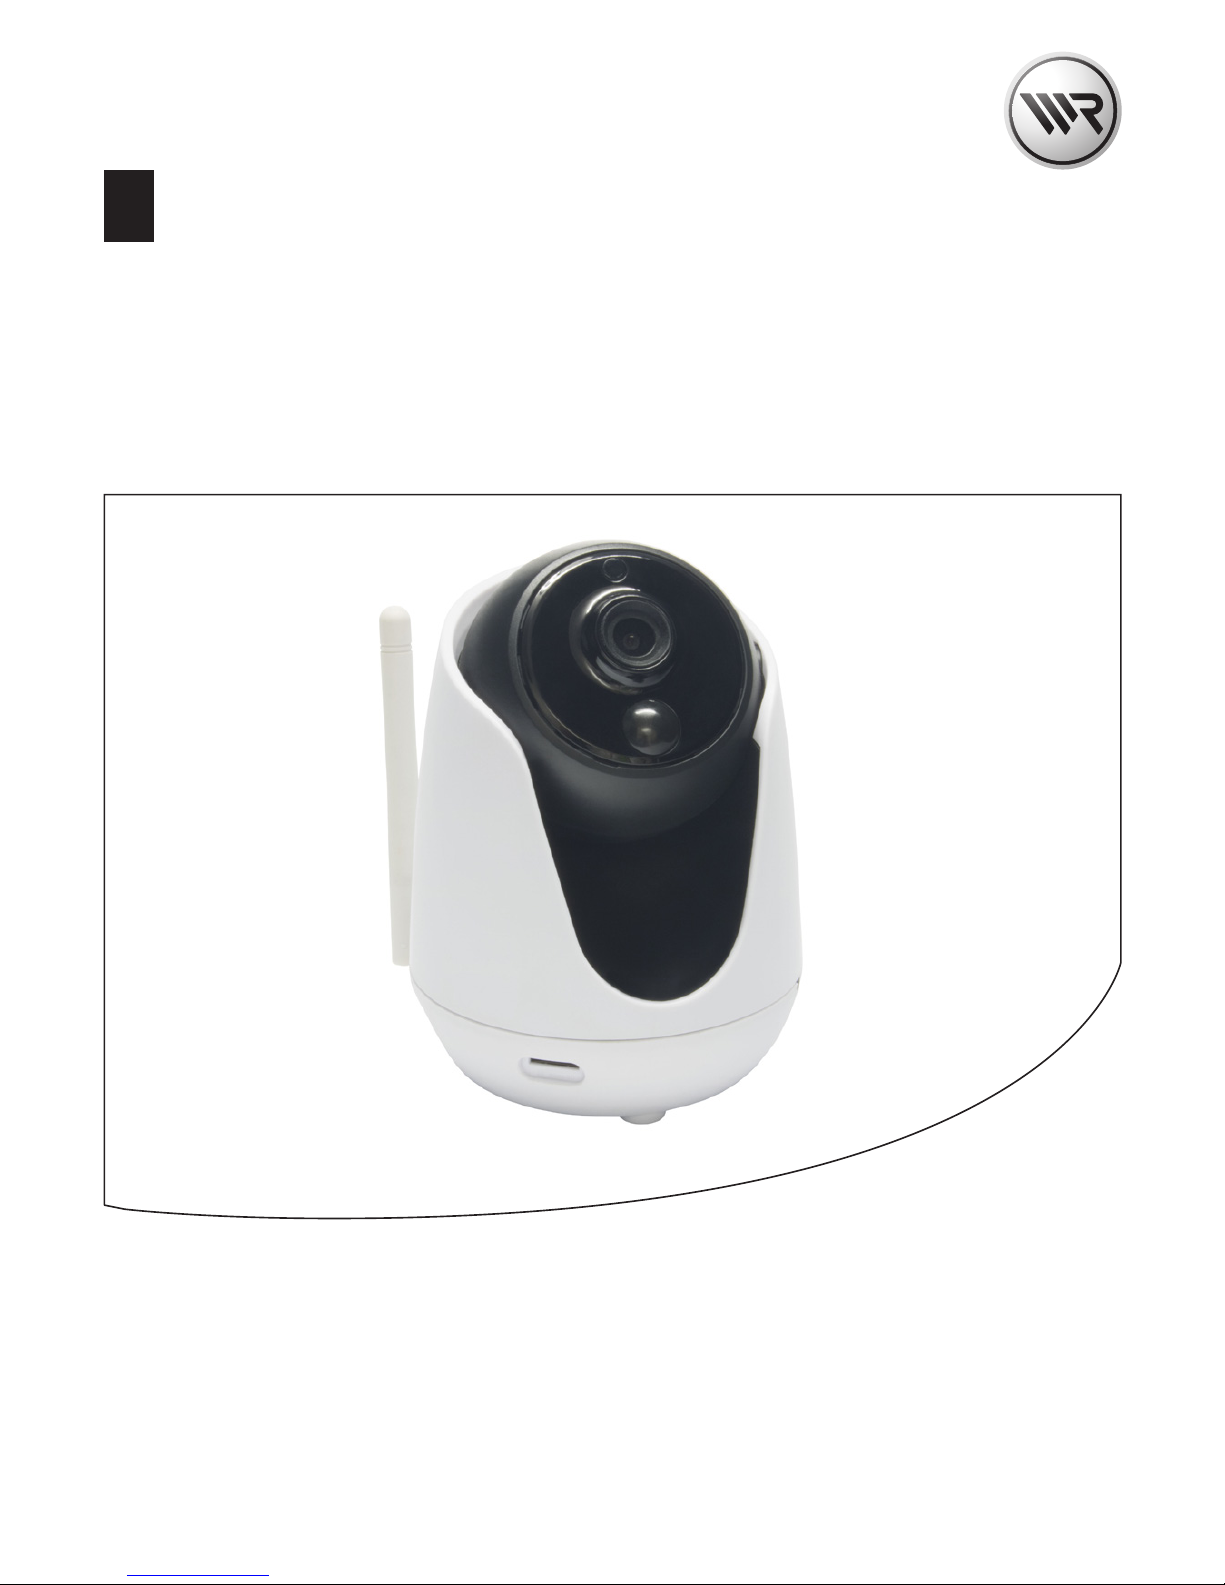
5. Overview of the HD Camera 9486...................................8
6. Functional description ......................................................9
7. Technical Specifications................................................. 10
8. System requirements...................................................... 11
9. Safety Instructions .......................................................... 12
10. Intended Use .................................................................... 13
10.1 Incorrect use........................................................................................ 13
11. Connecting the HD Camera to the router................... 14
12. Alternative WLAN connection with WPS .................... 15
13. Logging on to the HomePilot®...................................... 15
13.1 Access data for configuring the HD Camera
during initial installation................................................................. 16
14. Logging out from the HomePilot® ............................... 17
15. Deleting all settings - Reset........................................... 17
16. Installation........................................................................ 18
17. Simplified EU Declaration of conformity .................... 18
18. Warranty Conditions....................................................... 19

4
EN
i
1. These instructions...
...specify the installation and commissioning of the HomePilot®
HD Camera (indoor) 9486.
You can find the detailed configuration of the HD Camera in the
service section of our website:
www.homepilot.de/manuals
Enter the URL into the address field of your browser.
1.1 Application of this manual
1.2 Related instructions
◆Please read this manual through completely and follow all
the safety instructions.
◆This manual is a component of the product. Please store it
in an easily accessible place.
◆When passing the HD Camera on to a third party, this
manual must be passed on as well.
◆If this manual is lost, please request a replacement manual.
◆Damage resulting from non-compliance with this manual
and safety instructions will void the guarantee, see detailed
operating instructions for configuration. We assume no
liability for any consequential damage.
i
i

5
EN
i
2. Hazard symbols
The following hazard symbols are used in this manual to
indicate safety instructions:
Danger of fatal electric shock
2.1 Levels of danger and signal words
CAUTION!
This hazard may result in serious injury or death if not avoided.
ATTENTION!
This hazard may lead to property damage.
i

6
EN
2.2 Symbols used and depictions
Depiction Description
1. Steps to be taken
2.
◆Itemisation
1) or a) Lists
i
further useful
information
i
i
3. Glossary - Definition
HomePilot®
Central controller unit for RADEMACHER radio products.
Control is carried out via a tablet PC or Smartphone.
LAN (Local Area Network)
Abbreviation for a wired, local computer network.
WLAN (Wireless-LAN)
Abbreviation for a local radio network.
WPS (Wi-Fi Protected Setup)
Direct and safe connection of two devices in a radio network
using the WPS function.
PIR-Sensor
Passive infrared sensor for motion detection.

7
EN
i
4. Included in delivery
Included in delivery
a) 1 x HD Camera 9486
b) 1 x Wall bracket with joint
c) 1 x WLAN antenna
d) 1 x Mains adaptor
e) 1 x LAN cable
f) 1 x Installation set
a)
b)
c)
d)
e)
f)

8
EN
i
5. Overview of the HD Camera 9486
Antenna
Camera lens
Infrared (IR) LEDs
PIR Motion
sensor
Loudspeaker
LEDs - Network (green) /
Power supply (red)
Connections
Antenna - LAN - Mains adaptor
Microphone
Slot for a micro
SD memory card
Audio input Audio output
Reset / WPS button
Thread for wall
bracket
Username/Password -
Factory setting

9
EN
6. Functional description
The HD Camera is a network-compatible camera used to monitor
interior rooms. It transmits image data to the HomePilot®. The HD
Camera can be installed in any desired place with the enclosed
wall bracket.
Integrated brightness sensor
For day and night monitoring with infrared LEDs and automatic
image adjustment when dark.
Integrated PIR sensor for motion detection
Configuration and logging on to the HomePilot®
The HD Camera can be configured via a PC using the
HomePilot® user interface.
Network port (LAN)
The HD Camera must be connected to a free LAN port on a
router to be able to register and use it in the HomePilot®.
WLAN
Once it has been registered to the HomePilot®, it is possible to
operate the HD Camera via WLAN. For this, the WLAN access
data must be entered via the HD Camera‘s user interface.
First, screw the enclosed antenna onto the HD Camera.
Alternative WLAN connection with WPS.
You can also connect the HD Camera directly to the WLAN router
or to your local radio network by means of the WPS function.
For this, the router must also support the WPS function.
i

10
EN
i
7. Technical Specifications
Mains adaptor
Operating voltage: 230 V / 50 - 60 Hz
Output voltage: 5 V / 2 A
HD Camera general
Supply voltage: 5 V DC via mains adaptor
Maximum current
consumption: 2 A
Consumption: < 5 W
Permitted place of
application: inside only
Protection class: II
Protection type: IP5X
Permissible operating
temperature: -10°C to + 50 °C
Permissible relative humidity: 20 % to 85 % rH
Dimensions (L x W x D): *
* without bracket 90 x 90 x 125 mm
Network interfaces
LAN: Ethernet
WLAN (IEEE): 802.11 b/g/n, 2.4 GHz
WLAN security
Supported WLAN Security
algorithms:
WEP 64 / WPA-PSK / WPA2-PSK

11
EN
i
7. Technical Specifications
Camera - Specifications:
Sensor: 1.3 Megapixel CMOS-Sensor
Resolution: 1280 x 960
Video specifications:
Image compression: H.264
Framerate: 30 frame/s
i
8. System requirements
You require the following for installation:
◆Internet access.
◆A router* with DHCP server and a free LAN port or WPS
function.
◆A freely accessible mains socket (230 V / 50 Hz).
◆A commercially available standard computer with current
web browser (mobile browsers are not supported).
◆A HomePilot® with software version 4.1 x or higher **
The HomePilot® must be connected to the router and be
accessible in the network via computer
* or DSL modem with router functionality
** You can find the current software version on the HomePilot®
user interface under:
Conguration / System / Firmware Update > display right

12
EN
i
9. Safety Instructions
The use of defective equipment can lead to personal injury
and damage to property (electric shocks / short circuiting).
◆Never use defective or damaged equipment.
◆Check the components included in the delivery beforehand
for damage.
Risk of short circuit when using an incorrect mains adaptor.
◆Using a mains adaptor with a voltage other than that specified
for the power unit included in the delivery may cause damage
to the HD Camera or lead to a short circuit.
◆Only use original accessories from RADEMACHER.
The mains socket and mains adaptor must be easily
accessible at all times.

13
EN
i
10. Intended Use
◆Only use the HD Camera to transmit image data to the
HomePilot® or an external storage device.
◆Only operate the HD Camera in dry rooms.
Operating conditions
The installation and operation of the radio systems is only per-
mitted for those systems and devices where a malfunction
in the transmitter or receiver would not cause a danger to
personnel or property or where this risk is already covered by
other safety equipment.
i
Radio systems that transmit on the same frequency
can cause interference.
10.1 Incorrect use
The HD Camera must not be used to monitor public areas.
i

14
EN
i
11.
Connecting the HD Camera to the router
1. Connect the HD Camera to a free LAN port on your router.
For this, use the enclosed LAN cable.
2. Plug the mains adaptor cable into the inlet of the HD Camera
and then the mains adaptor into a 230 V / 50 Hz mains socket.
3. Wait a few moments. The HD Camera automatically carries out
a self-test.
4. As soon as the HD Camera stops it is ready to operate and can
be logged on to the HomePilot®.
LAN cable Mains adaptor
LED - Power supply (red)

15
EN
i
1. Briefly press the WPS button on the HD Camera using a thin but
not too pointed object.
2. Next, activate the WPS function on your router.
After this, the camera is connected to the router or to the local
radio network.
12. Alternative WLAN connection with WPS
i
As additional protection against unauthorised
access, we recommend that you carry out the steps
described in chapter 13.1.
i
1. Switch the HomePilot® to registering mode. To do this, select
the„Add“ function from the„Configuration / Cameras“ menu.
2. The HomePilot® will automatically search for cameras that are in
the same network and list these.
3. Select the HD Camera, specify a name and other individual
descriptions.
4. Subsequently click on„save“.
5. After this, the HD Camera will be listed on the HomePilot® user
interface under„Cameras“.
13. Logging on to the HomePilot®

16
EN
i
1. Select„Open detailed view“ in the HomePilot® user interface.
2. The HD Camera user interface appears.
3. The following message appears above the input screen:
Plug-ins not found, click here to download.
4. Click on the text and download the Plug-in (Version Windows
7 and Mac OS 10.11.3 or higher). Follow the on-screen informa-
tion during installation.
7. The desired settings for the HD Camera can then be selected.
13.1 Access data for configuring the HD Camera
during initial installation
i
Depending on your computer settings and anti-virus
programme, you may have to approve the down-
load and installation.
5. Next, log on using the user name and password set in the factory.
Factory settings (see bottom of camera):
◆User name = admin
◆Password = rademacher
6. After logging on for the first time, enter a new user name and
secure password, in order to protect your HD Camera from
being used without permission.
i
It is essential that you enter a secure password.

17
EN
i
1. Switch the HomePilot® to log out mode. To do this, select the
„Delete configuration / cameras / devices“ menu.
2. Select the HD Camera and click on„log out manually“.
3. Switch off the HD Camera‘s power supply and remove the LAN
cable.
14. Logging out from the HomePilot®
1. Press the RESET button on the HD Camera for approx.
10 seconds using a thin but not too pointed object.
2. After it has been successfully reset, a short audible signal is
emitted and the HD Camera automatically carries out a self-test.
The HD Camera will then be reset to the default factory settings.
15. Deleting all settings - Reset
i

18
EN
16. Installation
i
The HD Camera can be installed on any stable and level surface
using the enclosed tripod and the mounting set.
ATTENTION!
If installed incorrectly, the HD Camera may be damaged
and transmission problems / interference may occur.
◆Do not install the HD Camera in a place where it is exposed
to direct sunlight or other sources of heat (e.g. heating).
◆Do not install the HD Camera next to strong magnetic fields
(e.g. speakers).
17. Simplified EU Declaration of conformity
i
RADEMACHER Geräte-Elektronik GmbH declares that the
HomePilot® HD Camera (indoor) 9486 complies with the
European directive 2014/53/EU (radio equipment directive).
The complete text of the EU Declaration of conformity is
available under the following link:
www.rademacher.de/ce

19
EN
18. Warranty Conditions
i
RADEMACHER Geräte-Elektronik GmbH provides a 24-month
warranty for new systems that have been installed in compliance
with the installation instructions. All construction faults, material
defects and manufacturing defects are covered by the warranty.
Your statutory warranty claims shall remain unaffected by this
warranty.
The following are not covered by the warranty:
◆Incorrect fitting or installation
◆Non-observance of the installation and operating instructions
◆Improper operation or wear and tear
◆External influences, such as impacts, knocks or weathering
◆Repairs and modifications by third parties, unauthorised
persons
◆Use of unsuitable accessories
◆Damage caused by unacceptable excess voltages
(e.g. lightning)
◆Operational malfunctions caused by radio frequency
overlapping and other such radio interference
For the warranty to be applicable, the new device must have
been purchased through one of our approved specialist retailers.
Proof of this can be provided by presenting a copy of the bill.
RADEMACHER will remedy any defects that occur within the
warranty period free of charge either by repair or by replacement
of the affected parts or by supplying a new replacement unit or
one to the same value. There is no general extension of the original
warranty period by delivery of a replacement or by repair as per
the terms of the warranty.

RADEMACHER
Gerate-Elektronik GmbH
Buschkamp 7
46414 Rhede (Germany)
info@rademacher.de
www.rademacher.de
Service:
Hotline 01807 933-171*
Fax +49 2872 933-253
service@rademacher.de
* 30 seconds free of charge, subsequently
14 cents / minute from German fixed line
networks and max. 42 cents / minute from
German cellular networks.
Subject to technical modications, misprints and errors excepted. Illustrations not binding..
Table of contents
Other RADEMACHER IP Camera manuals
Popular IP Camera manuals by other brands

Taser
Taser Axon Flex 2 quick start guide

Bosch
Bosch NWC-0455-20P operating instructions

Wisenet
Wisenet SNH-P6416BN quick start guide

Ovislink
Ovislink AirLive WL-5400CAM user manual

Shenzhen Sricctv Technology
Shenzhen Sricctv Technology Sricam Quick user manual

D-Link
D-Link DCS-930L Technical Support Setup Procedure