Bedding-in brakes
The car comes fitted with carbon metallic brake pads. To bed in the
brakes and achieve maximum stopping power, a film of carbon must
be transferred to the discs; gently apply brakes six to eight times at
medium speed. Increase speed to simulate race conditions, and
apply brakes hard a further six to eight times.
Allow brakes to cool for 15 minutes. Do not apply brakes
whilst stationary during the cooling down period. Use only
Radical-recommended brake pads, available online.
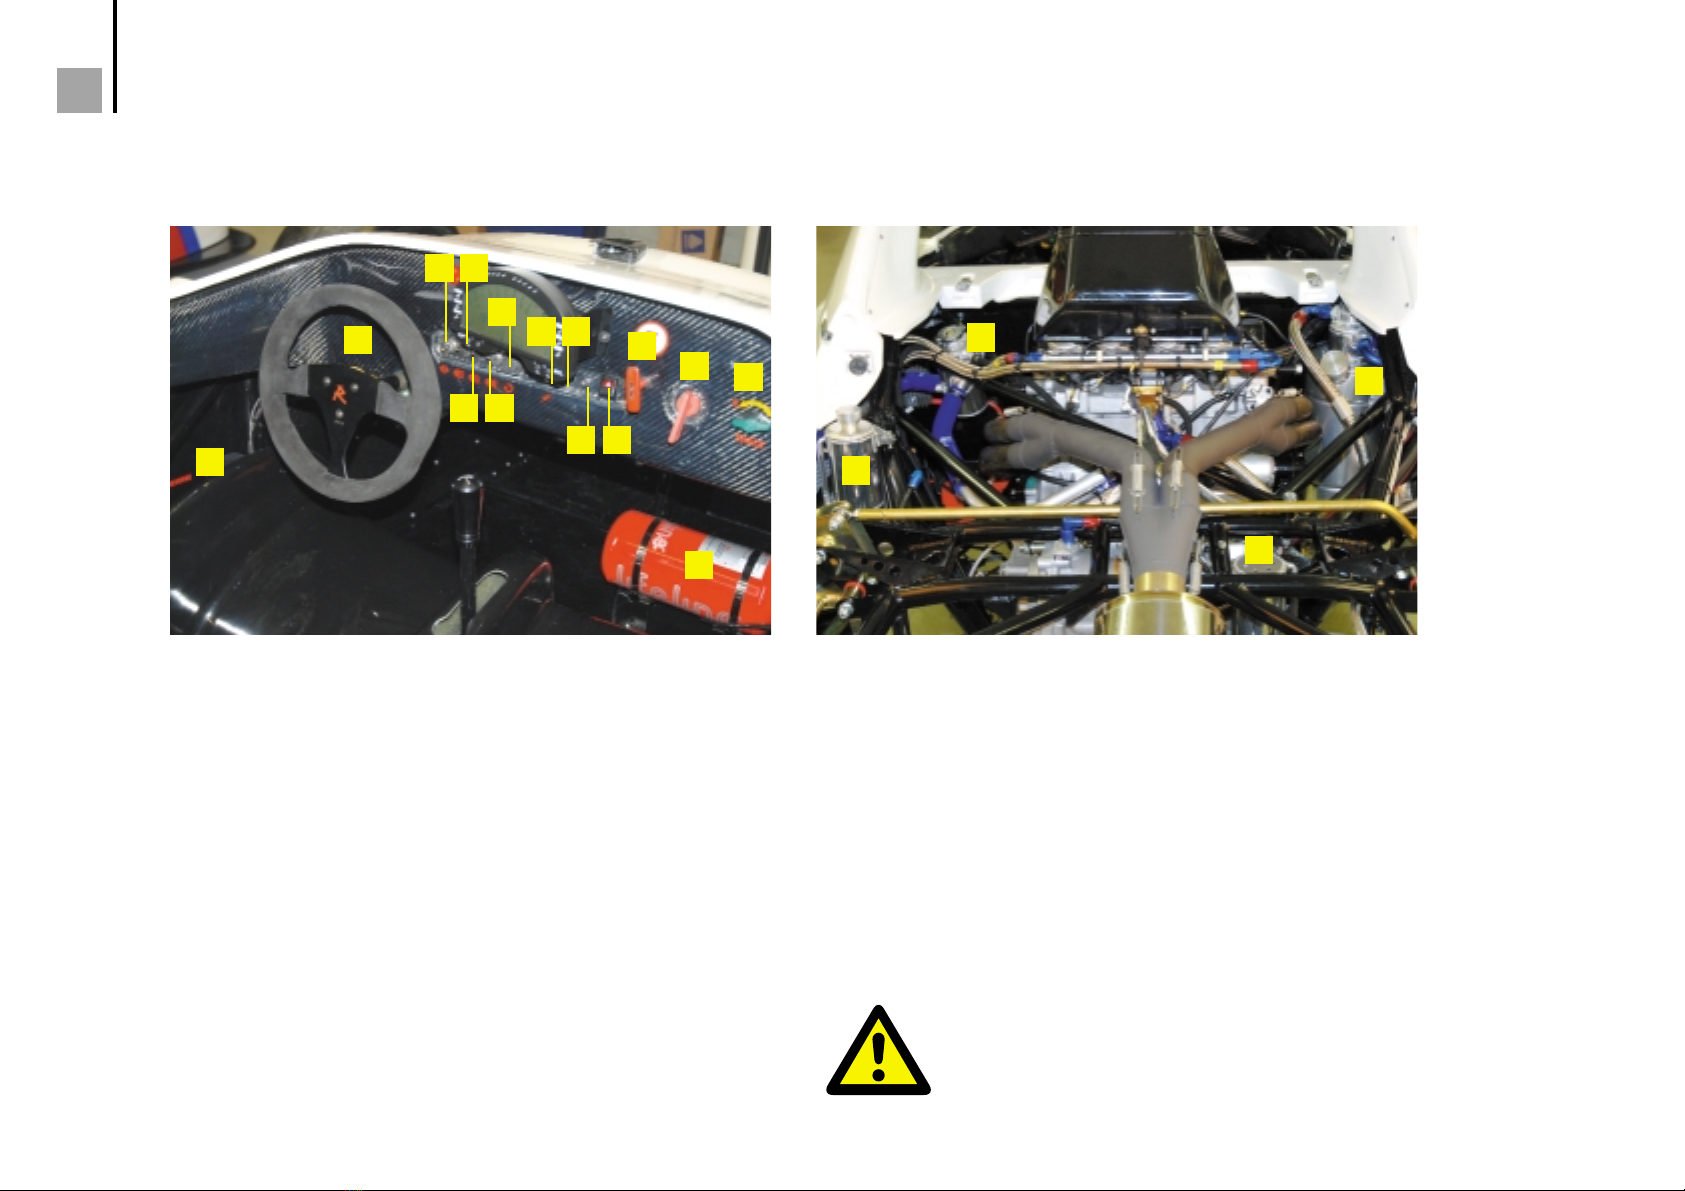
Brake bias settings
Set central to two turns towards the front (clockwise on the dash
adjuster). Further adjustment can be made to suit individual circuits and
tyre configurations. Adjust bias to the rear in wet conditions.
Manual gear change
If you are unfamiliar with a sequential shift car, it is recommended that
you change gear using the clutch when going both up and down the
gearbox. Once you have become familiar with the technique,
changing gear up the box can be achieved by lifting the
throttle quickly and simultaneously 'snicking' the gear in, without
depressing the clutch. On down changes it is imperative the driver
depresses the clutch and raises the engine speed before engaging
the gear. Smooth gear changes can be best achieved by using the
'heel-and-toe' technique. Only change down one gear at a
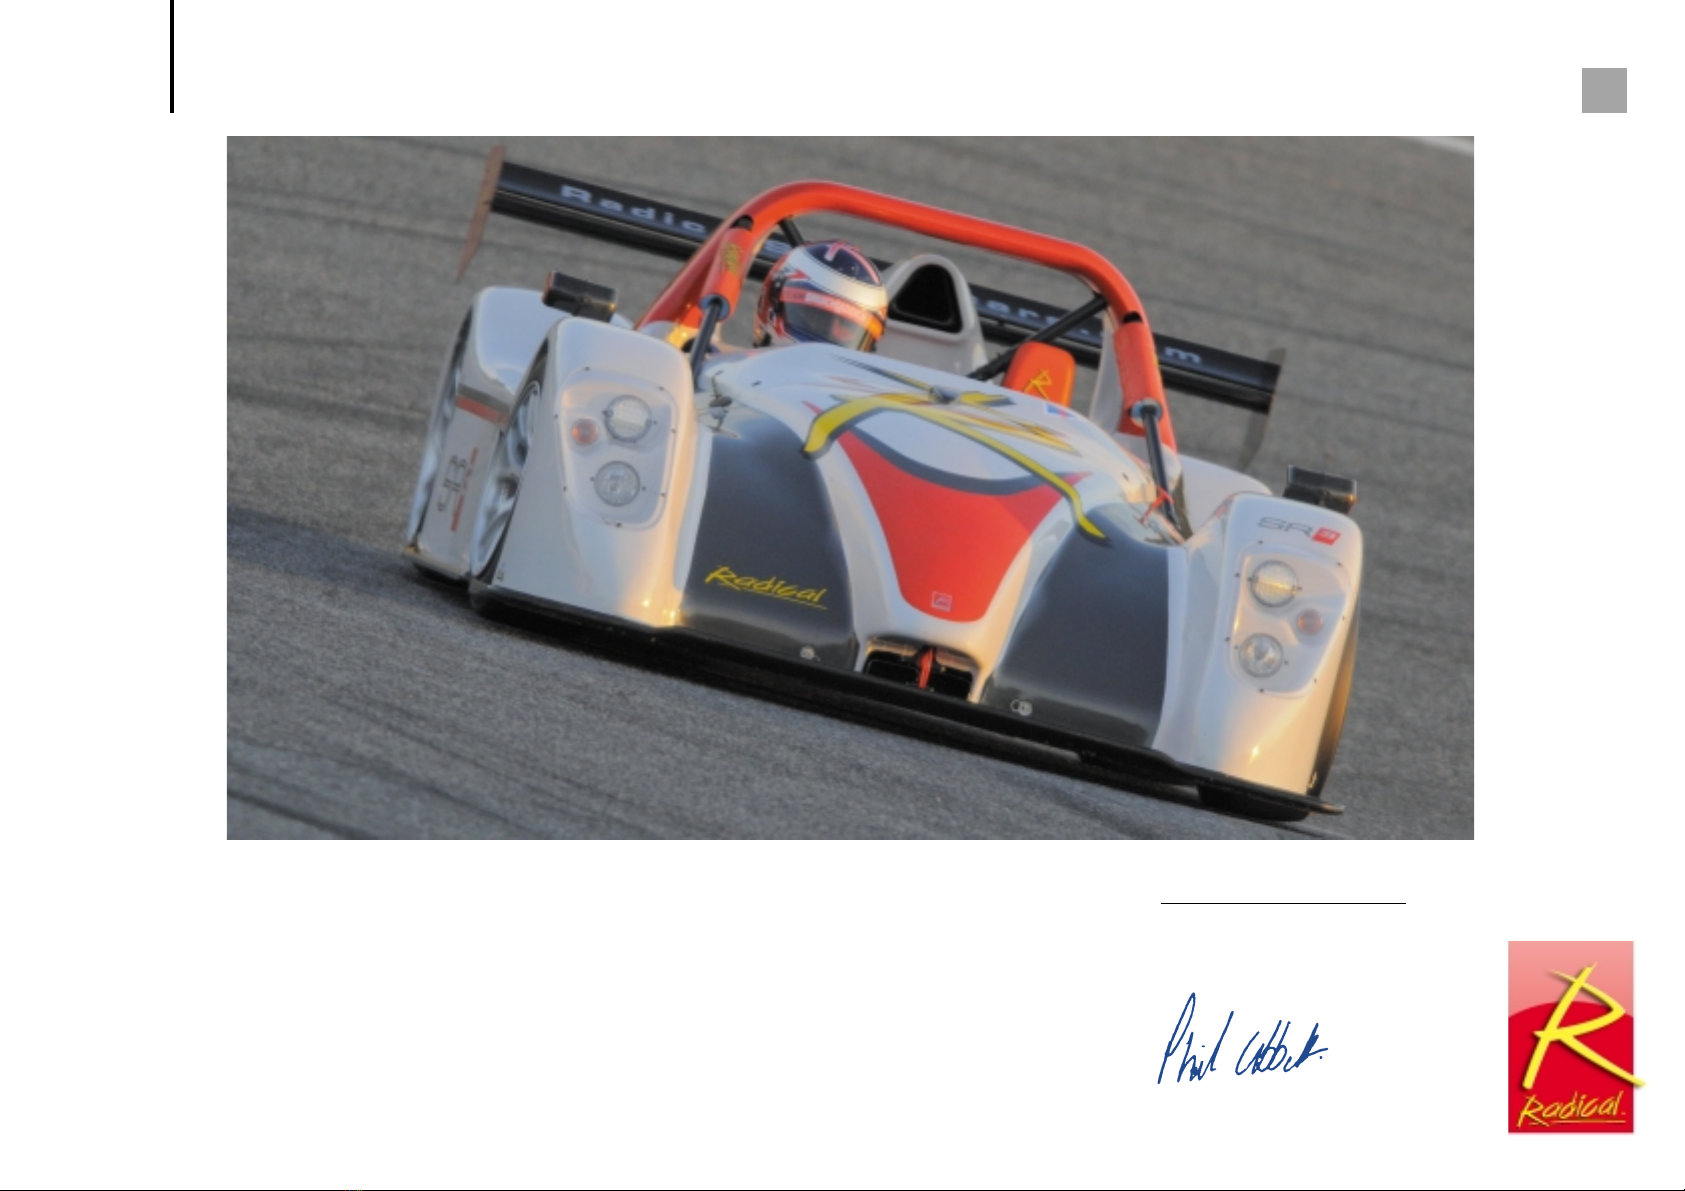
Driving your Radical
time, releasing the clutch pedal between gears. As with any
dog-engagement gearbox, aggressive gearchanges will damage the
gear dogs, which will result in gear engagement problems. Only use
a maximum of 7,000-8,000rpm while getting used to driving your SR3.
If you accidentally down-change instead of an up-change, you are less
likely to over-rev the engine. If you do over-rev the engine, make your
way slowly back to the pits. If you have revved the engine over
12,000rpm, switch off and return the engine to Radical for inspection
immediately. The Radical dash will display the maximum rpm.
Paddle-shift gear change
If your SR3 RS is fitted with the Powertec, steering wheel-mounted
paddle-shift system, it is possible to flatshift when you are changing up
the gearbox, and to have clutchless downchanges. You will need to
use the clutch to engage first gear, to pull away from stationary, and
when stopping the car.
To select first gear, depress the clutch and pull the left-hand paddle. To
change to second gear you then use the right hand paddle. It is
recommended to use the clutch when changing up the gearbox, from
first to second, at all times. Once you are on the track, and up to track
speed, then it is just a matter of accelerating, and pulling the right hand
paddle. A very slight delay will be felt as the engine ignition is cut, and
the system selects the next gear.
When changing down the gearbox, simply brake where you need to
and operate the left-hand paddle. The system will blip the throttle for
WARNING If you spin, depress the clutch quickly or
you may damage the starter motor.
NOTE It is also recommended that gearchanges
are not made while experiencing wheelspin, such as
exiting slow speed, hard acceleration corners, as this
can damage the gearbox.
10