Understanding your Rainbow DTA
remote control functions
5
Turns TV On/Off Turns DTA box On/Off
Displays main DTA menu
Navigation keys
Used in Program Guide
for page navigation
Exits current menu and
returns to current program
Displays Program Guide
Displays info for currently
selected program
Mute sound On/Off
Control TV volume Move through channels
Returns to last channel
you were watching
Numeric Keys
HOLD for 3 seconds
to enter Setup Mode
step
DTA Troubleshooting
My DTA won’t power on.
Make sure your DTA box is plugged into an electrical outlet. If using a power
strip, ensure that the power strip is turned on.
I have no picture on my TV.
If you’re using a Digital-TV you need to ensure your TV is on the correct
HDMI input. If you’re using a Non-Digital TV you need to ensure that the
switch on the back of your DTA is to channel 3 and that your TV is tuned
to channel 3.
How do I change my TV input?
To change your TV input, press the “Input” or “Source” button on your TV
remote.
What does pairing a remote mean?
Pairing a remote is another term for programming your remote.
My DTA is plugged in correct but my picture is frozen.
Power cycle your DTA by unplugging the power adapter from the back of
the DTA. Wait three minutes and plug it back in. If the picture is still frozen,
check the batteries in your remote.
How long does it take the guide to load on my DTA?
The guide can take 20-30 minutes to load.
Every time I change something on the TV in one room, it changes the
channel on the TV in the other room.
The DTA remote needs to be paired to the DTA box. Refer to the
instructions on page 5 for “Pairing your DTA remote with your DTA box”.
My picture has black bars across the side and bottom.
On your DTA remote:
1. Click “MENU”
2. Scroll to “Set Up”
3. Select “1080 Wide”
(This only works for customers using a Digital TV.)
My guide only shows programming 11-16 hours in advance. I want to see
what is on tomorrow.
DTA guides only show limited programming on the guide. If you would like
to see additional programming, you can upgrade to a digital receiver or a
DVR. Customers can also visit the TV Guide website for a full programming
guide.
87 9 10 1
How do I set up parental controls?
1. Press “MENU” on your DTA remote.
2. Select the “Parental Control” on the menu options.
3. Create a 4 digit pin. Using your DTA remote, key in a 4 digit code that
you will remember.
4. Confirm 4 digit code by reentering it with your DTA remote.
5. Set parental controls by certain channels, movie ratings, TV ratings. In
addition you can hide TV titles and descriptions of adult-oriented
programming.
How do I change my screen resolution?
1. Press “MENU” on your DTA remote.
2. Scroll down to “HDMI Setup”
The HDMI setup will default to auto but it can be switched to 1080i normal,
1080i wide, 720p normal, 720p wide, 480p (16:9), 480p (4:3) and 480i.
How do I turn on closed captioning?
There are two options for closed captioning, auto and custom. Auto will let
your DTA box decide the closed captioning options, where custom allows
you to set them yourself. You can change the font size, font color and font
opacity. To turn on closed captioning:
1. Press “MENU” on your DTA remote.
2. Scroll down to closed captioning
3. Select your preference in closed captioning options.
If you have questions or need help, please
call Rainbow Technical Support:
Self-Install Video Tutorial: www.rainbowtel.net/DTA
(877) 708-4382
!(877) 708-4382
www.rainbowtel.net
Technical Support:
(800) 892-0163
Customer Service:
Self-Install Video Tutorial:
www.rainbowtel.net/DTA
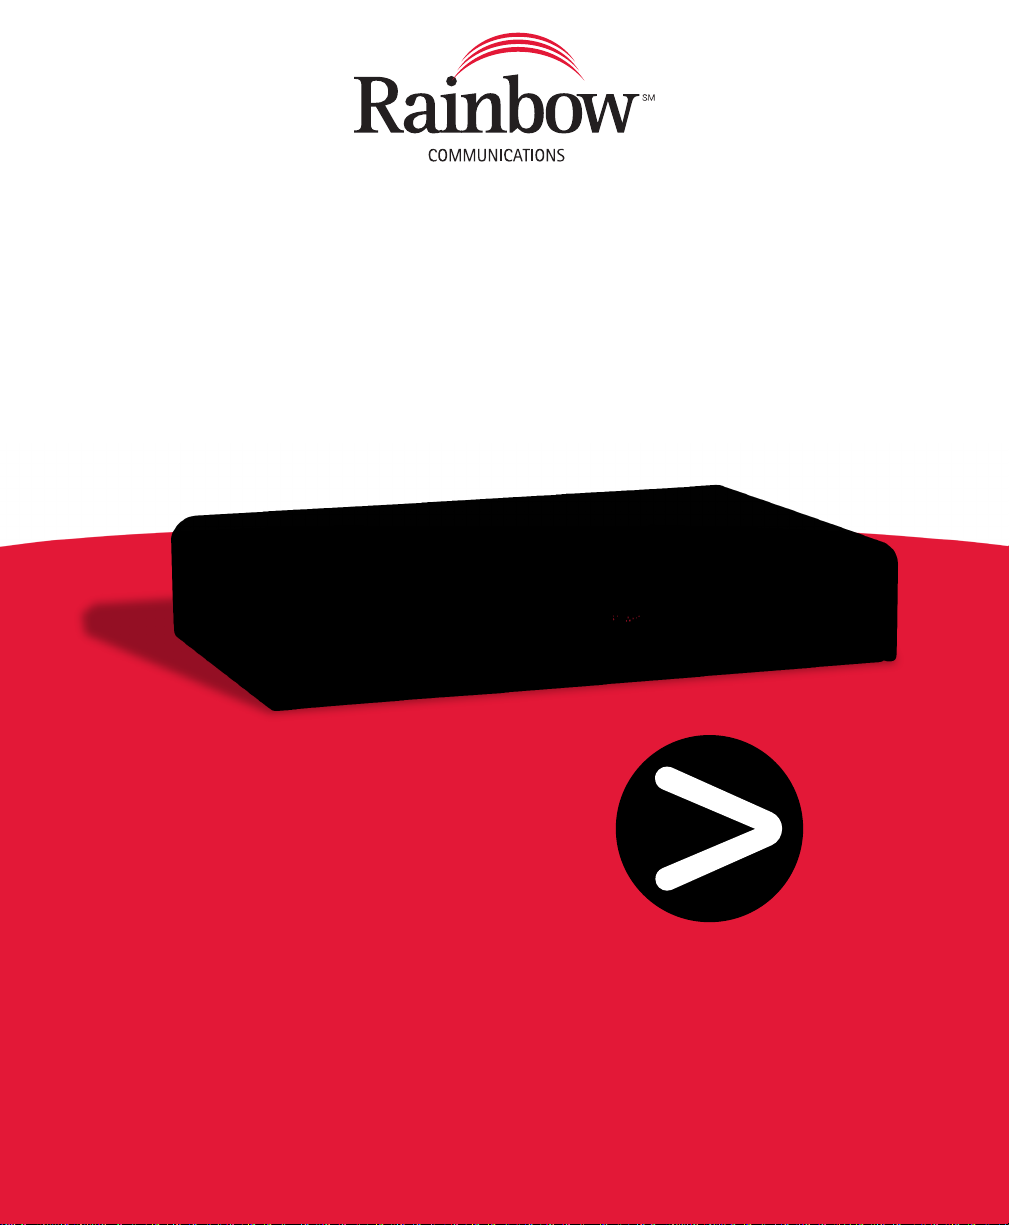
Quick
Start
DTA Self-Install Guide