Documentation Center
Quick Start Guide
What do you need?
Before going through the configuration guide of the RAK4600 Evaluation Board, make sure to prepare the items
listed below:
1. RAK4600 Evaluation Board
2. Micro USB cable
3. LoRA Gateway in Range for testing (not provided)
4. RAKDAP1 DapLink tool (not provided)
5. Windows PC
📝
NOTE
This device released by RAKWireless is already pre-loaded with its latest firmware upon manufacture. If
you want to have your device's firmware burned or upgraded, please refer to the links below:
1. Device Firmware Setup
2. Device Firmware Upgrading
3. Open Source Framework Development
What's Included in the Package?
1pc - RAK4600 Evaluation Board
1pc - Micro USB cable
1pc - LoRa Antenna (iPEX)
1pc - BLE Antenna (iPEX)
2pcs - 4-pin Header (not soldered)
9pcs - Dupont Lines
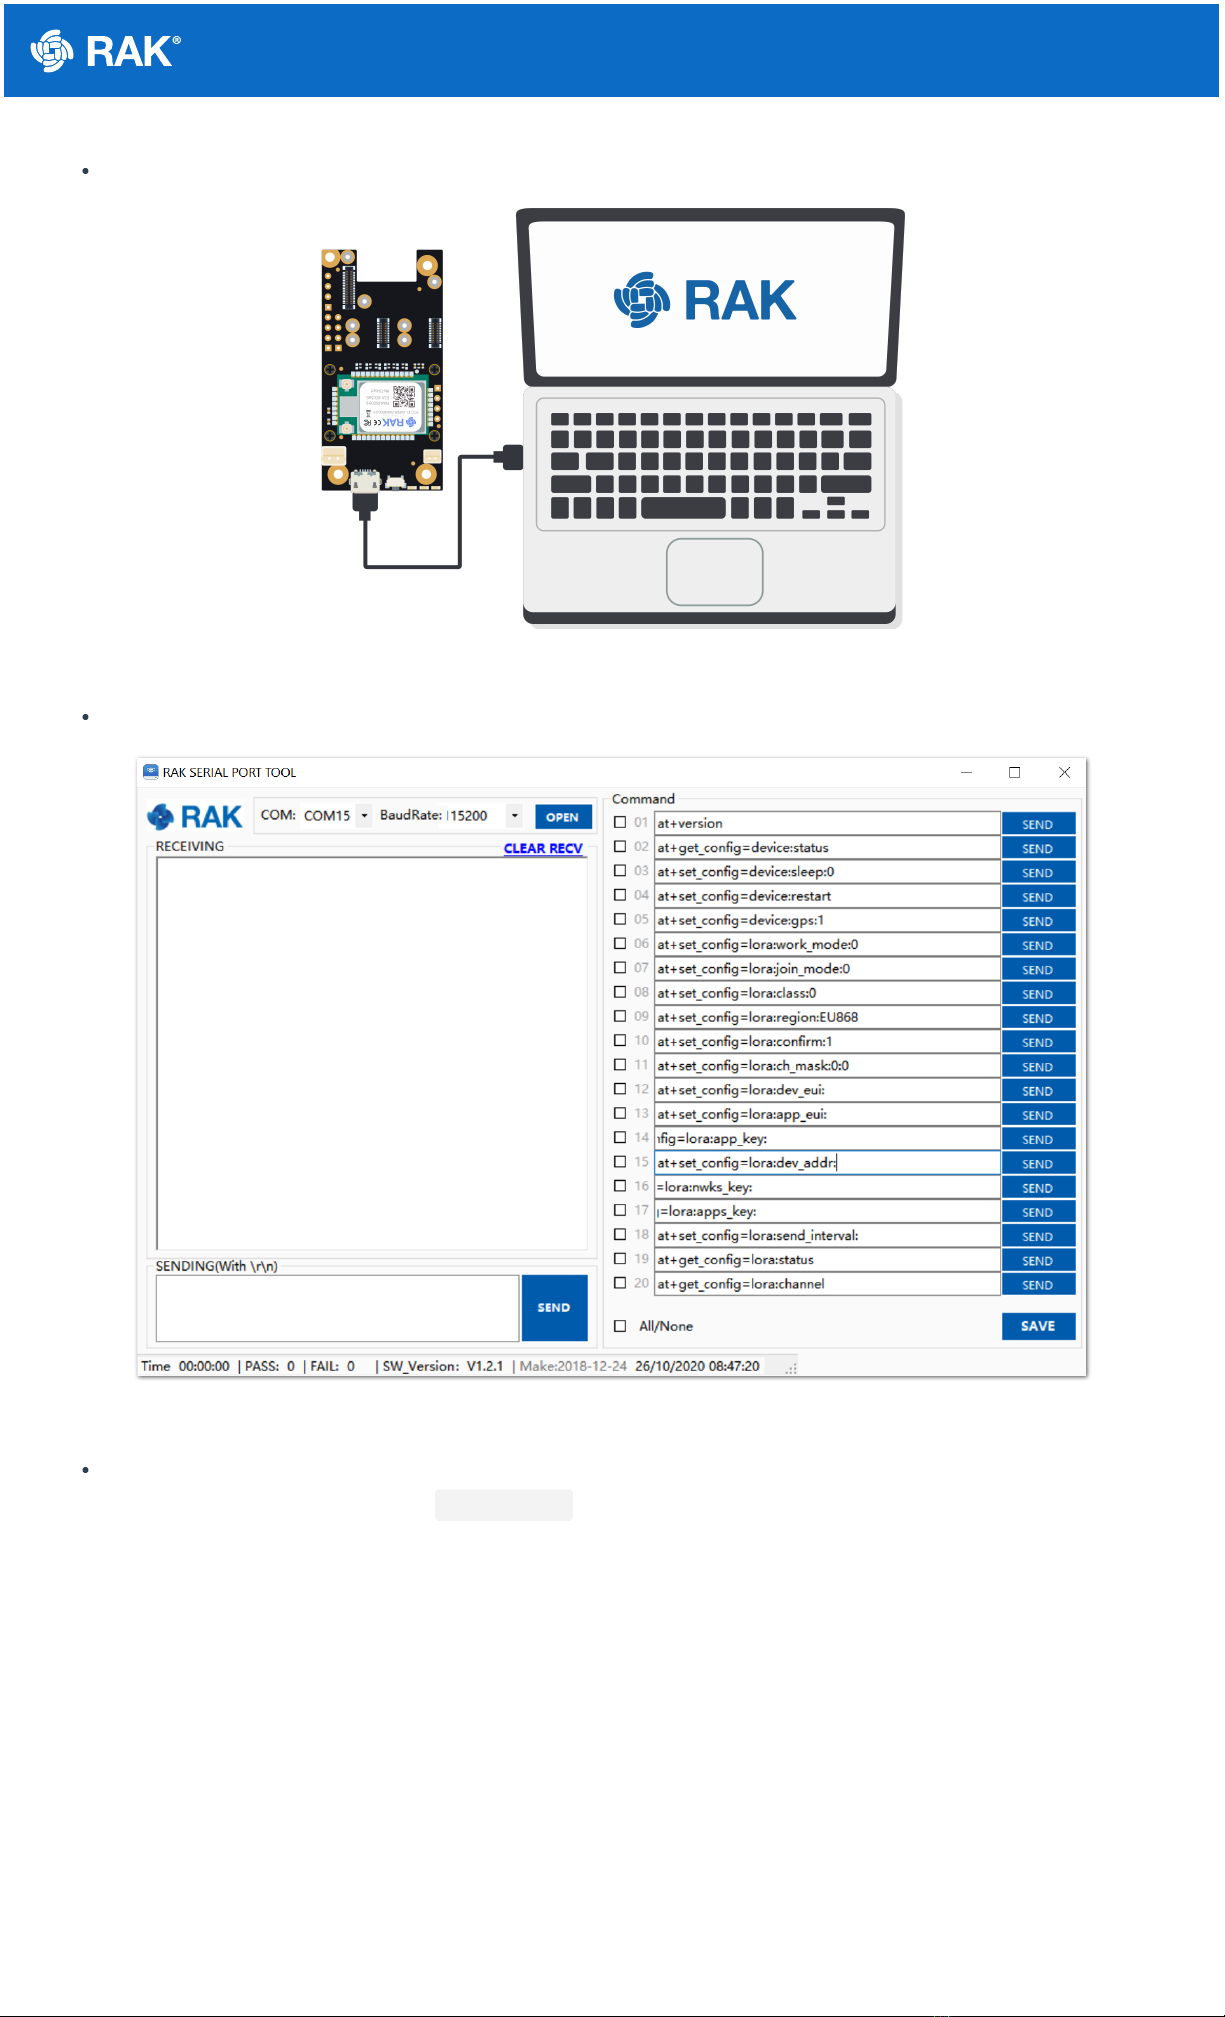
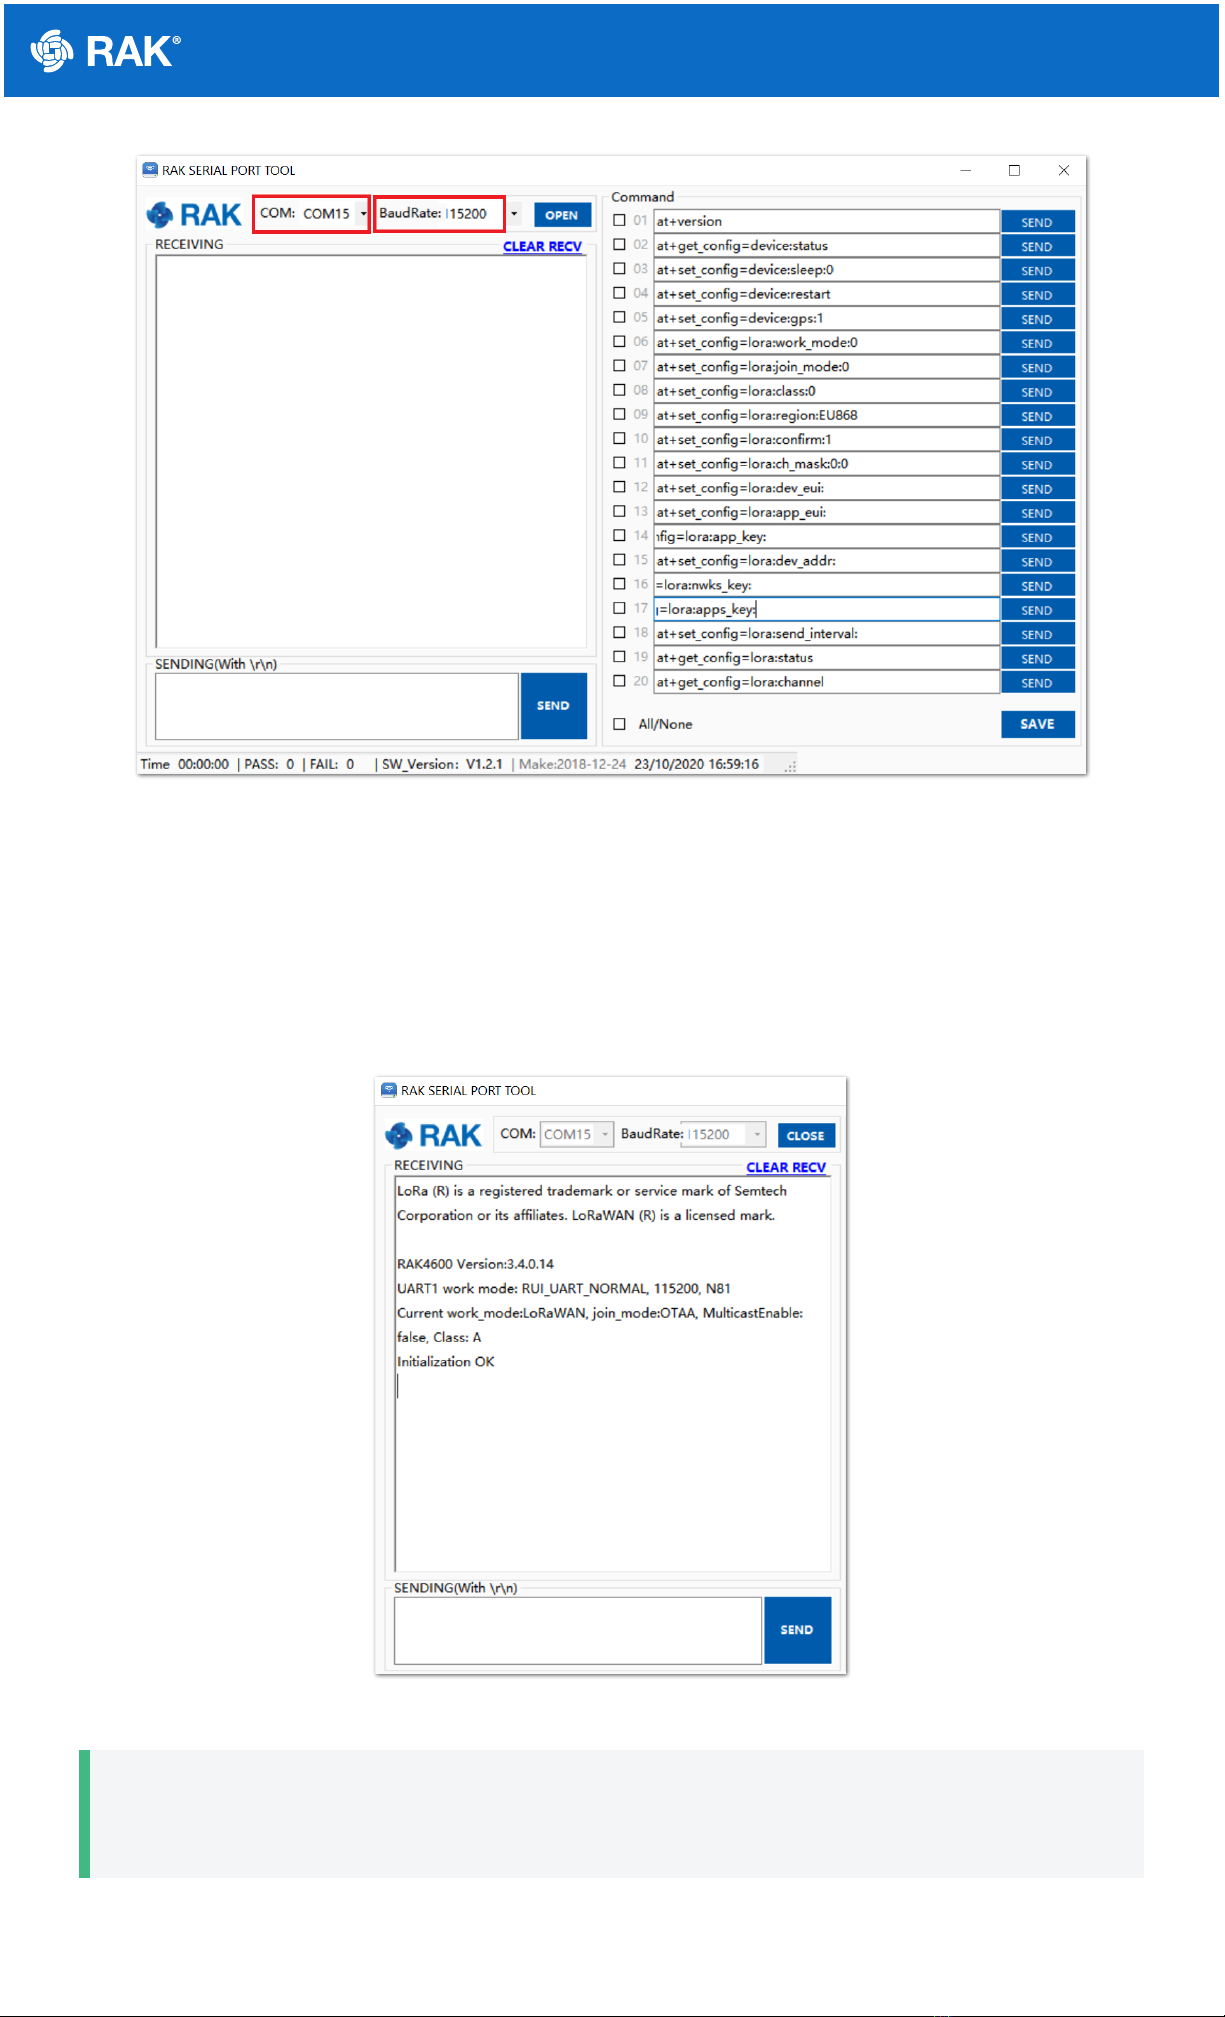
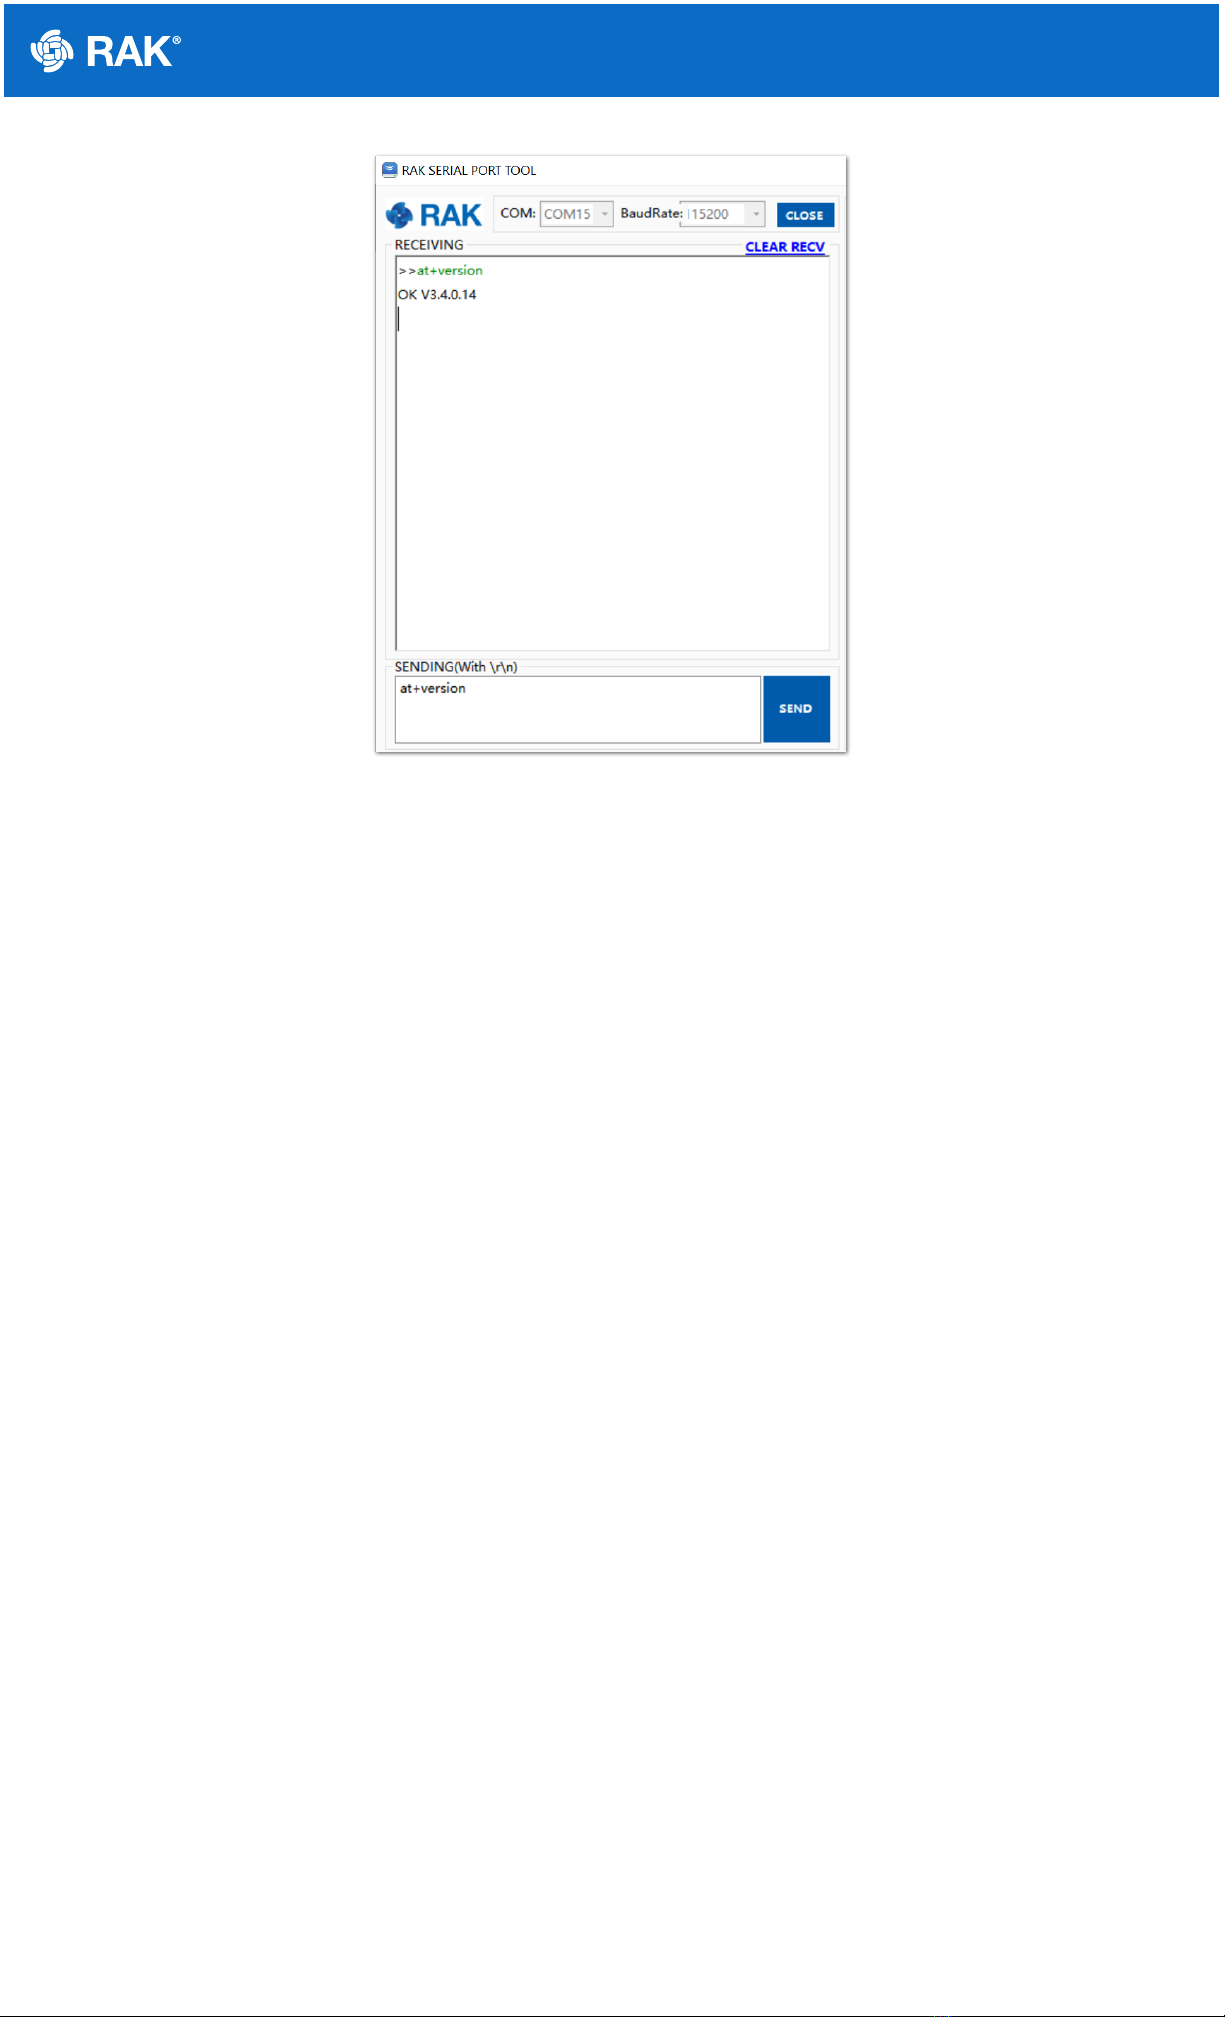
Interfacing with RAK4600
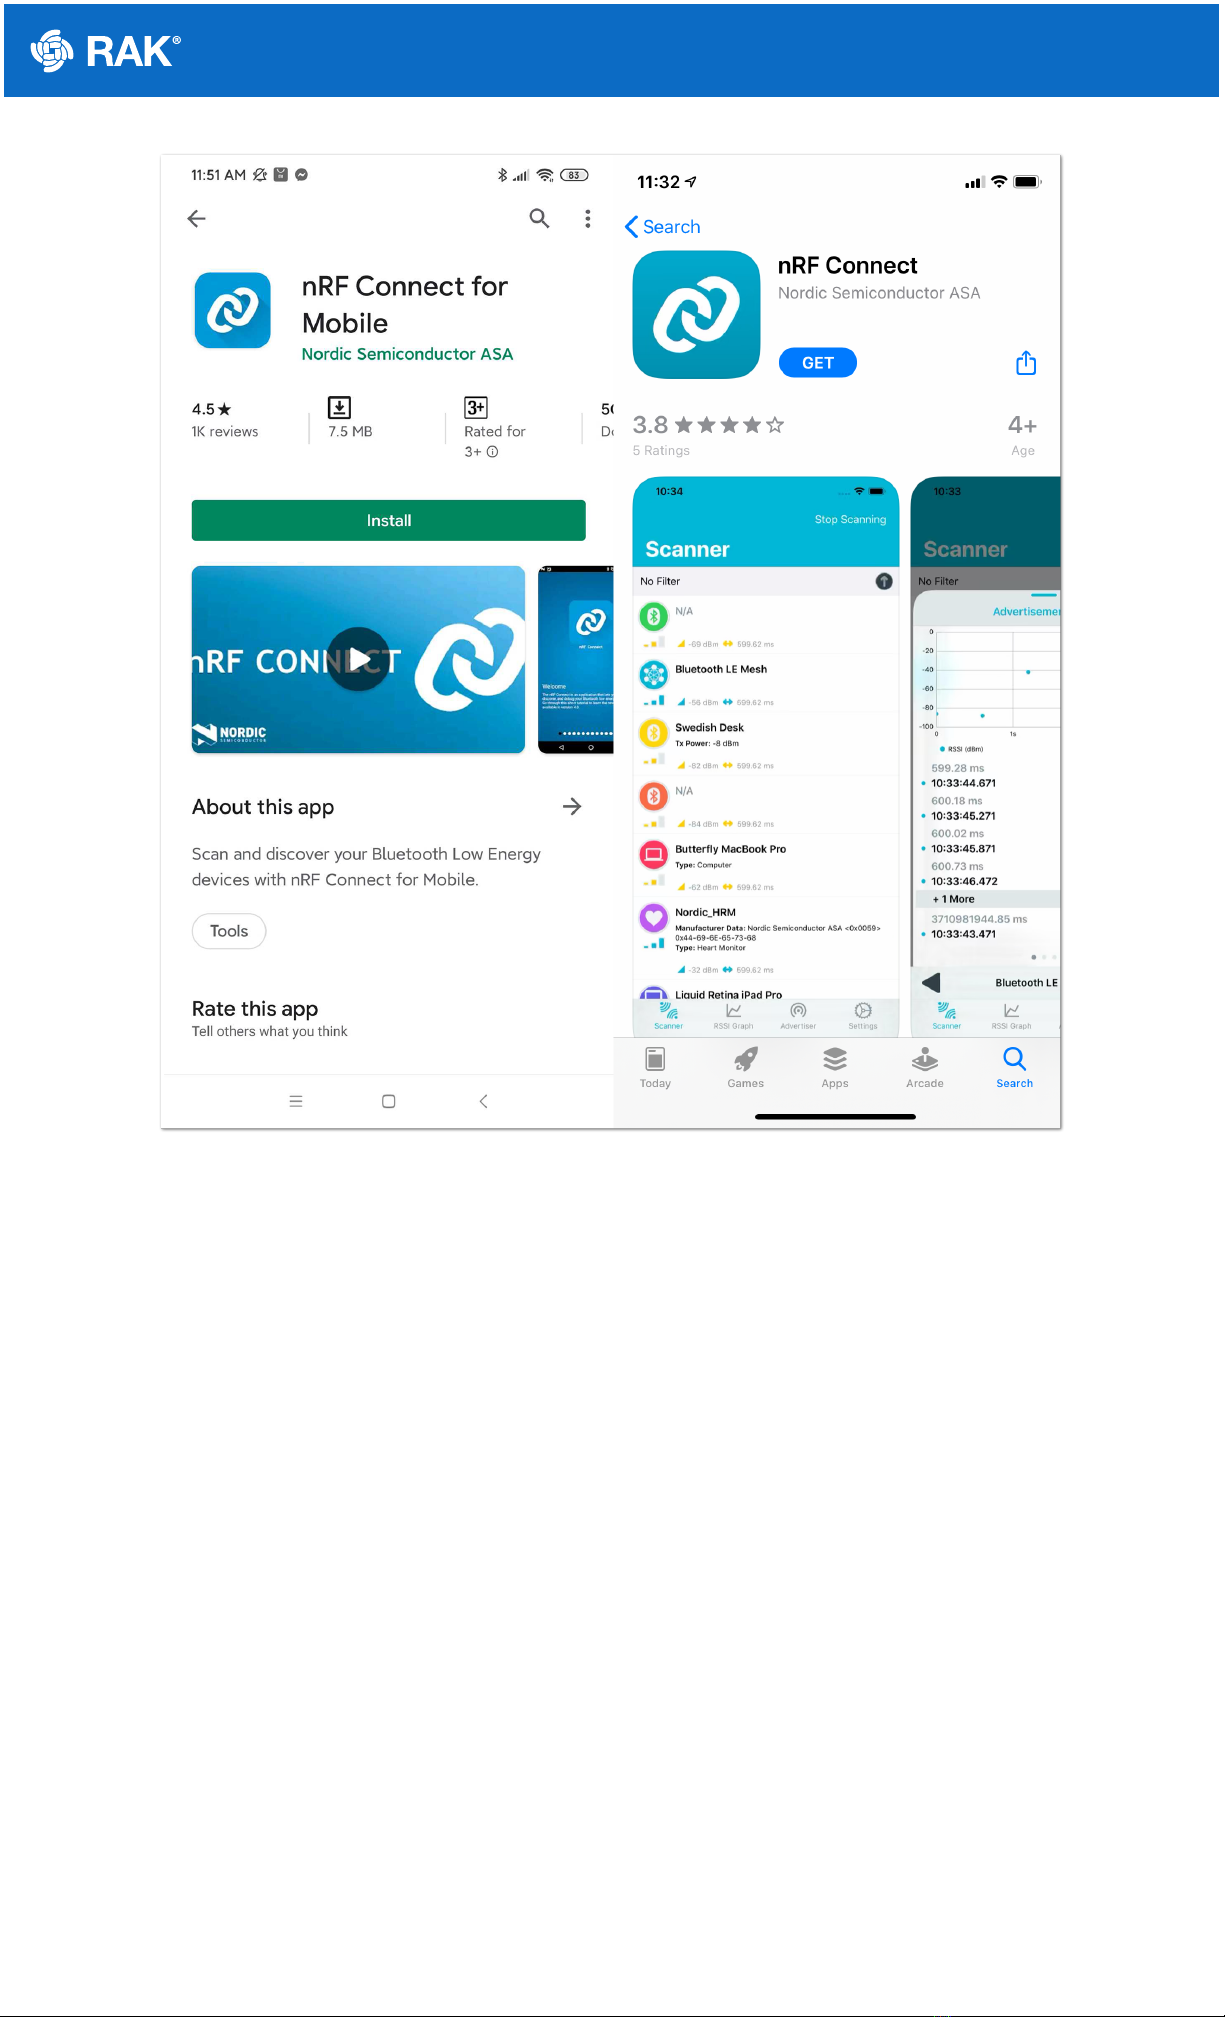
In order to interface with the Evaluation Board, using a Windows PC, you need to install the RAK Serial Port Tool
here .
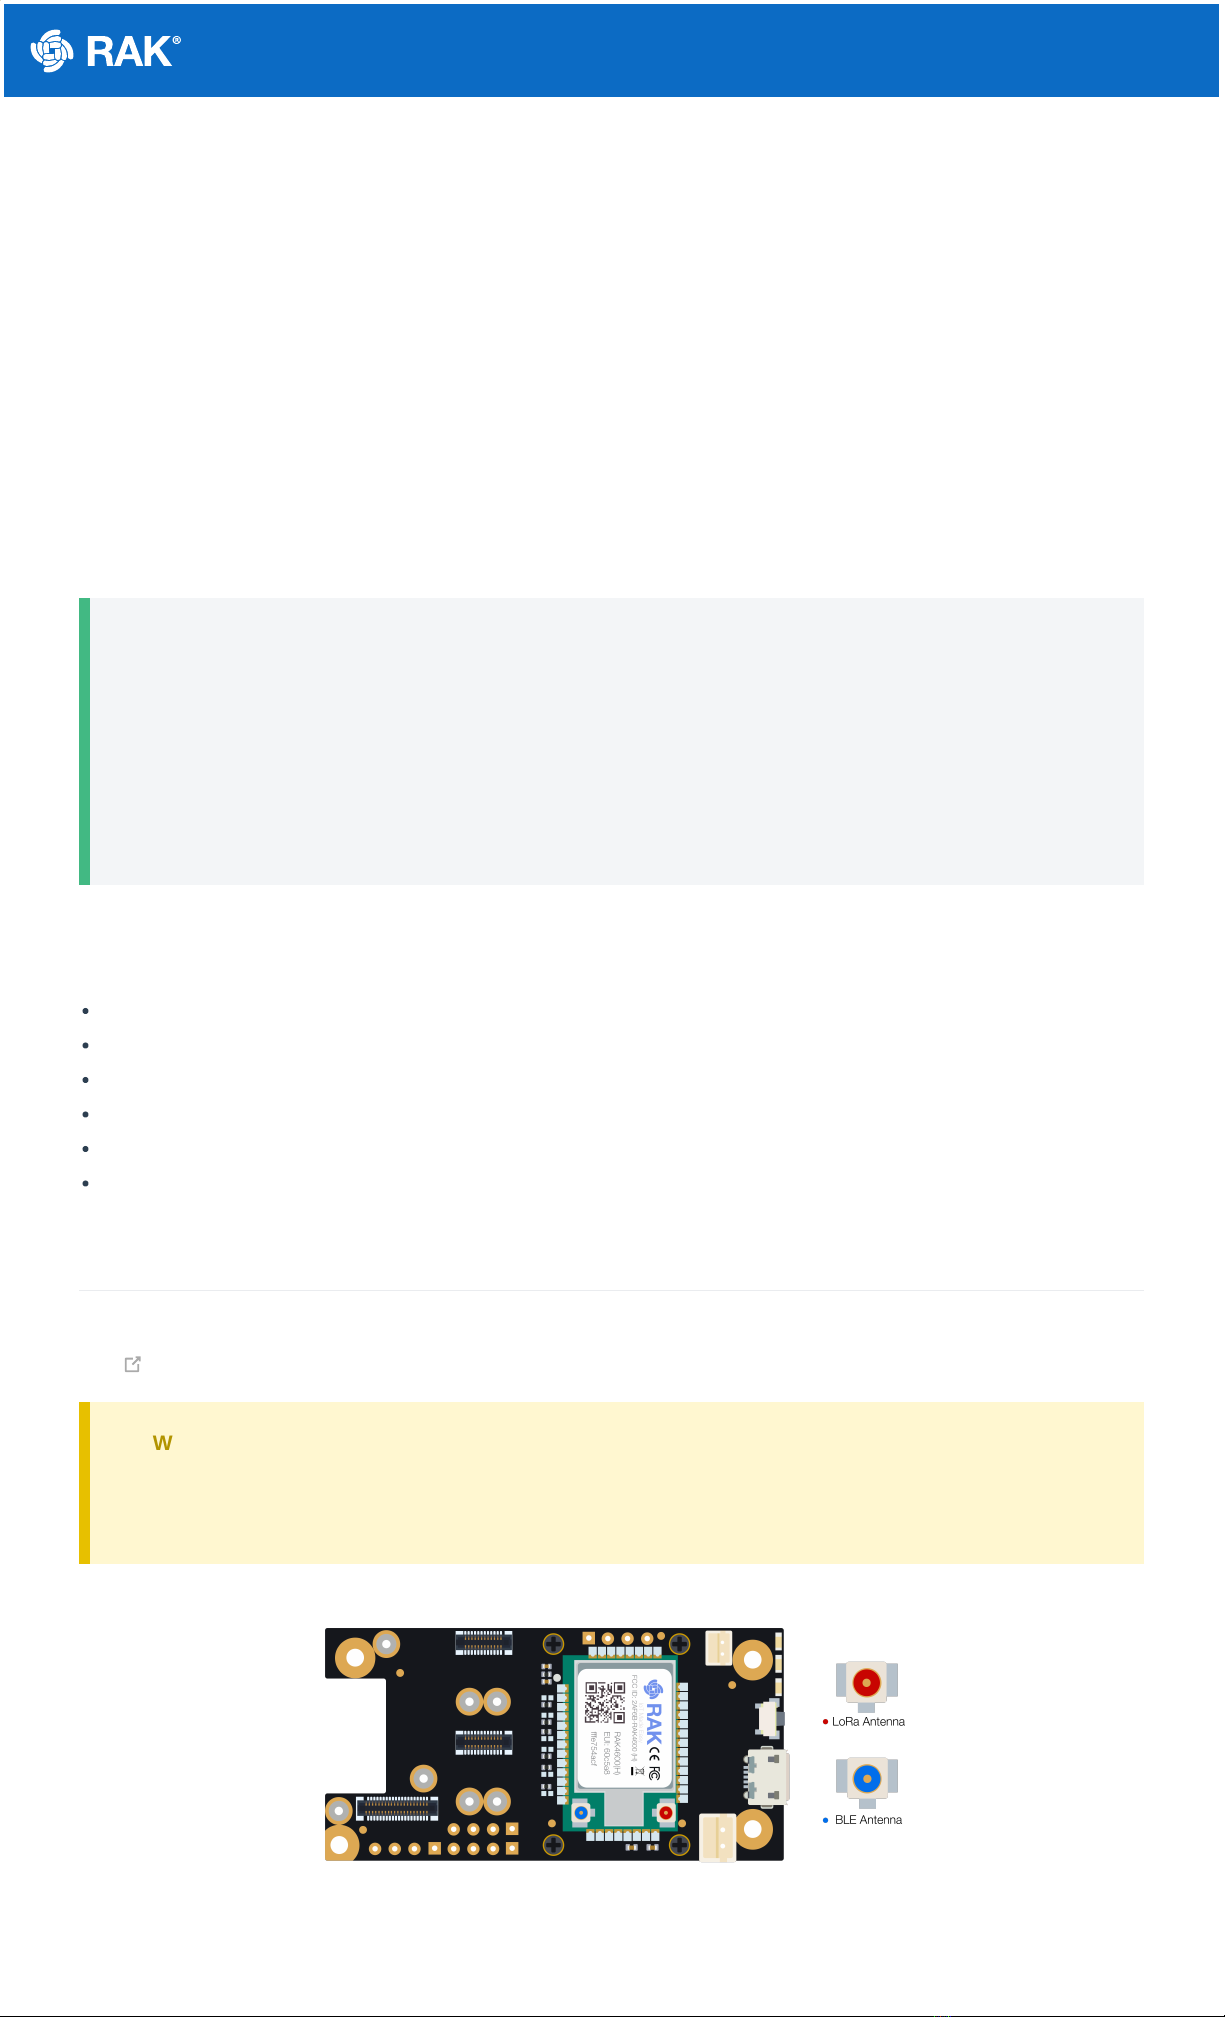
⚠
WARNING
Before powering the RAK4600 Evaluation Board , you should install the LoRa and BLE Antenna first. Not
doing so might damage the board.
Figure 1: LoRa and BLE Antennas